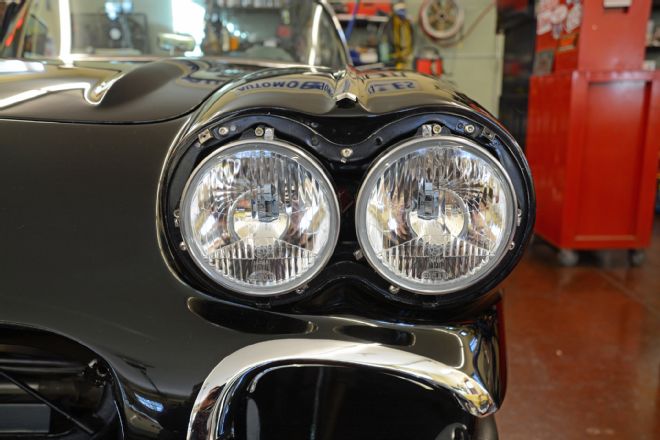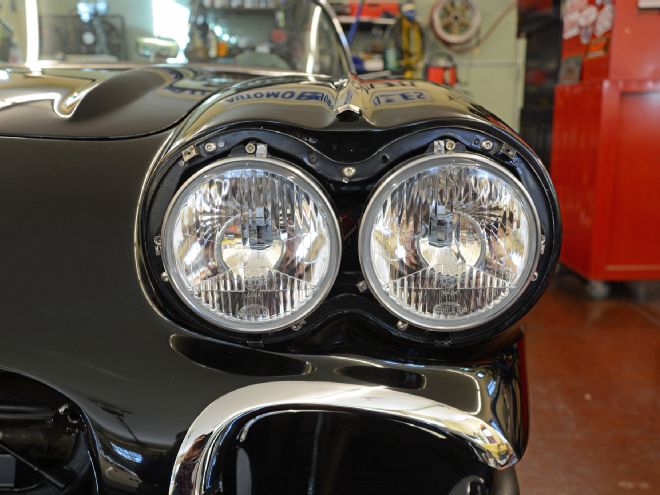
It isn’t often that your average hot rodder is referred to as a visionary, but swapping out those old T3 headlights for a set of modern Halogen (or even ultra-modern LED) lights will have you feeling like a true visionary on your next cruise night.
Sure the old T3 headlights are period perfect, but they tend to be a bit dim, particularly for the aging eyes of anyone who can remember when the T3 was original equipment. More light is the answer and you can upgrade to halogen seal beams for a bit more candle power, but if you truly want modern lighting you really need to upgrade to a bulb style headlight rather than a sealed beam. This provides you with much more candlepower and also a wide choice of bulbs to provide exactly the amount of light you require for safe night driving. There is also the option of changing to LED powered bulbs in the same housing should you so desire.
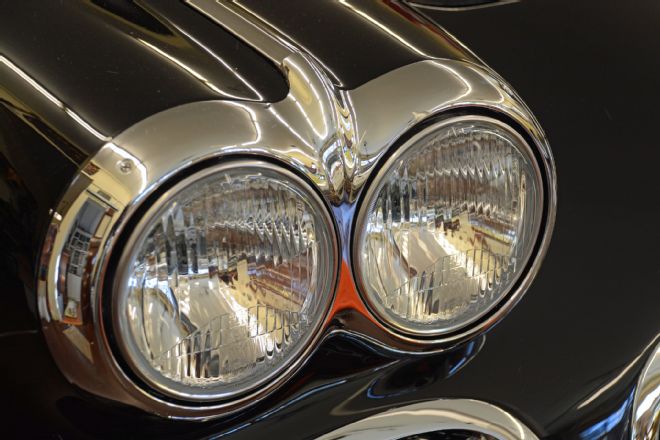
The quad-headlight era began in 1958 and ended in the early ‘70s. This system had a separate sealed beam for high and low beam. The iconic design features of the four headlights make them popular street rod material today and so it was that we found ourselves longing for more light from our quad-headlight car.
The particular car we are showing here is a 1960 Corvette but the headlight buckets for all GM cars of this era are very similar. The conversion to true Halogen headlights proved to be just a bit more than a bolt-in for our application.
We began the process by ordering a set of four Hella 5-3/4-inch headlights from Summit Racing. As we attempted to fit the new lights into the old buckets it became apparent that the halogen units were deeper than the sealed beams and with the rear wiring there was a good chance the wiring could short out to the headlight bucket. Some minor surgery was in order.
We began by cutting two 2-1/2-inch holes in the rear of the headlight buckets to provide clearance and access to the rear of the halogen lights. We then installed the Hella units in the headlight housing using the original headlight bulb retainer cup. With the holes cut in the rear of the bucket the new headlights fit fine and we had easy access to the rear wiring spades that protrude through the rubber boot. However this also left those wires exposed to the elements and the tires spray in the front wheel house, something that we felt was not ideal conditions for electrical connects. It would also permit dirt and water to enter the headlight bucket.
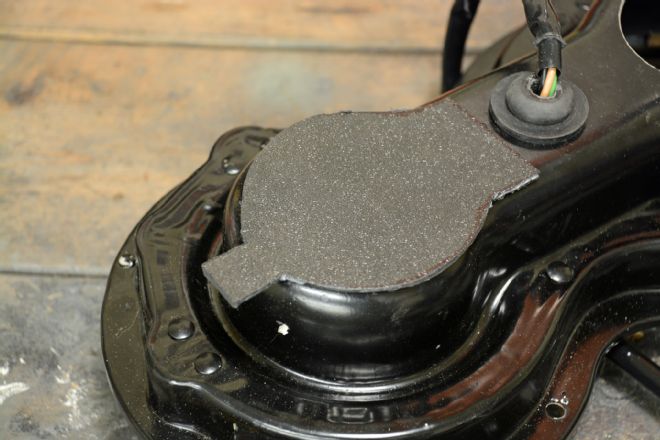
We decided to fabricate simple ABS plastic covers for the newly-cut holes. We had some 1/8-inch black ABS left over from door panels that worked perfect. We cut out four pieces to the cover the holes and then heated the ABS with a heat gun and carefully bent the 90-degree tab. Sheet metal screws and rubber insert stainless steel washers hold the pieces of plastic in place. Prior to attaching the plastic for the last time we ran a bead of black silicone around the holes and tightened them down.
To service the headlights we can remove the sheet metal screws and plastic panels to access the bulbs. Of course the headlight housing can also be removed from the front to service the bulb. Also if, during adjustment of the headlights the wiring spades should contact the back of the housing there is no danger of the wiring shorting out since the none-conductive plastic is now behind the wiring connections.
Speaking of wiring, the final chore was shortening the wiring harness inside the headlight bulb and using the wiring included in the Hella lights to plug into the original headlight sockets. After we had shortened the harness the proper grommet was used to seal the wire entry hole in the rear of the headlight bucket. We used two different Hella H1 headlights for our conversion, each light provides 60 watts of lighting. Another option is to use an H4 light for the outboard high/low beam. Because the H4 lens protrudes more than an H1 we decided to use the H1 lights for a more uniform appearance. If lighting is not satisfactory we can simply change to the H4 lights. Due to the higher wattage we will wire the headlights through a relay to keep the load down on the headlight switch.
This is a conversion that improves the look of the car and the extra lighting also improves the safety for night driving. It took us a full day to figure out how to modify the buckets and install the lights, but in the end it was time well spent.
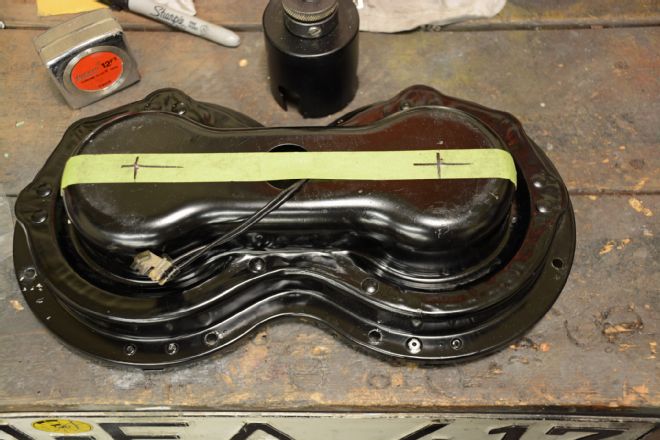 Our new Hella halogen headlights are deeper than a standard sealed beam. To provide room we will cut two holes in the bucket. We located the center of each light and marked the headlight bucket.
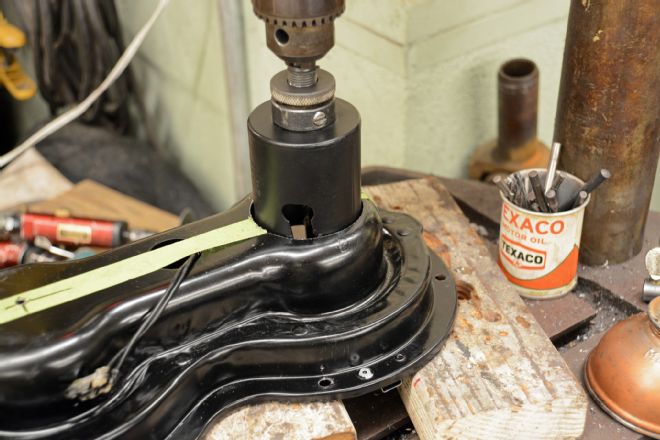 Using a 2-1/2-inch hole saw made quick work of cutting the holes. Using a new-style hole saw with carbide cutters is much smoother than the old tooth-style hole saws.
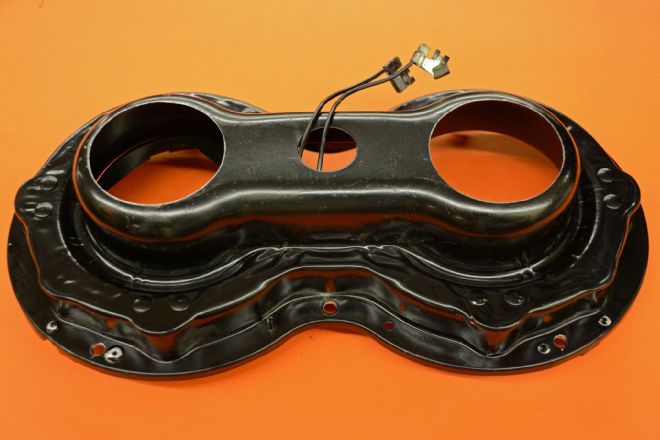 And here is the back side our modified headlight bucket with two neat new holes. Remember to deburr the fresh cut holes.
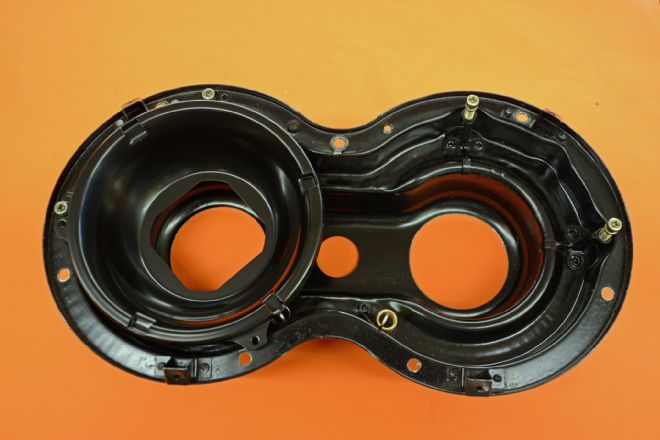 The original style seal beam cup (left side of cup) will be employed to hold the new halogen light.
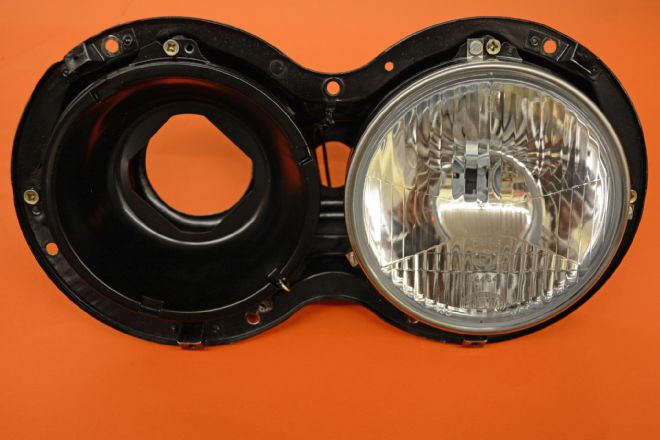 We test fit the new Hella low beam headlight in out modified housing and the stock cup and stainless steel retainer ring work just fine.
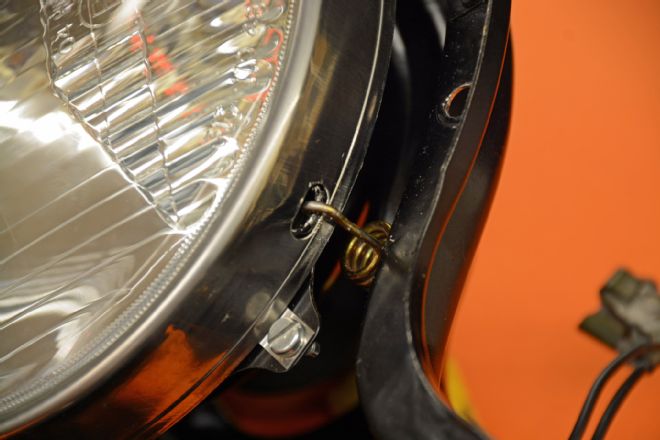 The tensioner spring is hooked through the retainer ring and the cup. The spring tensioner provides tension for the adjusters.
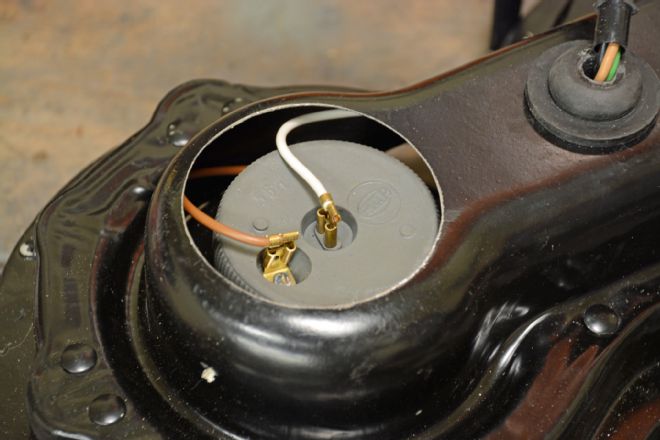 The halogen bulb connectors protrude through the rear of the rubber boot on the light. We didn’t like the idea of the wires being exposed to the weather and felt a cover was in order. Note the wiring plugs into the original style seal beam plug.
 We decided to fabricate a cover for each hole from ABS plastic sheet. First we cut the pieces to size leaving room for sheet metal screws to anchor the pieces to the bucket.
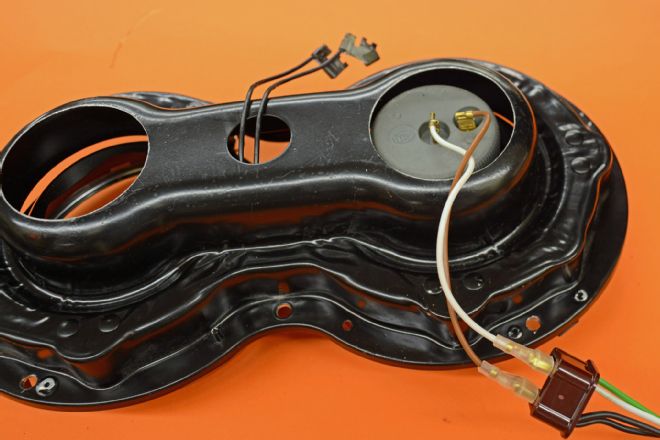
 The wiring is routed inside the headlight housing and our new headlight harness from Corvette Central is routed from inside the headlight bucket too. The grommet on the wiring harness seals the opening. Note how close the wiring is to the back of the bucket.
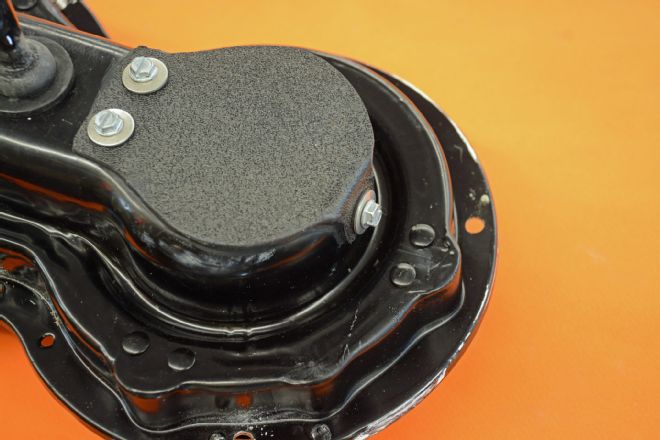 We used a heat gun to heat the outboard tab and carefully bend it down. Three hex-head sheet metal screws with rubber backed SS washers hold it in place.
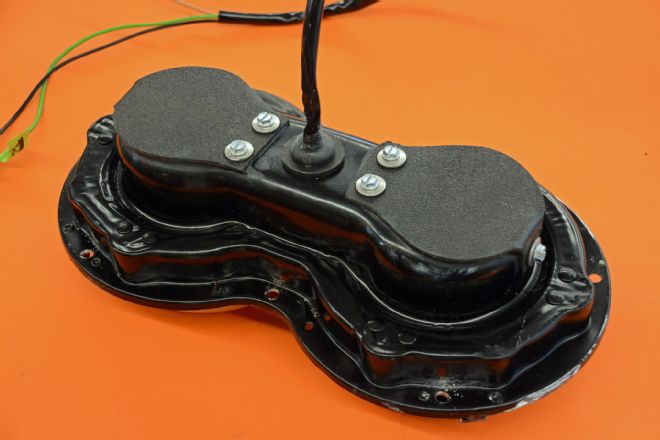 Here are the finished covers. We used hex-head screws to permit the use of a wrench and nut driver for removal. It would be impossible to get a screw driver on the outboard screws.
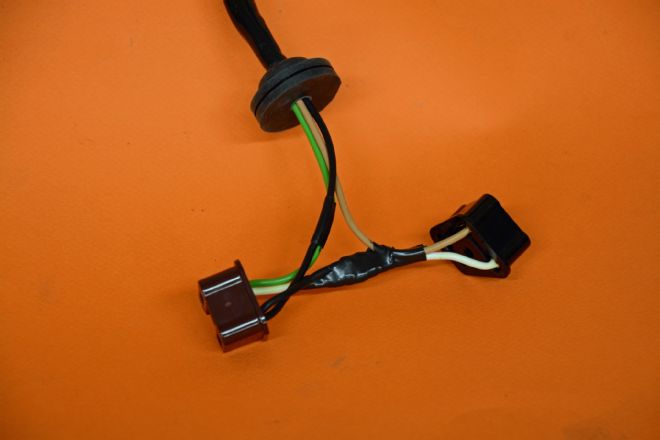 We had purchased a new headlight harness from Corvette Central. Since we would not be plugging the harness onto seal beam lights we shortened the harness and simply plugged the Hella spade connectors into the plugs.
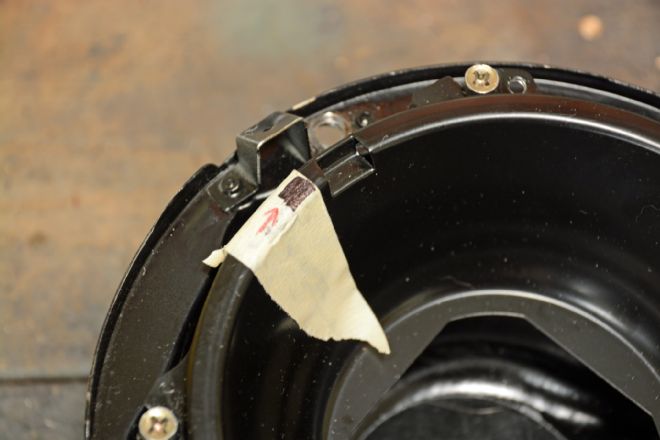 On the high beam lights one index slot in the headlight bucket did not line up with the Hella light. We needed to extend the recess down just a bit as illustrated by the piece of tape.
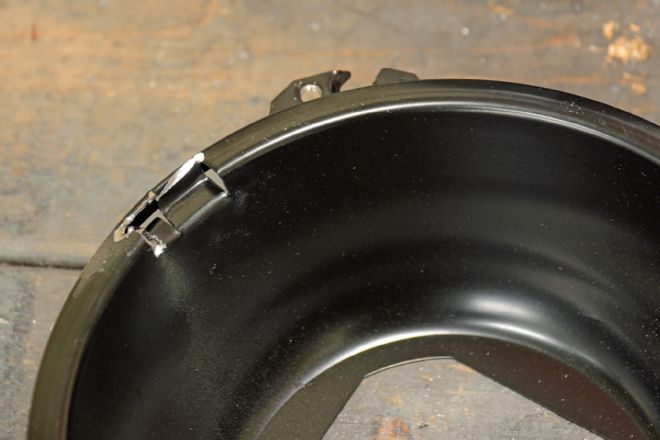 First we carefully notched the bucket with a cut-off wheel. Then we gently bent the tab down with a screwdriver to extend the recess.
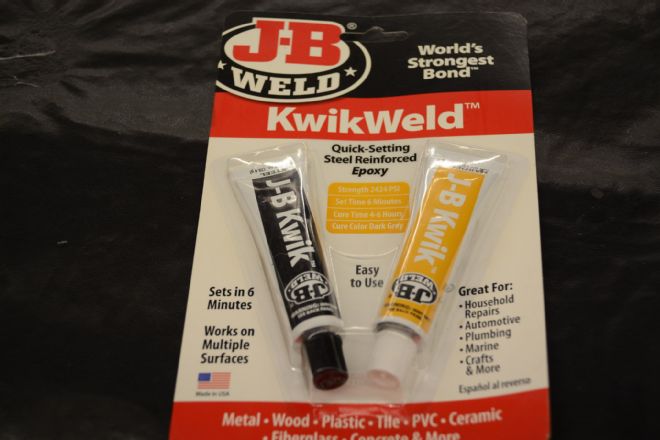 While we could have TIG welded the new cut that would have burnt a lot of the powder coating off the bucket and frankly seemed unnecessary. We simply mixed up a dab of JB Weld and applied it to the back side of the slot.
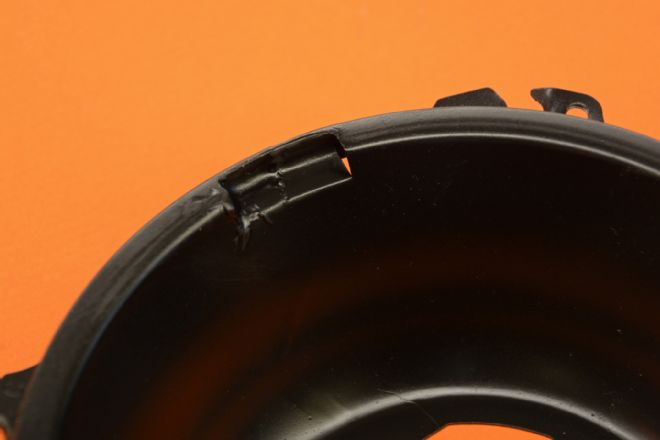 A little sanding of the epoxy and a squirt of semi-flat paint the extended slot looks factory.
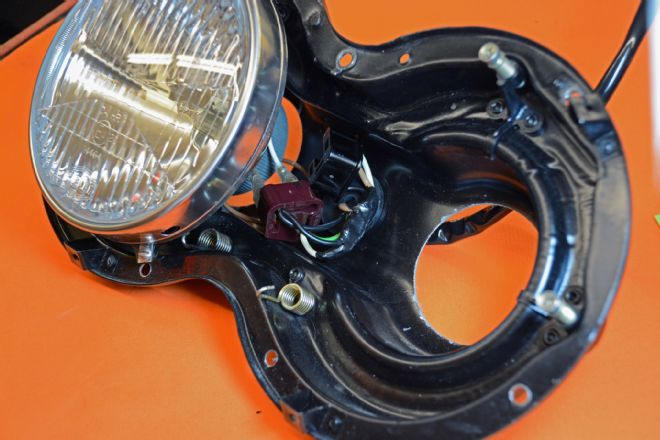 As we mentioned earlier the Hella wiring will plug into the original style seal beam plugs after shortening the harness. There isn’t a lot of room but in the end it all fits. This also makes it possible to replace bulbs from the front of the light assembly.
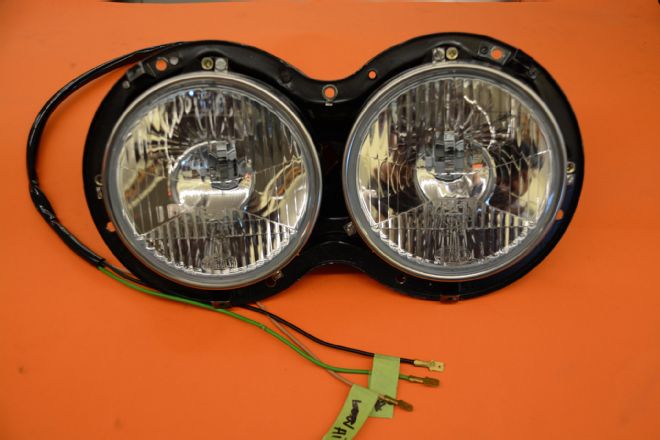 And here’s our finished product, two modern halogen headlights with replaceable bulbs fit in a quad-headlight bucket. With tech help from Summit Racing we opted for Hella 71156 for low beam and 71152 for the high beam units. H4 high/low beam units are also available.
