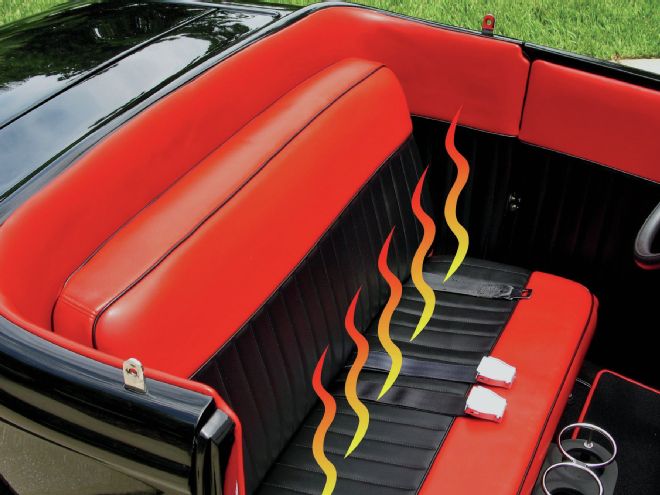
Are you looking for a little warmth on those chilly evening cruises? Turn on your heater. "What? You don't have one?" There's an alternative and it comes from the OEMs in Detroit; it isn't new to our industry but it is often overlooked—seat heaters.
We have heated seats in several of our daily drivers and they are nice, even relaxing when it isn't all that cool outside. The technology behind this comfort option is carbon fiber. Carbon fiber is usually associated with high-strength suspension parts, race car tubs, dragster body panels, and so on. But did you know that carbon fiber can be made into threads and woven into a cloth? Since carbon fiber conducts electricity, running an electrical current through the carbon-fiber cloth generates heat. Can you see where this is going? Unlike the old electric blanket technology where thin wires conducted electricity and created heat, the carbon-fiber cloth does not lend itself to fatigue from repeated heat cycles, and bending from use.
Like many things in street rodding the OEM technology soon finds its way into our realm and heated seats are no exception. Our friends at Speedway Motors offer several versions of heated seat kits, standard and waterproof. Since the installation was to go into a highboy roadster, the waterproof version seemed like a "no brainer."
The kit comes with two heating pads (one kit is required per occupant), a prewired wiring harness with a high and a low setting, an on/off switch, an inline fuse holder, and easy-to-follow instructions. The seat heaters only draw 3-1/2 amps, so the load is minimal. The kits can be fitted to bucket seats or bench seats and are extremely easy to install.
With a minimal amount of effort we can now warm our backs and our butts on those chilly evening cruises.
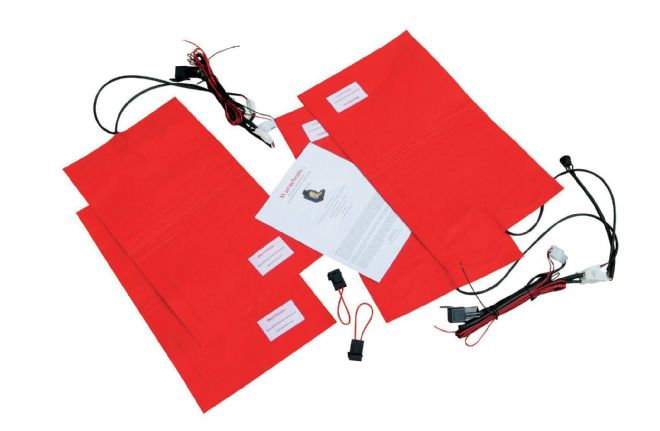
1. We ordered two waterproof seat heater kits for our bench seat. They come complete with pre-wired wiring harnesses, on/off switches, inline fuse holders, and instructions.
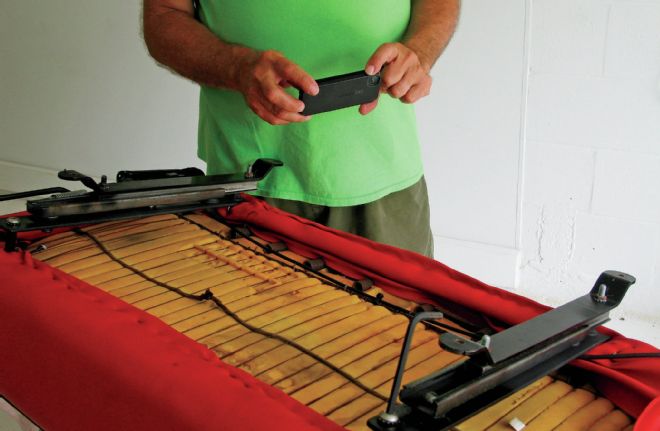
2. Before we disassembled the seat bottom and back we took photos so we could easily note how to reassemble the seat tracks and the seat back to seat bottom mechanism.
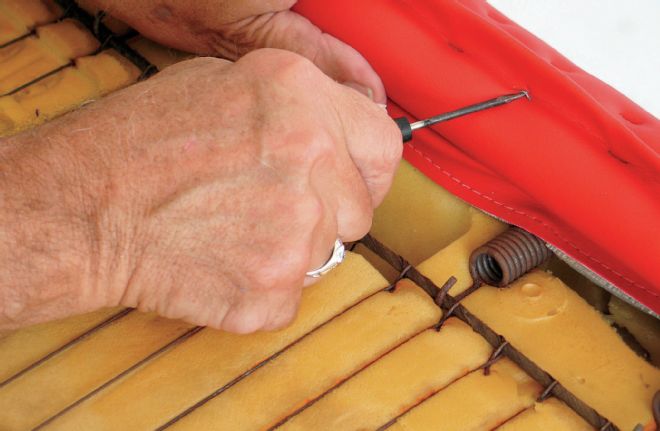
3. The most time-consuming and difficult step of the installation was removing the staples that attached the upholstery.
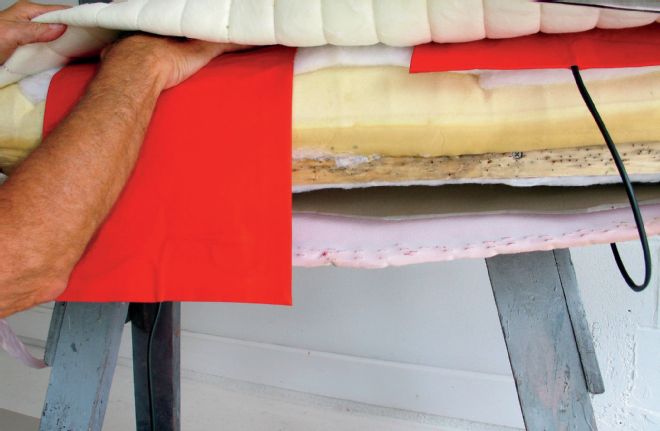
4. We did not remove the seat back cover, but instead we slid the heating pads between the upholstery and the foam padding.
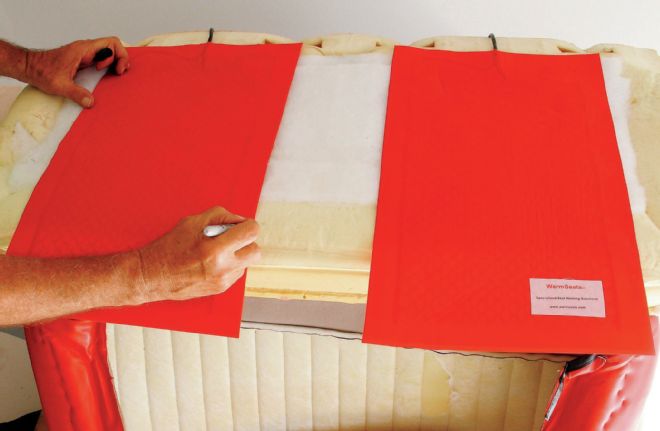
5. Finding the heating pads a little long for the seat bottom, we marked where they needed to be cut.
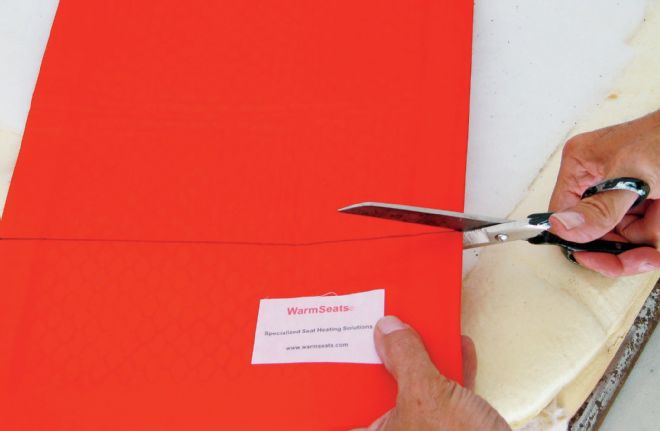
6. Using standard scissors we trimmed the heating pads to the desired length. The heating pads can be trimmed in length without losing conductivity. They cannot be trimmed in width.
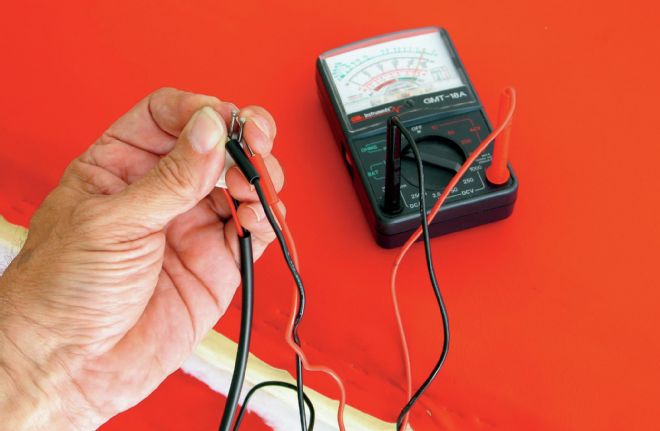
7. Before we reinstalled the seat covers we did an OHM test to assure ourselves that the heating pads remained a complete circuit.
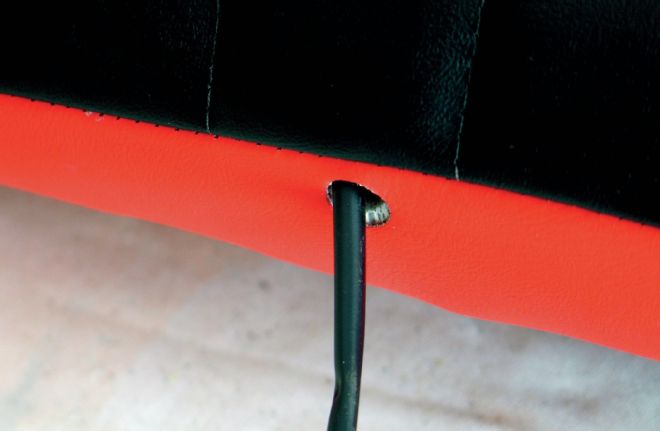
8. Two holes were punched in the seat back bottom and the rear of the seat cushion to pass the wiring harnesses through.
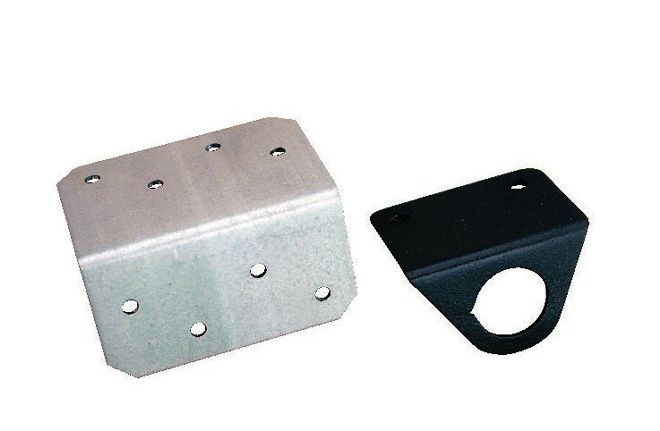
9. We chose to hide the on/off switch below each seat rather than mount them in the dashboard. This decision required mounting brackets. We used a stamped steel support bracket from the local hardware store and cut and trimmed it into a switch mount bracket.
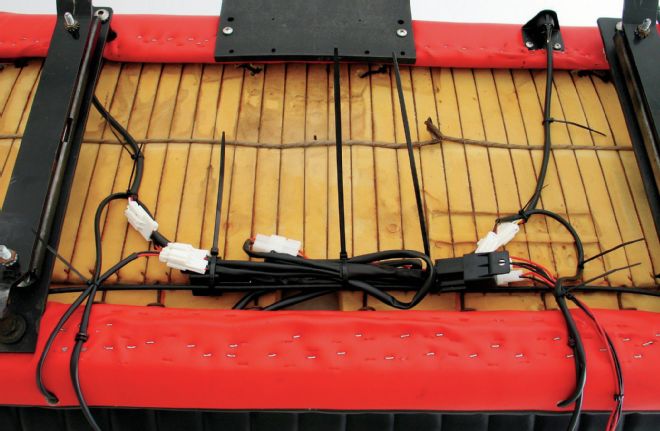
10. The switch brackets were mounted to the seat frame and with the switches installed the wiring harnesses were wire tied to the underneath of the seat cushion. Make sure none of the wiring harness can catch on the seat tracks or anything on the floor.
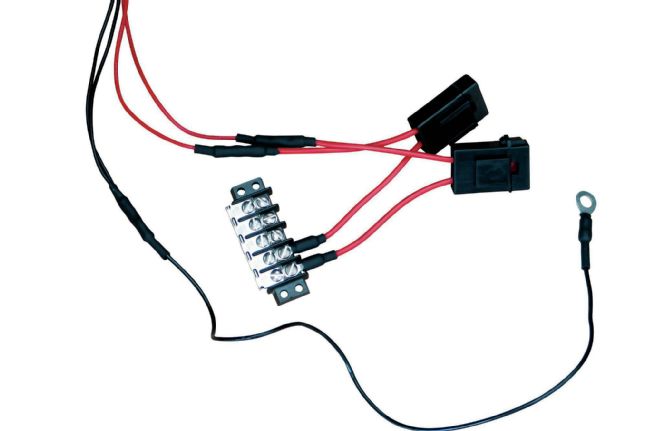
11. A supplied fuse holder was wired into each seat heater harness and attached to a bus strip. The ground wires from both harnesses were tied into one ring terminal.
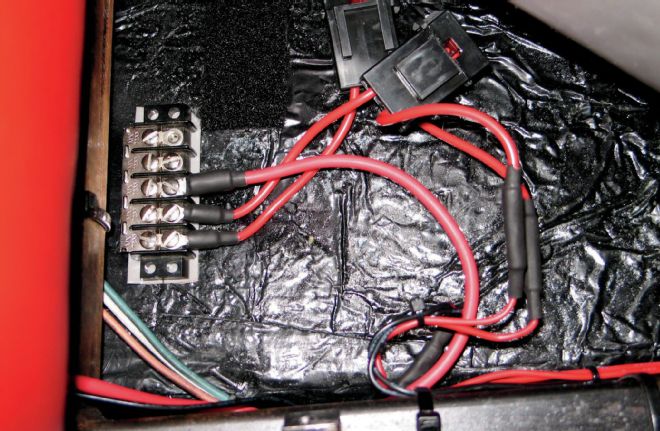
12. A 12V power supply wire from the ignition switch was attached to the bus strip and the bus strip was mounted to the firewall. This method of wiring only allows the seat heaters to be activated when the ignition is on. The ground wire was attached to a suitable grounding lug.