All too often hot rods are literally "hot" rods. Now, back in the good ol' days there were few choices when it came time to insulate your car. Basically the old jute-backed stuff would help quiet things down a bit and slow the transfer of heat, but for the most part it was still loud and hot inside. Of course the other mystery of that old insulation was how come it was so hot in the summer, but when the weather turned cool there wasn't a trace of heat radiating off the firewall? . . . Just one of life's little mysteries.
Heat and cold make driving downright uncomfortable and noise might be fun when you're cruising the boulevard, but aim that hot rod down the super slab for about 600 miles and all of a sudden the sweet song only a quick-change can sing gets pretty darn loud. Ditto that cool exhaust rumble. The key is to keep all the hot rod rumble outside, except of course for the stereo, which will also benefit greatly from sound dampening on all the sheetmetal panels.
Fast forward about 30 years and you'll discover there is a way to keep your hot rod cool in the summer, warm in the winter, and quiet year around. Through the wonders of space age science there are materials that will block out the heat, dampen the noise, and prevent unwanted noise transmission through sheetmetal panels. That may sound like a lot to ask of one product line but Dynamic Control of North America can do all of that when used in the correct combinations and in all the right places.
So exactly what is Dynamat? It is a thin, flexible, easy to cut and mold sheet that actually stops noise that causes resonance and vibration, by using visco-elastic qualities that promote vibro-acoustic energy conversion. In short, that means noise becomes silent energy. The material is easy to cut with scissors or a knife and of course always be careful when using sharp objects, and remember what your mother taught you, "Never run with scissors."
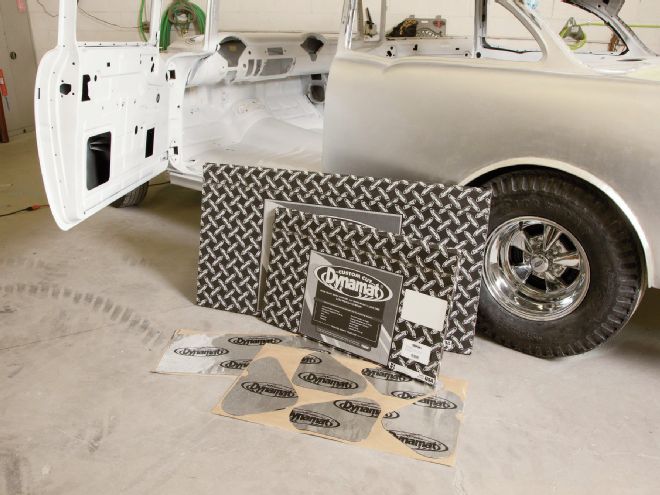
Armed with this knowledge we decided early on that both of our current hot rod projects would be completely insulated. After a discussion with Team Dynamat we discovered that Dynamat makes pre-cut kits for many of the more popular cars and that includes the 1955 Chevrolet Truck, perfect for our Totally Gassed '55 project, so we ordered a pre-cut kit for it. There was no pre-cut kit available for the '28-29 Model A closed-cab pickup so we ordered the traditional bulk pack Dynamat sheets for that one (you'll see this one in part two next issue).
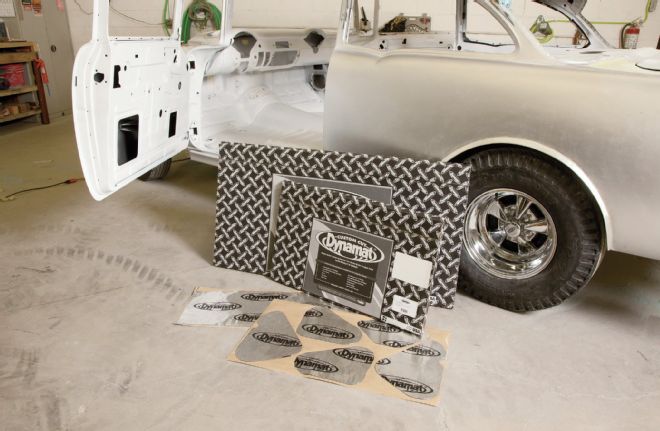
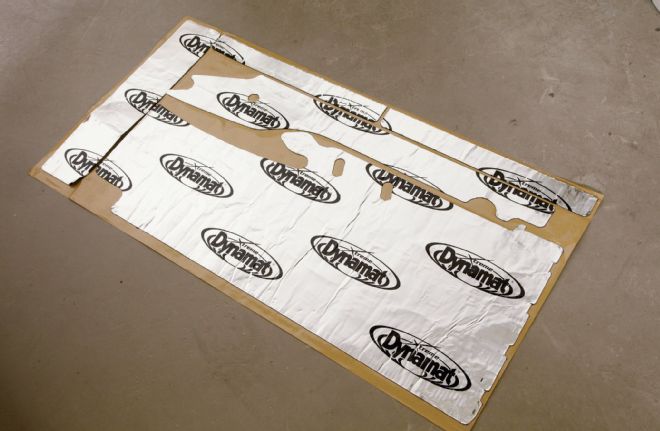
As well as the bulk cut-to-fit type of insulation most of us are familiar with, Dynamat has also begun to offer pre-cut, year- and model-specific kits to insulate and sound dampen your hot rod. For our project '55 Gasser we opted for the pre-cut kit shown here (Woody's Hot Rodz handled the installation for us). Our second project, a Model A, will be fitted with cut-to-fit sheets (in our second installment next month) by Glen Kramer of Hot Rod Interiors in Phoenix. Dynamat bulk sheets are available in sizes from 10x10, 12x36, 18x32, and 24x48 inch.
Dynamat precut kits are just as the name implies: pieces are die cut for each panel making this a peel and stick procedure, no cutting required.
A quick perusal of the included instructions will direct you to each pre-cut Dynamat sheet and where it should be applied. I know no car guy reads instructions until something goes wrong . . . but a quick look at these will save you time in the end.
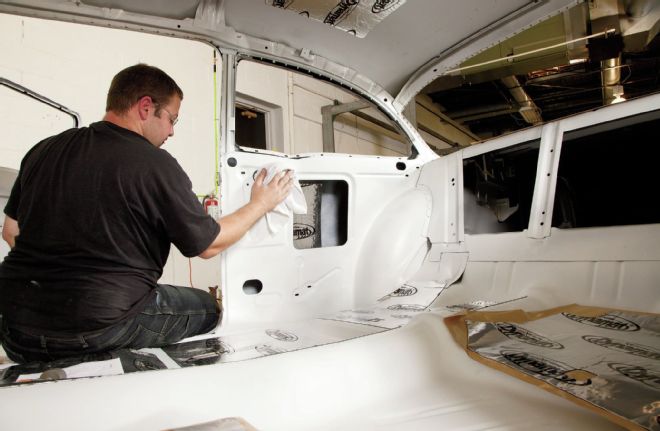
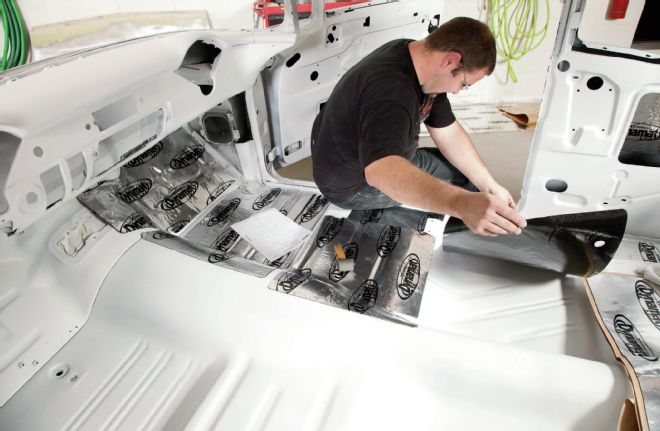
It's a good idea to clean the surface and test-fit each piece of Dynamat prior to exposing the adhesive on the back side. Installation is as simple as peeling off the protective paper and laying the Dynamat in place. Peel the short side of the piece and work in that direction; do not expose the entire piece, just start several inches.
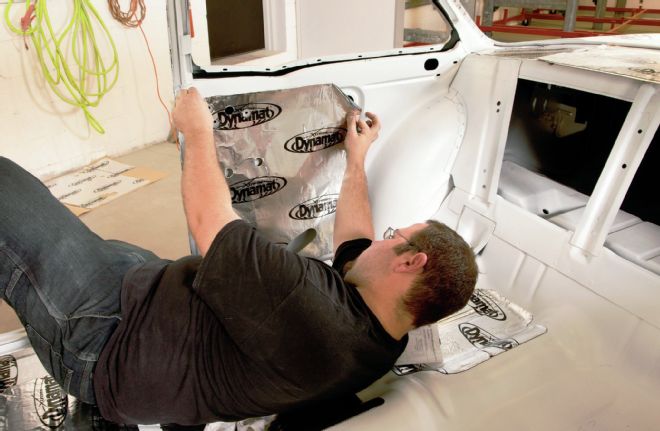
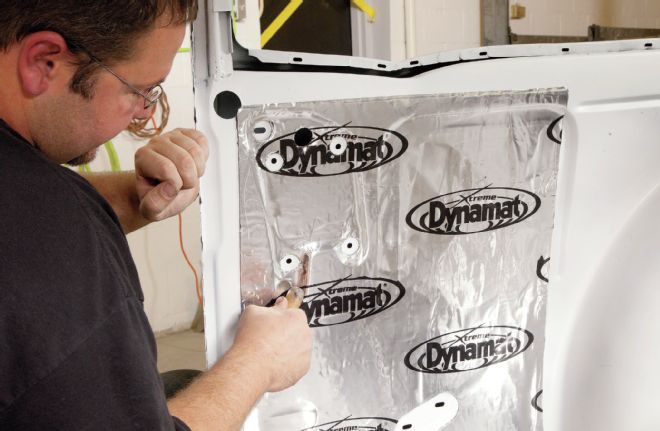
Working with the short side, adhere the Dynamat and carefully work out air bubbles and any wrinkles pulling the remainder of the backing paper off of the sheet as you go. We really liked the die-cut panels as they had the proper holes cut to allow upholstery and hardware to be easily attached.
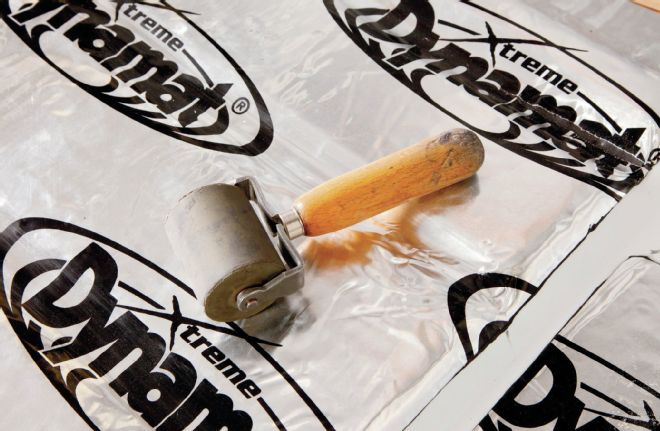
Dynamic Control offers a heavy-duty rubber roller that's perfect for forcing air bubbles from beneath the Dynamat while ensuring maximum adhesion of the sheets to each panel as well.

The pre-cut kit was installed at Woody's Hot Rodz by Chris Sondles and his team, while the cut-to-fit Dynamat will be installed at Hot Rod Interiors in Phoenix where Glen Kramer handled the installation.
The Dynamat is a self-adhesive material so the only real requirement is to have a clean, oil-free surface to ensure proper adhesion. Fresh paint is best, but it will stick to any clean surface. Speaking of sticking, Dynamat has some serious adhesive so lay out the panels before exposing the adhesive. Using a roller to press the insulation in place completes the full contact of the Dynamat with the panel. At this point it will be very difficult to remove.
Before installing the Dynamat all cracks, crevices, and holes should be properly filled to keep the elements out, remember this is insulation, not a patch panel. Having said that, even partial coverage of a panel will yield surprising sound dampening results. In fact, you can cover some panels with as little as 25 percent coverage and reduce noise considerably.
Installing Dynamat is easily within the reach of any homebuilder, it's like everything else on your hot rod project. First, slow down, take your time, and allot ample time for the job. Rushing ensures mistakes and wasted material. Second, measure twice, cut once, and when in doubt cut the piece slightly oversized and then trim to fit. You can make a piece of Dynamat smaller by trimming but to date there is no know way to enlarge a piece that is too small. Armed with that knowledge, let's follow along as two professionals show us where and how to install Dynamat in these two very different vehicles. In the upcoming Part 2 we'll proceed from the basic Dynamat installation shown here to a more in-depth look at the full Dynamic Control line of heat and sound insulation products as well as a few installation tricks you'll be interested in seeing as well.
Keep your eyes open for next month's Part 2 where we'll show the insulation installation in our Model A as well as a look and info on a bunch of Dynamic Control's heat and sound insulation products.
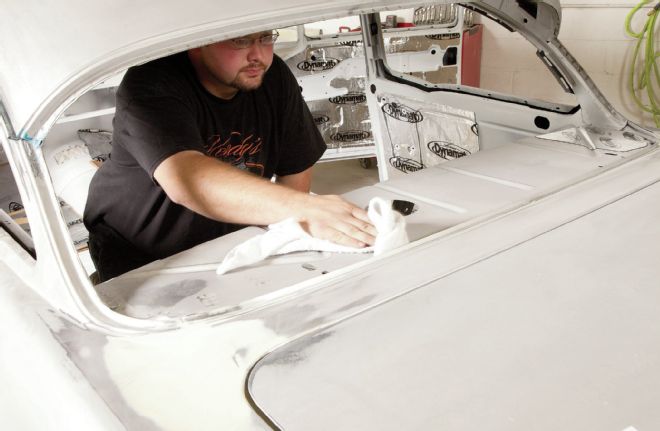
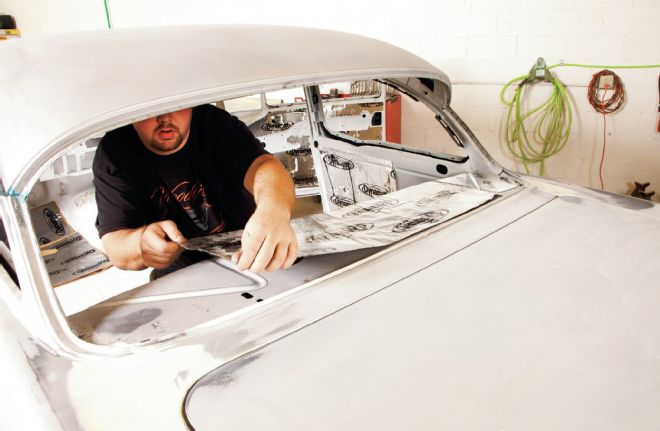
Insulating the package tray under the rear window will help stop noise resonation and associated vibration from the trunk compartment. As is the case with every area make sure the surfaces are free of dust so the Dynamat adheres fully.
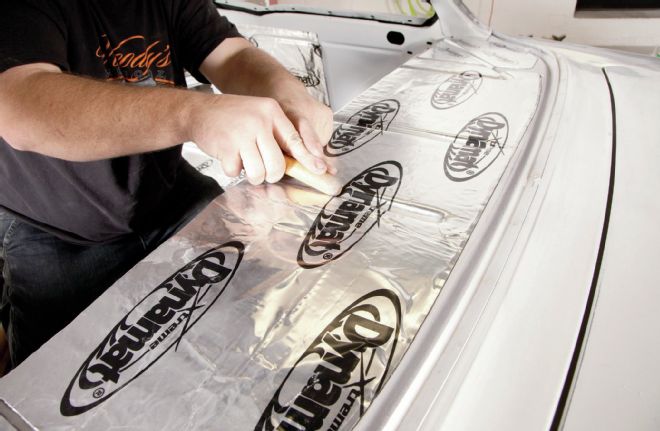
The pre-cut kit uses three panels to complete the package tray. Lay the Dynamat down and then use the roller to flatten the material. The wood handle of the roller works well to press the material into the bead recesses on the panels.
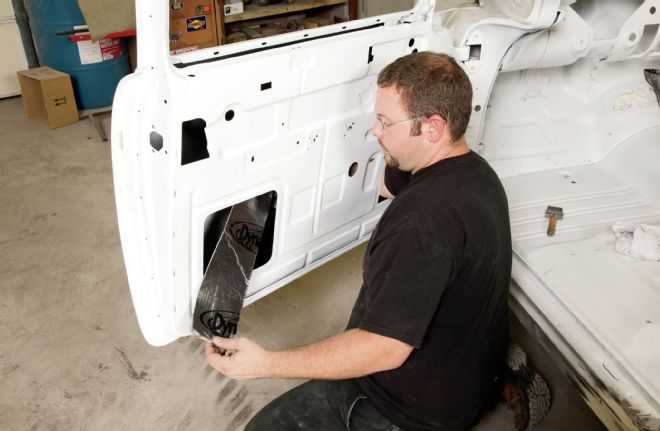
One area of application that really makes a huge difference is the inside of the door panels. A 6-inch-wide section of Dynamat applied to the inside of the doors will absorb vibration and give the doors a solid 'thunk' when closing 'em.
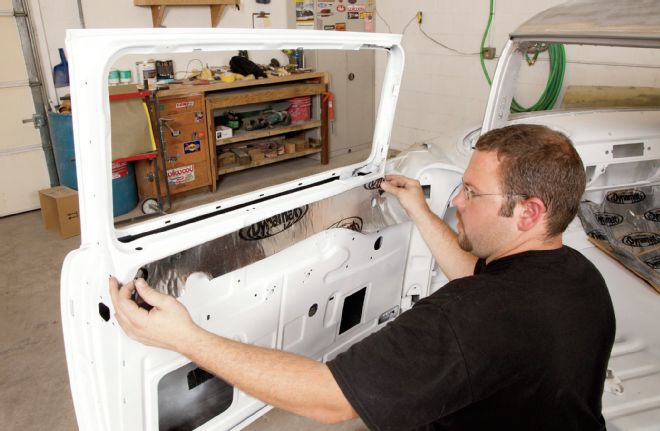
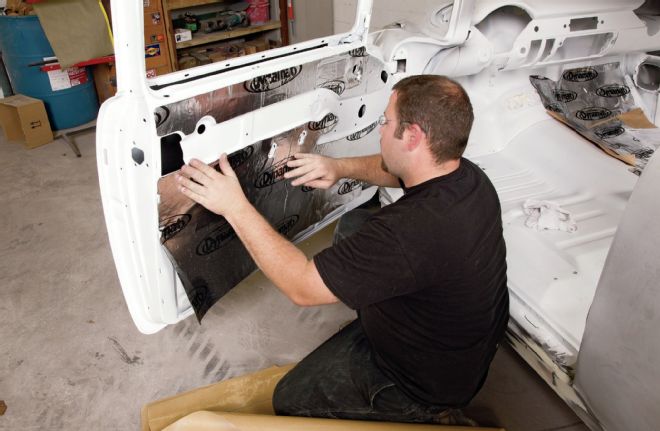
As we stated earlier, we really liked the die-cut panels supplied in the Tri-Five Chevy Dynamat kits as they have the proper holes punched to allow upholstery panels and door hardware to be attached.
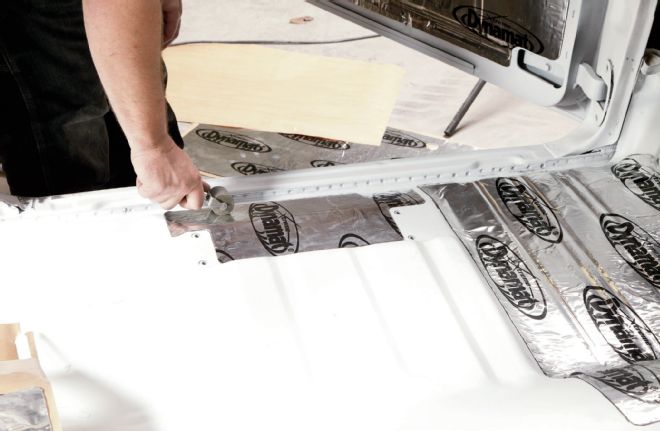
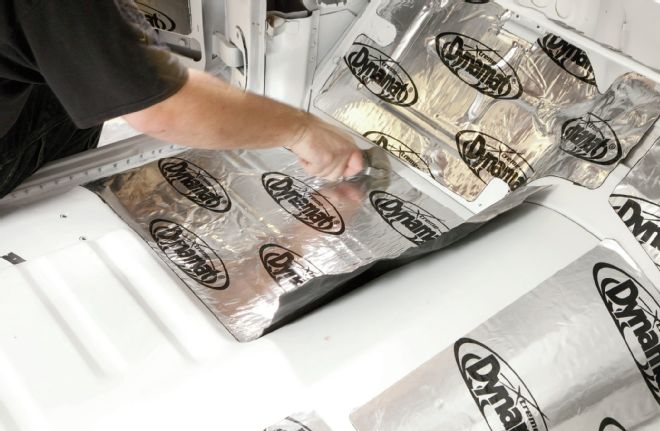
As you can see, sound damping a street rod interior using Dynamat Custom Cut kits is an easy and uncomplicated process that'll go a long way toward making your vehicle both quieter and cooler.
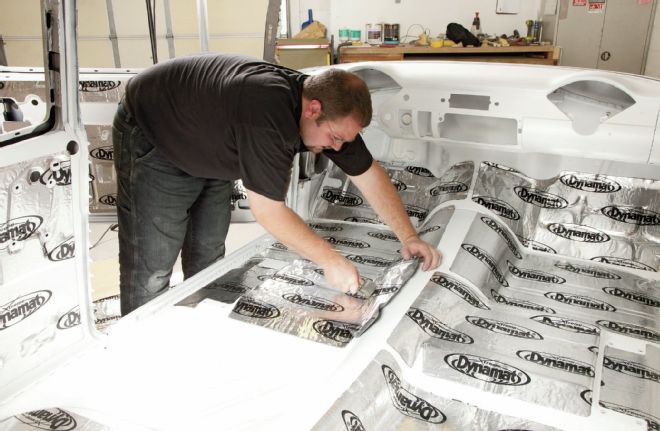
Dynamat works wonders when it comes to stopping vibrations while effectively blocking road noise and heat. The Dynamat Xtreme Custom Cut kit shown will also fit 150 and 210 model Chevrolets (sedan and convertible only).
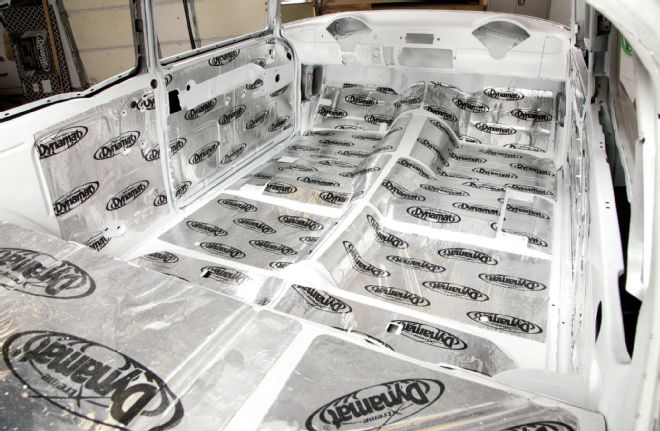
And here is the completed Dynamat precut installation in our Project Totally Gassed. Note the gaps between the insulation, as 100 percent coverage is not required. By the way, the epoxy primer makes the perfect surface for adhesion.