When it came time to start planning the second iteration of the 1968 C10 build, I decided to go with a more modern, contemporary spin on the accoutrements I wanted to add to the old hauler. A little “out with the old, in with the new” type attitude, all the while maintaining the truck’s original aesthetic. I didn’t want anything too radical so at first glance, one would be hard pressed to point out the upgrades.
A perfect example of one such upgrade is the Electric-Life power window kit we’re installing this month. Externally, it’s impossible to tell that the modifications have been made. Each new regulator is mated directly to an electric motor and the whole unit bolts inside the door in the stock regulator’s location. Combined with their power crank switch that retains the stock window crank, all the modern components are housed inside the door, while externally it appears untouched. All the modern convenience combined with that classic look we love about our old trucks; a truly perfect marriage if you ask me.
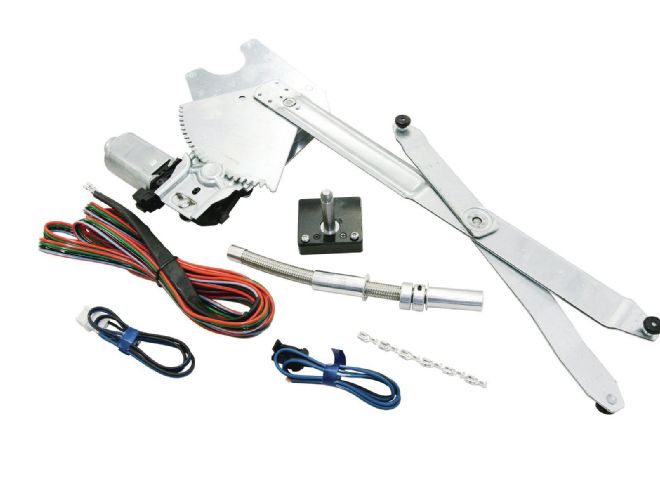 1. Here’s the entire Electric-Life kit for one window. It consists of their proprietary regulator/motor mechanism (part number GM49-K), billet wire loom, power crank switch (part number 45820), and the necessary wiring.
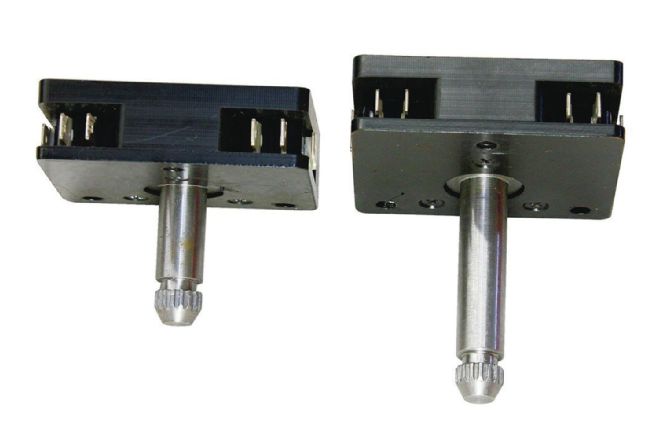 2. The power crank switches are available in two different shaft lengths for post-1950 GM vehicles: 15⁄16-inch and 21⁄8-inch. For the Ford guys, Electric-Life offers a switch that accepts post-1950 splined handles as well as a universal square splined switch for those early applications.
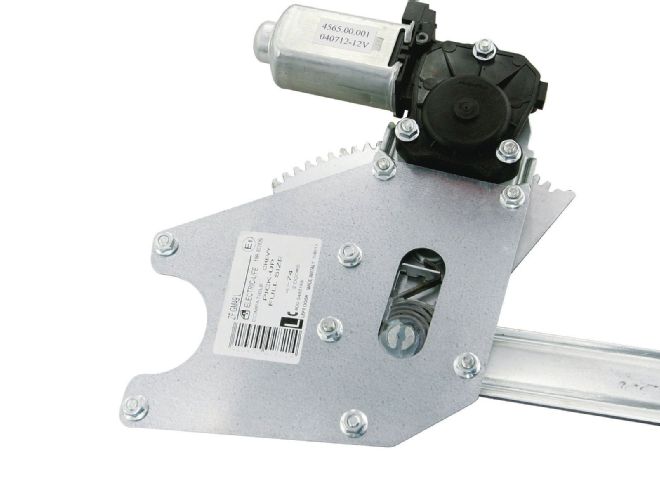 3. Electric-Life’s power window assembly is a direct-fit replacement unit for the ’67-72 Chevy trucks, as well as a myriad of other applications. No drilling or cutting is necessary as the assembly uses the same four attachment points (arrows) as the stock regulator.
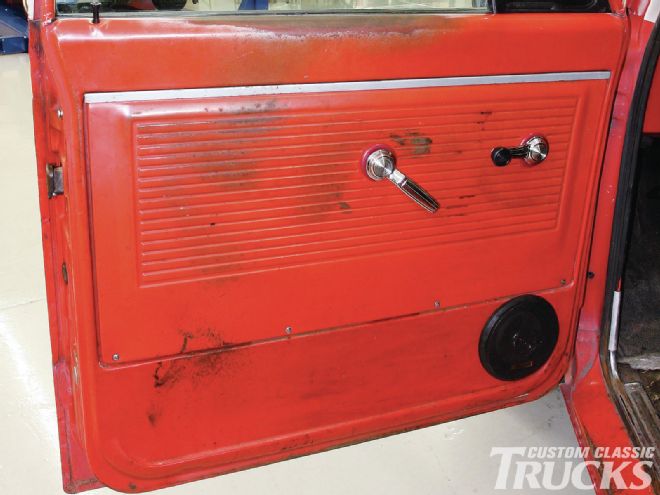 4. Our ’68 was a no-frills pickup from the factory, as evident by the lack of an armrest and the metal door panel. We’ll be upgrading all that soon enough, but for this month, the door panel and the cranks need to be removed so we can access the window regulator.
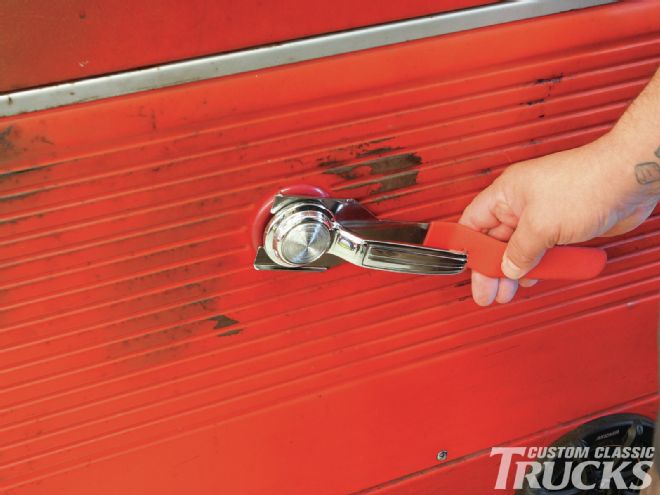 5. To get to the regulator, a few things need to be removed. First, the door and window cranks are removed by popping out the retaining clip that holds them onto their respective shaft. Then, the door panel can be removed, granting access to the regulator and window assembly.
 6.
6.
 7.
7.
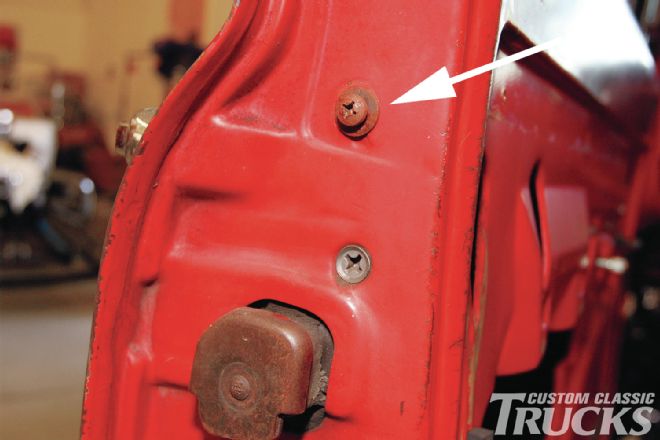
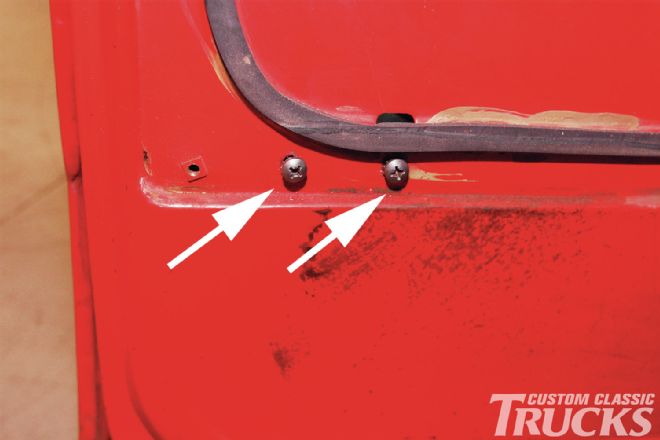
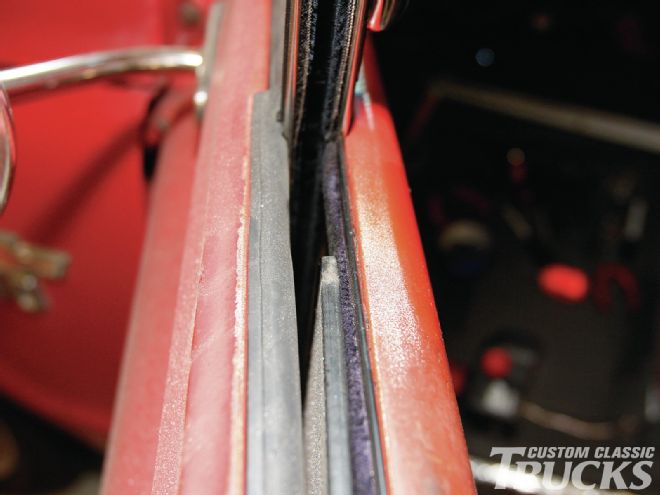 6-8. The rear window channel doesn’t need to be removed completely, but removing the hardware (arrows)that attaches it to the door makes it easier to slide the door glass back and away from the vent window assembly so that it can be slid out more easily.
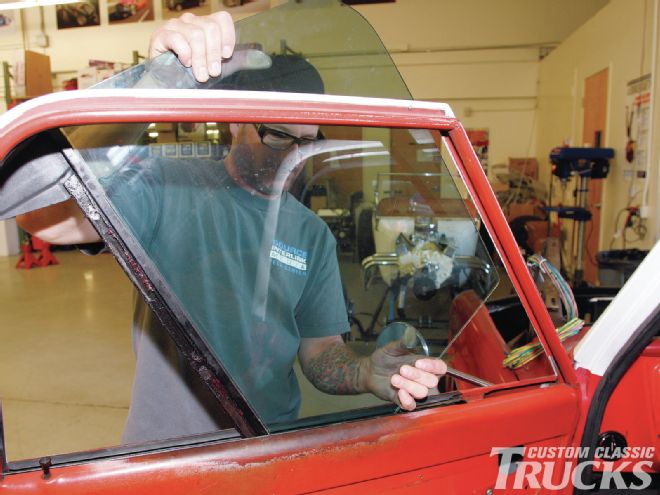
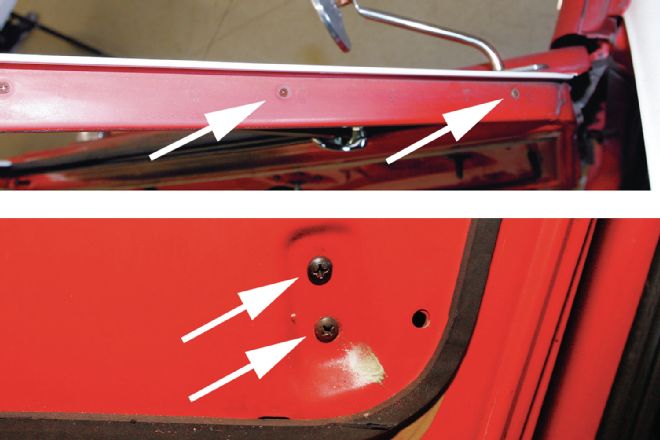 9-10. Next, the five screws that retain the vent window assembly (arrows) are removed…
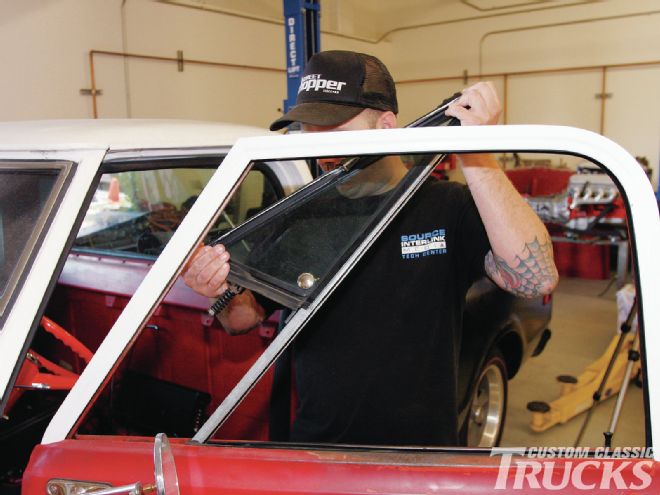 11. …before it can be slid up and rotated out of place.
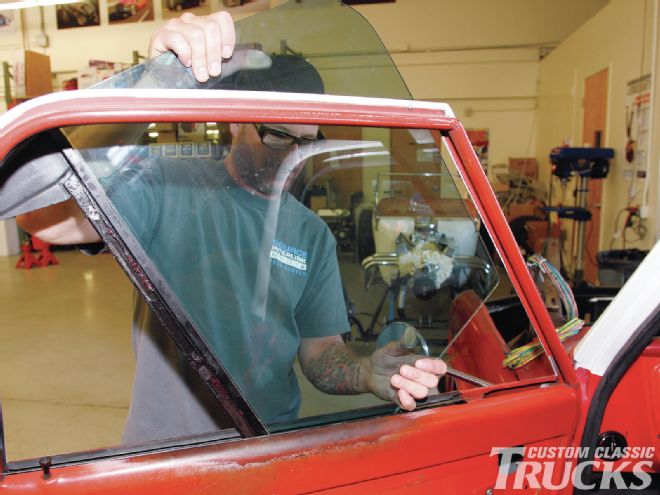 12. Once the vent window assembly is out of the way, the door glass can be removed to make swapping the regulators much easier.
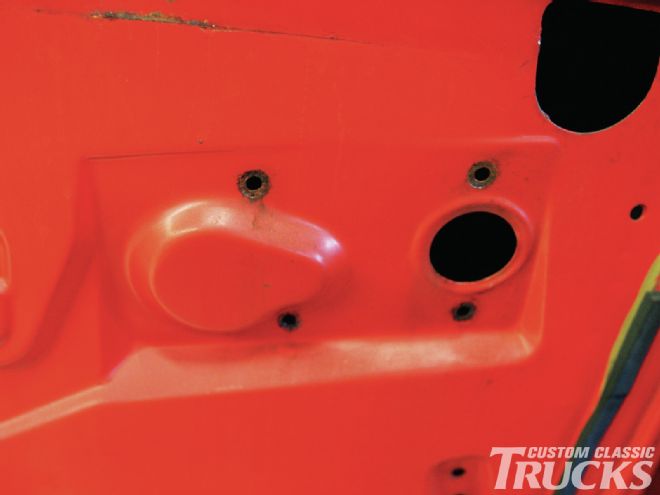 13. The manual regulator can be removed once these four screws have been withdrawn.
 14. Before installing the power regulator in the door, I applied a dab of grease to the three rollers to ensure the assembly is able to move freely. A light film on the gear of the regulator doesn’t hurt either, but don’t overdo it or you might have a greasy window.
 15.
15.
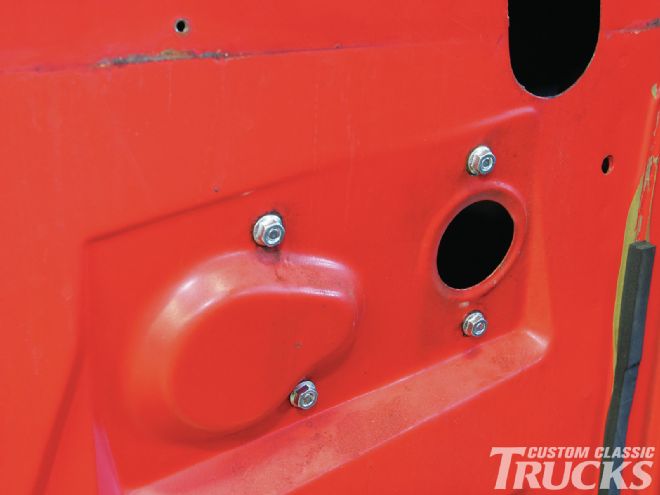
 15-16. Thanks to its compact size, the Electric-Life power regulator fits through the stock access panel and is easily maneuvered into place. The roller facing the camera slides into a track mounted on the door before the regulator is bolted into place.
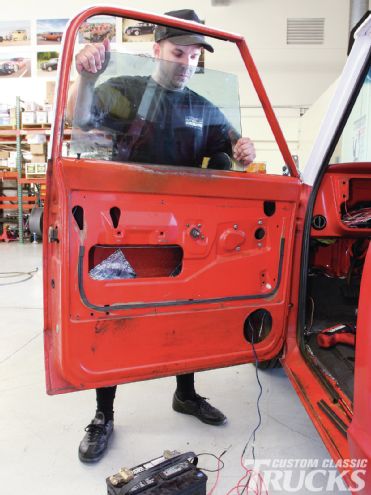
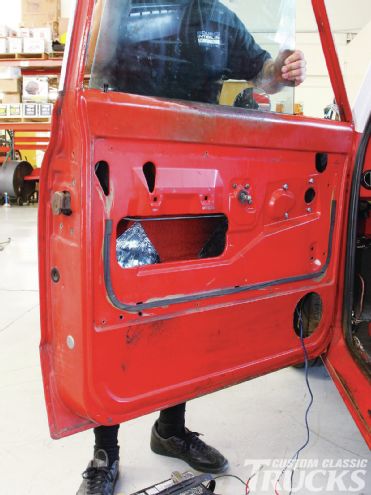 17. With the power regulator installed, the door glass can be slid back into place and the sash channel located on the regulator’s rollers. To get the regulator’s scissor arms in the proper position to line up with the opening on the window’s sash channel, I hot-wired the regulator motor to a battery and fine tuned it little by little until everything lined up and slid into place.
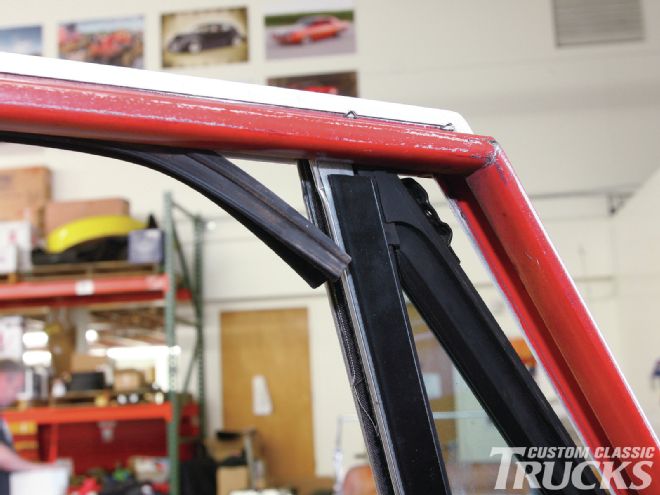 18. The vent window can now be slid back in place. Pulling back the window channel makes sliding the assembly into position a little easier and ensures nothing gets tore up.
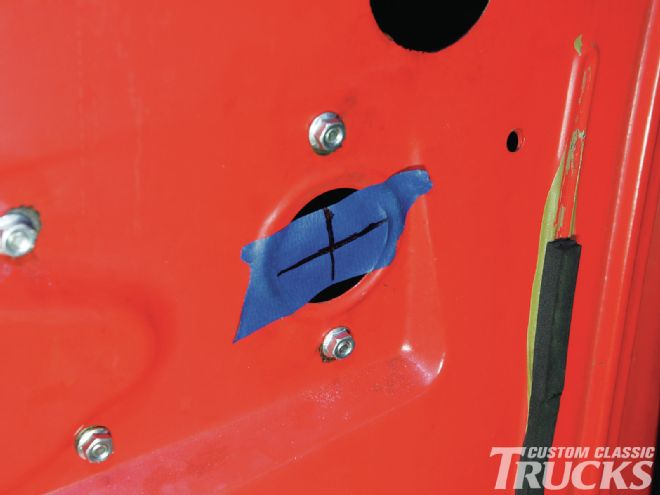 19. Mounting the switch is a fairly straightforward affair, but I did use a few techniques that proved helpful. First off, the shaft needs to be centered in the hole so that when the door panel is installed, the crank handle doesn’t appear lopsided. This was accomplished by using a piece of masking tape with two intersecting lines to mark the center of the hole.
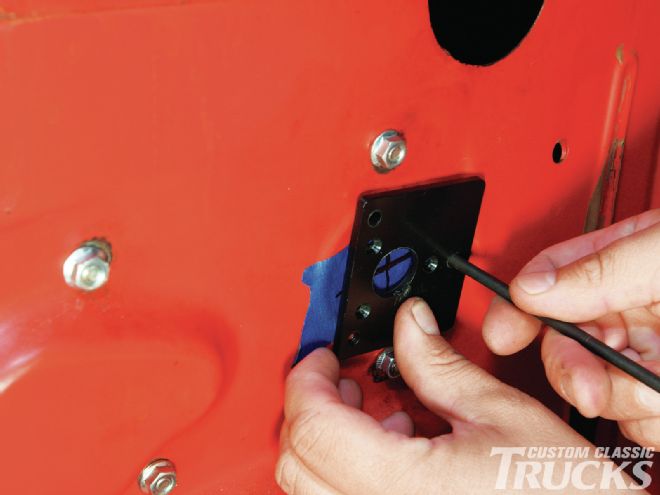 20. I then disassembled the switch so that the top plate could be used as a template. The installation instructions from Electric-Life came with a set of schematics that include these dimensions in detail, but I found it easier to simply transfer the pattern using the switch cover. With the cover centered over the marks, a transfer punch is used to mark the location for the first hole.
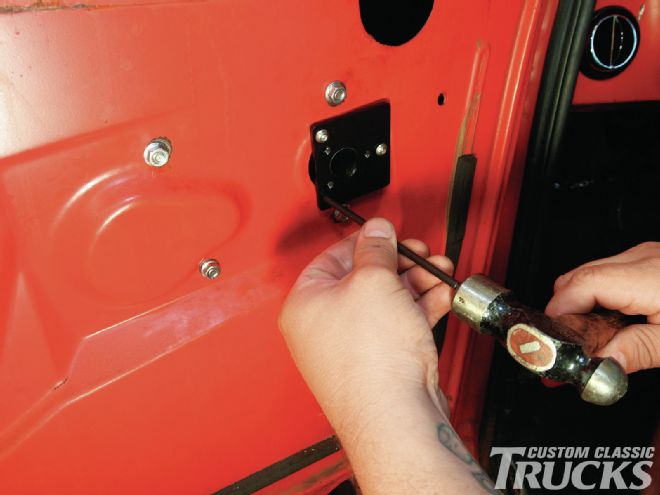 21.
21.
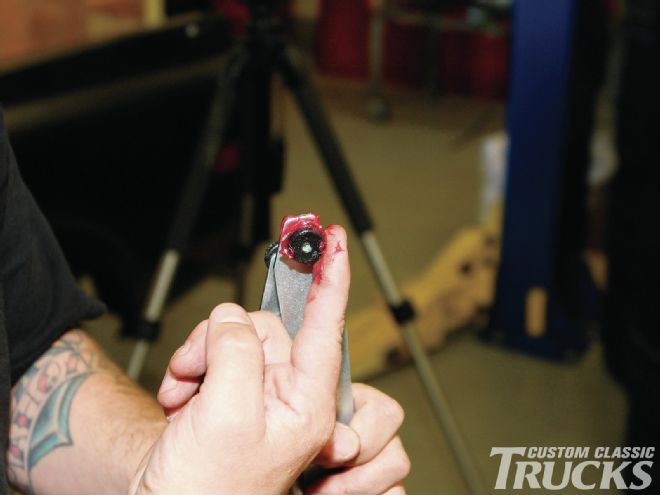
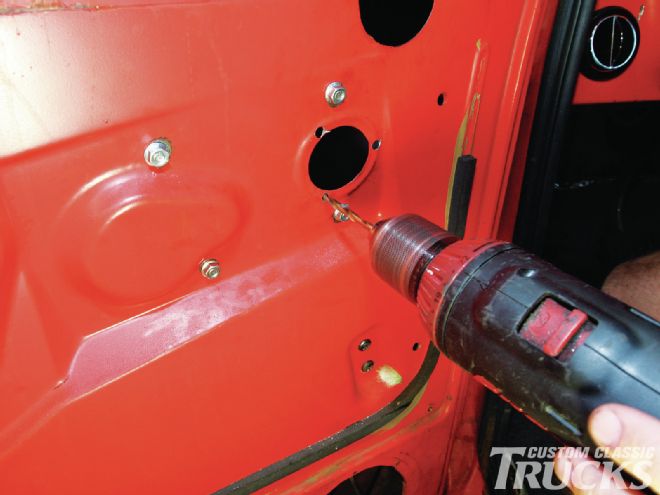 21-22.Three 10-32 bolts fasten the switch into place. After locating and drilling the first hole, I slid a fastener into place to hold it while I marked the second hole. The third hole, shown here, is being marked in a similar fashion. Marking, drilling, and installing each fastener individually ensures everything lines up as opposed to trying to mark all three holes at the same time and having the template move ever so slightly.
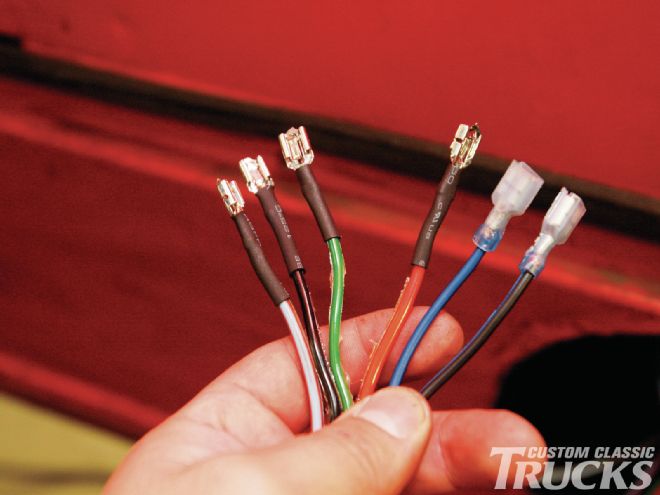 23. There are six wires that need to be attached to the switch. The blue and blue/black wires on the right side come from the regulator motor, the red and red/blue wires need to be hooked up to 12V+, and the black and green wires need to be run to a good chassis ground source.
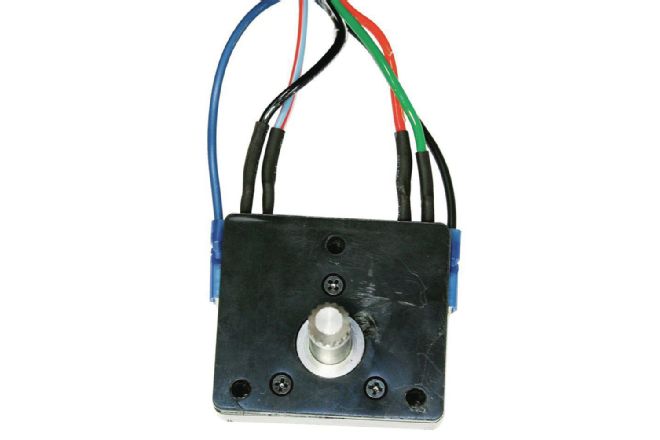 24. Here’s how they hook up to the switch inside the door.
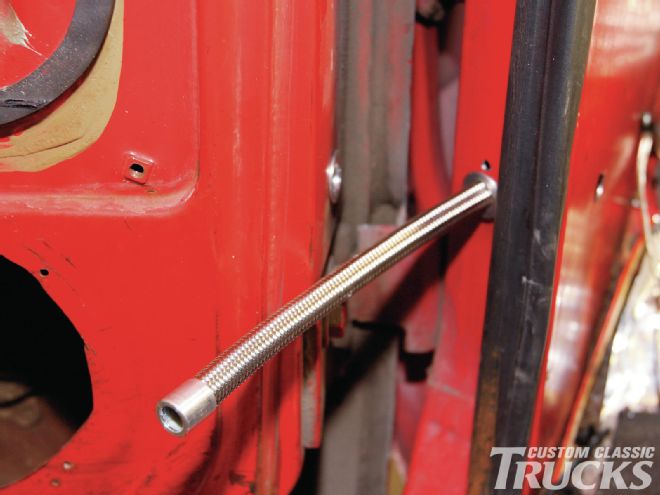 25. To feed the wires through the door jamb without them kinking or being pinched, Electric-Life supplies a pair of their billet wire looms with each kit. Typically, these are installed so that the door side is stationary while the loom slides in and out of the A-pillar of the vehicle. On the C10, not only is the inside of the kick panel area inaccessible, which makes installing the collar on the bulkhead fitting impossible, but there’s a panel just inside the jamb that acts to support the door hinge, which prevents the wire loom from sliding into the A-pillar further than an inch or so. This makes it necessary to install the loom in reverse and slightly modified.
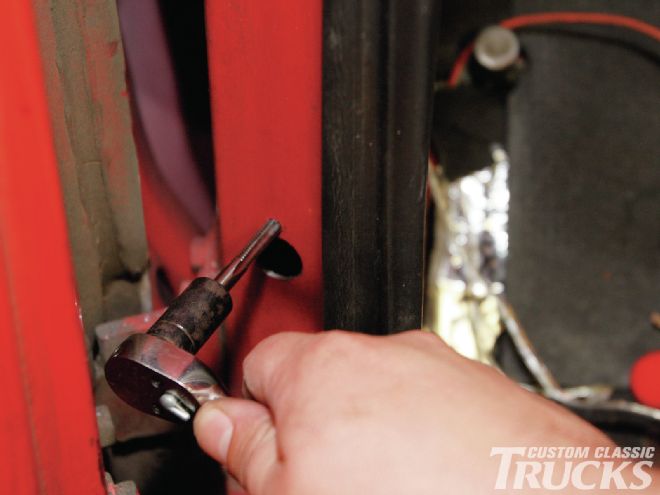 26. First, I located where I wanted to drill the corresponding ¾-inch holes for the bulkhead fittings. This was easy as a previous owner already drilled two holes to pass through speaker wire. Next, I drilled and tapped a hole just above the larger one in the A-pillar. This will allow me to use a ¼-20 button head fastener to hold the bulkhead fitting in place since I can’t access the backside of the A-pillar to install the provided collar.
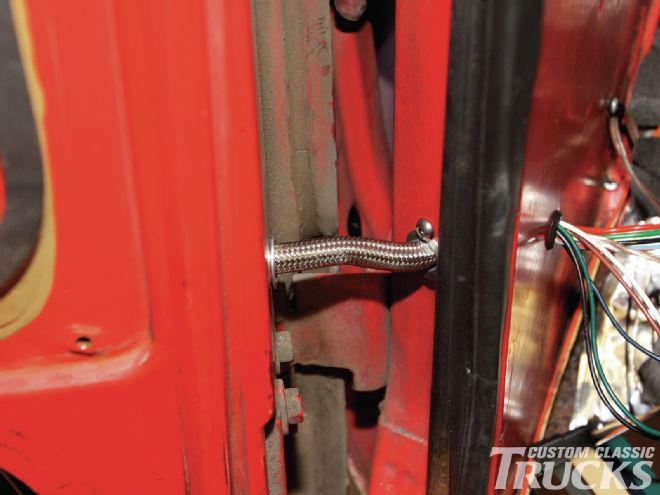 27. On the door side, the wire loom simply passes through the bulkhead fitting, held in place using the provided collar since access isn’t a problem. You can see where the wires exit the kick panel, through the third hole the aforementioned previous owner drilled for his custom “Dolby” stereo. This will get covered by carpet a bit later.
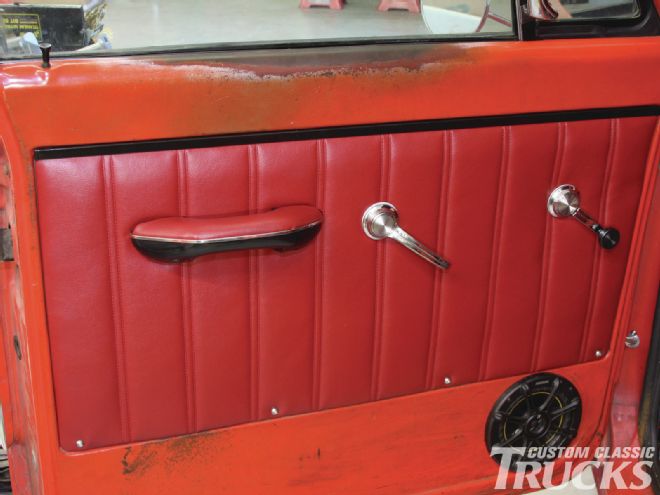 28. I took the opportunity to upgrade the door panels, add an armrest, and swap out the stock door and window cranks for the ’67-only items from Brothers Trucks while everything was disassembled. I’ll cover this a bit further in a coming issue, but for now you can see how the Electric-Life kit retains the stock aesthetic, while providing modern convenience.
