Of all the trucks I’ve owned, only one of them has been newer than ’75 and none of them have had much in the way of convenience accessories; the simpler a truck was, the better was always my theory. But now I’m beginning to think there are some modern features that would be nice to have on our project Hot Rod Hauler, and one of the most convenient features is also one of the easiest to add—a remote door lock system.
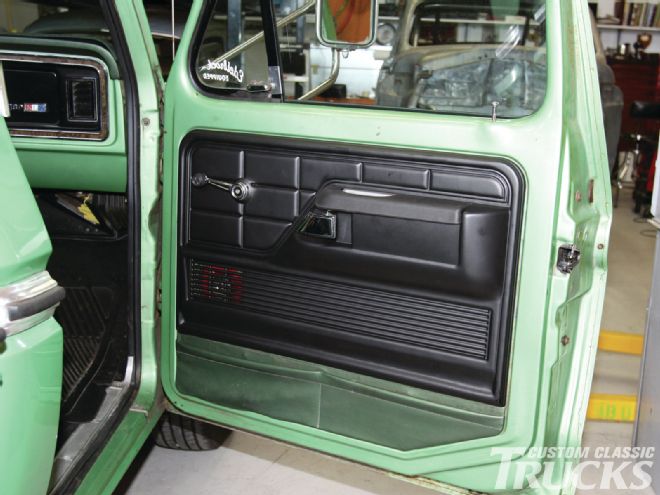
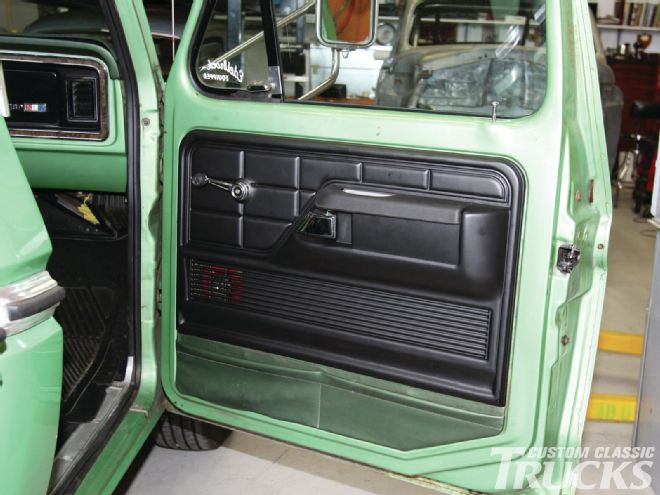
 Hidden behind the new door panel from LMC Truck is a remote-control door lock actuator, also from LMC.
Thumbing through LMC’s truck catalog we found two types of door lock kits: part number 47-1110 is an electric door lock kit that unlocks or locks the passenger-side door when the driver-side door is unlocked or locked with the regular key. From inside, the same thing happens with the operation on the manual door lock.
A second LMC offering, and the one we chose, is the keyless remote kit, part number 47-1100. Buttons on the included key fobs lock and unlock both doors. There are no switches to install and the standard door lock buttons and exterior key still operate normally.
Since we had to get inside the doors to install the actuators for the door locks, we decide to update the interior with a new pair of door panels. Available in a variety of colors, LMC Truck’s replacements panels look like the originals and are made from heat resistant black plastic (we used part number 49-5370-BL for black). Paint with an ultraviolet inhibitor is used on blue, gray, red and tan panels and replacement armrests in the same colors are also available, our black set was listed under part number 49-5410.
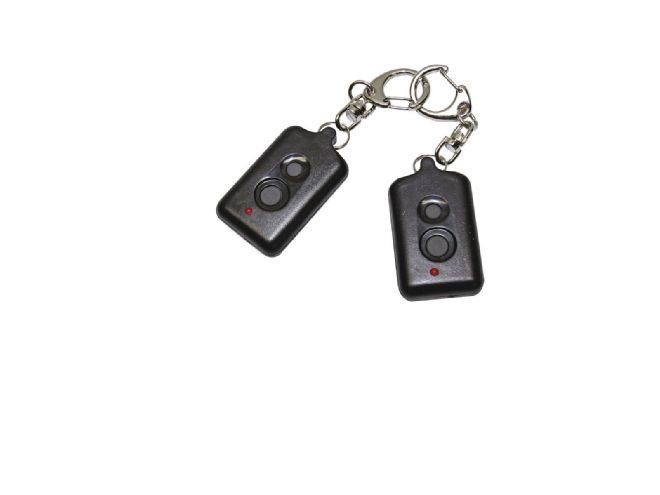
 Included in the remote entry kit are two key fobs to lock and unlock the doors.
Installing the power door lock kit is simple. The biggest challenges are to make sure the actuator’s rod and the linkage that operates the door lock are parallel, and that the actuator doesn’t obstruct any of the door’s internal moving parts.
With actuators installed, the next chore is to run the wiring harness and install the receiver. The actuators’ wires are color-coded and plug in, they then have to be run from the doors through the cowl; we routed them through the same holes that were used for the existing stereo speakers. Once the wires from both doors were routed behind the dash, they were simply plugged into the receiver, which was secured to a brace with plastic wire ties. All that’s left is connecting the recover to a constant 12-volt source and a good ground.
After testing the operation of the locks, we attached the new armrests on top of the replacement door panels and snapped them in place. This update was quick and easy. Along with a better looking interior, thanks to the new door panels, and the power door locks, the Hot Rod Hauler is becoming more presentable and a little more user friendly too. CCT