With all the major components installed in the Purple Pig Project '49 Chevy, the time had come to hook 'em all up-wire and fire time. What I needed was a wiring harness, coincidentally around the same time that Ron Francis Wiring released its new Access 24/7 system. The 18th generation of the company's user-friendly wiring systems, this harness kit even allows the user to consolidate additional aftermarket products' relays into the system.
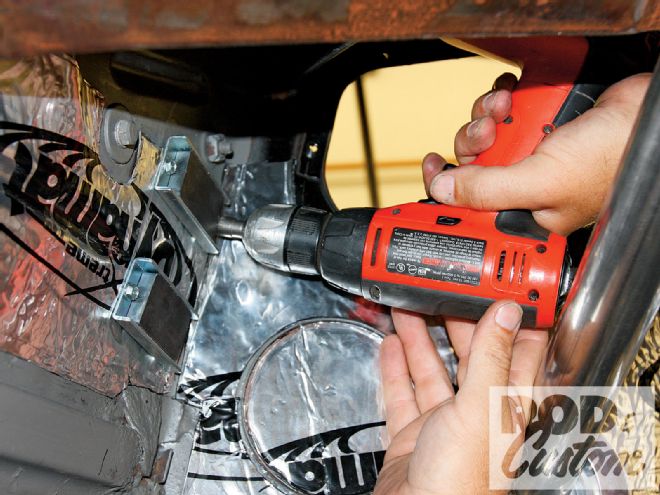
 The first step was to install the magnets that hold the fuse panel in place. The picture's not upside down, you're looking up under the dash, where I elected to install the fuse panel. Check clearance behind the panel before drilling.
The 24 refers to the fuse capacity, while the 7 refers to the number of relays it can hold. Access refers to the unique way that, thanks to the fuse panel's magnetic mounting system, it can be removed and pulled from under the dash into plain view to check fuses and relays. No more crawling around on your back under the dash! It's also capable of accepting additional wires in specially labeled connectors.
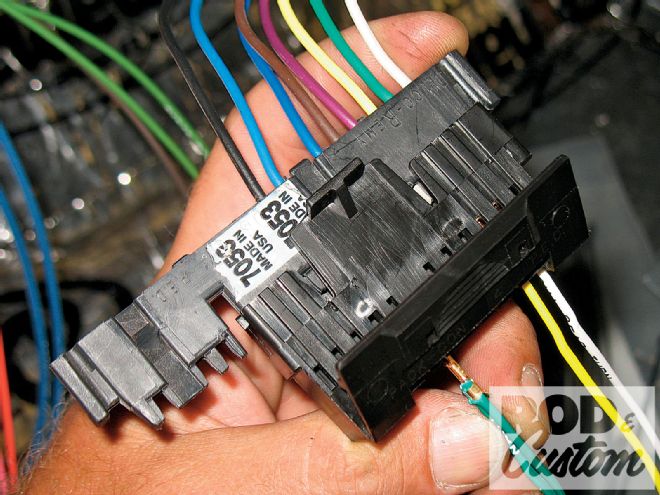
Harnesses from Ron Francis Wiring are available to fit your specific application, whether you run a Ford, Chevy, Mopar, or any other make of engine, and accept the ignition system of your choice, be it a points system, HEI, PerTronix, MSD, etc. They're also supplied with a minimum standard eight-gauge wire for the alternator, though four or six gauge are available at no extra charge; just tell them what alternator you're using. Likewise they can build your harness with whichever steering column connector you need to suit your column. With an electric fuel pump and horn relay included on the fuse panel, along with the flasher relay, the whole system seemed perfect for the '49, which has way more electrical components than I ever planned for, and the added bonus of the harnesses' four Select-a-Circuit connections (offering the option of ignition or battery live feeds by moving the fuse in its slot) means I can add even more in the future!
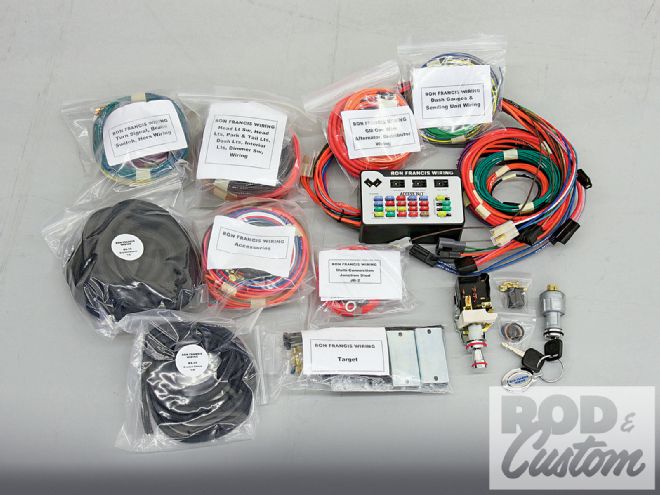
 When you open the Access 24/7 box this is what you'll find, though I also ordered a couple lengths of 1/2- and 1/4-inch braided sleeve, plus headlight and ignition switches. With each of the sections of the harness grouped in separate bags, it was easy to wire one section, such as the lights or engine, before moving onto the next. In fact, this is how the instruction manual is laid out, making the installation almost foolproof.
Of course to power all this I needed a battery, opting for one of Optima's Yellow Top products. With three times the rechargeability and superior cranking power over a regular battery, it's perfect for powering a car with a number of electrical systems. I mounted the battery behind the righthand rear wheel in the trunk, using an Eddie Motorsports battery tray, designed specifically for the Optima battery.
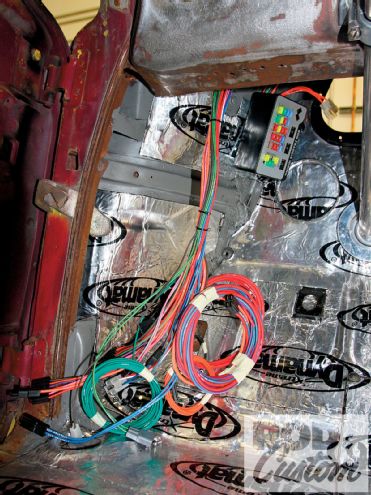
 The fuse panel simply attaches to the magnets, making removal for fuse inspection easy. Here's the panel in position with the wiring that is pre-attached to it.
Installing the Access 24/7 harness was simple, as every wire is labeled and the instructions are easy to follow, tackling one section of the job at a time, then moving to the next. Breaking the job down this way ensured I didn't get confused with hundreds of wires running every which way, making the process a methodical one. As I write this, the Chevy's just about ready to fire, only needing to finish the exhaust system, and I'm excited, to say the least. It's been a long time coming!