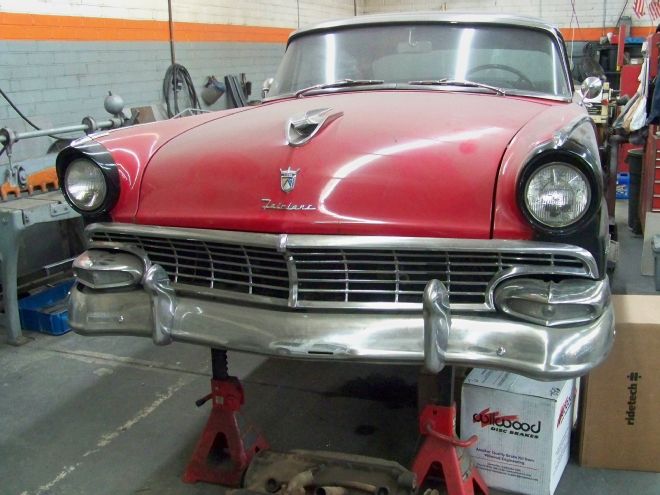
When Brent Vandervort decided it was time to upgrade his daily driver 1956 Ford Corwn Vic he began from the bottom up. After designing and manufacturing a complete replacement chassis for the 1955-56 fullsize Ford, complete with his IFS and a 9-inch rearend he decided it was time to make some conservative yet effective body changes.
Vandervort has long been a fan of the 1955-56 Fords and while the Tri-five Chevy makes up a huge part of this hobby, there are those in the crowd who feel the Fords of the same era were better looking cars. One thing is certain, few cars take to the mild custom treatment better than a 1956 Ford Victoria. With plenty of chrome and very clean lines, minimal changes make a big impact. No one piece defines a mild custom more than the grille. From the simple bolt-in tube grilles to tooth grilles from 1954 Chevrolet and 1955 DeSoto grilles literally lead the way in the world of mild customs. The mild custom movement was totally reliant on swapping parts from different manufacturers to create a car with a style comprised of all the best components available at the time.
To that end Vandervort set about fabricating mounts for a 1955 DeSoto grille, but he also realized he would need two grilles to complete the desired dental work. The grille was extended with additional teeth to fill the cavity. Basic metalworking skills, welding, and fabricating are all that is required to get the job done.
Of course, planning before you cut is imperative, but you must also remain flexible as this type of work often evolves in new directions. Vandervort first considered using the DeSoto parking lights, but the original turn signal/parking lights from the 1956 Ford remain on the car. Not only do these lights define the model year, they are simply one of the best looking light assemblies ever to grace a '50s car and they now work in concert with the DeSoto grille perfectly. Both assemblies will be treated to all new gaskets and lenses from Dennis Carpenter Ford Restoration Parts.
While the grille swap may be traditional Vandervort's approach to the front bumper was a bit more contemporary. He wanted to visually lighten the appearance of the car without losing too much of the Ford flavor. After removing the front bumper a peaked and rolled front pan was considered. While a roll pan is cool, it offers no front protection and it also minimizes that glorious metal that makes '50s cars so cool—chrome.
After much consideration it was decided that by flipping the bumper over and filling all the mounting holes the bumper became visually smaller, tucked under much like a roll pan and still had a good Ford flavor and new chrome plating would add sparkle to the project. Of course, there were other modifications, like pulling the bumper in closer to each fender and cutting a new angle on each bumper end so it flows perfectly with the wheel opening. After a few hours of good old heating, beating, forming, and welding the bumper had taken on a whole new shape. Pleased with the look of the inverted bumper, Vandervort set about modifying the brackets to hold the bumper in place. All the equipment required for almost any modification is available when you own and operate a business like Fatman Fabrications but we found it interesting that Vandervort still employs a lot of old-school skills when building his own hot rods. Things like gas welding and hand shaping panels were done in such a manner that most home shops can do the same job.
While running Fatman Fabrications is more than a fulltime job for Vandervort we always enjoy visiting him when he is working on his own projects because it is obvious that he has never lost the love of building hot rods and customs.
So check out the photos as we follow Vandervort transforming his 1956 Ford Fairlane Victoria from a clean stocker to a mild custom. After completing the grille and bumper mods, Vandervort went on the fill the hood and install T-bird door handles, we'll deal with that next time.
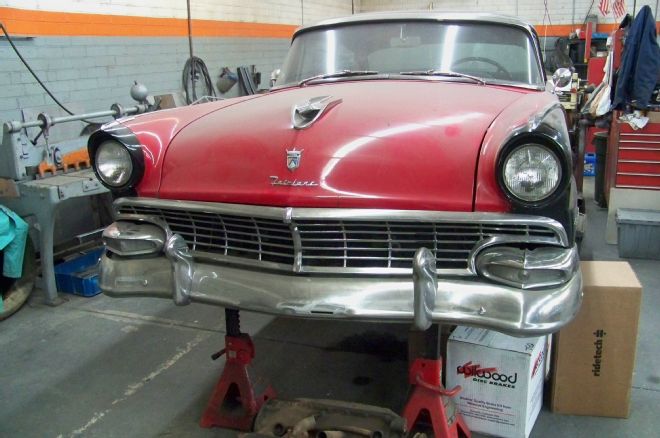
01 The 1956 Ford is one of the best looking mid-'50s cars ever built, and while the stock treatment is attractive, the mild custom treatment will add a lot of visual appeal to the car.
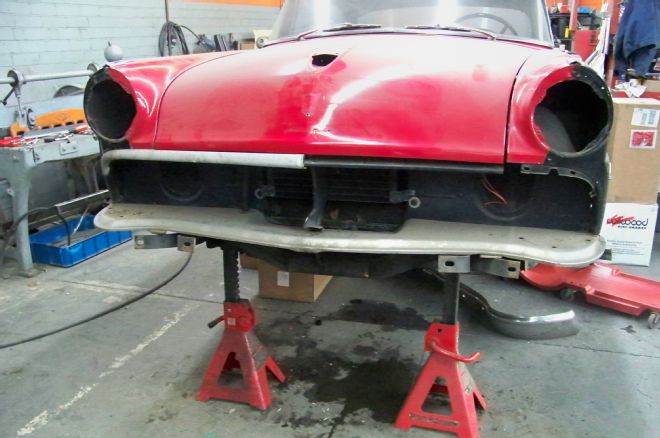
02 Vandervort picked up a beat-up grille at the nearby Charlotte Swap Meet and then proceeded to trim the grillwork off, leaving just the brow for the grille opening.
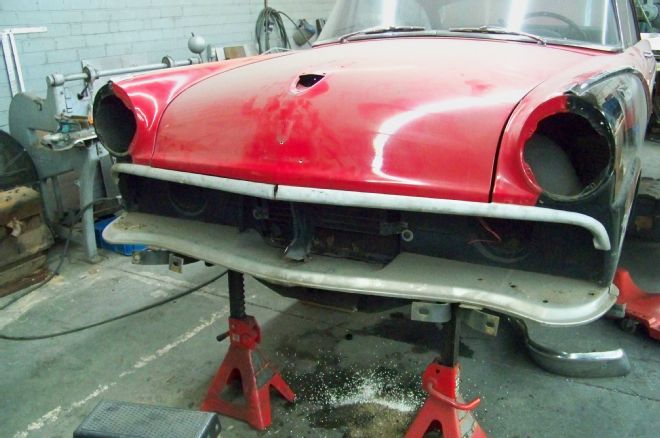
03 With the trimmed brow mounted in the grille cavity the 1956 Ford was already looking like a mild custom. Now it was time for some dental work in the form of a tooth grille.
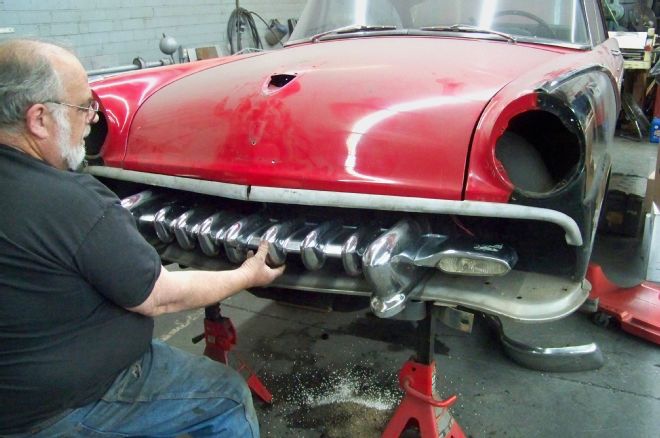
04 Vandervort stashed a couple 1955 DeSoto grilles in the back room at Fatman Fabrications and his original thought was to mount the grille using the original DeSoto parking lights, but the grille looks a bit too narrow.
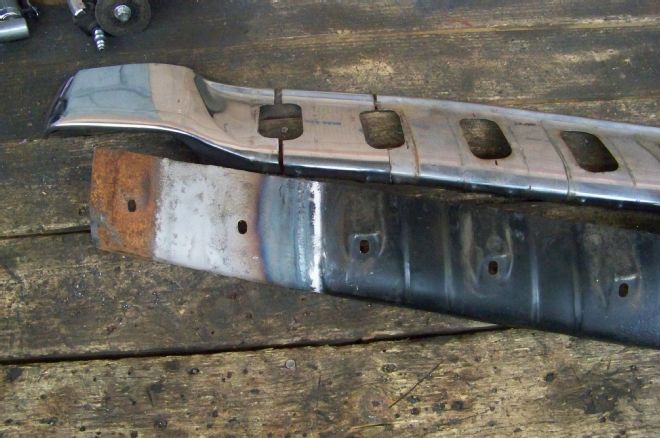
05 The DeSoto grille is a two-piece affair with a stainless cover over a steel bar. One additional tooth was added to each end using the second grille for parts.
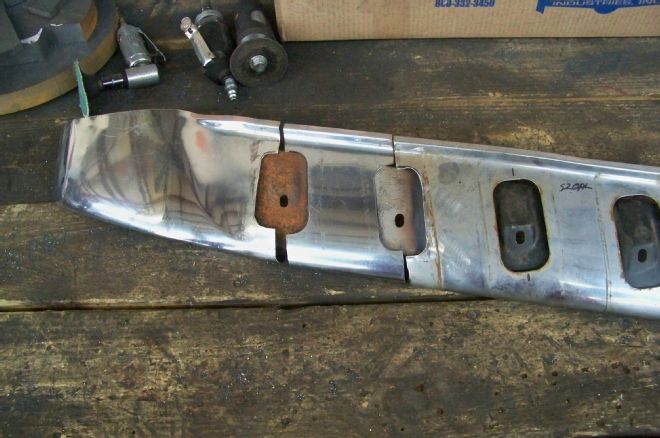
06 Since the grille tooth covers the mounting hole the stainless piece weld will be under the tooth with no need for a highly polished finish. During this fitting process Vandervort discovered the DeSoto grille ends would flow nicely over the stock Ford parking lights.
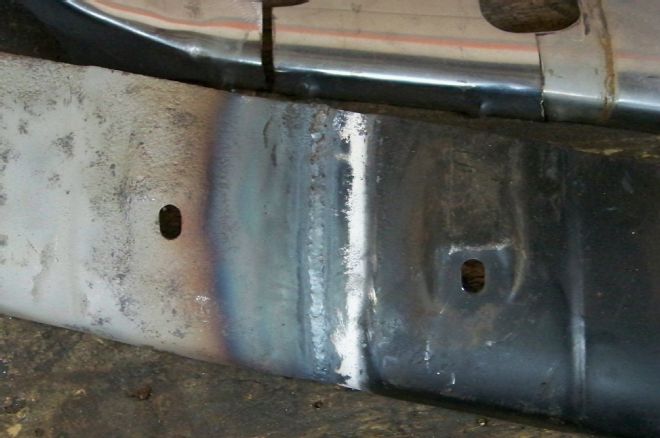
07 Vandervort welded the steel grille bar using his trusty Dillon torch, in this day of electric welding many folks forget the capabilities of oxy-acetylene welding.
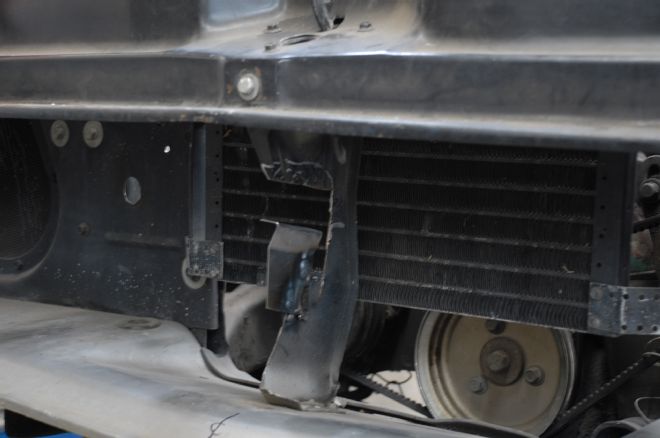
08 A simple modification to the center grille bracket will mount the 1955 DeSoto grille in the 1956 Ford grille cavity.
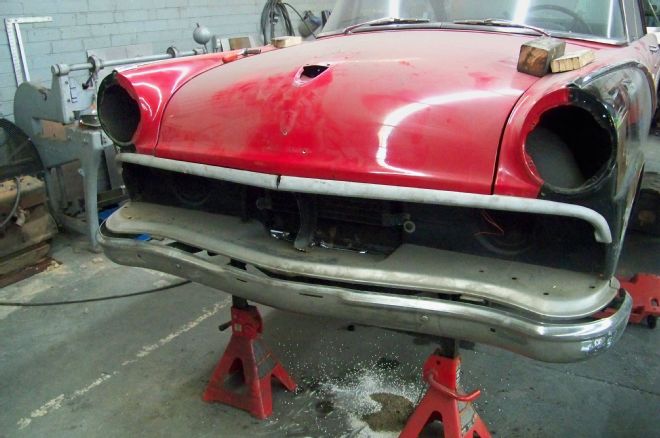
09 Of course the entire frontal design of the car needs to work in harmony, so Vandervort mounted the inverted front bumper to locate the visual center of the grille opening.
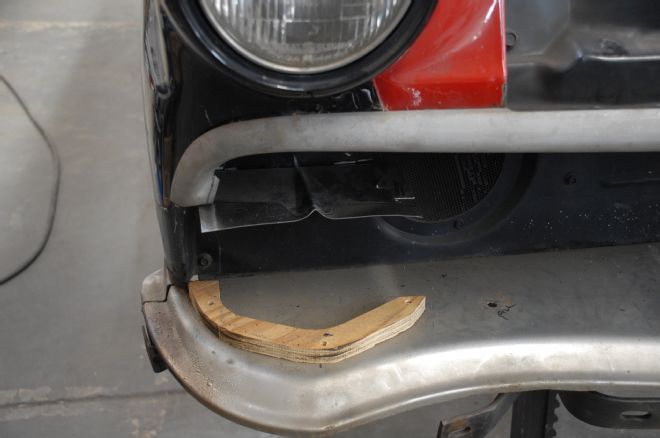
10 It was determined that the Ford parking lights should rest on a 3/4-inch spacer to allow the new DeSoto grille to be centered in the opening. The final spacers will be formed from Plexiglas and painted satin black to make them "disappear."
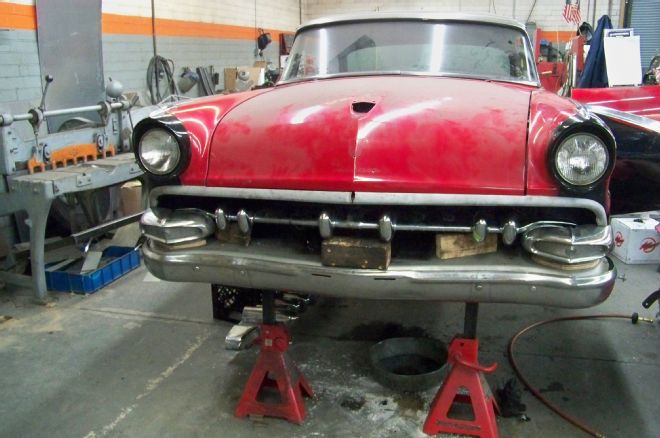
11 The first trial fit of the lengthened grille proves this will be a great look. The car still has a sleek, wide appearance and the modified grille will have the look of a factory installation.
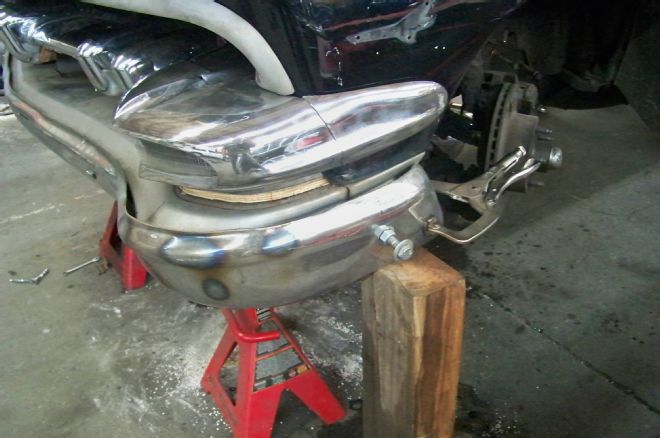
12 A quick view of the side profile ensures the grille is not too far forward or too recessed in the grille opening. When the teeth are installed on the bar the grille cavity will be nicely filled.
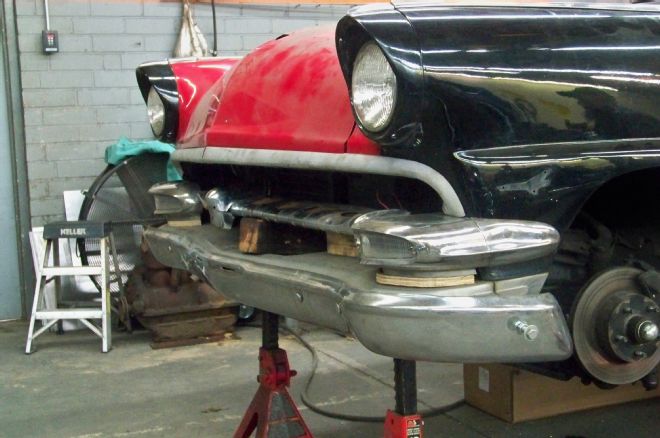
13 This early side view shows the potential good looks of the stock parking lights and the inverted front bumper. There are still bumper fitment issues to deal with later.
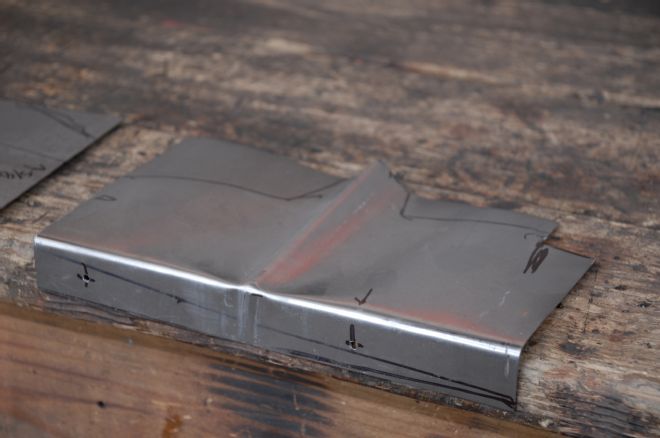
14 Certain the DeSoto grille was going to work in concert with the Ford parking lights, Vandervort fabricated two filler panels to extend back to the grille bar.
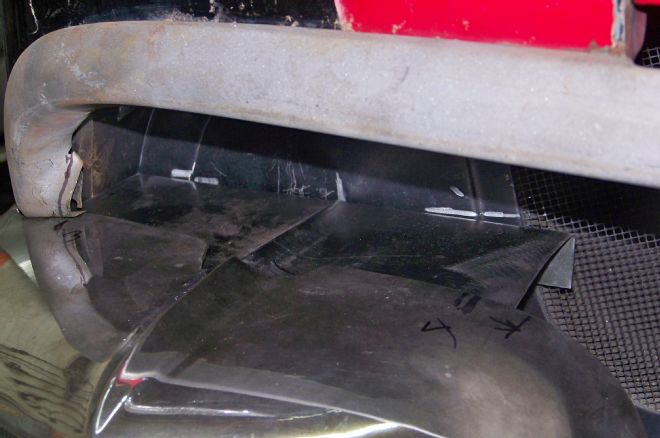
15 The filler panel rides under the parking light housing and over the grille bar to make a very smooth transition piece. The filler panels will be chrome plated, making this look even more like a factory grille.
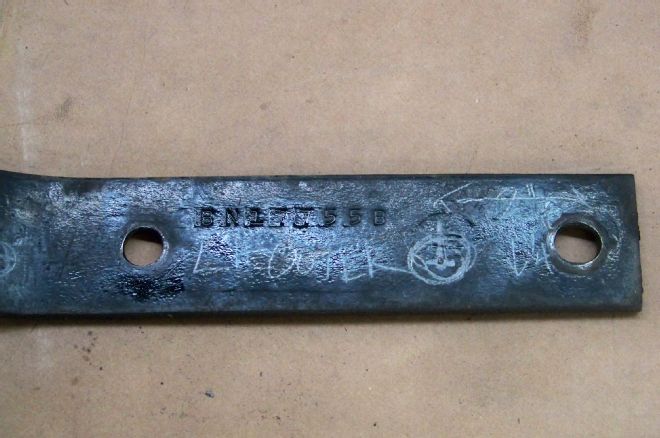
16 After flipping the bumper over the brackets had to move back on the chassis so two new holes were cut in the bumper irons. On the Fatman Fabrications replacement chassis the holes can be drilled to locate the bumper using stock bumper irons.
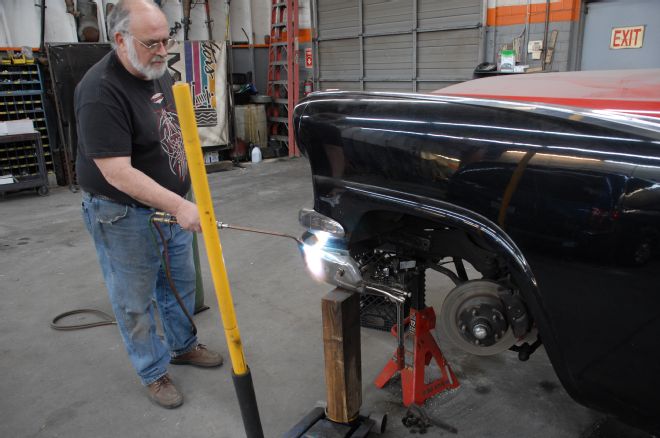
17 After flipping the bumper there were some contour issues. Heating the bumper with a rosebud brought it to a nice orange glow. A come-along cable was attached to both ends of the bumper and used to pull the ends together, closer to the body.
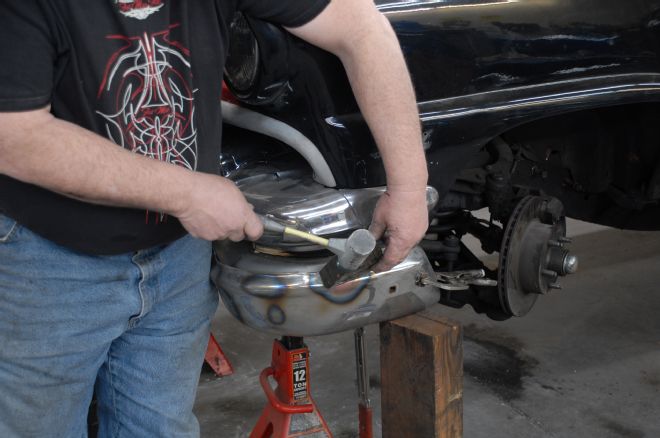
18 After pulling the ends into place there was a bit of a bulge formed. Once again the bumper was heated and then the "big persuader" was employed to hammer the contour into shape.
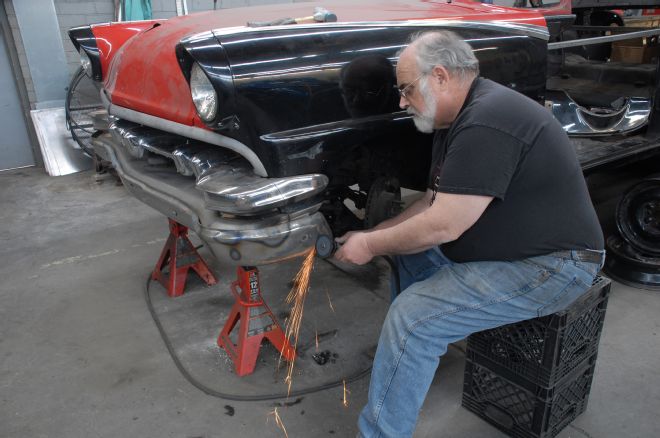
19 Seemingly small details make all the difference. The angle of the inverted bumper was cut to match the angle of the wheel openings. This made the bumper appear lighter and all the angles now flow together.
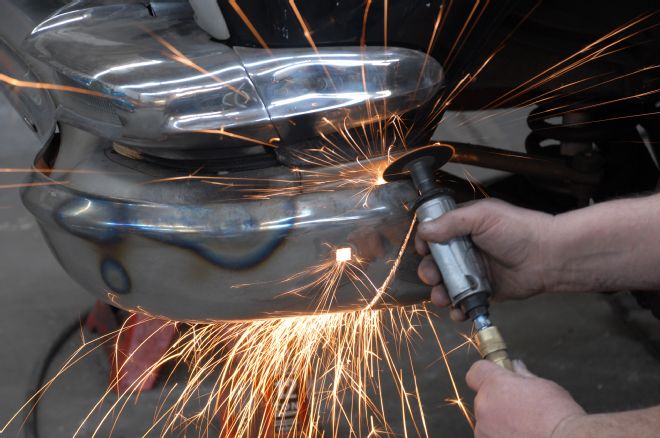
20 A small portion was also removed from the top rearmost corner of the bumper so it would align parallel with the bottom of the parking light housing and be equal distance from the body.
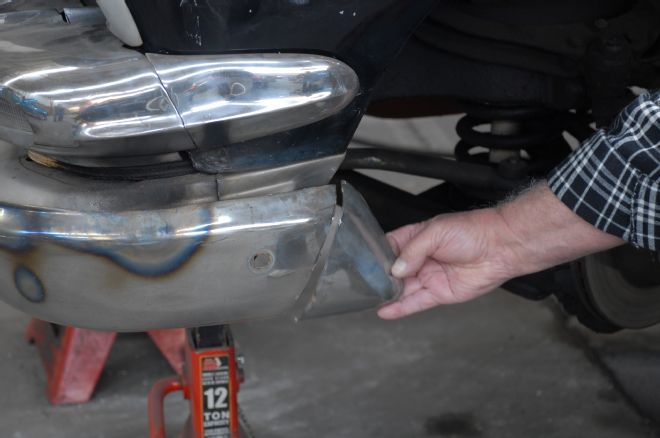
21 Here is the piece that was removed from the rear of the bumper. Now we had the proper angle to the bumper, but the end was an unfinished straight cut.
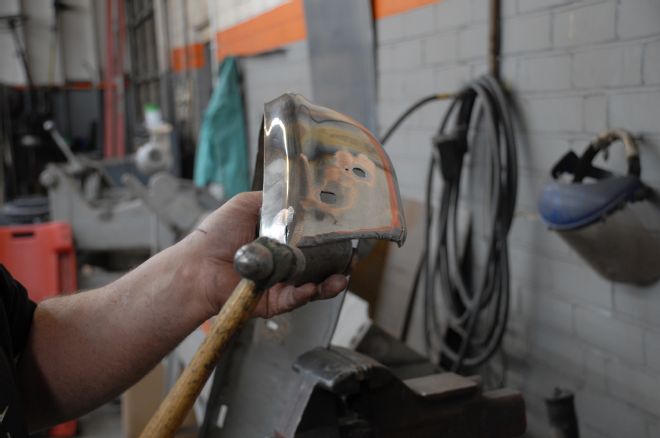
22 Some good old blacksmith work with a heavy hammer and dolly formed a nicely folded end. A slice on the radius allows the metal to fold inward. Final metal finishing will be handled by the chrome shop.
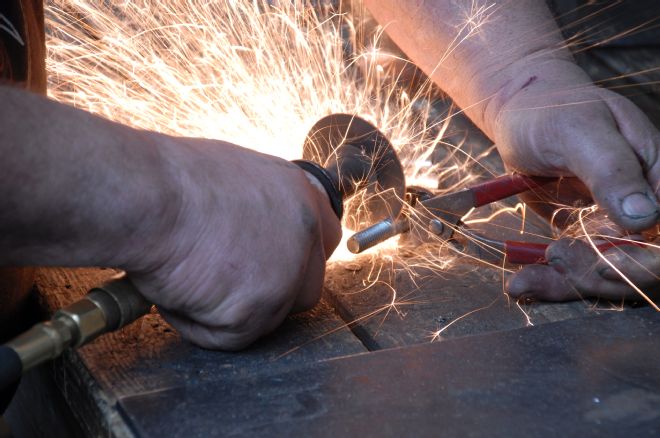
23 With the end finished it was time to smooth bumper mounting bolts. Vandervort began by cutting the heads off of carriage bolts. This leaves a square end to fit in the square bumper hole.
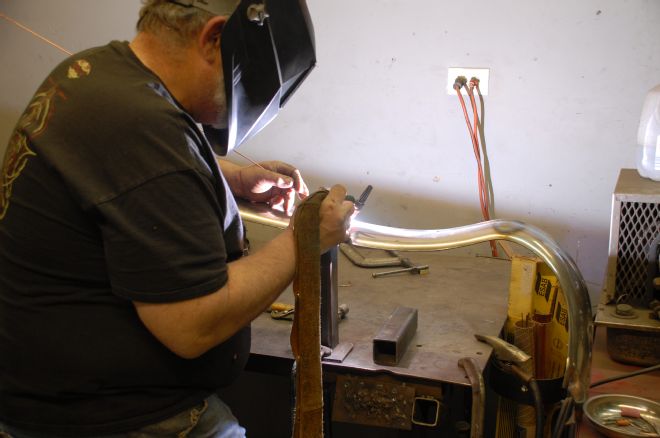
24 First the filler studs were tack welded on the back side with a MIG welder. Then a trip to the Miller TIG welding bench did the final welding. Be sure to grind back all the chrome before welding.
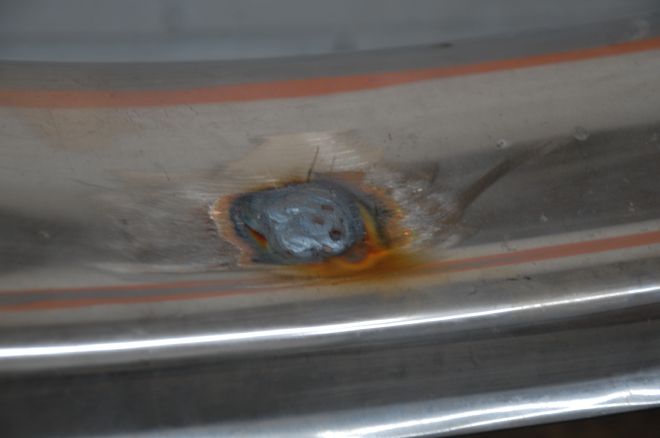
25 Vandervort will grind the weld down a bit, but also leave it just a little high so the chrome plating shop has some metal to work with during the final finishing stages prior to plating.
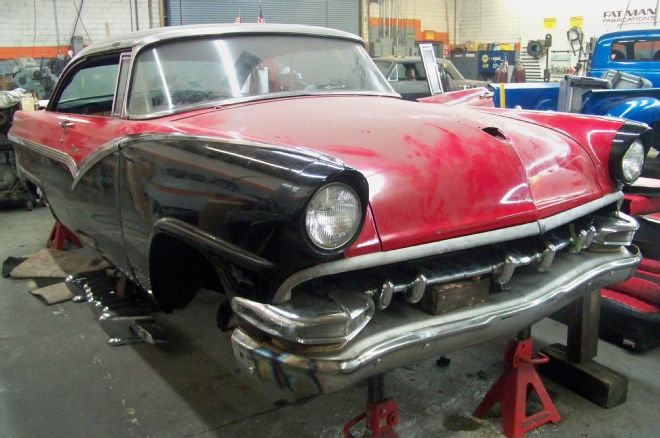
26 With the headlights back in place, the bumper bolted up, and the grille bolted in place the Fatman Fabrications 1956 Ford is looking good. When all the teeth are installed with fresh chrome plating this is going to be a great looking mild custom.