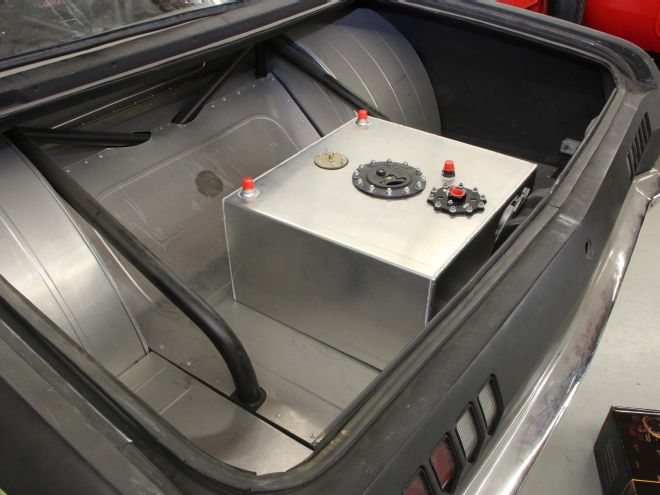
Car Craft is on year two of this build if you have been following along, and as the months click by, we are creeping closer to making some noise with our 1971 Dodge Demon project car. To catch you up, we bought this car in January 2011 as a back-halved roller with a Slant 6 and a stock front end. Our plan was to finish the job with a Chassisworks 2x3 front-end kit and an eBay 5.7 Hemi with a set of Comp Turbo 67mm hairdryers and a 392 stroker kit from K1 and Wiseco. The last major parts we are doing in sections. We have the hot and cold side plumbing on the turbos, wiring, brakes, fuel, and the trunk left on the list. The list might sound short, but it represents several more months of thrashing to get this car on the road. For this story, we prepared the trunk using some old—and new—tricks.
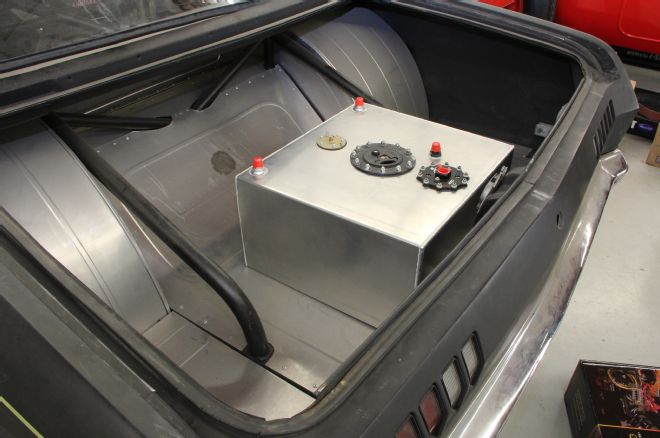
01 The days of the vane pump bolted to the back bumper are gone, and we will miss them. Now we have access to in-tank pumps that can feed a lot of power. The Stealth Fuel cell from Aeromotive has an in-tank A1000 pump that can feed a 1,000hp, fuel-injected, forced-induction engine. Also available is the Eliminator pump that can feed a 1,400hp, fuel-injected, forced-induction engine. The tank has built-in baffles that maintain fuel at the pickup point and eliminates problems like cavitation and vapor lock. This is a 15-gallon fuel cell. Aeromotive recommends a voltage control module for cars that run on the street with less than a 10-gallon capacity.
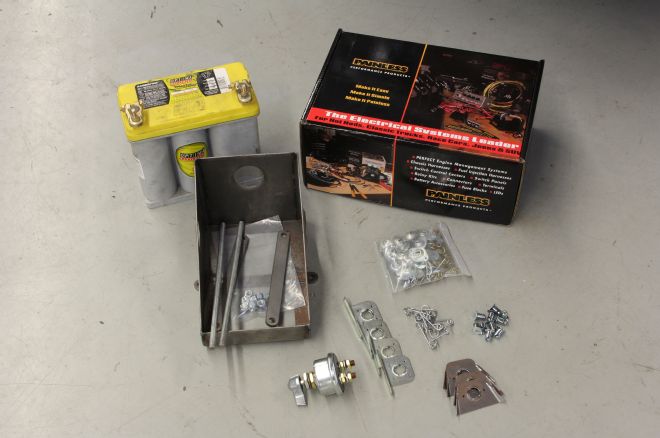
02 Fuel cell aside, the safety features required by the NHRA are a kill switch that is accessible outside the vehicle, a battery box or hold-down straps, and a firewall between the battery and fuel cell (and the driver). We are also using Dzus fasteners to secure the fiberglass trunklid.
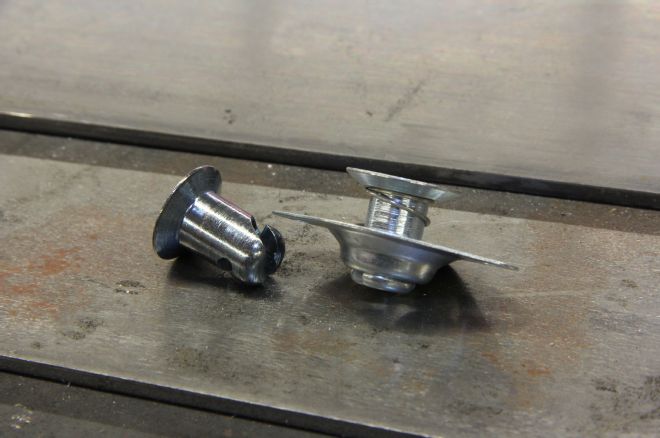
03 The Dzus fasteners for the trunklid are 7/16-inch self-ejecting buttons. They use weld-on tabs, but there are bolt-on versions available.
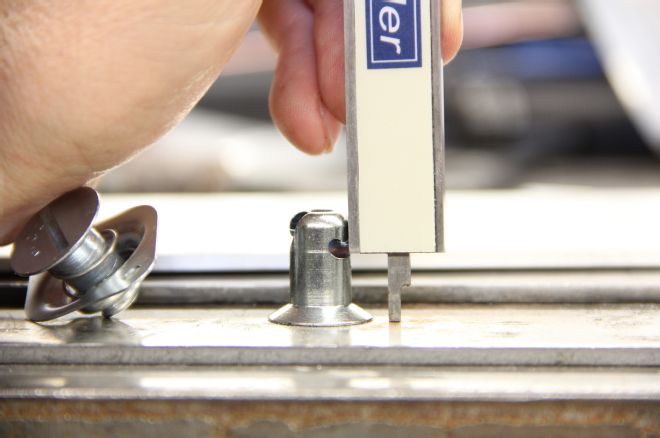
04 The 7/16-inch button is the largest of the five available diameters. Total button length is determined by measuring from the bottom of the spring (in this case, the bottom of the spring slot) to the underside of the head. To get the spring height, subtract the thickness of the material you are fastening; in this case, the fiberglass, plus any additional clearance needed between the head of the button and the tab. There is a recommended deflection for each spring-height and button-length combination. There are reference charts online (we used DzusFasteners.net) to determine the proper fastener for each application.
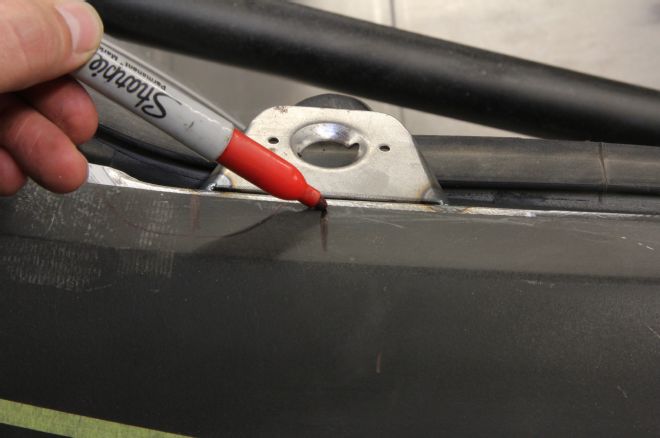
05 The positions of the tabs are arbitrary. After speaking with other racers, we determined a total of six fasteners should do the job. After tacking the tabs to the car, we marked the body with the Dzus centerline.
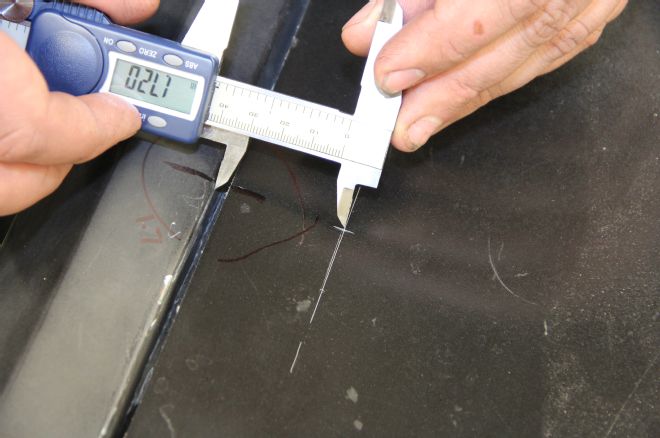
06 Using the body mark as a reference, we measured and marked the location of the hole in the trunklid.
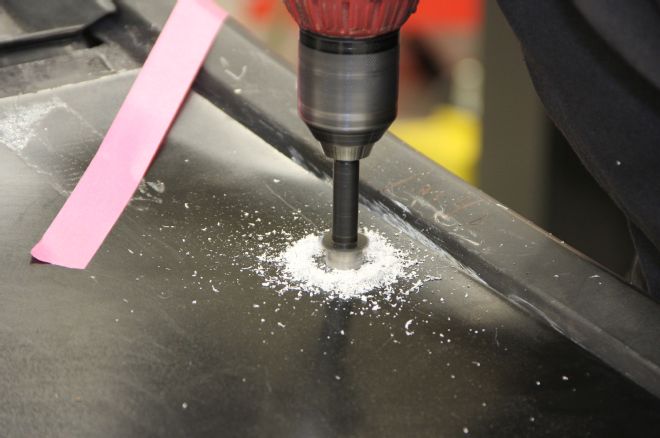
07 We drilled a 5/8-inch hole using a Snap-on hole cutter kit.
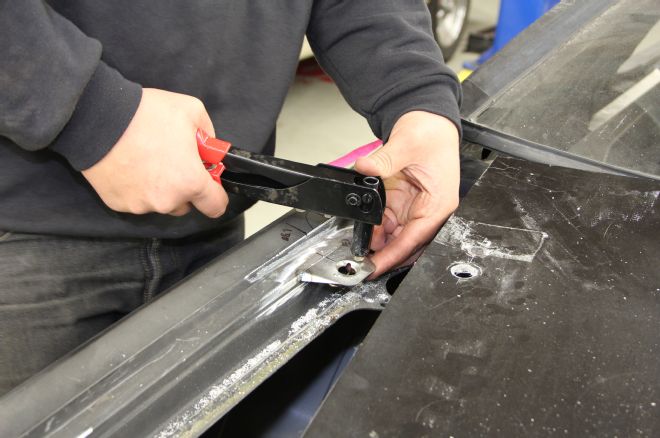
08 The last step was to rivet the spring to the Dzus tab.
09 The button heads are also riveted to the decklid. Snap-on Tools sells a Dzus fastener tool.
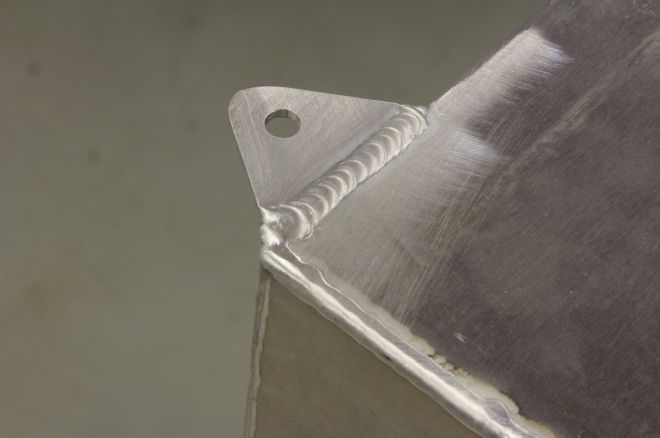
10 The Stealth fuel cell is designed to be strapped down, but we prefer to use tabs that bolt to the floor. Since this is a new tank, it was OK to TIG-weld the tabs on.
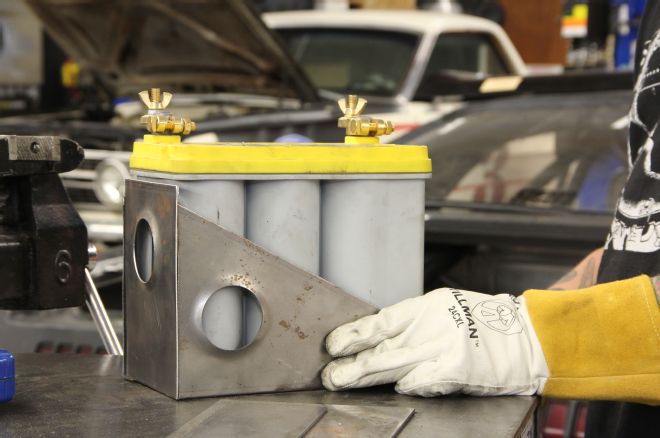
11 Chassisworks sells a battery box for the group 24 battery, but we wanted to use the smaller and lighter Optima group 51 battery instead. We simply cut the box down and re-welded it to fit. It's the little details that make a street machine cool.
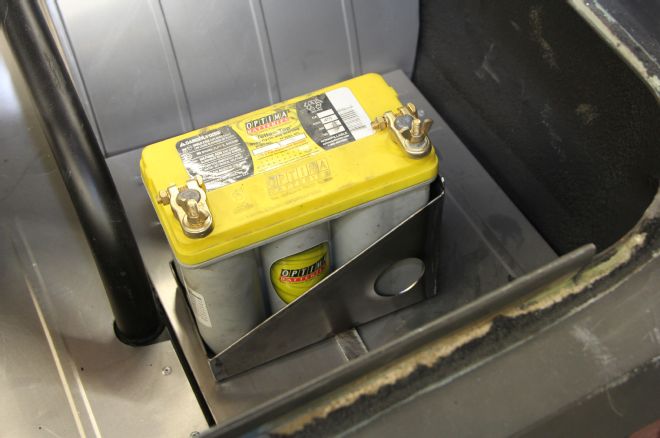
12 The Optima 51R battery has the cranking capacity it needs, but saves weight by reducing the storage capacity. That simply means you can't run the fuel pump and fans without the engine running or risk draining the battery.
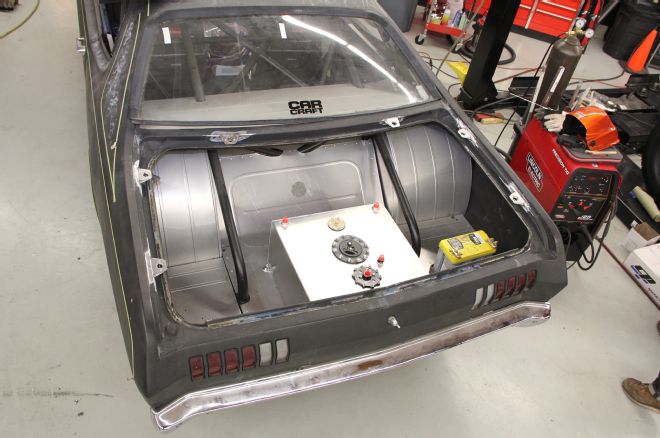
13 The last pieces of the puzzle are the battery disconnect and remote battery cable kit. We have a complete wiring story coming up that will look at this in more detail, but for now, the concept is to run everything off the switch and nothing off the battery. That way, when the switched is flipped in an emergency, the battery and/or the alternator can't feed the fuse box and power up the ignition or fuel pump.
EGG:
Car Craft fabricator Grant Peterson uses Falcon cutoff wheels (PN A60UB-96) because they are thin. It reduces the gap you have to fill with weld later.