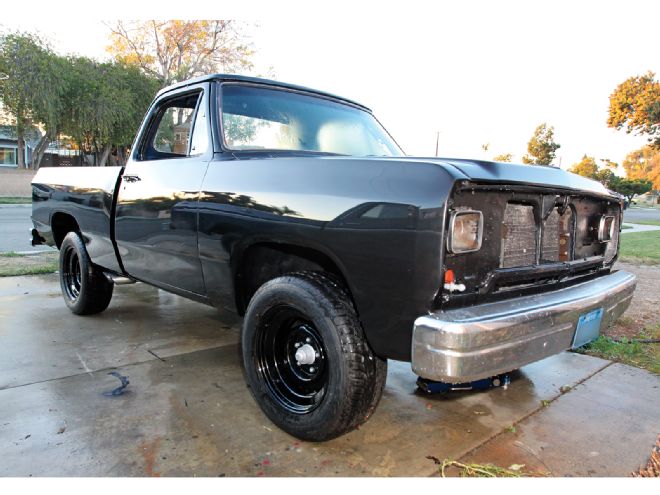
If the 1986 Dodge featured in last month's article "Mail-Order Pride" about how to spray Auto-Air Colors water-based paint over Summit Racing's high-solids urethane clear has served to do anything, it's been a great test bed to prove long-term product durability. From the very start, using Summit Racing DTM epoxy primer over bare metal to the final stages of color sanding and rubbing its five years of exposure to the elements have not caused a failure. No rust or shrinkage caused by the primer, and no dulling back of the clearcoat from exposure to UV rays or color sanding.
It was last May 2013 that I returned to cover the autobody students at Riverside City College color-sanding and rubbing out the Dodge's second stage clear topcoat. At the end of the school day I loaded the old Ram on my car trailer and hauled it home. As with any vehicle that's been apart too long there was list of vital parts missing from the truck. I lost interest and parked the Dodge in my driveway and forgot about it. The cats used it as a springboard to jump from the roof of my house and the neighbor's gardeners liked it for hurtling rocks from the jet stream of their leaf blowers. Then one morning I was in the mood to dig back into the Dodge project.
There's more than one reason to color-sand and rub out a paintjob. The first is color sanding is the final step toward smoothing the surface as flat as possible and catches any dust particles that might have settled in the clear before it dried thoroughly. The end results are the finish has been made to appear as flawless as possible.
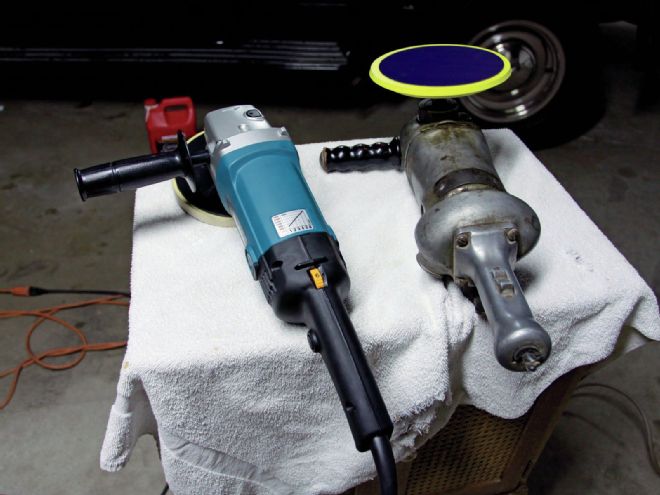 1. Today's new school polishers like the Makita 9227C are much more-DIY friendly than the heavy brutes of old. Controlling the speed of the polishing wheel is important to keep from burning the paint and obtaining the best results. Available through Summit Racing, the six-speed Makita is adjustable from 600-3,000 rpm. The old polishers were either on or they were off.
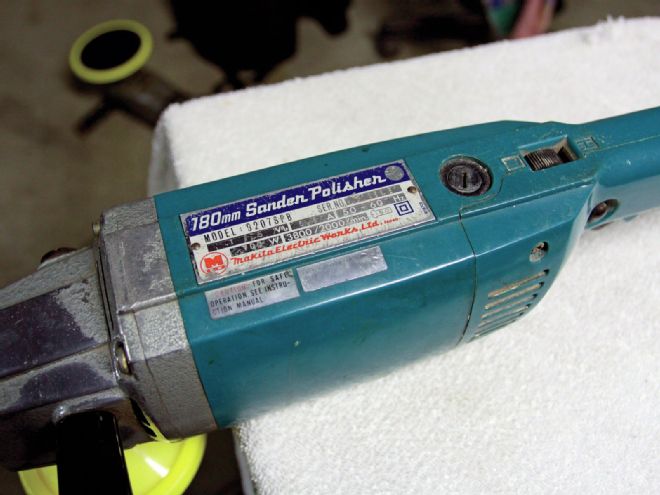 2. Talk about getting your money's worth, I bought this Makita 9207SPB two-speed polisher in the early 1970s. In the 2,000-3,800-rpm range, it takes a while to train one's ear to sense (hear) the right rpm. You'll have to learn flicking the switch at the right time to control rpm. It's much easier with a new-age polisher to match the rpm of the polisher with the rpm recommended on the rubbing compound label. Mothers recommend 1,500 rpm.
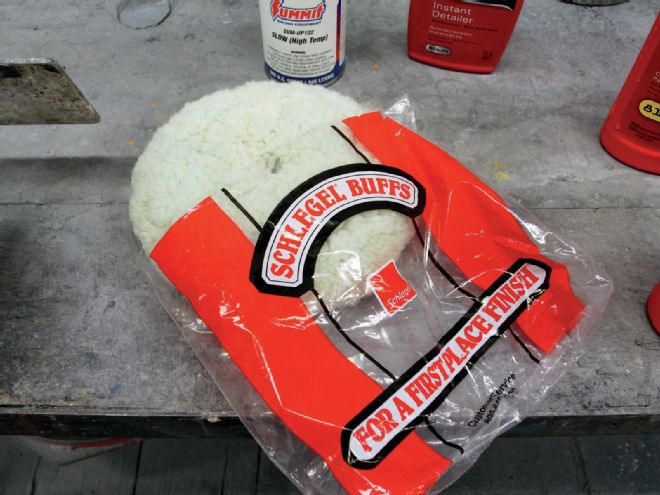 3. Color sanding begins with 1,000-grit wet or dry sandpaper. Wet or dry is available 1,000-3,000 grit. Wet sanding works best in water with car wash or dish soap added to act as a lubricant. For the next stage of polishing, old-school wool pads such as this Schlegel from Summit Racing work as good on today's finishes (urethane) as they did on paints used in the past (acrylic lacquer, catalyzed acrylic enamel).
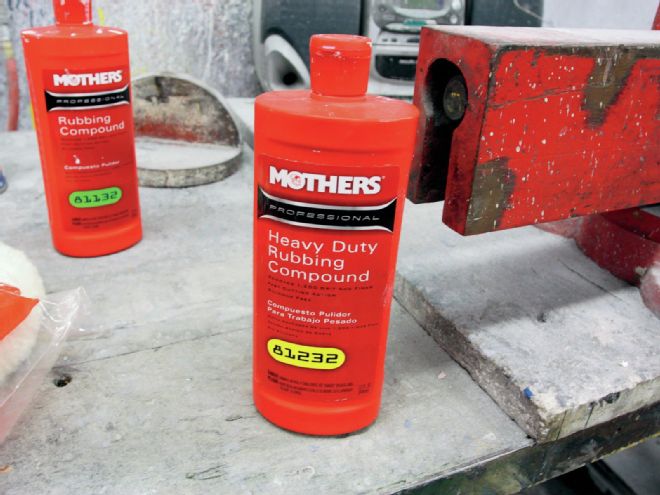 4. Mothers 81232 Heavy Duty (heavy-duty means faster cutting, coarser grit) rubbing compound works with wool or foam pads and removes 1,200 grade and finer scratches. Mothers 81132 removes 1,500 grade and finer scratches.
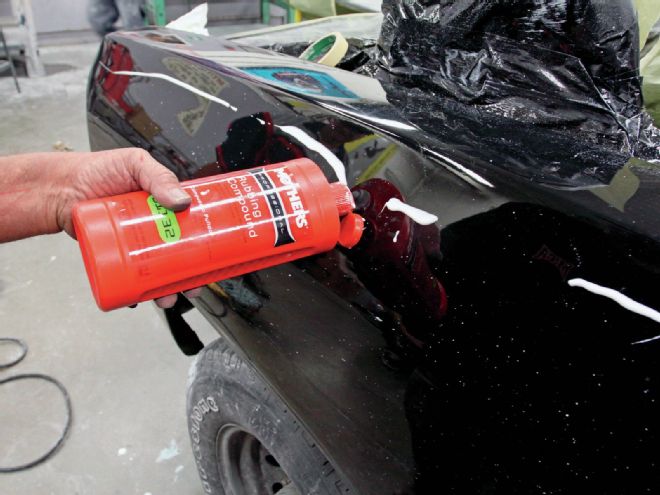 5. Look into the finish to spot any minor waves. These can be block-sanded out with wet or dry at any stage and re-polished. We used the same method as spraying paint, starting at the top and working end to end rows downward.
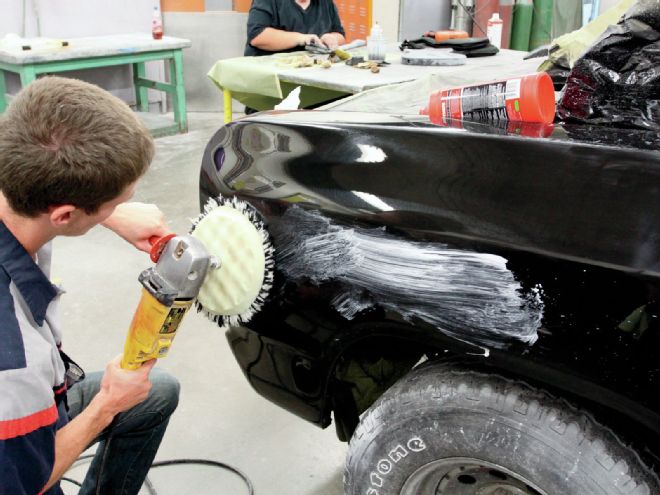 6. At this stage we're done with a wool pad and heavy-duty compound. The next step was to go over the entire truck with a foam pad with 81132 rubbing compound. Note the compound was spread at a low speed to avoid flinging.
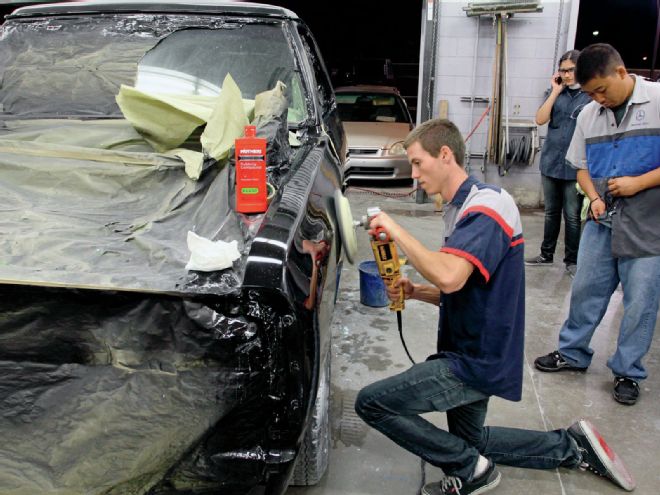 7. Notice the angle of the pad is aligned with the angle of the top of the fender. Pushing the outer edge of the pad into the surface will burn the paint, or worse yet, cut right through the paint.
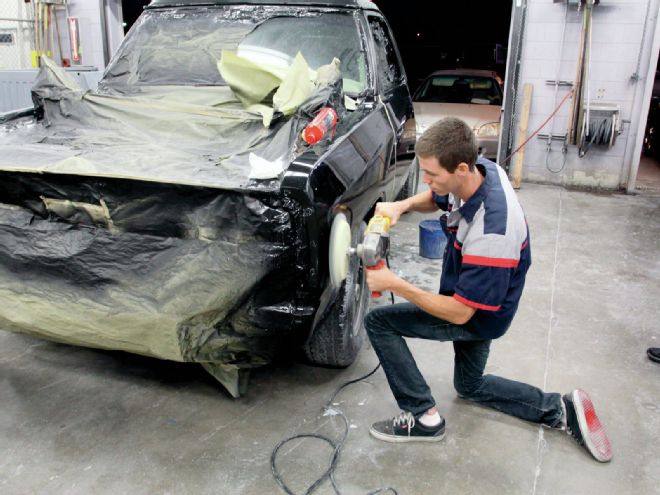 8. Don't take your eyes off the area being polished. Notice he is looking at the area he is polishing and holding the pad flat against the surface.
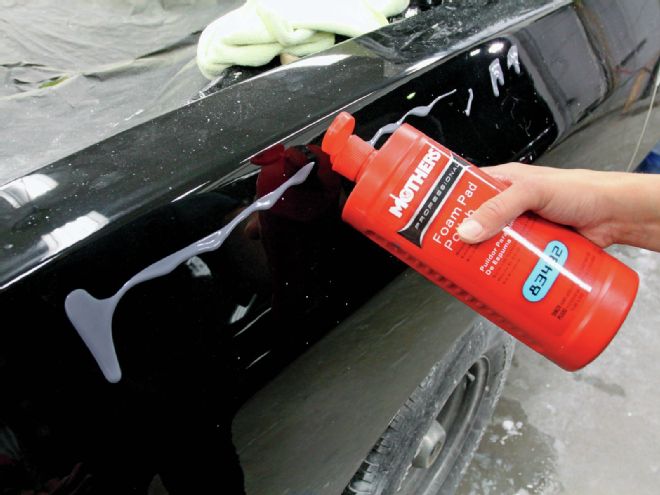 9. After using even the finest rubbing compound there will be swirl marks left on the finish. The secret to removing swirl marks is to use Mothers 83432 – it works amazingly to eliminate swirl marks and deepen the gloss. It's the hot ticket for dark colors, especially black!
The second reason one would want to color-sand and rub out a finish is because this process can be an absolute savior for any paintjob that didn't turn out as well as expected. There's an old adage amongst painters that if you don't get any runs you're not trying hard enough. That's hard enough as in trying to "slick it," a term meaning a painter did a perfect job of laying the paint on to look as slick as glass. Performing such a feat is every painter's ultimate goal, but there's going to be some beginner's dues to pay along the way. These dues will come in the form of runs, fish eyes, dirt in the paint, and most likely some paint flaws that no one has ever seen before. No matter what the flaw or blemish might be, color sanding, followed by a thorough polishing (rub out), can save the day.
The third motivation for color sanding and rubbing is to revitalize a paintjob that for any number of reasons has lost the appearance of new paint. It's only a matter of time for an automotive finish to lose its glossy sheen due to the effects of ultraviolet light, extreme heat or cold, or even the quality of the paint that was used. Typically a color-sanded and rubbed paintjob using lower-quality paints is more subject to a condition that's known as dull back. In some cases, it takes only a few months before the shines goes flat, and if left unchecked, the finish can deteriorate to the point of flaking and peeling. If caught in time, the ill effects of allowing a finish to deteriorate can be delayed or avoided all together.
There is an expression used by painters that's known as breaking the skin. There was a time when any paint that was color-sanded and rubbed wouldn't hold up as well as paint that was allowed to keep its skin. In the 21st century's second decade, the advent of superior-quality, high-solid paints means a color-sanded and rubbed finish can endure as long as an untouched finish. That's great news for DIY guys and professionals alike because show-quality results are now easier to obtain and will endure for a long time.
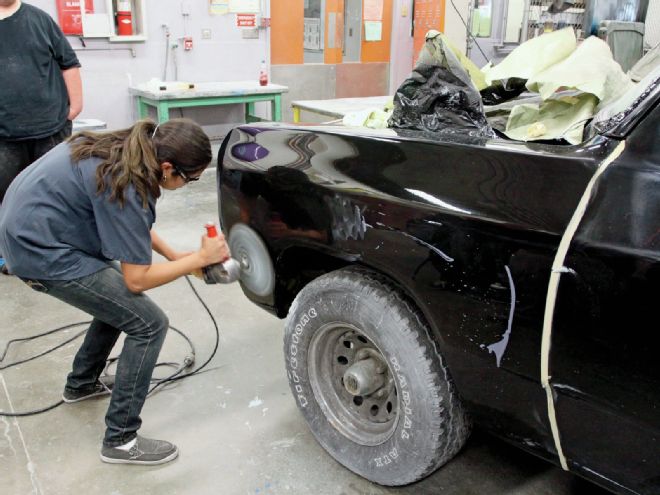 10. Notice the masking tape between leading edge of the door and the front fender? This is a precaution to guard against burning through. It's a good practice to protect all leading edges. Also please note the front of the fender where 83432 has been used has a deeper gloss.
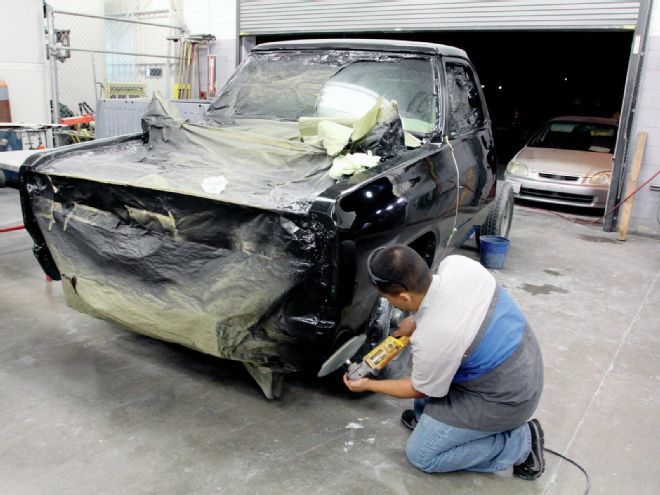 11. For areas that are harder, if not impossible to see, imagine that you're an industrial robot. Approximate how fast the polisher (wheel) needs to be moved to polish the surface without burning the paint.
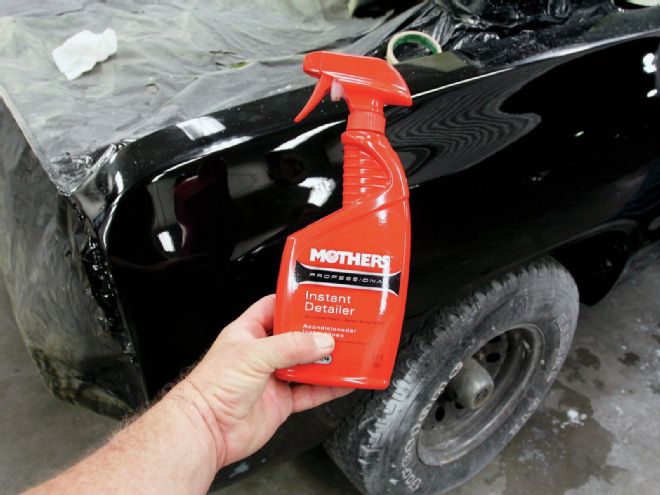 12. In a professional paint shop or the DIY guy who paints, the guaranteed recipe to get fish eyes in the finish is to spray a silicone-based detailing product near the booth. Mothers professional instant detailer brings out full gloss without containing silicone.
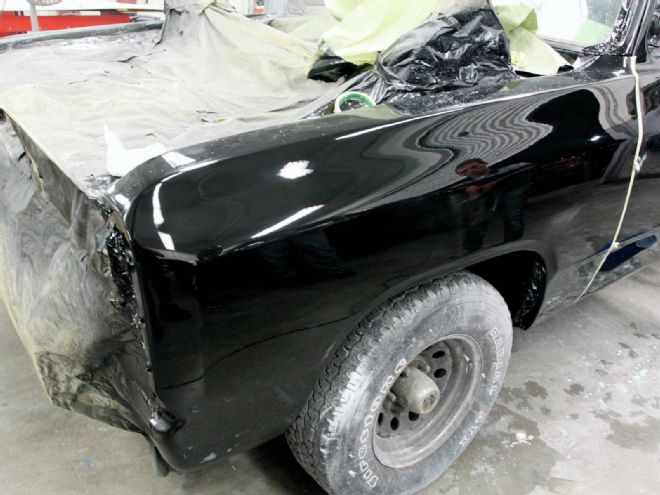 13. The entire truck appeared this nice in May 2013 when I hauled it home from Riverside City College. It did come up missing some hard-to-find parts, so a little discouraged I parked the Dodge in my driveway and let it sit for 10 months.
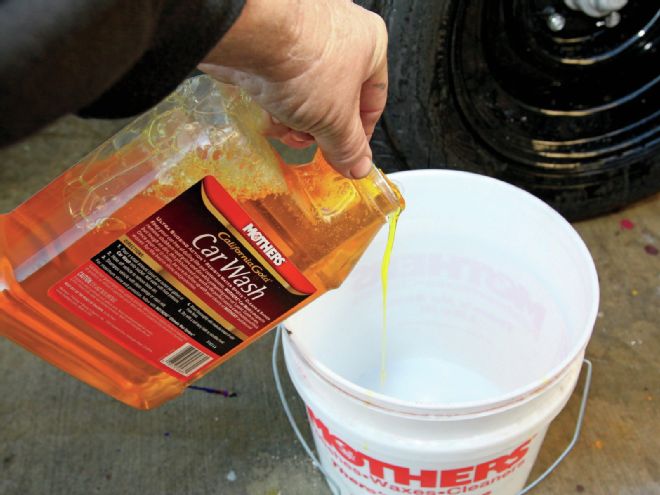 14. Enthused again…if I wasn't careful, excavating the Dodge from beneath its layer of dirt could leave deep scratches. The first step was to soak the entire truck down with water followed by mixing up a heavy concentration of Mothers car wash.
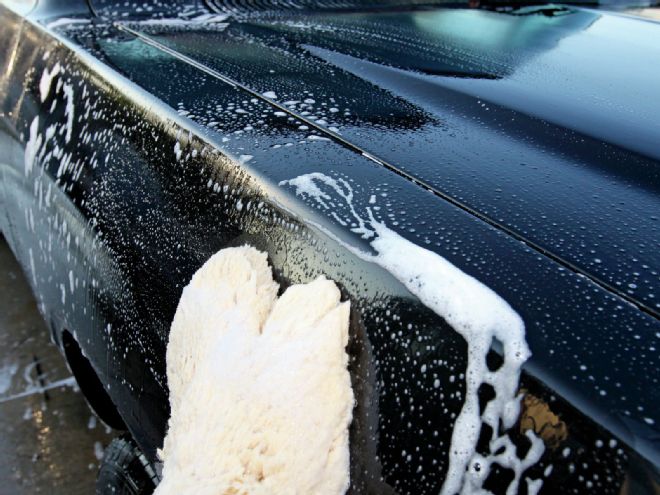 15. We're still in the critical stages and a soft approach is essential. Using Mothers lamb's wool mitt, I patted the surface down, followed by a thorough rinse. Repeat washing. In the next step it's OK to use a circular scrubbing motion.
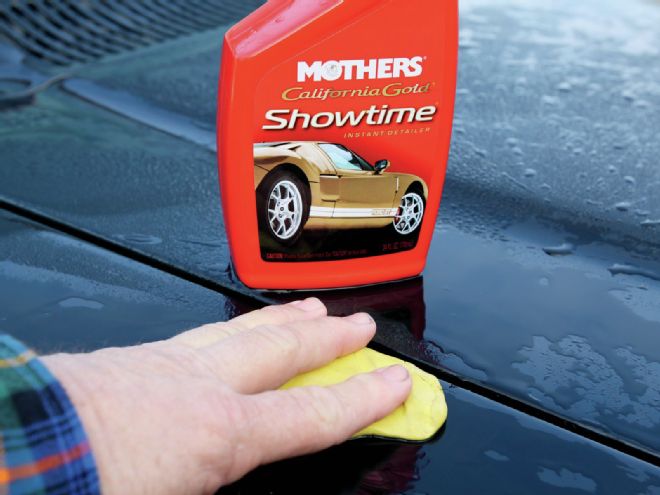 16. Yes, this is a story about rubbing compound, but there's nothing superior to clay when it comes to removing contaminants from the painted surface before polishing.
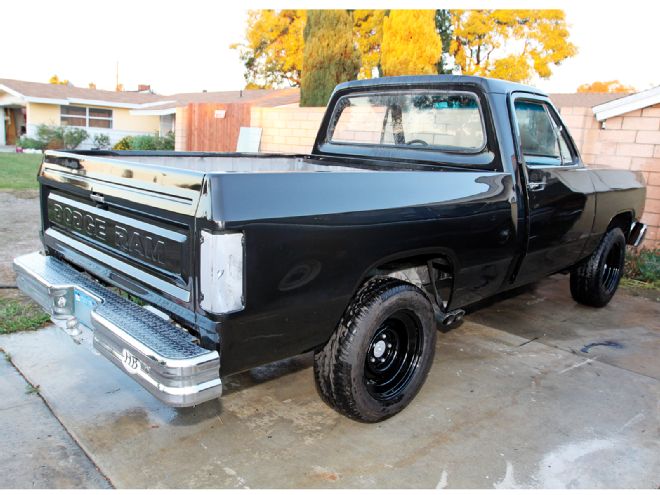 17. These are 17-inch Toyo Proxes mounted on 17-inch Stockton Wheels. I like look of this truck slightly lifted with this tire and wheel combination. That said, look for an upcoming article on getting this Dodge into the weeds.
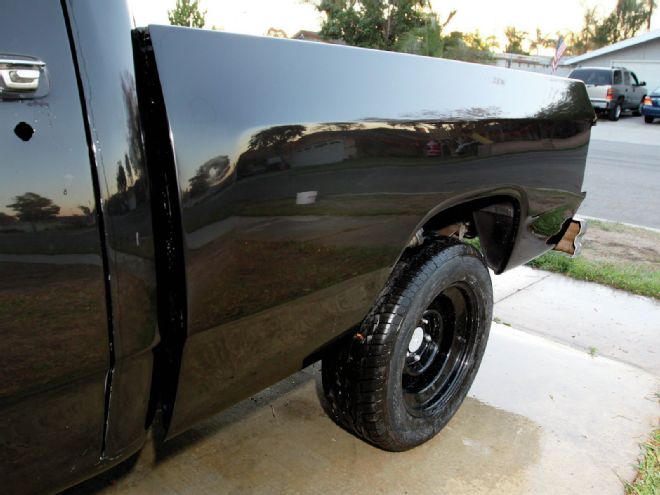 18. Not one trace of dulling back, this is how glossy the high-solids urethane clear appeared after going 10 months without a wash.