Last month Charley Hutton, at Charley Hutton’s Color Studio, gave us a working tour of Envirobase High Performance, PPG’s line of waterborne basecoats. Though the information applied specifically to the paint, every so often he’d interrupt himself to reveal handy methods and potential pitfalls that escape most enthusiasts. “You could probably do a story about nothing but these little things,” he observed at one point. That inspired us. So here we are.
What follows is largely a collection of very basic tips and tricks. Though some are perennial favorites in the paint-story world, they bear repeating for several reasons. Obviously this information serves newcomers. But probably more importantly, if not so obvious, it benefits seasoned professionals just as well. Over the years we’ve seen veterans violate a few of these simple rules. Old habits die hard; bad habits die harder.
Anytime is a great time to establish new habits but right now may be the very best time to reevaluate old ones. Until now, many of us have gotten away with various sins but our happy luck may be coming to an end. Though easy to use, the future generation of finishes won’t forgive the same violations that paints of yore did.
Lots Of Clean, Dry Air
Air supply isn’t the most critical element to spray paint. However, we treated it with priority because it’s the first thing would-be painters should consider when planning a shop.
High-volume, low-pressure (HVLP) spray guns revolutionized paint transfer rates. High-pressure guns of yesteryear blasted paint at such intense velocity that more than half of the materials left the gun as a dense fog that ended up on everything but the target (Graco, makers of Sharpe guns, estimates about a 25-30 percent transfer rate for non-HVLP guns). By reducing the pressure and increasing the volume, however, modern HVLP guns can transfer at least 65 percent of all materials to the intended target (some achieve even greater transfer efficiency).
That increased transfer efficiency reduces material cost and pollution but it requires one thing: lots of air. According to The Eastwood Company, compressor ratings tell only a part of the tale. Compressors, like engines, are rated when new and under ideal conditions and we all know what age does to mechanical things. Furthermore, every component in the system—pipe, elbows, regulators, filters, hose, and even fittings imposes a volume restriction. Again, according to Eastwood, if a system’s air supply can’t deliver enough air to a volume-sensitive tool like a paint gun, the finish will suffer.
Proper technique has always called for clean and dry air but the new breeds of finishes are even more vulnerable. It goes without saying that the tiniest drop of oil introduced into the paint stream will obliterate a finish. Though waterborne systems rely on water as a transfer medium it goes without saying that an extra drop of water can throw the ratio out of whack … and wreck a finish.
The Foundation Is The Finish
Paint has always been notoriously thin, approximately 2-3 mils or roughly the thickness of a human hair. Though seemingly sparse, that’s sufficient to fill 400-grit sanding marks.
Modern paints aren’t so forgiving. As we revealed last month, waterborne basecoats achieve about 0.5-mil coverage. That’s 15-25 percent of what older solvent-based paints could achieve. They rely on immaculately smooth surfaces. While Hutton says we can get away with 400-grit prep with solvent-based paints he advises at least 600-grit for waterborne finishes.
How To Pour From A Can
If someone told us we’d one day tell people how to pour from a can we’d have accused them of insulting your intelligence. Then we saw this.
All of us have tried to pour fluids from a full can only to end up wearing the contents. It’s one of those things that most of us have learned to live with but it doesn’t have to be that way.
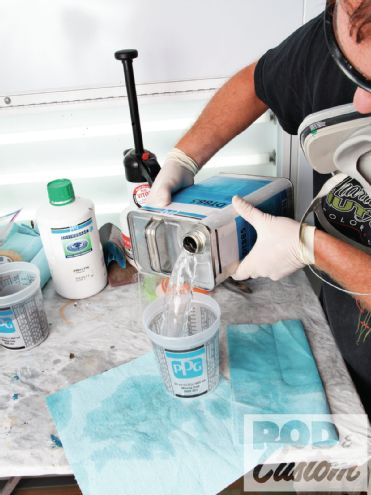
Here’s the solution: When pouring from a full container, roll it on its side and pour with the spout toward the top of the can. That way the fluid won’t pour until the can pitches well over.
Panel Cleaning
We’re going to cheat a little and repeat something that we published in last month’s waterborne basecoat piece. It has to do with panel preparation but it bears repeating, if only to drive home a point.
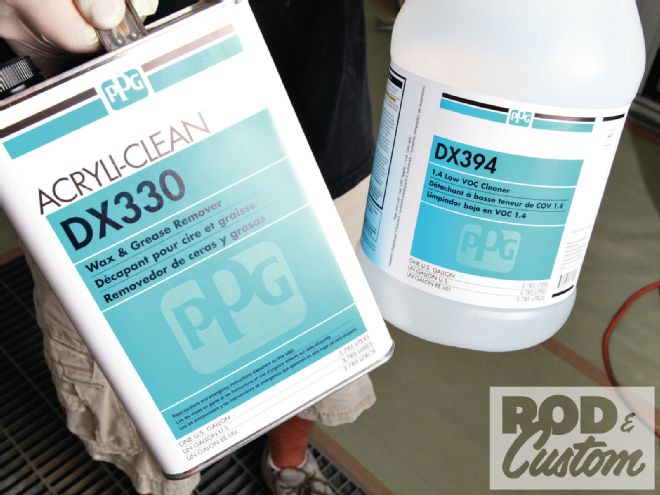
Both waterborne and solvent-based paints are vulnerable to water and oil. The difference is that the solvent preparation for solvent-based paint eliminates water contaminants. The preparation for waterborne paints, on the other hand, can potentially contaminate waterborne finishes: any trace of water that lingers can wreck a basecoat.
Hutton recommends first scrubbing the surface with a water-based cleaner to eliminate salts and minerals, following it with the solvent-based cleaner. The solvent-based cleaner is more volatile and in his estimation is more likely to displace water and cause it to evaporate.
Gun Cleaning
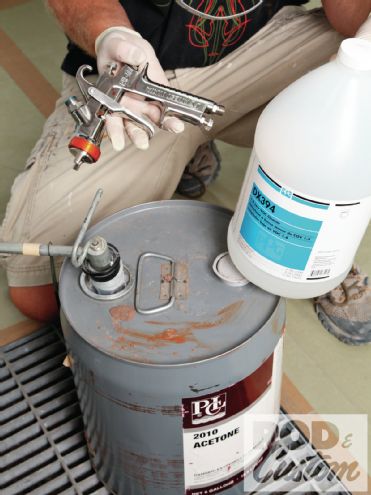
The cleaning technique applied to painted surfaces extends similarly to spray guns. Even if shooting with water-based formulas exclusively Hutton says it pays to finish the cleaning process with a solvent-like lacquer thinner or acetone. More than displace water, those volatile solvents evaporate quickly and leave the gun bone dry.
Tack Cloths
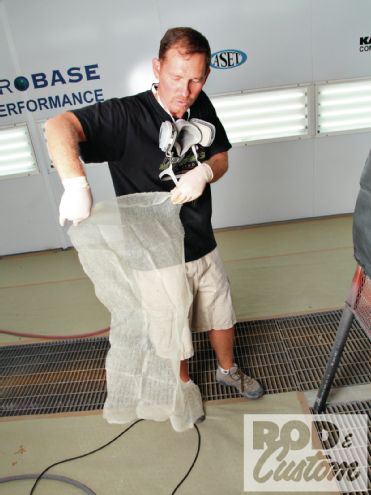
For years painters relied on tack cloths to remove dust and debris from surfaces intended to be painted. These loose-woven sheets owe their name and their effectiveness to a tacky residue that literally grabs stray particles. The cruel irony is that the residue in these dust-grabbing cloths often sloughs off in tiny flakes, creating a contamination issue of its own.
It’s All In The Wrist
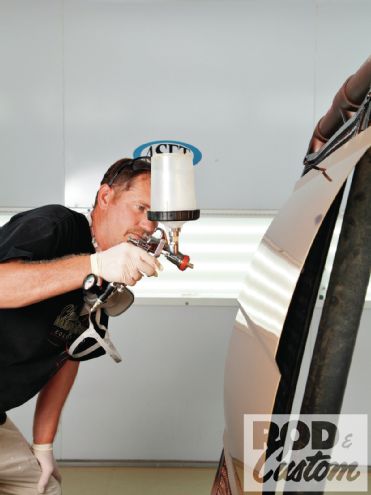
This is an oldie but considering how often we see people violate this age-old rule apparently people don’t heed it. To put it simply, don’t swing the gun in an arc.
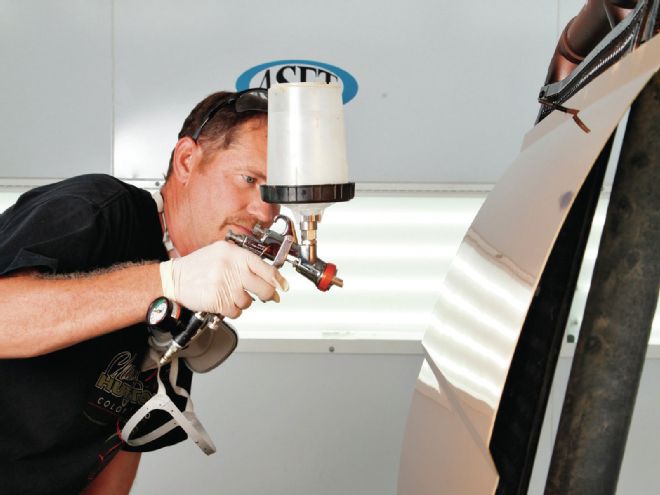
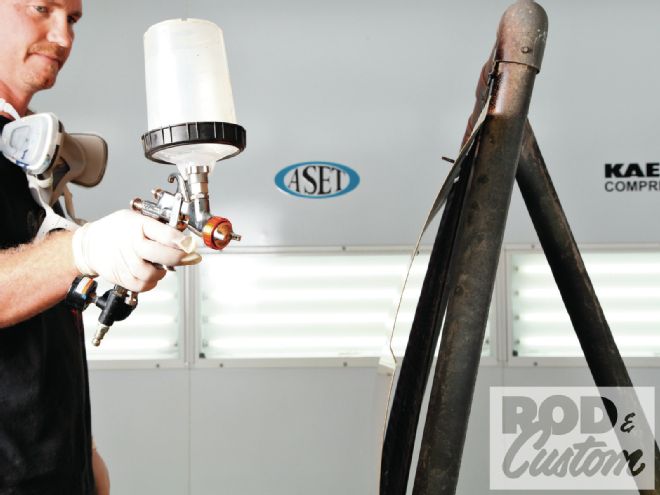
Painting rewards consistency: consistent pressure, consistent mixture, and, not the least of which, consistent spray distance. Reducing the spray distance concentrates the sprayed paint in a smaller, denser area; increasing spray distance distributes the paint over a larger, thinner area. Well, swinging a gun in an arc increases the distance at the ends and reduces it through the middle.
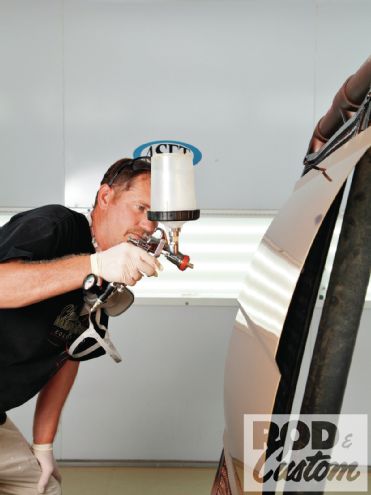
Instead, move the gun along the panel. Use your wrist, your elbow, and your shoulder to maintain the optimum shooting distance along the length of a panel.
Reflect Upon Your Work
Looking headlong into a mirror will tell you a lot about how you look, however it won’t tell you a thing about the surface of the mirror.
The same principle applies to paint: looking straight into it won’t tell you a thing about the surface you just applied. Instead, look at it from an oblique angle. What reflects in the painted surface will tell you volumes about the quality and consistency of your work.
Develop An Abrasive Personality
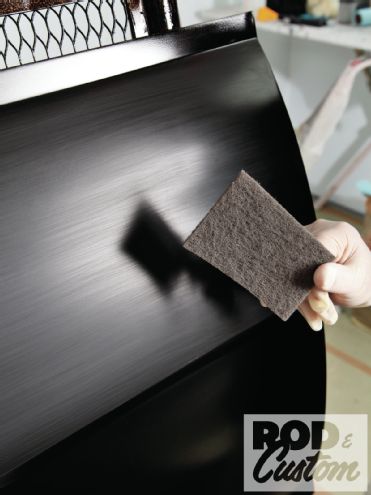
Adhesion issues relate directly to a finish’s ability to achieve a bond. They achieve their bond in two ways: mechanically and chemically. Mechanical bonding is simple: most finishes key into roughened surfaces like a barnacle takes to a pier. Chemical bonding is a little more complex. In this case a finish’s solvents will attack incompletely cured existing finish merging the two layers into one.
We refer to this period where an existing finish will partially dissolve in the presence of solvents the recoat window. Though most finishes’ recoat windows can be measured in days they lose more of their willingness to achieve a chemical bond as each hour passes.
Hutton discourages relying exclusively on a chemical bond if a finish sits overnight. Instead, he recommends giving the surface the bonus of a mechanical bond. According to Hutton, the combined methods will increase adhesion remarkably and ensure the best possible outcome.
Dry Paper For Dry Repairs
Just as it’s guaranteed that a slice of toast will land butter-side down, it’s just as likely that something will land on a freshly painted surface. Luckily the remedy is simple: sand out the offender and recoat the area.
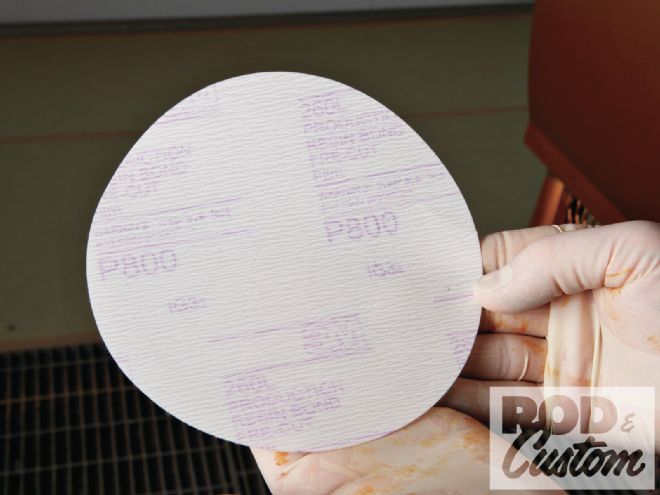
But don’t just grab at any old paper. While wet-or-dry papers will work on dry surfaces they really rely on water to prevent the sanded material from clogging the abrasive. The trouble is that most repairs and nibs occur on dry surfaces. What’s more, the incompletely cured finish can increase the potential to clog the paper. For such dry repairs Hutton recommends papers formulated for dry-sanding operations. Abrasive manufacturers incorporate stearates or dry lubricants to prevent the paper from clogging with uncured resins during dry-sanding operations.
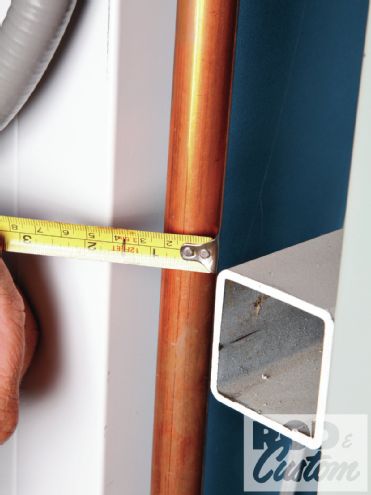
[1] Charley Hutton uses 3/4-inch supply lines through most of his shop but that’s only the start. Eastwood recommends the shortest length of at least 3/8-inch-diameter hose and advises eliminating as many fittings and elbows as possible.
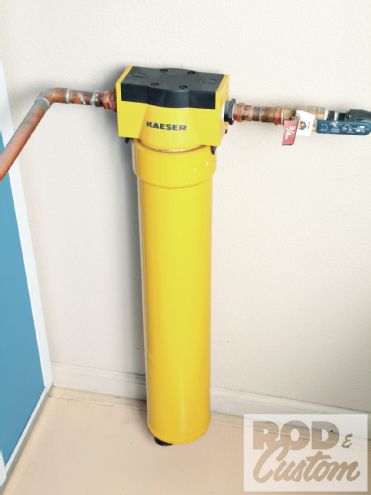
[2] Hutton repeatedly emphasized the importance of a high-quality water/oil separator. Good ones aren’t cheap but neither is a modern finish that blows up in blisters or fisheyes.
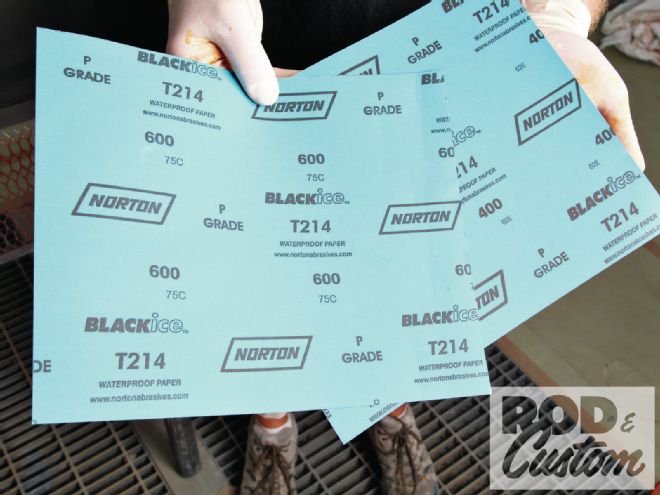
[3] You may not be able to feel the difference between 400- and 600- grit paper but a painted surface can … and it will show you. Hutton advises prepping surfaces for solvent-based paint with the former and surfaces for waterborne with at least the latter.
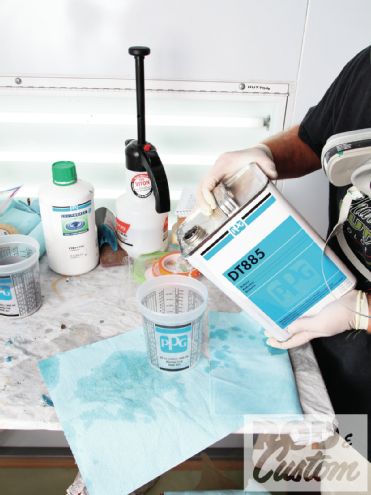
[4] We’ve all done this before, some of us many times. With the spout at the bottom a full can will pour when the spout is still pointed up. Fluids splash upward rather than flow sideways.
[5] Rolling the can over on its side and orienting the spout toward the top causes its contents to flow freely away from the can. Try it; it’s awesome.
[6] Waterborne prep requires a solvent and water cleaning process. Hutton recommends finishing with the solvent-based cleaner to displace water.
[7] Water won’t attack most high-quality paint guns but the elements suspended in it can leave deposits. If shooting waterborne do yourself a favor and follow the water-based cleaning process with one using a volatile solvent-like lacquer thinner or acetone.
[8] Hutton says the solution to cure a tack cloth from leaving a trail of its own contaminants is simple: unfurl the new cloth, shake it out, refold it, and continue. More than eliminate the potentially flaky residue, the refolded cloth will often better conform to complex shapes.
[9] Note the spraying distance Hutton achieves here. What’s more, he has the gun pointed directly at the panel for the best transfer rate. This is good.
[10] This is not good. Note how the spraying distance increases if Hutton swings the gun at an arc. The increased angle will further reduce the transfer efficiency. The pattern will be dense across the middle and thin at the sides.
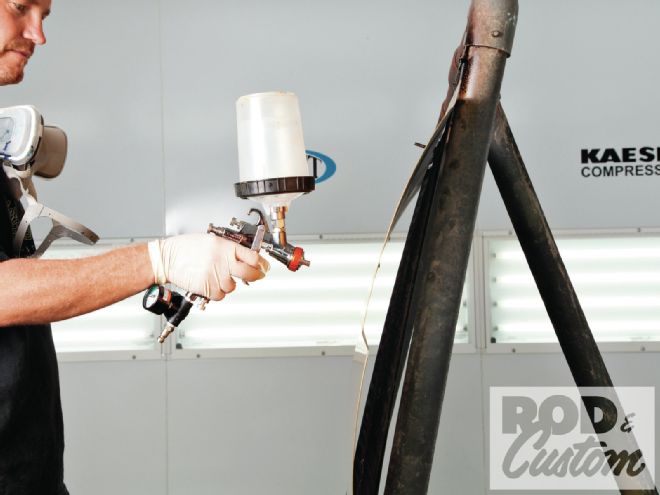
[11] Note how Hutton extends his arm to move the gun down the panel. Also note how he compensates for his arm movement by bending his wrist.
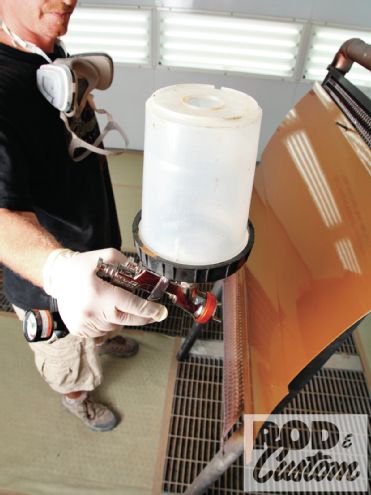
[12] Hutton completely changes his wrist angle as he moves the gun down the other end of the panel. Note that the shooting distance and angle remains consistent regardless of the gun’s position. That will ensure a consistent pattern along the length of a panel.
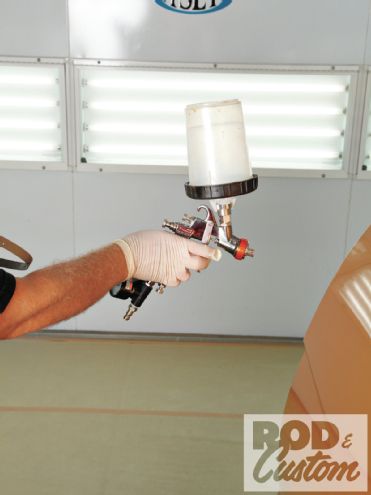
[13] A panel may look shiny when viewed head-on but it won’t tell you squat about the surface condition.
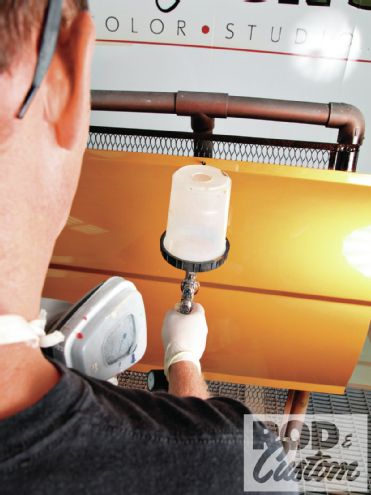
[14] However, note how much the panel reveals when viewed at an oblique angle. Everything from the yonder wall reflects in the surface and contrary to what Mom said it’s really what’s on the surface that counts. Hutton says shooting this way will improve your results dramatically.
[15] A mechanical bond doesn’t require very much—in fact too much of a good thing can harm a recently applied finish. Hutton maintains that an extra-fine gray abrasive pad creates a sufficient opportunity for a mechanical bond.
[16] One of the most reliable sources for dry-sanding papers is for dual-action sanders. They rely on dry lubricants to prevent paper clogs, a real benefit when sanding partially cured finishes.
