Sprucing up the bed of a truck should be at the top of any owner’s priority list when it comes to necessary upgrades. But oftentimes, it’s one of the last items to receive any attention. Cost could be one reason for this, as a bed wood kit can get pricey and there is a bit of labor involved in removing the old and installing the new. The difference between a busted up bed floor and one that’s been massaged is night and day, however, and the results don’t have to break the bank or take more than a day to complete.
Kev Elliott’s 1946 Ford F-1 is great example of this. For years, the bed floor of his roadster pickup consisted of a well-worn sheet of plywood that fit tightly inside the confines of the bed. No shine, no polish, just a plain ol’ piece of wood. It hauled a couple of bags and some tools and did just what it was required to. But it wasn’t much to brag about in the looks department.
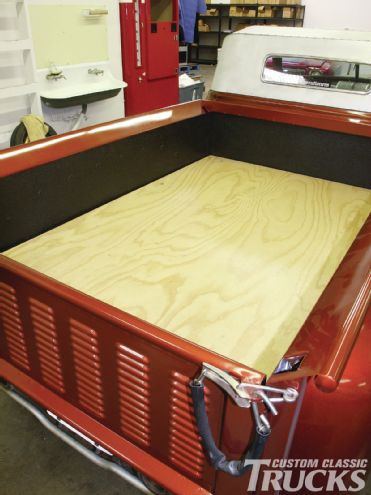
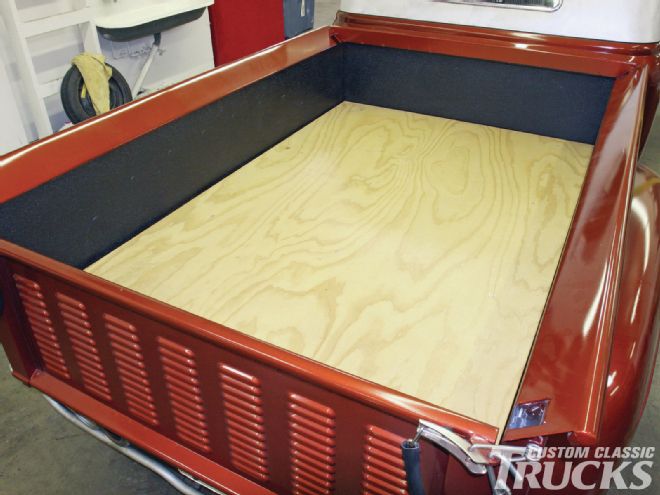
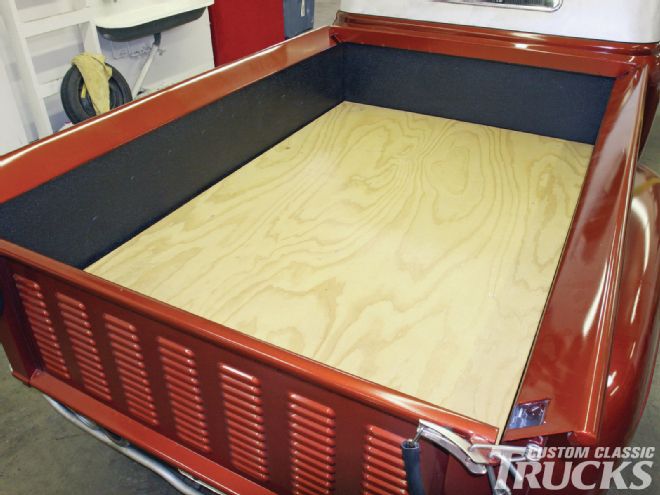
Recently, Kev decided to finish up the truck by painting it using Summit Racing urethane. The finished result looked great, but it made the unfinished bed area stand out even more. The solution was a simple but effective one; hit the bedsides, header panel, and inner tailgate with PlastiKote’s black bedliner and replace the rotten plywood with a nice sheet of sanded pine drenched in Spar Varnish. With a simple day’s worth of work, the bed went from shoddy to shiny, and for pennies on the dollar to boot! Now who can complain about that?!
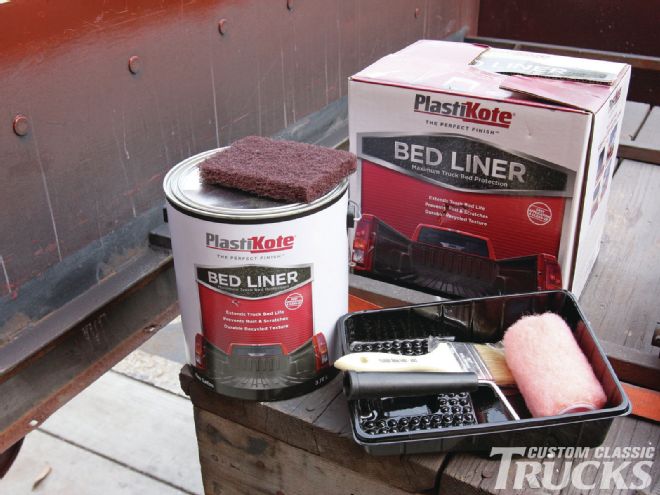
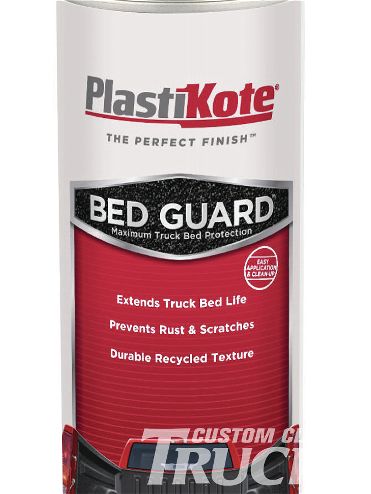
1. We’ll be using PlastiKote’s bedliner kit in the roll- or brush-on form for our install. A gallon of the water-based, quick-drying material will cover a full-size pickup bed and delivers exceptional durability by providing a permanent yet flexible, non-skid rubber surface. It will also withstand extreme temperatures and resist fading. A roller and paint tray comes with the kit as well as a Scotchbrite pad. A brush is a good addition to get in those hard-to-reach spots.
2. If spraying is more your thing, PlastiKote also offers their bedliner kit in an aerosol form with an easy-to-use trigger designed to keep your hands clean, while still maintaining all of the same attributes as the standard kit.
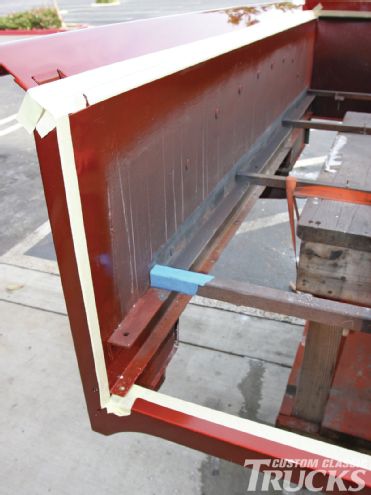
3. Before we get started applying anything, however, we have to mask off the area that we don’t want to coat. Since we’ll be applying the material via a brush and roller, it’s only necessary to mask off the immediate perimeter as we don’t have to deal with any overspray. Notice that Kev blended the body color past the perimeter of the bedside so that the tape line for the bedliner can be applied over the body color, giving a crisp transition.
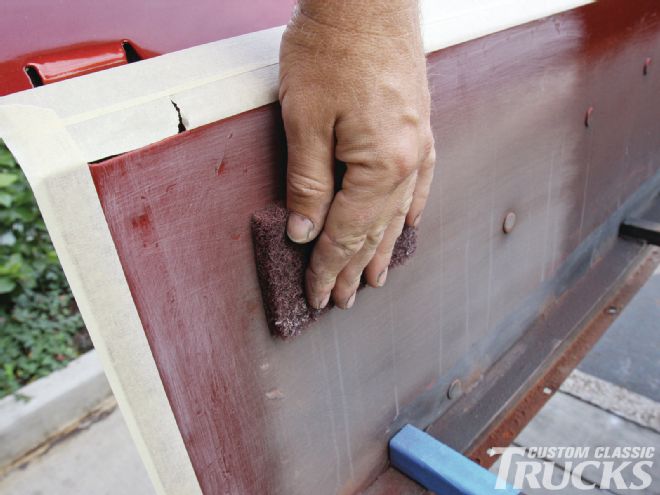
4. The next step is to scuff the entire surface to be coated using the provided Scotchbrite pad so that the bedliner can properly adhere.
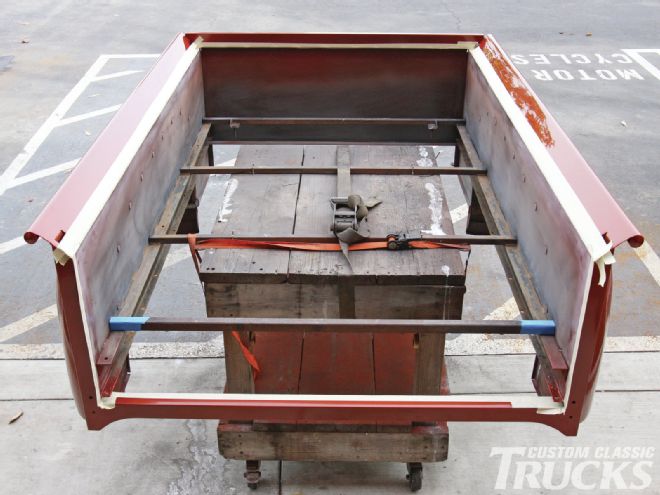
5. With the bed masked and every surface scuffed, it’s time to start applying the bedliner.
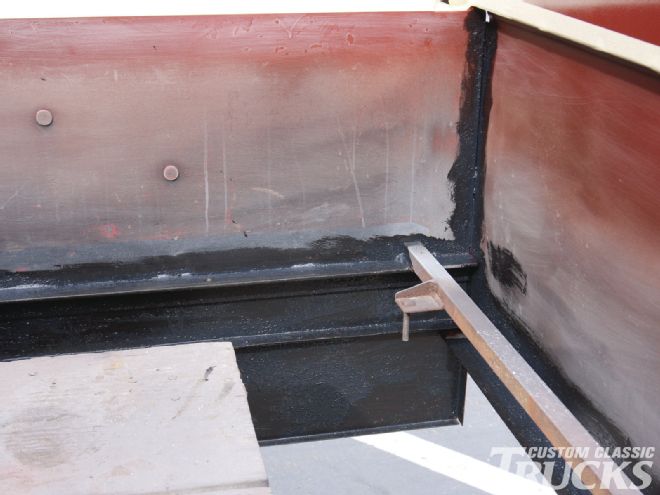
6. First, Kev “cuts in” with a brush the areas where the roller won’t reach. Don’t forget to reach under those cross sills and any other sections that might be prone to rust for maximum protection.
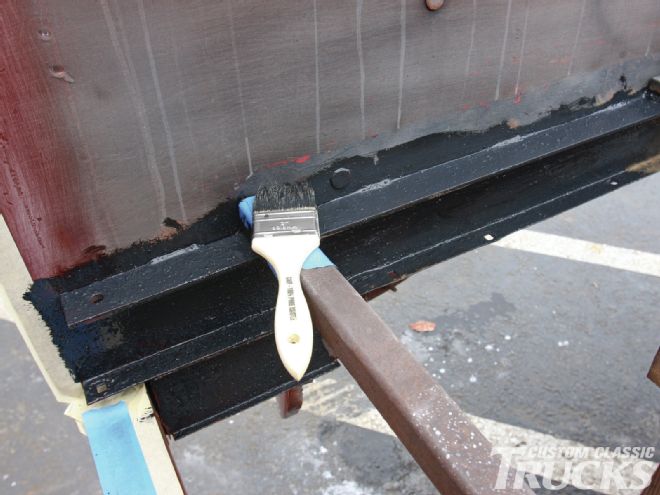
7. The goal is to apply the material in every nook and cranny before the large sections can be covered.
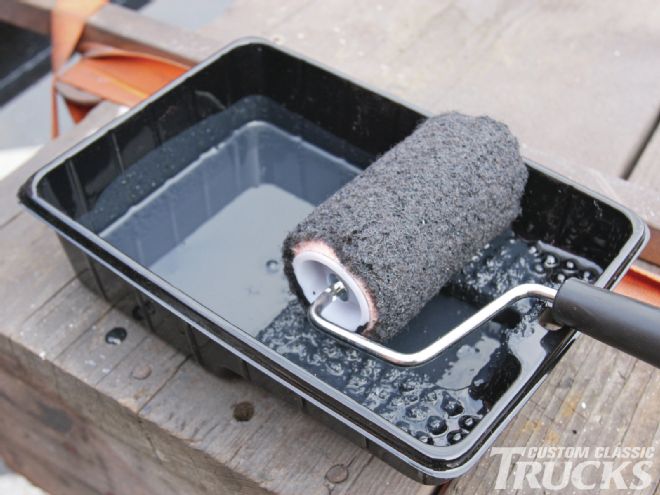
8. A little material goes a long way, so it’s best to not oversaturate the nap, as you roll on the bedliner.
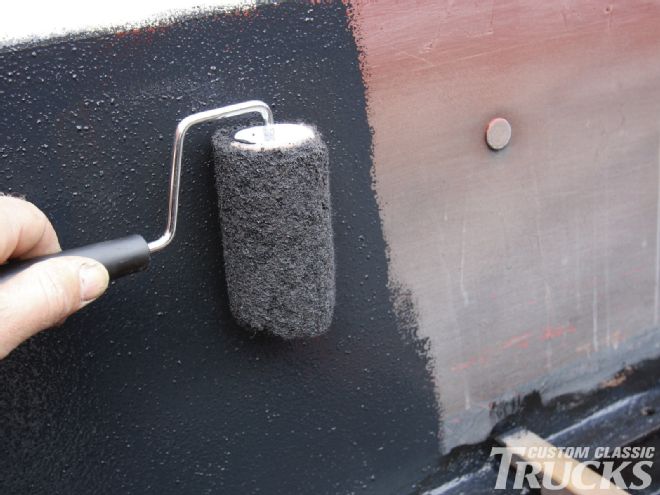
9. The textured liner is applied just like painting a room in your house, keeping a consistent amount of material and overlap each consecutive pass to avoid blotchiness. Note the section that has only received a single pass at the top of the taped edge, this is why multiple passes are so important.
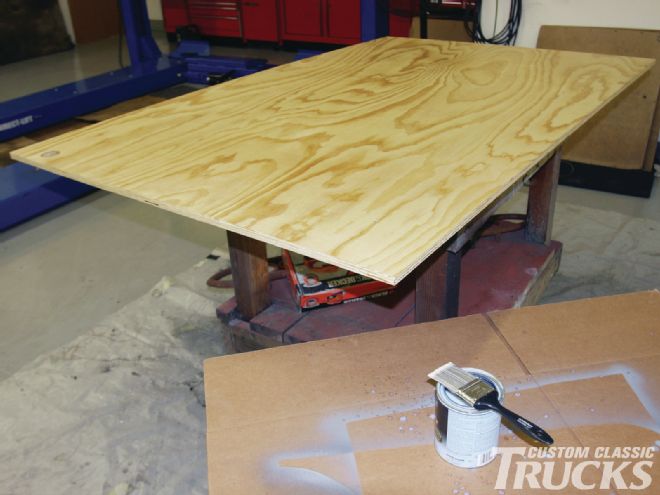
10. For the bed floor, Kev went DIY and picked up a 4x8 foot sheet of sanded pine plywood from the local hardware store, trimmed it to fit the floor of his bed and covered it with Spar Varnish for protection and a little sheen.
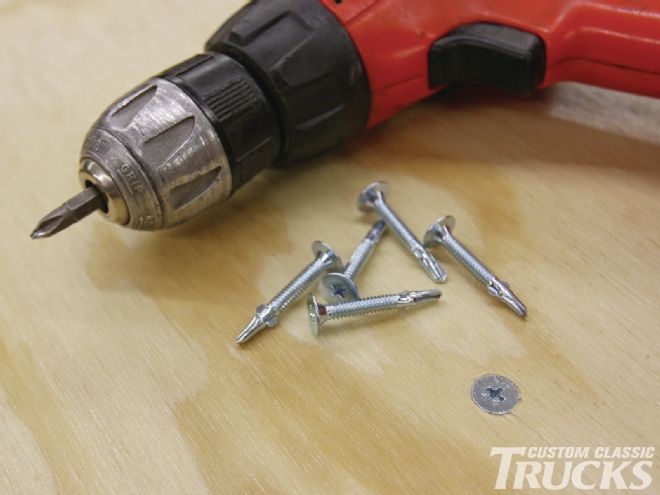
11. Self-tapping sheetmetal screws attach the new bed floor to the old cross sills and provide a minimalist appearance due to the absence of any steel bedrails.
12. And there you have it! A completely transformed bed in a day’s work.
