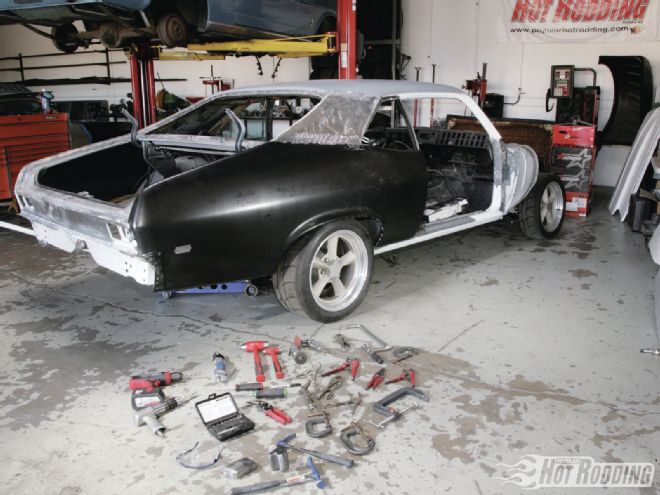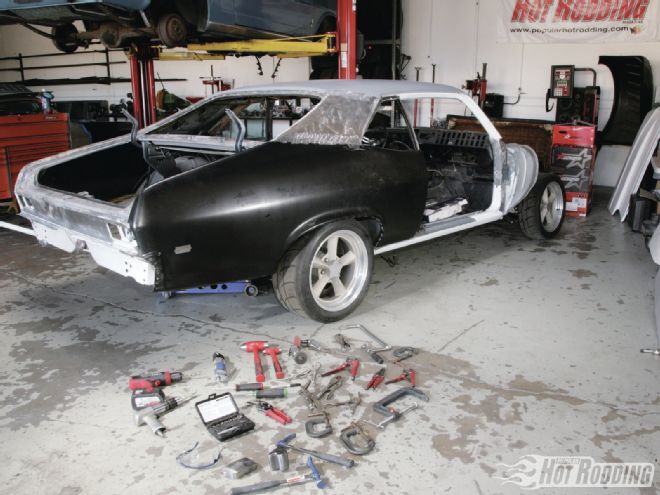

A funny thing happens when you start tearing into rust-free California muscle cars. Oftentimes, you find out rather quickly that a lack of rust doesn’t necessarily exonerate your project car from bodywork jail. Sure, Southern California’s near-perfect Mediterranean climate does wonders for keeping rust at bay, but all the sunshine in the world is no match for 40 years worth of errant shopping carts and chunks of airborne asphalt that come courtesy of the Golden State’s crumbling infrastructure. That ugly truth certainly applies to our ’68 Nova project car. After decking it out to the hilt with a 523hp Dart small-block, a Phoenix TH400 trans, a Moser 12-bolt rearend, and Classic Performance Products suspension and brakes, it was time to address the sheetmetal.
 In preparation for a fresh coat of paint, the Outlaw Motorsports crew stripped our ’68 Nova of its fenders, hood, trunk, glass, and trim pieces. Most of the factory metal looked solid, but the passenger-side quarter-panel needed to be replaced. Littered with holes and tears, it simply would not have been cost effective to attempt to patch up.
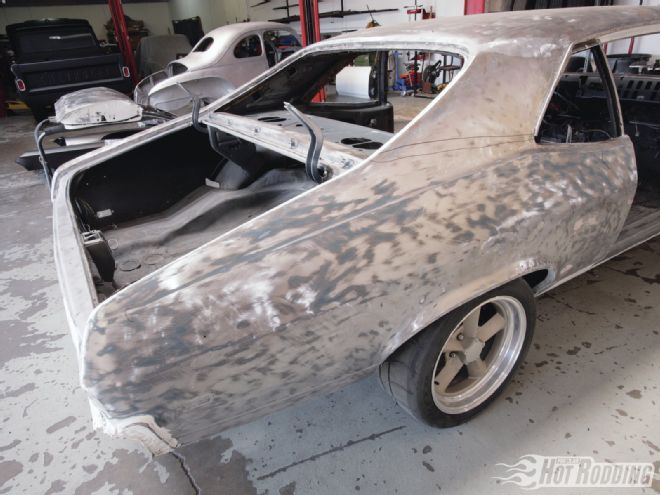
Much to our chagrin, sanding the body down to bare metal revealed that most of the factory panels on the passenger side were ravaged by what appeared to be a high-speed swipe by a passing train. Starting at the front fender, going into the doorskin (which we replaced back in the January issue), and finishing its rampage in the right-side quarter-panel, the errant locomotive left no panel untouched by its mayhem. But hey, at least it was rust free! Although it’s a good idea to try to salvage factory metal whenever possible, this panel was stricken with countless holes and tears, and simply beyond hope.
Unfortunately, a quarter-panel is arguably the most challenging piece of sheetmetal to replace on an entire car. Not only is it one of the largest and most difficult panels to handle on the body, it can’t simply be unbolted like the fenders, hood, and trunk. Cutting and welding is the order of the day. Granted, replacing the floors also requires the hack-and-weld treatment, but since they’re sandwiched between carpet and undercoating, it does wonders for hiding mistakes. No such luck with quarter-panels.
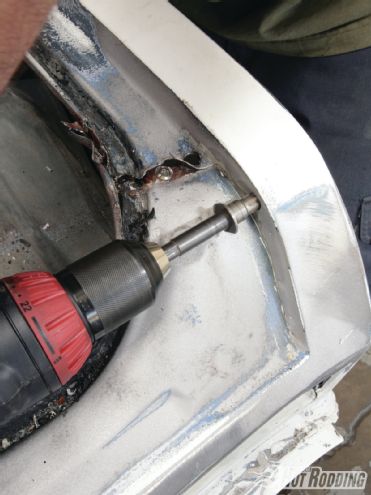
 Drilling out the spot welds is pretty straightforward. First, Aschtgen hit each weld with a center punch, then proceeded to drill with a 5/16-inch spot-weld remover bit. The bit uses a spring-loaded pin, which helps speed up the process. After drilling out the welds in the trunk area, Aschtgen moved on to the doorjamb section.
Despite the inherent challenges involved in replacing a quarter-panel, rest assured that it can be done. We turned to Outlaw Motorsports (www.OutlawMS.com) in Riverside, California, to show us the way, and picked up a ton of helpful tips in the process. Owner Ron Aschtgen advises to set aside a solid two days for a quarter-panel swap, but with enough time and patience, anyone can do it. All you need is a MIG welder, a box full of clamps, and some basic air tools. So let’s get crackin’, shall we?
Quarter-Panel Tips From Ron!
• “Common sense goes a long way when doing metalwork. Don’t get in a hurry and take shortcuts. Make sure all the spot welds are drilled out and make cuts carefully.”
• “One of the worst mistakes you can make is cutting things that aren’t supposed to be cut out. For example, don’t cut the factory sail panel too short or cut too far into the rocker panel.”
• “When lining up the quarter-panel, make sure you do it with the trunk and doors shut. That way you can use them as a reference point to help line it up and get the gaps even.”
• “Some of the factory spot welds are impossible to reach with a drill. That’s why you have to skin certain parts of the factory quarter-panel and peel it back with a hammer.”
Where the Money Went
Item: Quarter-panel
PN: LJ101RH
Price: $475.99
Tools You’ll Need
Item:
MIG-welder
Hammer and dolly set
Cordless drill
Air hammer
Cutoff wheel
Angle grinder
Air punch
Hole cutter kit
Assorted C-clamps and locking pliers