
In our July issue, we started work on our beyond-basket-case-rated Challenger and quickly realized we had bitten off a lot in the way of a project car. we've seen cars in better shape hit the crusher, but that's the way things are these days-the decent, rebuildable cars have either already been rebuilt or crushed years ago. In other words, acquiring a project car now usually means starting with a less-than-stellar candidate.
Last time, we tackled the floor replacement on the Challenger. That in itself was a big job, but now it was time to replace the exterior visible sheetmetal. Since we are replacing the metal, a plan was hatched to turn the car into a '70 model. Yes, we're going to change the look of the car. Many times, folks get defrauded by unscrupulous people who build a seemingly more desirable car from a less than desirable shell, and we want to assure everyone that such is not the case with this car. The car will retain its proper VIN, and forever be known as a '73 Challenger with '70 parts. Hey, don't yell at us. we asked you guys what you thought we should do, and the consensus was to change it. When considering a sheetmetal change, usually there is no problem until you consider things like trim items (e.g., side marker lights, bumpers, bumper brackets, and so on). So since we are making this car look like a '70 Challenger, we'll have to address items such as bumpers, grille, and taillights in the future.
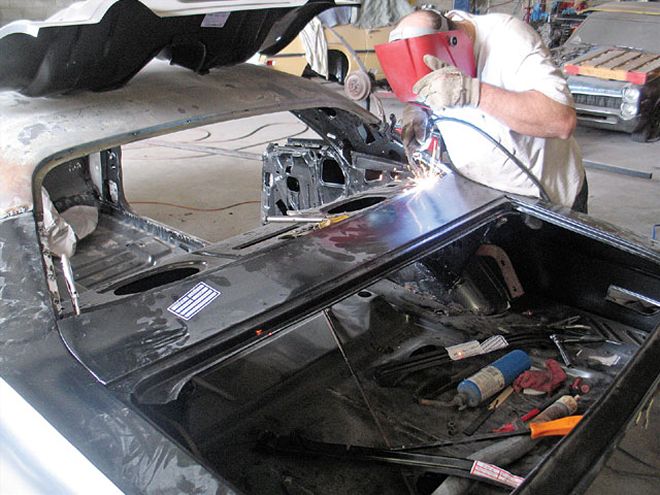
For now, however, we need to focus on the outer sheetmetal. If you saw some of the photos in our previous installment, you know the car was really rusty, so metal removal was extensive. The best way to do this is to have the car firmly located on a frame jig. If that's not possible, several jackstands-although not as ideal-can be used. just make sure that no matter what method you use, do a lot of measuring before you weld to ensure that things are not welded improperly or the trunk and/or doors won't close properly.
Now it's time to get down to work and literally back half a car.