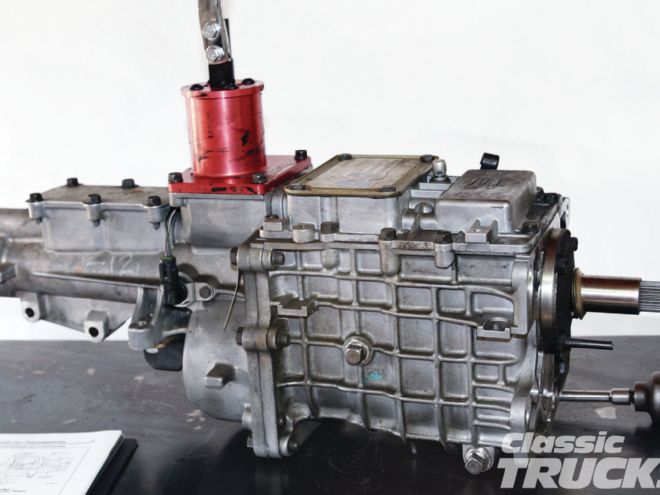
Being able to test our project vehicles to the absolute limits, we are able to find out what we can do to better the components we use. For example, bolting on parts to an engine so that we can improve performance for the street or racing is done all the time. But what about the five-speed transmission? What can we do to make manual transmissions shift better or handle the higher rpm's of today's engines?
Doing the research I came up with the conclusion that there is no one answer to that question, but rather several answers. The previous transmissions were built to handle power up to 250-300 horsepower from the factory. The T-5 and the later TR-3550 five-speed transmissions were great for swapping into hot rods, but unless you were the guy pulling it out of the donor vehicle you didn't really know what you had.
The transmission could be total junk inside from someone not maintaining it or possibly racing it everywhere. Another thing to think about is what the T-5 came out of? I did a quick search about the T-5 and it came out of everything from a Chevy Astro Van, S10, Jeep CJ7, to a Ford Mustang. A few major differences were the shifter location and the higher horsepower applications; for instance, the Mustang and Camaros got what was called T-5 World Class, and for the most part those handled more horsepower.
With that all said and done there is really something to say about today's TKO-500 and TKO-600 transmissions. Sure, I would like to hold the gas pedal down and be able to bang the next gear like an old four-speed, but I also realize the TKO is a better overall transmission in that its got a fifth gear and for me that makes all the difference in the world.
The TKO's bigger brother, the T-56 six-speed, is also a great transmission. It costs more and can present firewall and transmission tunnel clearance issues, but can handle tons of power and high-rpm shifts. I'm not going to pretend that I am some kind of transmission expert or that I've been into tons of five-speed transmissions, but rather pass what I can on to the readers. I can tell you that pulling a TKO apart is no harder than installing heads on a SBC and that it's really no big deal. I needed large snap-ring pliers, a universal magnetic micrometer, and a bunch of sockets. Let's get started.
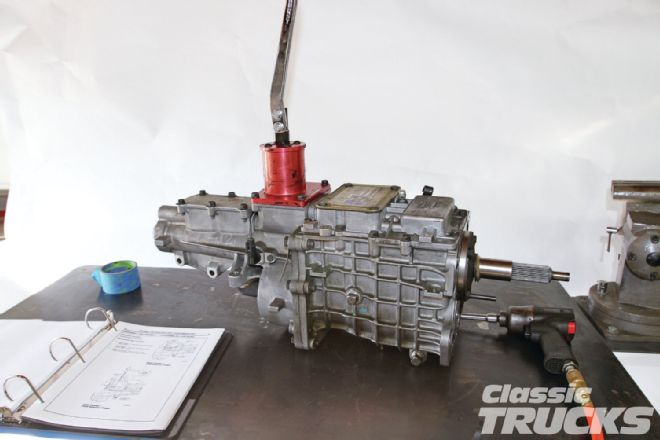 1. I printed out a TKO manual from Tremec to use as a guide for the teardown. This is what the TKO-500 and 600 look like without a bellhousing.
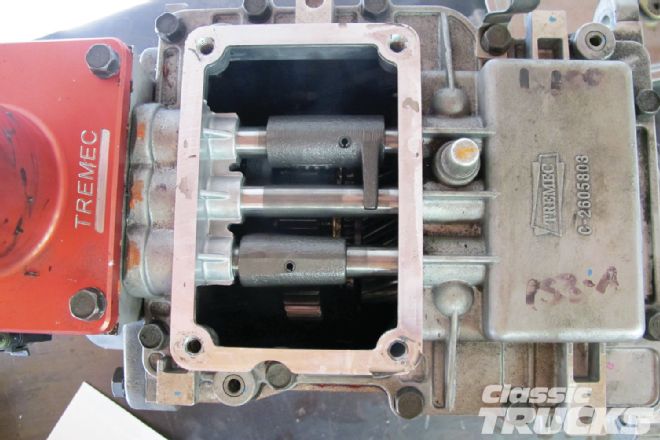 2. Next I removed the upper front plate closest to the bellhousing and visually inspected the shift rails. Look at the lower rail and see that it is moved to the left, this is first gear. Second gear is when the lower shift rail is all the way to the right.
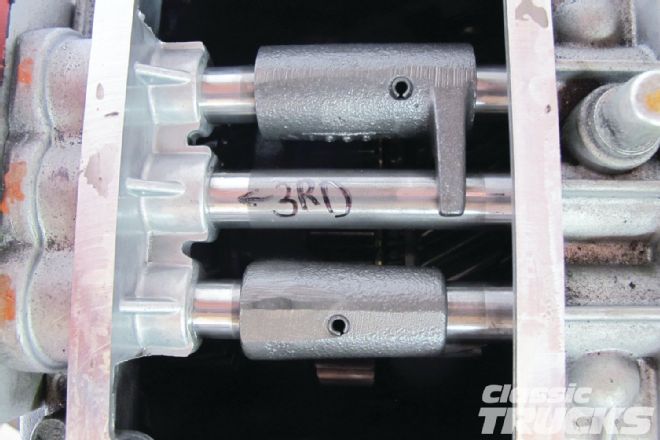 3. Third is the center shift rail and all the way to the left toward the tailhousing. Fourth is the center shift rail and all the way to the right.
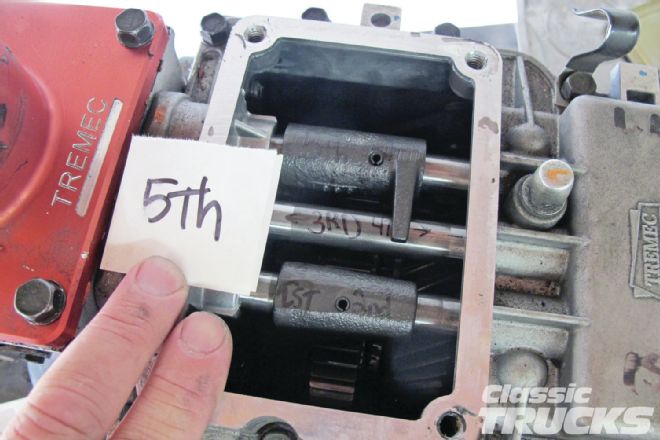 4. Fifth gear is the upper shift rail all the way left toward the tailshaft. Finally, reverse is the upper shift rail all the way to the right. Simple, right?
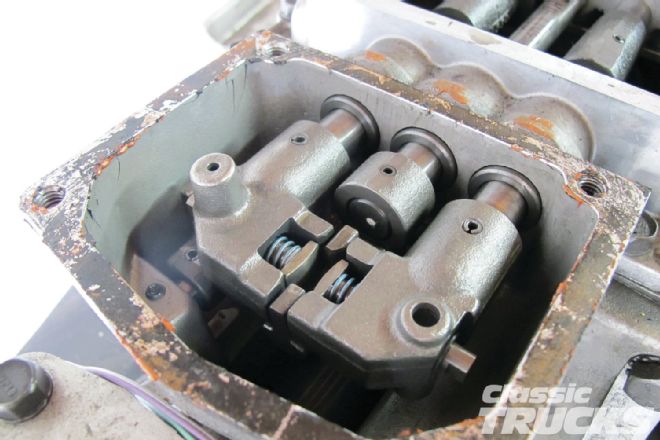 5. Since the TKO-600 comes with a Tremec mid shifter this is where the shift rails get controlled by the shifter. Some of the TKOs and T-5 have a rear-mounted shifter and longer shift rails.
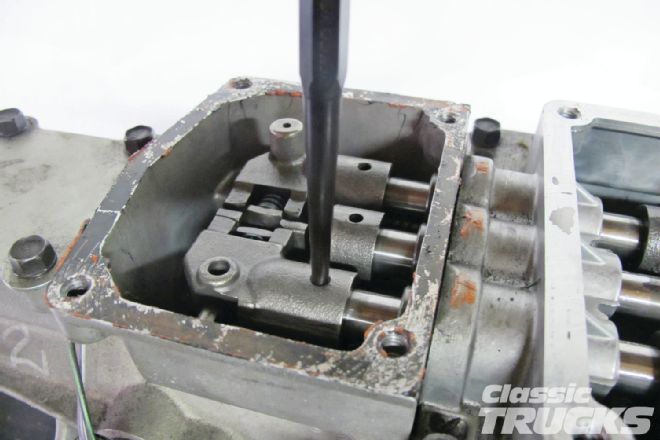 6. The shift lugs were then removed using a drift punch and a hammer. Make sure to gently tap the roll pin downward until it is almost all the way out, leaving it in the shift lug but past the shift rail. This way the roll pin doesn't get lost in the bottom of the transmission.
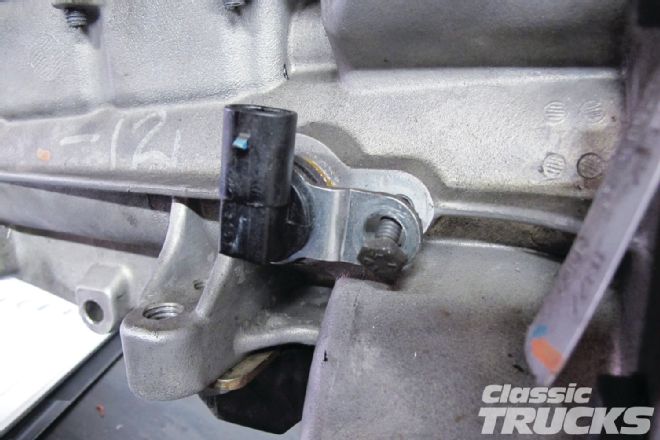 7. Remove the speedo sensor so that it doesn't get damaged when removing the tailshaft.
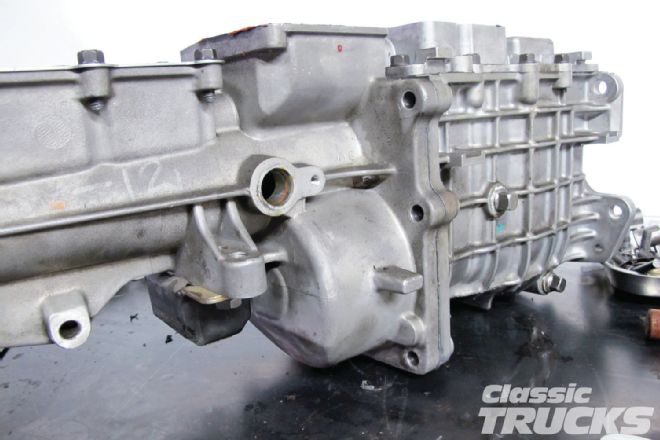 8. I removed the rear tailshaft bolts and tailshaft housing.
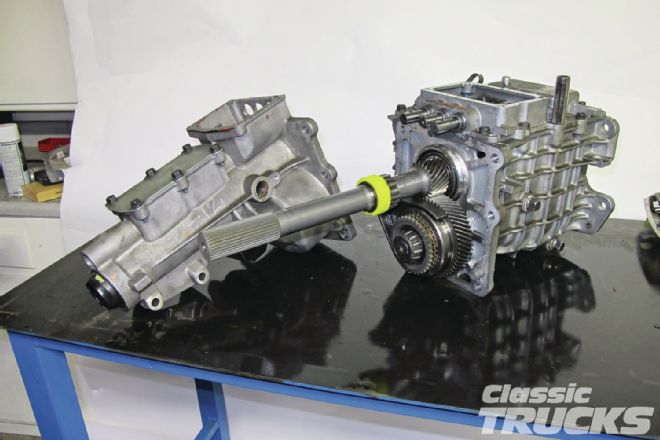 9. This is where the fifth gear synchro is hiding.
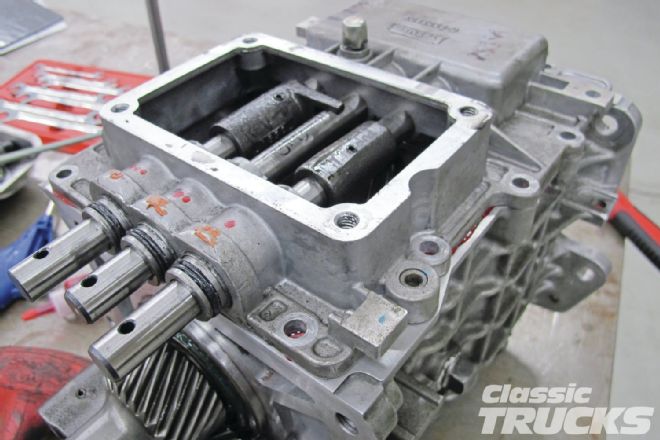 10. Now remove the bolts for the case cover that houses the first through fourth shift forks. Pull straight up on the cover and inspect the gears and shift forks, etc.
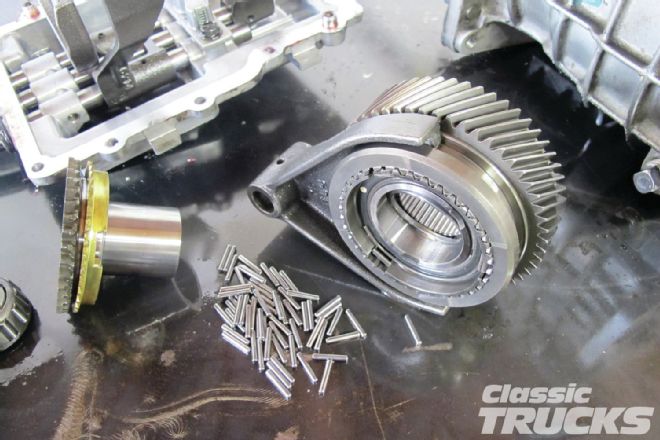 11. The fifth gearshift fork pin was punched out using a drift and fifth-gear clutch cone, bearings, synchronizer blocker ring.
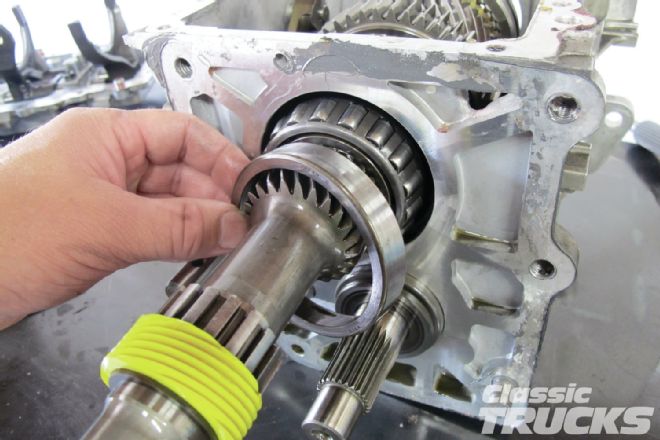 12. The output shafts bearing race is removed by moving the output shaft side to side.
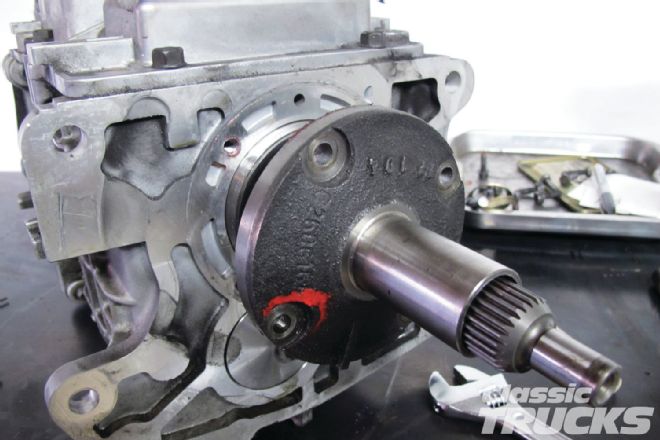 13. The front bearing retainer on the bellhousing side is removed and the input shaft is removed.
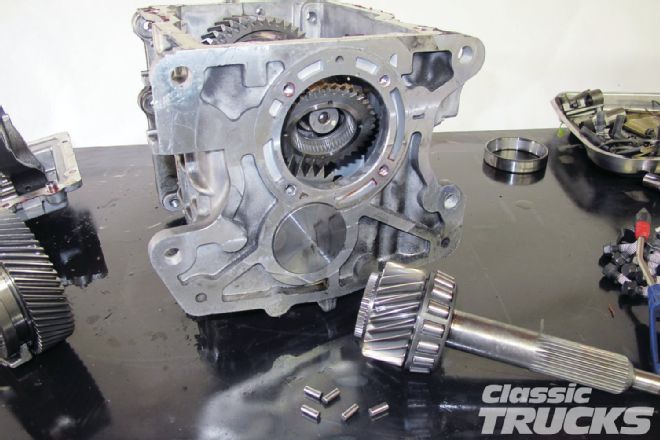 14. The input shaft has pocket bearings that will fall into the case when removing the input shaft. Make sure to pick the fallen bearings out of the case with a long magnet.
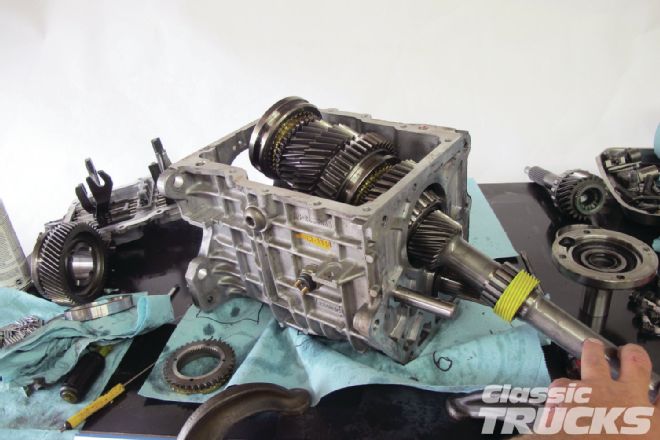 15. The output shaft is tilted up and removed from the case.
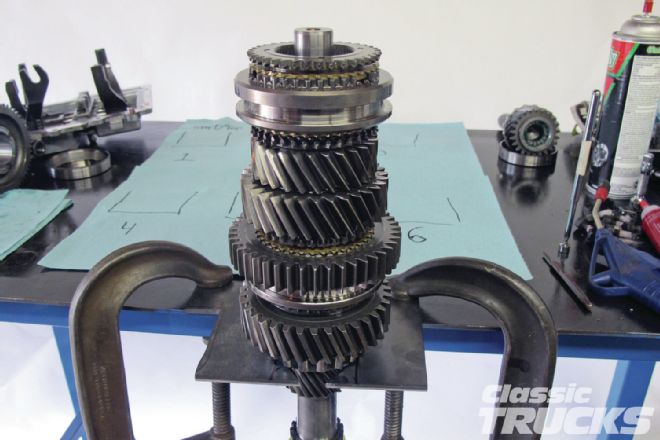 16. I made a simple output shaft holder by cutting a hole in a piece of 1⁄4 plate and clamping it to my table. This way I could remove the old synchros and replace them.
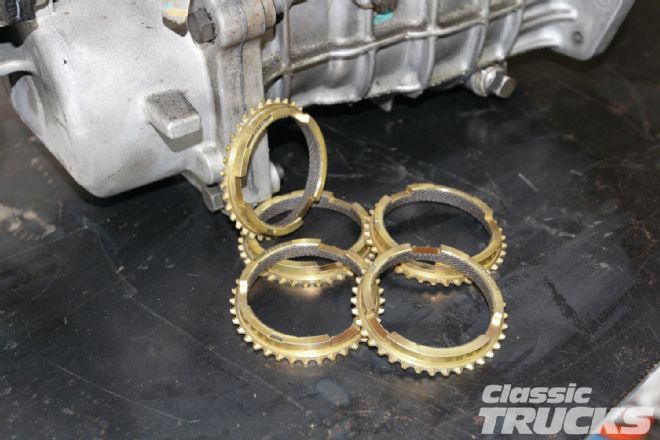 17. I purchased these carbon-fiber-lined synchro blocker rings from Anaheim Gears in Anaheim, California. These synchros slightly increase friction between the collar, hub, and gears to better match the speed of the next gear. In a nutshell they help shifting from one gear to the other at higher rpm's.
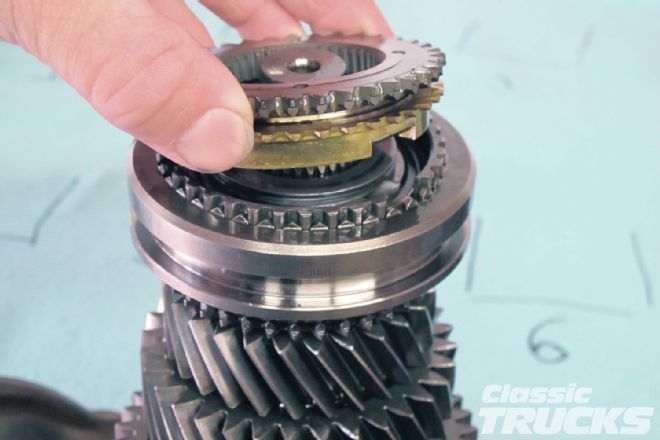 18. This is like a complex puzzle with the transmission's inner workings, but if you remove the parts a few at a time it becomes really simple. The fourth gear cone and fourth gear synchronizer are removed off the output shaft assembly.
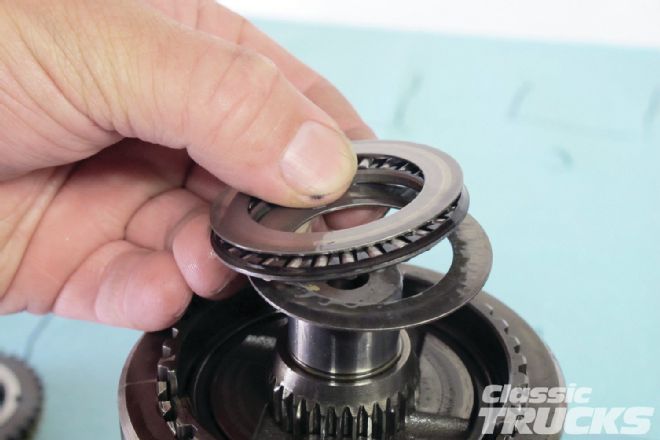 19. Next remove third and fourth gear synchronizer assembly.
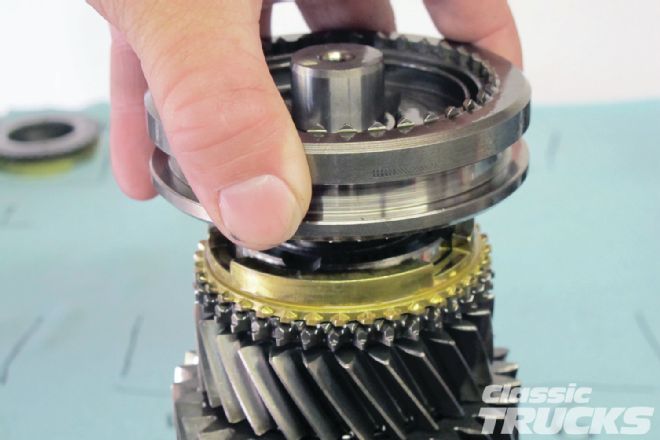 20. Remove the the thrust bearing.
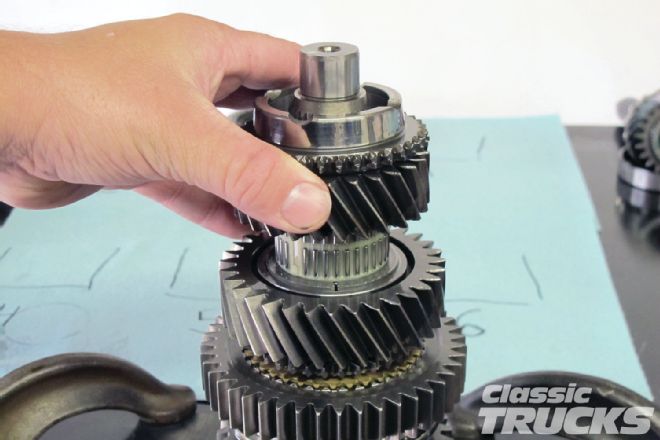 21. Third gear was removed.
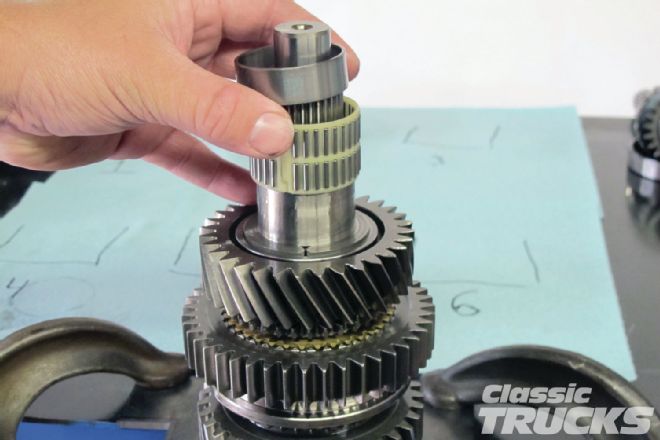 22. The spacer and roller bearing was also removed.
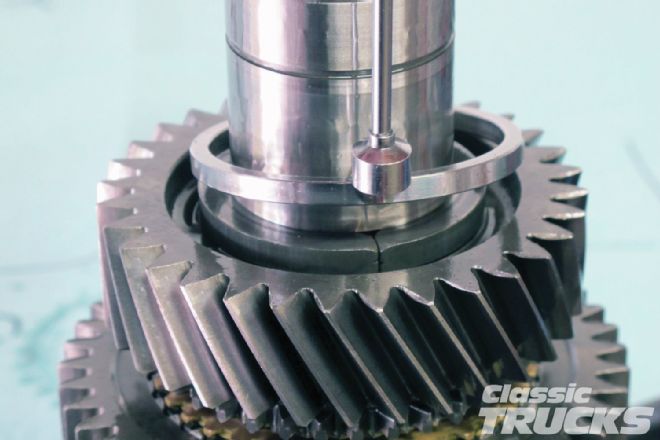 23. Use a magnet to remove the split ring thrust washer retainer.
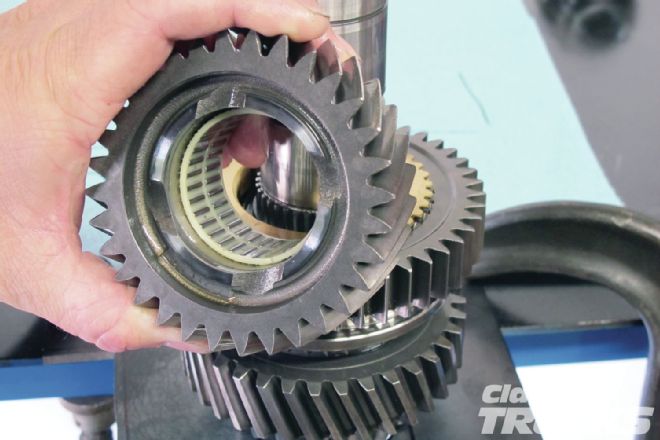 24. Then remove the split ring thrust washer and ball bearing that is hidden in the detent.
 25 .Second gear is then slid off along with the inner bearing and synchro.
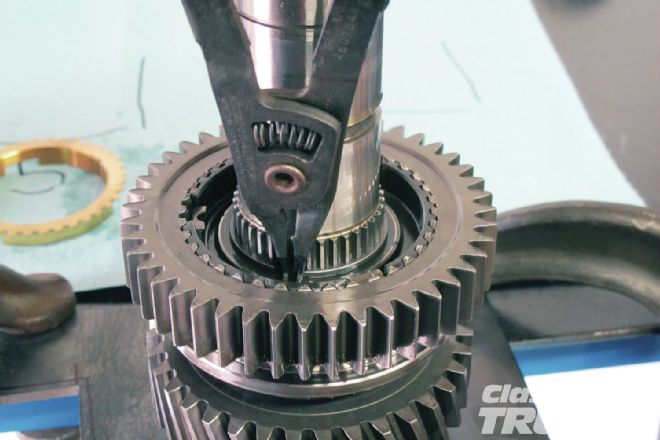 26. The hardest part of the output shaft assembly was to remove this stubborn snap ring so that I could get to the first gear synchro.
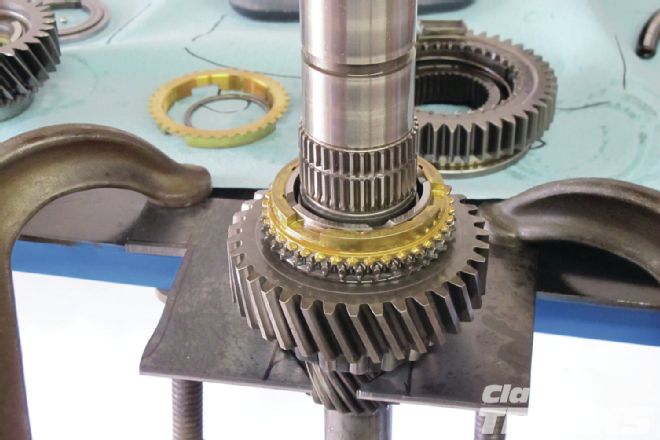 27. I coated the synchros in transmission oil before installing them. Tremec and Hurst Driveline Conversions recommends using GM synchro mesh from the dealer. From here I installed the new first through fourth carbon-fiber-lined synchros and output shaft parts in reverse order.
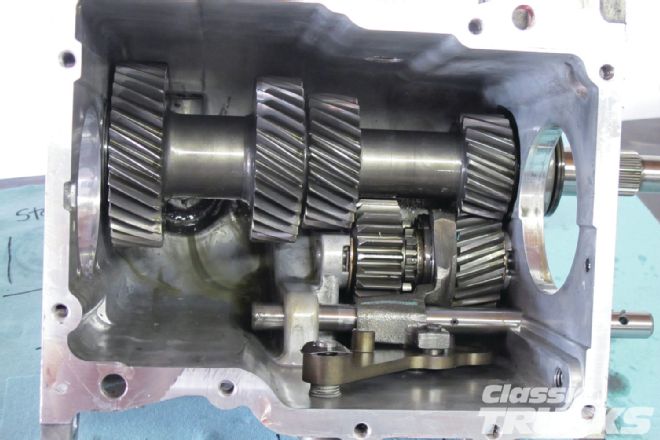 28. Tremec had several different designs of the countershaft and gears. Regardless of what style you have, you should check endplay on the gears with a universal dial indicator.
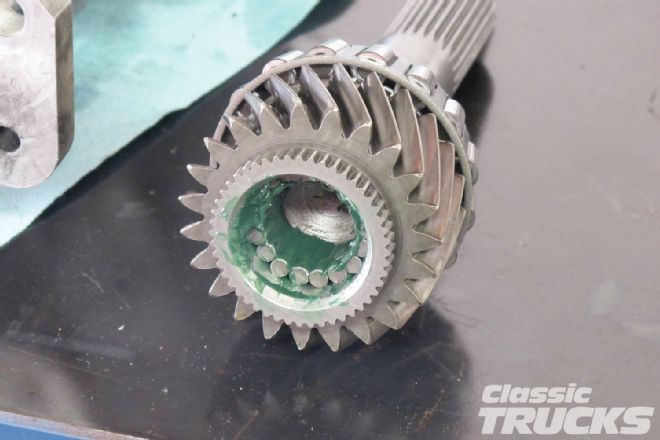 29. The input shaft bearings are held in place with grease. Make sure that you got all of them from the bottom of the case.
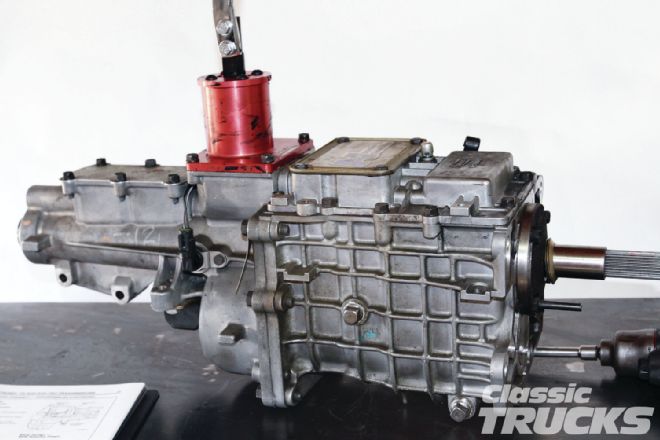 38. Now that the trans is back together it's time to run it through the gears to make sure that everything is working right. If it is, the shifting should feel great running through the gears. Happy shifting everyone.
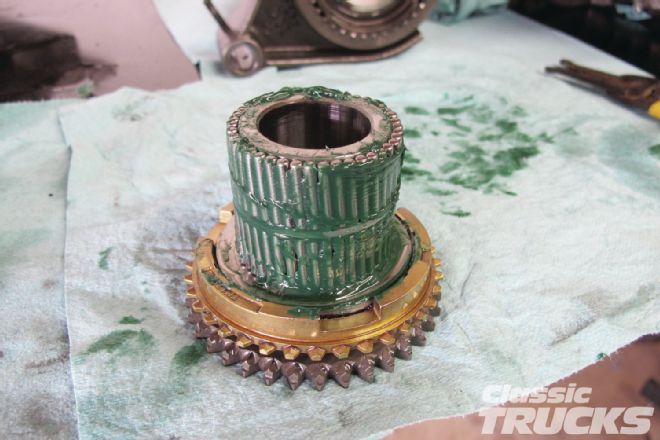 30. Fifth gear synchronizer bearings were greased up. Make sure you have all the roller bearings and separate the center bearing ends with the bearing washer.
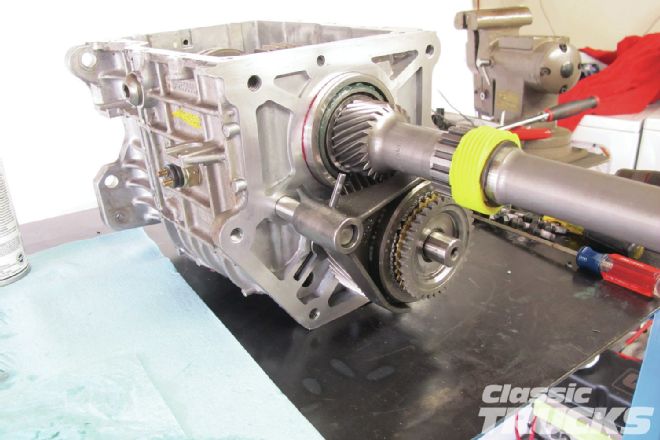 31. Reverse gear and fifth gear synchro assembly are now placed on the countershaft. Make sure to lock everything into place with the roll pin.
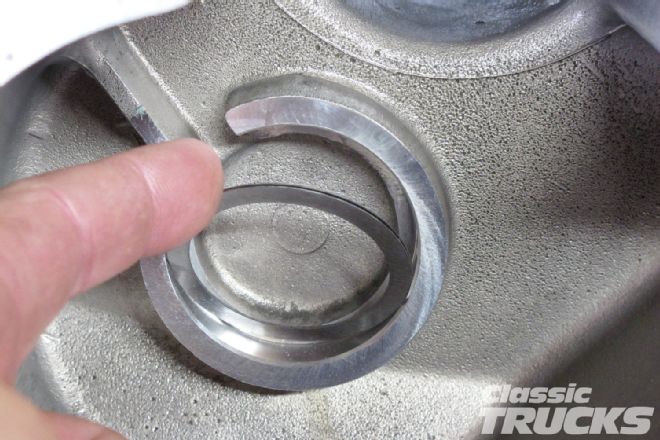 32. At the fifth gear synchronizer is a tapered bearing that is preloaded by these shims behind the tailshaft housing. These shims preload the countershaft.
 33. The front bearing retainer also has shims to get the input shaft to .000-.004 endplay
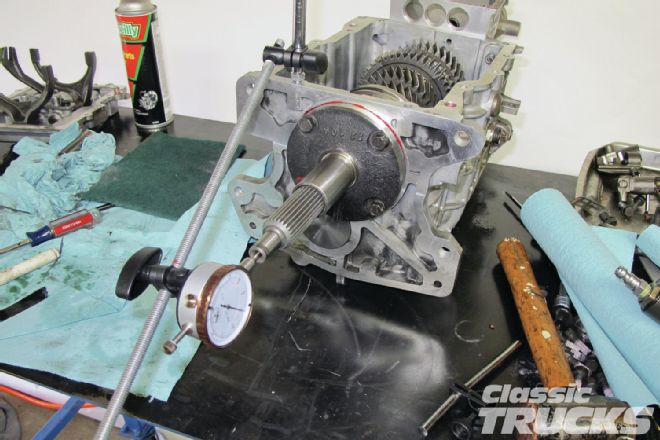 34. I measured the endplay using a universal magnetic micrometer modified by using a piece of all thread. Not the best method, but it worked.
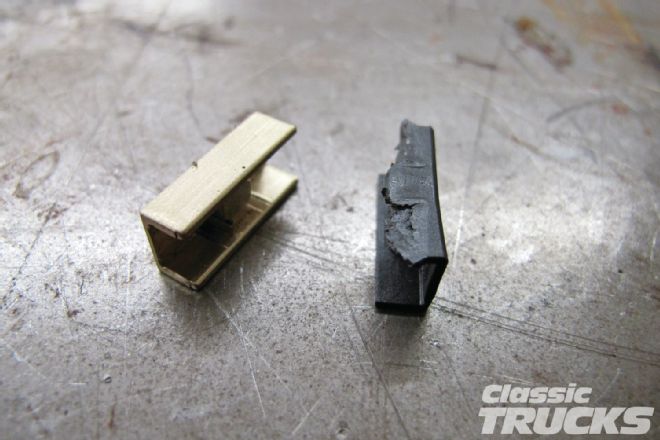
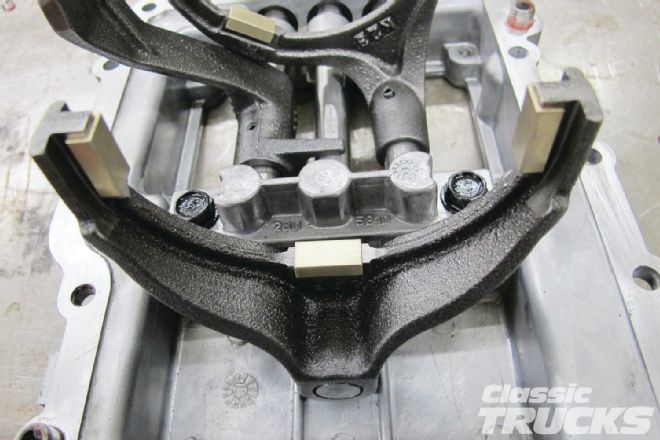 35. The shift fork pads that come stock in the TKO are made with nylon.
 36. As you can tell in the photo I damaged a few of them and replaced them with brass shift fork inserts I ordered from Liberty Gears of Taylor, Michigan.
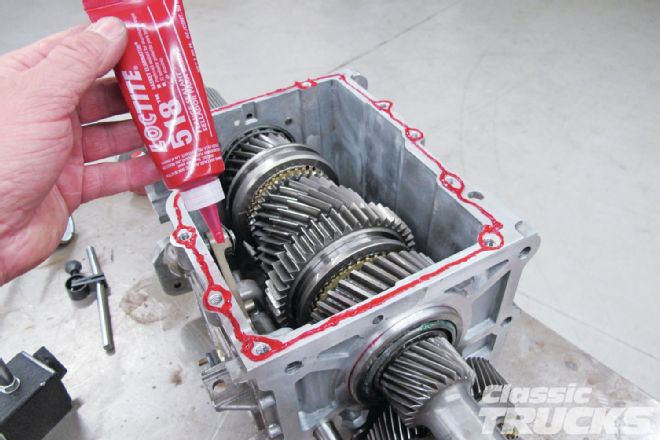 37. To help hold the fluids in I used this Loctite 518 gasket eliminator sealant.