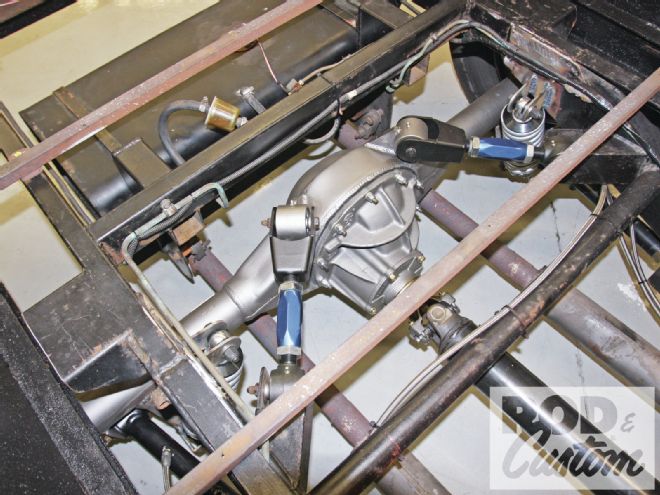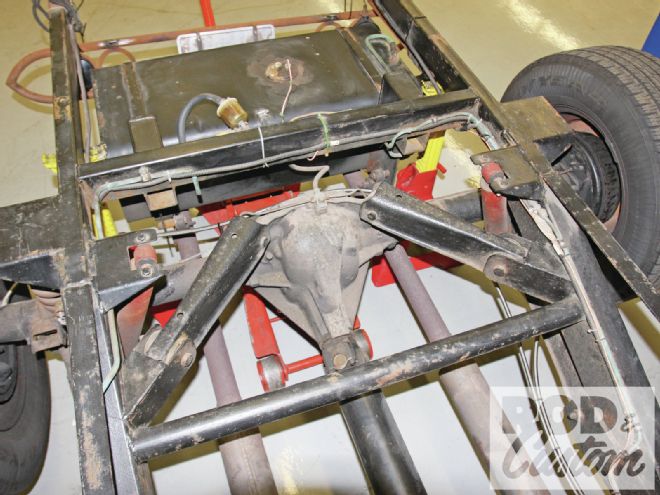
Ever since I first put my roadster pickup together some 12 years ago I’ve always been aware that the rearend was the weak link. I had the TH350 rebuilt, and the small-block was fresh, but the 10-bolt was straight out of a junker ’82 Caprice, complete with the stock triangulated four-link. The axle bearings run directly on the driveshafts on these axles, and mine always leaked, even after the fitment of “axle-saver” bearings a few years ago. When I had the bed off to prep it for paint, I figured the time had come to swap the axle for a better version. I acquired a 1-inch narrower 10-bolt from a later model wagon and intended to swap my brackets over, but ultimately opted to install a Currie Enterprises 9-inch Ford-based rearend and fit my GM brackets to that, especially after I found that Currie manufactures adjustable tubular arms exactly for my application. A no-brainer, right?

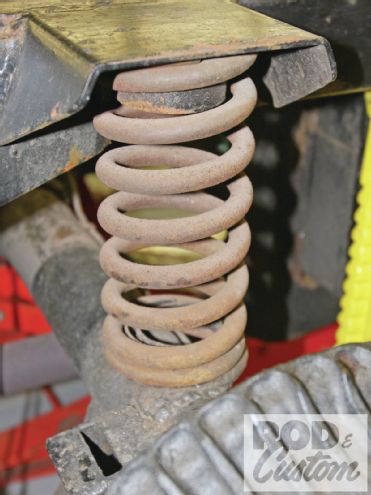
While I was swapping the rearend, I also figured I’d replace the MGB coil springs I’d used. Always a little on the stiff side, I figured it was a truck and didn’t worry about it, until I loaded the bed with several bags of concrete, and suddenly found the suspension worked and the truck rode way nicer! So, I needed softer springs. Rather than the existing separate shocks and springs, I opted for coilovers, and spoke with the folks at QA1 about my project.
 When I first built the truck 12 years ago, I used the 10-bolt rearend that came from the same ’82 Caprice that donated its front clip. I even used the stock antiroll bar, shocks, and pressed-steel triangulated four-link.
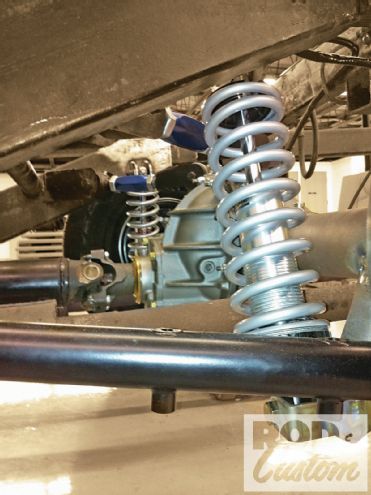
I’d measured and knew the extended length of coilover I could fit, and weighed the rear of the truck to determine the spring rate. Though the QA1 catalog lists a chart to calculate the spring rate based on vehicle weight, and another for the corrected rate of coilover springs that are mounted at an angle, the company’s tech guy I spoke to on the phone was extremely helpful and we had it worked out in a few minutes, and the coilovers were on their way! It worked out like this: The rear of the truck weighed just over 1,700 pounds, for which QA1 recommend 225-pound springs. As ours would mount at 20 degrees, the rate needed to be higher. Using the QA1 chart it worked out to 225 ÷ 0.88 = 255.68, so we selected 250-pound springs. The QA1 Proma Star coilovers we selected are single adjustable with 18 valving options. Though they’re available with bearings, we opted for poly bushings top and bottom, as the truck is more a long distance driver than an autocross assailant, and the softer bushings offer a more comfortable ride!
Actually, the coilovers are mounted at less than 20 degrees, but until I had the new axle in place I wasn’t sure of the exact angle, so I erred on the side of caution. While I originally planned to mount them vertically behind the axle in a similar location to the old coils, I was pretty sure I’d be able to use the original lower shock mounts in front of the axle. However, I wasn’t sure on clearance between the spring or upper spring cup and the chassis. As it turned out, all was good, so I strengthened the lower shock mount to take a coilover, and modified commercially available brackets for the upper mounts.
 With modified lower and custom-made upper mounts, MGB sporty car front coils have supported the rearend all this time, though admittedly were a little stiff with an unladen bed.
I’d had Currie leave the shock mount section of the original brackets un-welded so I could remove them if they weren’t used, so I just had to weld them to the housing to finish the installation. All in all, a relatively easy conversion with only minimal fab work to complete. The truck now rides way better, and I have adjustable compression/rebound, as well as adjustable pinion angle should I need it.