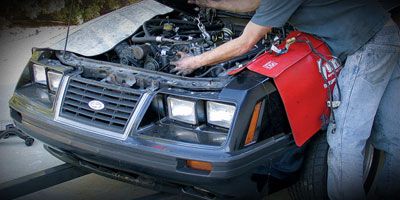
A while back, we set out to find a decent Fox-body for a little rowdy track action. As luck would have it, an '83 Mustang crossed our path equipped with a 5.0L engine, a five-speed manual transmission, and a 3.73-geared limited-slip rearend. The Fox-body platform delivered a sturdy chassis to work on and allowed us the opportunity to come up with the perfect street ride. Our plan was a Mustang that would run on 87-octane, get a minimum of 20 mpg on the highway, and develop well over 1 hp per cubic inch all while spending less than $4,500 from fan blade to tailpipe. The complete vehicle build would be easy and affordable enough for anyone to follow. With our goals in place, we contacted SA Engine Design for advice and a complete rundown of the parts it would take to achieve success within the specified budget.
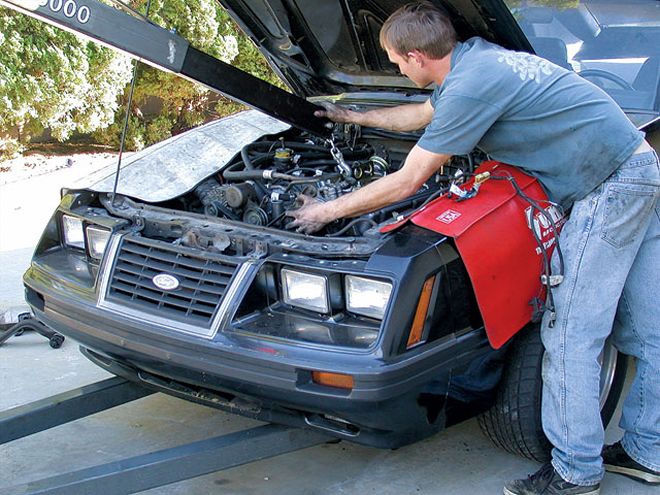 Ever wonder why you've never seen this car before? The author completely destroyed it in an auto accident. The engine he built in this story is the only thing left.
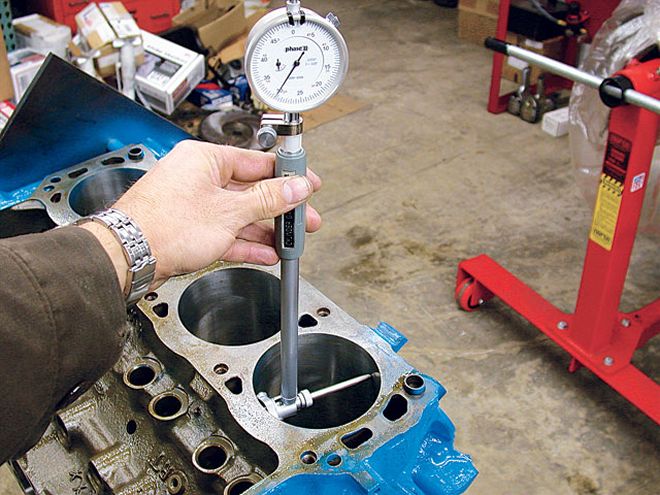
After filling out the online tech sheet, it was a matter of days before we were ordering parts. Once our orders were placed, we pulled the engine and delivered it to Jim Grubbs Motorsports (JGM) for a complete machine-shop service. JGM cleaned and did a magnetic inspection on the entire block to check for cracks, then bored it, decked it, and torque-plate-honed the cylinders. Along with resizing the crank and rods and installing new camshaft bearings, JGM also press-fit our rods and pistons together for a total of $779. To keep the cost down, SA Engine Design recommended we use a Sealed Power short-block engine-rebuild kit from Summit Racing. For $270, we received 9.0:1 compression, 0.030-inch overbore hypereutectic pistons with a ring kit; main, cam, and rod bearings; a high-volume oil pump, freeze plugs, assembly lube, and a complete Fel-Pro engine-rebuild gasket set. Combined with a balanced rotating assembly from West Valley Engine Balancing (WVEB) and ARP rod, main, head, and other related engine bolts, we were ready to begin the short-block rebuild.
At the machine shop, we set the main-bearing clearance to a street-friendly 0.0020 inch while the rod journals also came in at 0.0020 inch. We kept the clearances tight to help oil pressure and promote a long engine life. If we had been building our engine with an emphasis on racing, we would have increased the bearing clearances by a minimum of 0.0005 inch.
After a few hours of bottom-end engine assembly, we sealed the crankcase with our stock oil pan. According to SA Engine Design, the stock oil pan is more than adequate to supply our street engine with enough oil to keep things lubricated while saving a few dollars. Since this street engine will not see much action above 6,000 rpm, the loss of engine power due to crankcase windage is worth the trade in the name of savings. If the budget allows, a high-performance oil pan from companies like Canton, Milodon, or Moroso are all worth a bit of power and reliability at high rpm. Once our Fel-Pro gaskets were laid and the stock oil pan was in place, we moved on to the top-end engine assembly.
To meet or exceed all our goals, we paid careful attention to our SA Engine Design buildsheet. It recommended that a pair of fully assembled Edelbrock Performer cylinder heads be paired with a matching Performer intake manifold and four-barrel exhaust gas-recirculation (EGR) plate. The Performer-series cylinder-head line features smog crossover ports that run through the heads above all the exhaust ports, while the Performer intake manifold also has smog provisions for the necessary vacuum and EGR ports. When the Edelbrock parts showed up, we laid the Sealed Power-supplied Fel-Pro head gaskets on top of the block and torqued our cylinder heads down using ARP head bolts and washers.
Up to this point, the engine design and assembly appeared to be pretty straightforward. It wasn't until valve timing entered the picture that we realized how important our camshaft selection would be to smog legality and street performance on 87-octane, unleaded fuel. The idea was to install a camshaft that would offer the most street torque possible while reaching high-rpm horsepower potential. We chose a Comp cam, and even though the company does not offer Executive Order smog-legal camshafts, we were assured the XE266HR would deliver the performance we wanted. The valve timing of an XE266HR camshaft minimizes overlap, which tends to help emissions of unburned fuel. With properly sealed rings, a correct air/fuel setting, and a proper timing curve, our engine was clean enough pass a California state tailpipe smog test. Finishing the top-end engine assembly off is a double-roller Magnum timing chain, reused factory Ford hydraulic roller lifters (5.0L '85-'95), a set of High Energy pushrods, and Magnum 1.6:1 roller rockers. The factory timing cover was reused in the name of savings, and the Edelbrock Performer intake was sealed and fastened with Fel-Pro intake gaskets and ARP intake-manifold bolts.
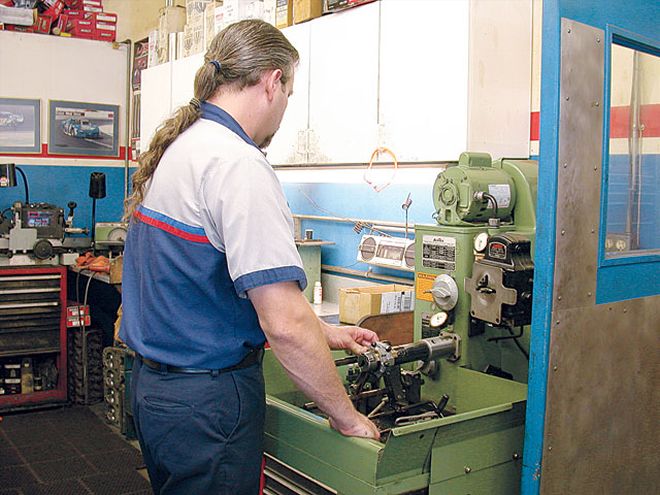 One of the most crucial parts of an engine build is being able to rely on quality machine work. JGM took care of all of ours, and the engine build went together as smoothly as possible.
The remaining pieces to any engine will vary depending on the type of vehicle the engine is intended for. For the '83 Mustang, we started by having the original 575-cfm carburetor rebuilt by Holley's remanufacturing service to make it look stock. We wanted to put on a 650-cfm HP Holley to run on the engine dyno. Pre-'86 Mustangs officially require short-tube headers to have a functional vertical heat tube. This transfers immediate heat into the carbureted induction system during cold starts to limit the amount of time the choke remains open. Downstream from the collectors, all pre-'86 Mustangs are supposed to flow into a single catalytic converter and out through a single or dual muffler system, depending on the exact year of the vehicle.
When it comes to putting a true dual 2-1/2-inch after-cat system on a Fox-body Mustang, things can get tight around the axlehousing. We wanted to make sure our after-cat system would clear this area of the vehicle, so we installed Flowmaster's mandrel-bent after-cat system featuring 2-1/2-inch tubing, three-chamber 50-series mufflers, and 3-inch stainless steel tailpipes to give our car that undeniable powerful Mustang rumble.
To take full advantage of our engine's power, we bolted on a set of FlowTech 1-5/8-inch shorty headers. To make them legal, we combined a hose clamp with electrical conduit and a piece of household clothes dryer exhaust tubing to create a vertical heat tube that extends above the header to the air cleaner. The pieces do not have to be welded together, just clamped to direct radiating exhaust heat into the air cleaner. Downstream from the collectors, we installed a double-hump crossmember ('86-'93 Mustang) and a 2-1/2-inch dual-cat cross-pipe from BBK.
From the cats back, the exhaust system gets even more vague, with different model years and engine combinations changing the exhaust layout so often only the most hard-core enthusiast will know which exhaust system belongs on which car. Simply put, pre-'86 cars should have a single-exhaust catalytic center tube leading to either a single or dual muffler system, while '87-'95 5.0L cars all have true dual-exhaust systems with four cats.
 Since bench racing is an important part of car crafting, we had Jim Grubbs Motorsports dyno the little beast. With 350 lb-ft of torque at 4,000 rpm and 355 hp at 6,000 rpm, we knew our light-weight Fox-body would be capable of giving the LS1 Chevy crowd a run for its money.
Baseline engine
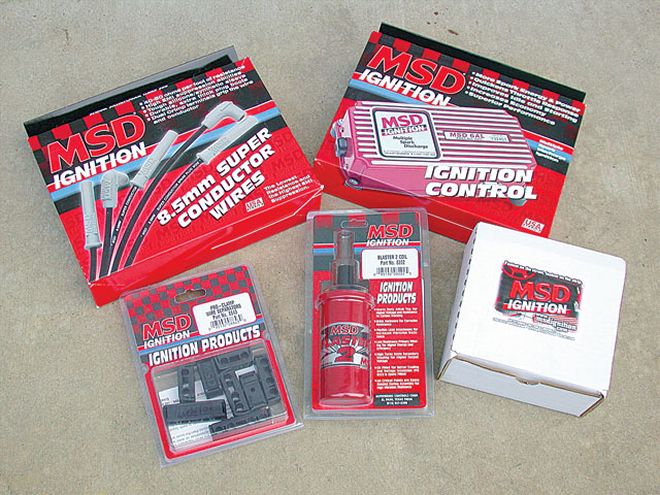 Clean-burning cylinders require optimum spark energy. MSD set us up with its 6AL rev-limiting ignition box, Blaster 2 coil, spiral core wires with Pro-Clamp separators, and an in-car ignition retard/advance box to promote optimum fuel mileage.
50-state smog-legal rebuilt engine
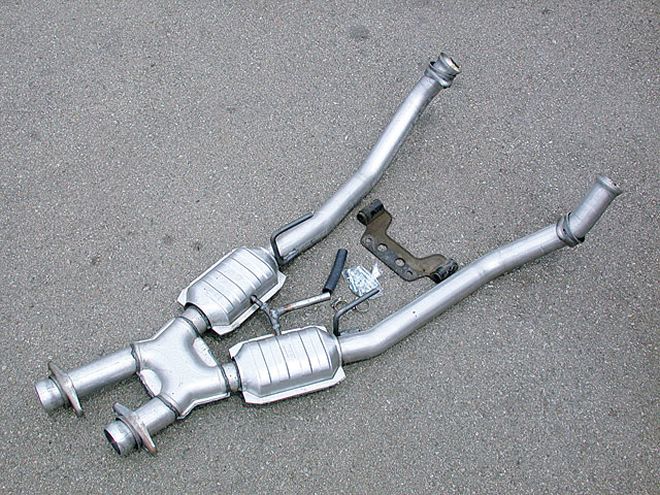 Our 2-1/2-inch dual-cat cross-pipe from BBK Performance passed smog with flying colors while hardly affecting power at all. Remember, pre-'86 cars will require a double-hump crossmember.
Non-50-state smog-legal rebuilt engine