
While the stock Mustang braking system has evolved and improved over the course of the S197 run, resulting in a package on the Coyote-powered GT’s that can halt you from speed remarkably quicker than the mediocre 4.6 GT’s package, there is still much room for improvement. Luckily, the GT500’s braking system was also evolving along with its power and speed, and Ford Racing has seen fit to make that package orderable via the M-2300-T kit. The best news of all is that it’s affordable. The whole front and rear swap will only take about four hours on a Saturday afternoon. Of course, our buddy Robin Lawrence had the use of a hoist at Holley, so that did make it all go a little easier. Add a bit more time and maybe one more beer if you’re just using jackstands.
We should be clear: Lawrence is not kind on brakes at all. While most street cars will be fine with the GT package, Lawrence had already found their limits and boiled the fluid more than once. The GT is a driver for him, so he wanted to keep the brakes factory based and easy to find parts for. An upgrade to the 2013-2014 GT500 package from Ford Racing was the ideal solution.
We actually performed this swap a few months back, so not only do we have the ins and outs of the swap, we even have a review from Lawrence’s experience both on the road during daily driving and on the track. Check out the sidebar “Final Thoughts.” He had nothing but good things to report regarding the performance and quality of the parts.
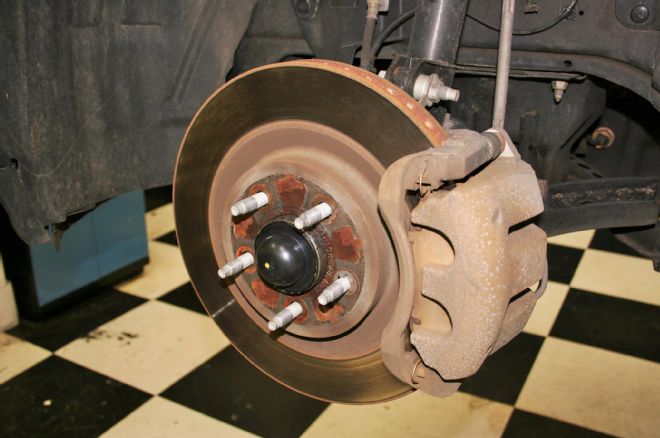
1. Here is the 75,000-mile stock 13.2-inch base GT front brake package. The diameter of the rotors is decent, but the calipers don’t deal well with repeated hard braking. Robin Lawrence’s were pretty used up with less than 10 percent of their life remaining, so it was a great time to upgrade.
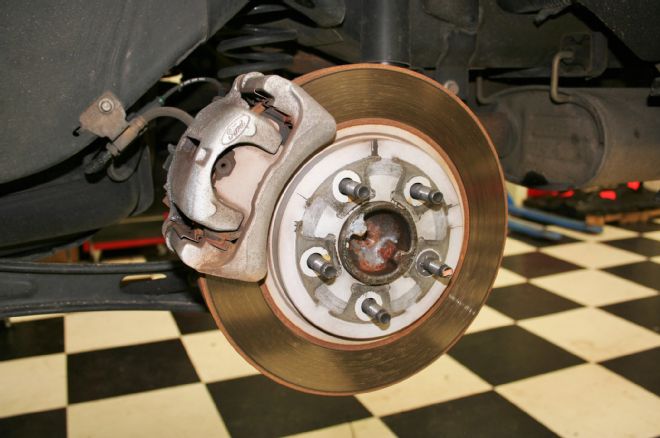
2. These are the stock 11.8-inch rear brakes. For this upgrade, the installation of the rear brake upgrade is actually a whole lot more work than the fronts, so we’re going to start there.
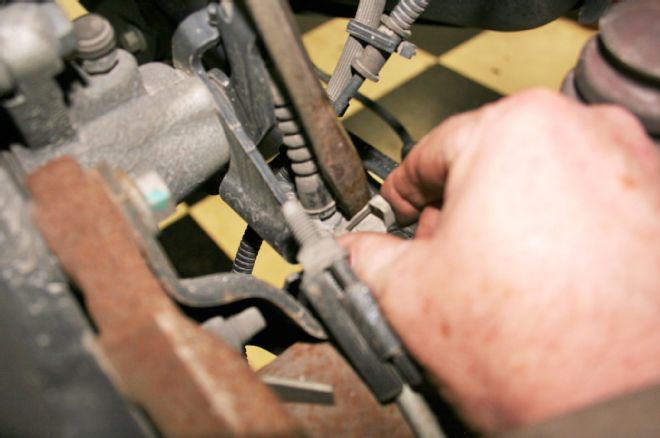
3. To begin the disassembly of the rear brakes, the emergency brake cable is easily removed by using a large screwdriver to move the arm then slip the end of the cable from its slot. Then this sheetmetal clip is removed to detach the cable from the caliper assembly.
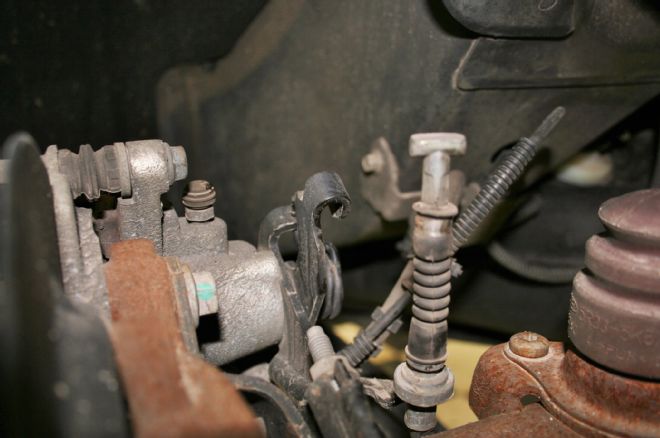
4. This is the end of the emergency brake cable and the slot where it attaches to the caliper assembly.
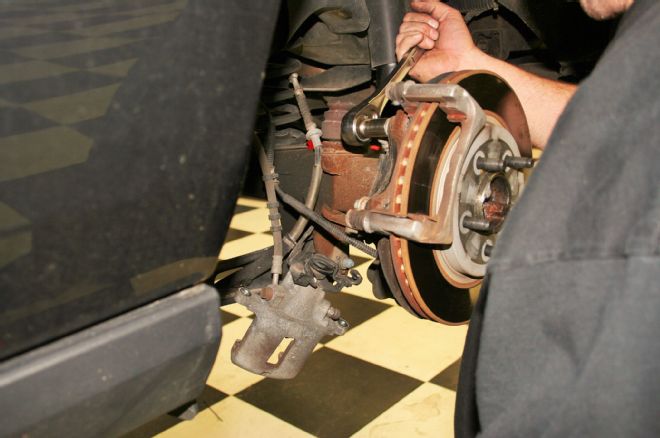
5. Removing the caliper pins will allow for better access to the caliper bracket bolts. Once the axles are removed we will be able to remove the axle caliper brackets.
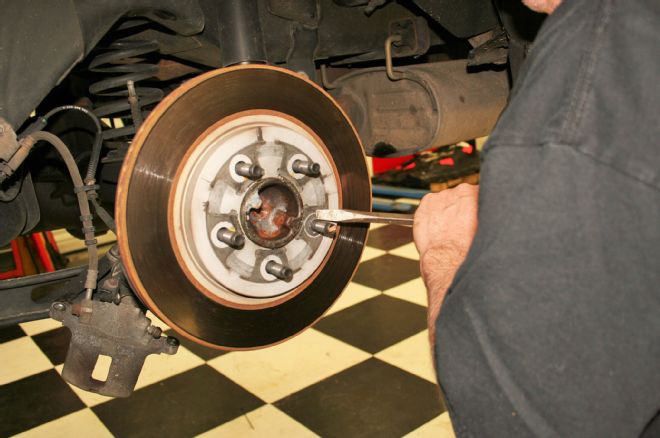
6. Prior to removing the rotors we need to cut off the clips that hold the rotors in place during shipping from their assembly location. These prevent the rotors from falling off while the assemblies are moved.
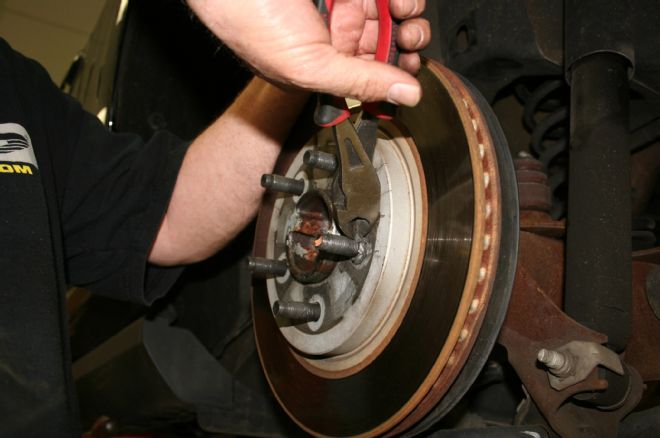
7. No need to be cautious; since you will not be reusing them, a large screwdriver is used to pry the clip out enough to cut it with a pair of side cutters.
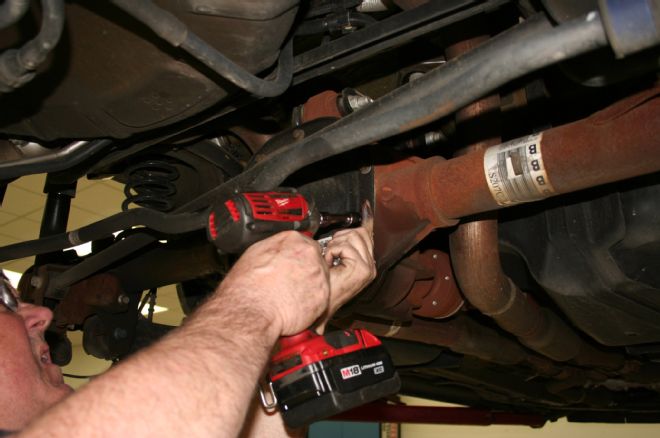
8. To remove the rear caliper brackets, we will need to remove the axles. To start, the rear cover is loosened to allow the gear oil to drain. It was about time to change the oil in the diff anyway.
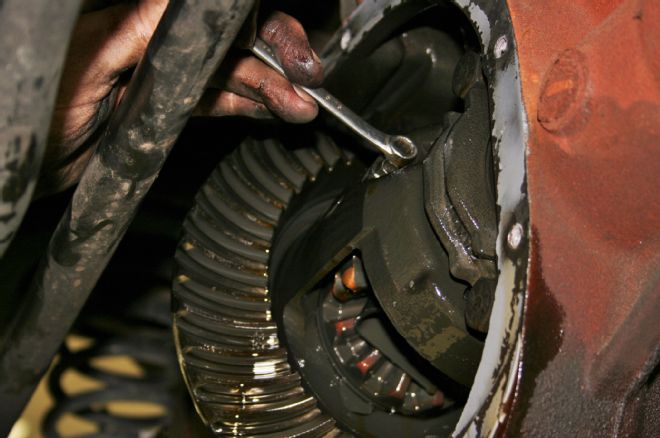
9. Once the cover is removed, the bolt that retains the cross pin needs to be removed. The cross pin can then be slid out to allow the axles to be pushed in about 1/2 inch to allow the removal of the C-clips.
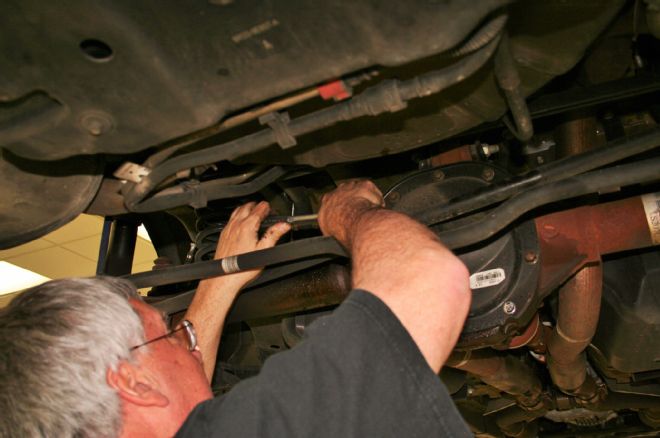
10. Using a screwdriver, push the C-clips off of the ends of the axle. Most have a rubber O-ring to hold them in place during assembly.
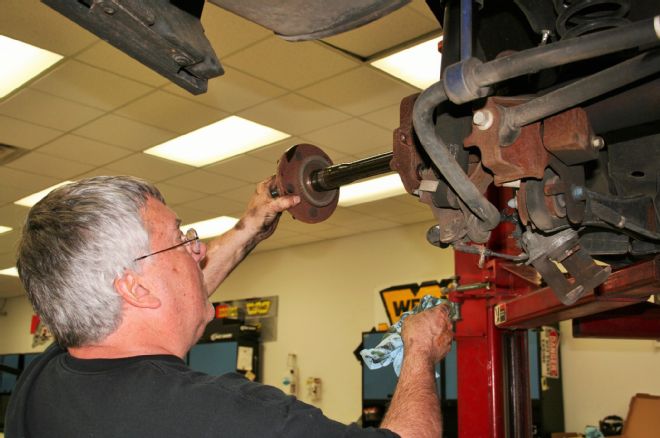
11. Once both C-clips are remove you can slide the axles out of the housing.
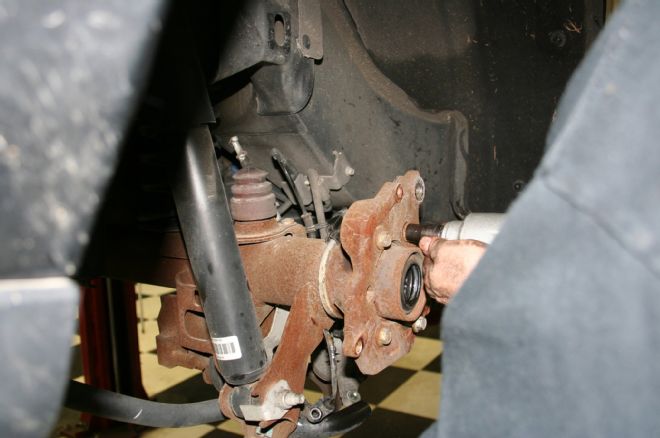
12. With the axles removed you can remove the caliper bracket from the housing flange.
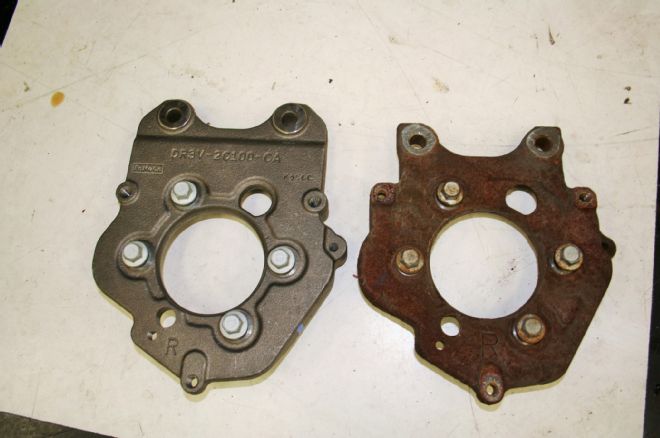
13. Here is the GT500 versus the stock brackets. Note that they are marked “left” and “right” for the proper orientation.
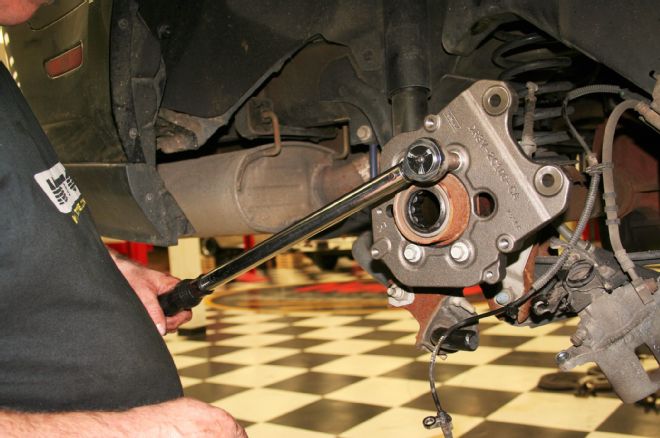
14. Don’t attempt to reuse the original bolts. The kit comes with new single-use fasteners that are torque to spec.
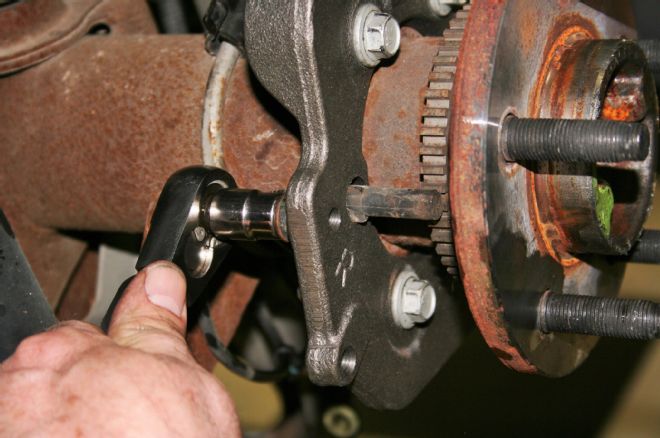
15. One of the scariest parts of working on brakes is the possibility of damaging the ABS sensors while removing them. Lawrence was able to carefully remove the stock sensors for reuse. The key is to take your time and work them back and forth until they are loose.
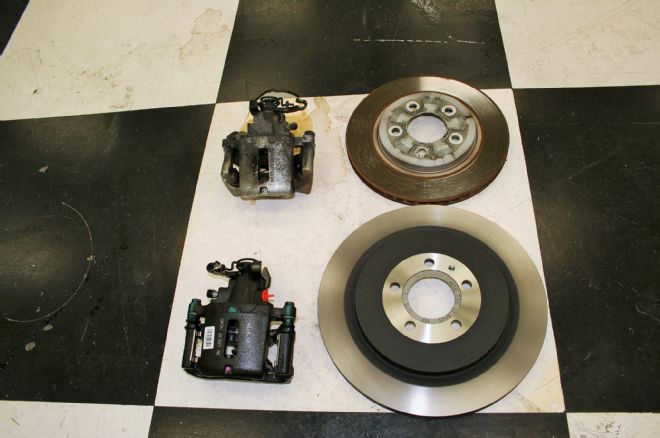
16. Here is a side-by-side comparison of the stock rear rotors calipers and the GT500. While stock is 11.8-inch, the GT 500 is 13.8.
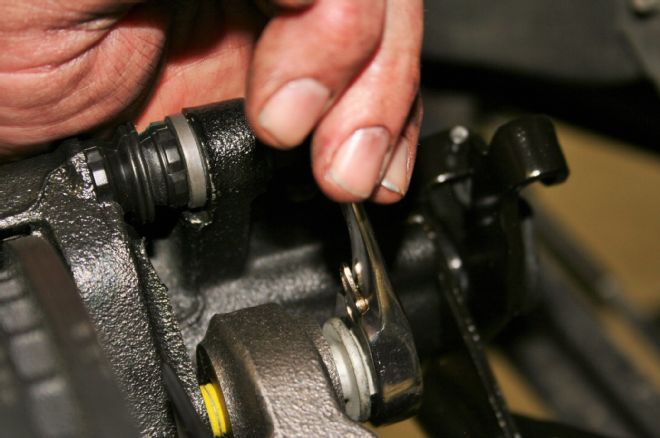
17. With the new rotors in place, the caliper is bolted down with the supplied hardware.
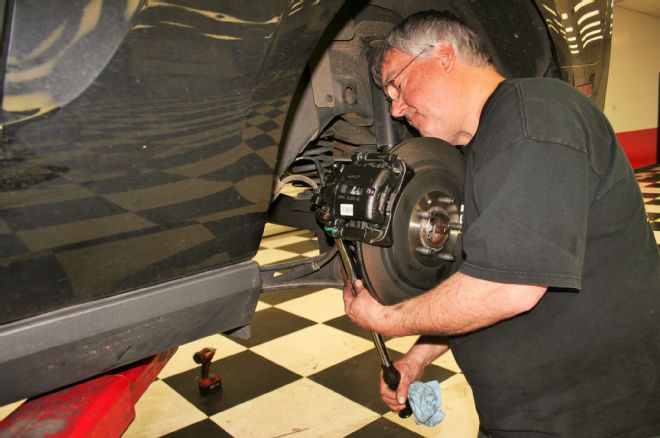
18. The new fasteners were torqued to the factory specs in the instructions provided with the kit. While most of us only use the instructions as a resource when we have a question, Lawrence departed from habit and actually read them before he started the swap. He told us he might start doing that more often!
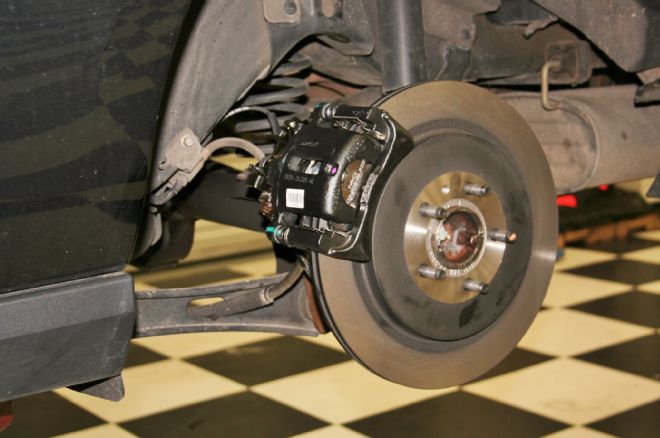
19. Here’s the rear axle, rotor, and caliber assembly installed after reassembly of the rearend. The whole process is straightforward and not difficult; just don’t forget to put new gear oil in the rearend.
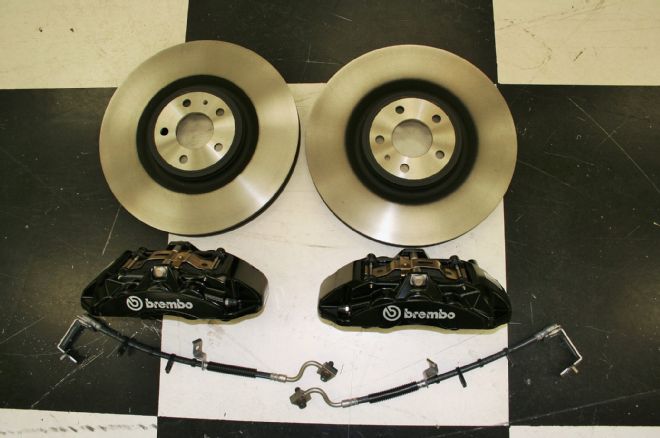
20. These are the front bad boys: 14.9-inch rotors with six-piston Brembo calipers. Swapping out the fronts is almost as easy as a normal brake job since the caliper bolts to the same mounting flange as the original brakes.
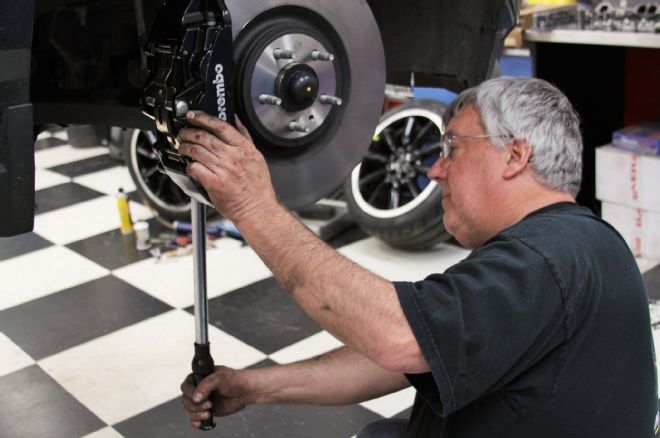
21. After the stock caliper, rotor, and brake line are removed, the new parts are reinstalled. There is a small heat shield that protects the tie rod end to be installed. As with the rears, the kit comes with new single-use fasters. They are torqued to specs provided in the instructions.
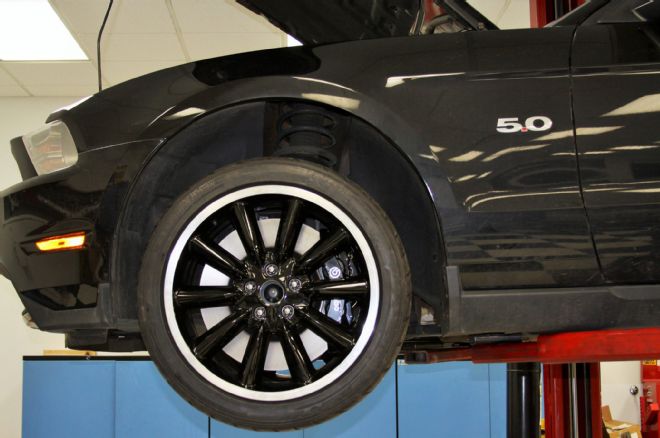
22. Here’s the completed front. It really is that easy; all that was left was to bleed the system since Lawrence also installed new lines in the front.

23. The massive front rotors and six-piston calipers necessitated an upgrade to 19-inch Boss 302 wheels. Not a bad thing at all since they look great on Lawrence’s black GT.
Final Thoughts
I must admit, I have been very abusive on the brakes since I installed the kit. I drive corners harder and late-brake because I know that I have the hardware that can take the abuse. While this is not a race brake setup, they are certainly a great upgrade from the stock package. At this point I have 35,000 miles on the brake install. I have already replaced the old rubber with a set of Mickey Thompson Sport Comps, which were available in the same OEM sizes as what came on the Boss 302. They have a treadwear rating of 300 and so far they have been excellent in both wet and dry conditions. Best of all, I have yet to find the limits of the brakes and tires. —Robin Lawrence