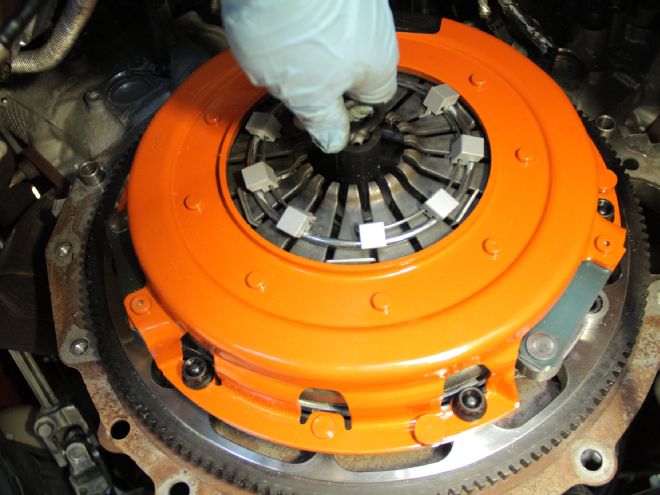
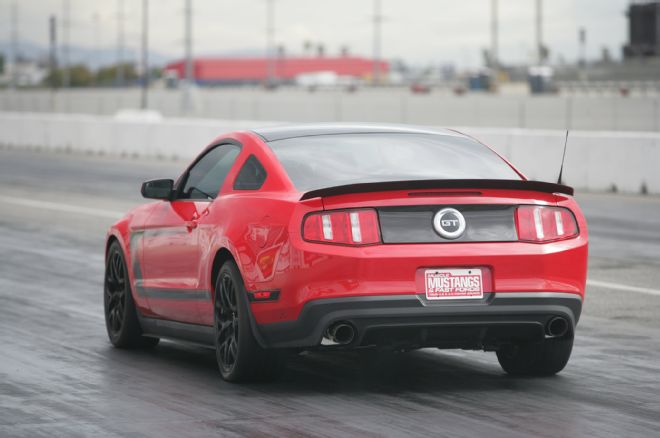
Project car BYOB (Build Your Own Boss) has been serving some rather mundane purposes as of late. I mean, seriously, from post office runs to dropping the kids off at school, daily duties have relegated our awesome Coyote coupe to the 14-lane SoCal parking lot otherwise known as the 405. Very little excitement has crossed our path in the past few months. Yeah, we suck. So instead of turning our 2011 GT into a soccer-mom’s key-basket fantasy, we decided to punch a hole into our anger management therapy card by taking BYOB to a quick track day at Auto Club Dragway in Fontana, California.
Using the same 91-octane pump gas that the state of California considers the most octane that us Americans should ever need, we slid our way to the Christmas tree with the same 19-inch street tires that we hit Surf City with and made a few runs with our beloved Procharged wannabe Boss.
Without the benefit of slicks (wholesome mid-American values are really lacking here) we took a fish taco in one hand and the handle of an MT-82 in the other, and we were able to lay down a decent 1.96 60-foot for a relatively brisk 11.91 at 122 mph. The density altitude kept climbing past Mount Everest, but yeah, we know, for a car with 592 hp at the wheels it should be trucking along with greater speed.
After carefully slipping the third pedal for a few runs, the stock clutch wasn’t really liking things. As a matter of fact, it said, “Hey guy, really?” After this outing, the power of our force-fed Coyote was well beyond what the factory clutch was capable of handling. All you could “smell” was some hipster asking, “Is someone welding metal?” Yes, our stock clutch was now toast.
Aside from that, street driving was also a bit annoying. The MT-82 was bad at downshifting into Second when making slow speed maneuvers. As we later discovered, our car had been at the Ford dealer at least twice for this complaint prior to our ownership. So BYOB has finally faced the same issues we’ve heard about for years on the forums, namely the vague factory clutch and the smoothness of shifting.
Who’s Your DYADDY?
While the stock 11-inch clutch may have hints of the almighty 2003 Cobra, it is simply not enough to plant your supercharged or turbocharged Coyote to low-e.t. destiny. It’ll hold up fine if you tiptoe the fine line of slippage and horsepower on the street, but with real tires or more track days you’re toast if you like to exercise your right to freedom of boost. So when we reached out to Centerforce and reviewed what kind of power BYOB was making along with the intended purpose of the car, the crew there suggested going straight to the big dog, which is their twin-disc DYAD (pronounced “dy-ad”).
With a proprietary design that prevents floater plate chatter, this setup weighs similar to the stock setup (OEM is 45.5 pounds, DYAD 45.4) and offers smooth take-up and a light pedal when you’re driving around town. And thanks to Centerforce’s signature centrifugal weights on the release fingers, clamping force actually increases as rpm rises, which is perfect for BYOB’s power curve because it climbs exponentially as the tach swings right. Best of all, DYAD installs with no special modifications and is a direct replacement for the stocker.
Since we are truly the do-it-yourself types, we did the clutch job in our home shop over the course of a day. With the car securely placed on jackstands, we disconnected the battery, removed the starter’s three bolts with a 10mm socket, swivel and ratchet, and moved onto the factory cat pipes. A 15mm socket loosens the intermediate pipe, and the same socket is then used to undo the nuts from above that connect the cats to the factory headers. The driveshaft comes out next, and then the rear crossmember is removed with an 18mm socket and a 15mm socket for the rubber mount itself. Once the hydraulic clutch release line and all the wiring are disconnected from the transmission, grab your 13mm socket and start attacking those bellhousing bolts. The two top bolts are best removed with two 12-inch-long, 1/2-inch drive extensions and a swivel. This is the only way you will get to those top bolts unless you feel like pulling off your intake manifold and hitting them from up top. We were able to do everything from underneath. Lastly, remove the two bolts that hold the block plate to the transmission, right at the bottom by the oil pan. With a motorcycle jack (or even better, a transmission jack) supporting the transmission’s entire weight, we were able to slide the transmission out and revel in the stock clutch’s dust-encrusted glory.
Removing the stock clutch setup from the engine is very simple. With a 13mm socket, pull off the clutch cover, take the disc out, and remove all eight flywheel bolts. Next we aligned the new Centerforce flywheel by rotating it until all of the bolt holes lined up, then we used the supplied 10mm (thread diameter) ARP bolts to secure the new flywheel to the crank. With some thread-locking compound in place, go in a crisscross pattern and torque the bolts down three steps—first to 25 ft-lb, then to 50, and finally to 70-72. We then were careful to line up the painted markings that Centerforce uses to zero balance the clutch assembly, so we lined everything up, inserted the supplied 23-spline clutch disc alignment tool, and carefully tightened the clutch cover bolts in sequence (to 35-38 ft-lb) to evenly apply pressure.
Once we checked everything out, we put a little bit of grease on the input shaft of the transmission and jacked the MT-82 into place. Incredibly, the entire assembly bolted right up. It was like doing a stock clutch replacement. Looking at the bench test report that came with our clutch, it looks like our particular unit can handle 1,267 lb-ft of torque. That’s plenty of margin for us!
With the gearbox reinstalled, we now looked to help the shifting experience. Before we go any further, we want to put those keyboard racers out there in check. From our experience, this imported MT-82 gearbox has been quite fine. Nobody really blows these gearboxes up except for a sprinkling of input shaft failures. Hey, we'd rather have a tough time getting into gear than have no have gear at all (yes, T5, we're talking to you!) Also, unlike a worn T56, which will drive you batty and not shift when you really need it to at high rpm, the MT-82 will work with you when it comes to powershifting. So, from our personal experience, improving the MT-82’s shifting is all about the fluid, probably even more so than the shifter and mounts. As a matter of fact, even Ford realized the fluid was an issue because they changed the specification during production of the car to a different fluid to help ease engagement. Rather than dilly-dally with OEM part numbers, we gave our buds at Amsoil a call and picked up a few quarts of their Manual Synchromesh Transmission Fluid in 5W-30 weight (2.7 quarts are needed) to refill our six-speed with new life-giving lubricants.
Once we had the car back on the ground, we immediately noticed two things. First was how quiet the DYAD setup was at idle. Unlike GT500s, where you’d be able to hear the floater disc rattle around and make a noise during actuation, the Centerforce piece was virtually dead-quiet. Also interesting was how immediately the MT-82 responded to the new Amsoil fluid. The gear shifts were infinitely smoother, and after about 50 miles of driving, it was like a hot knife through butter.
When all was said and done, we drastically transformed how our project car performed in both daily activities and under more severe (read: competitive) environments thanks to a simple fluid change and clutch upgrade. Long hail the MT-82! Now, more track days and fewer whack days.
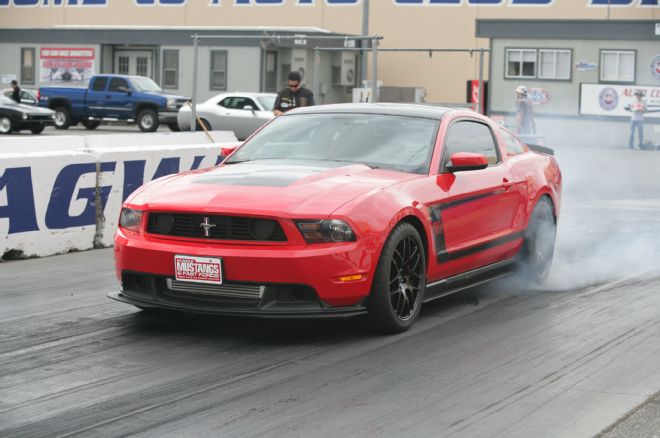
1. BYOB finally hits the digs and clicks off a decent 11.91 at 122. Without using slicks, we had to slip the clutch off the line to ride that tight balance of traction and horsepower without bogging the 3.31/3,800-pound combo. This meant that the best we could muster was a mediocre 1.96 short time. Unfortunately, after a few more passes, it took a toll on the factory clutch and we started looking at replacements.
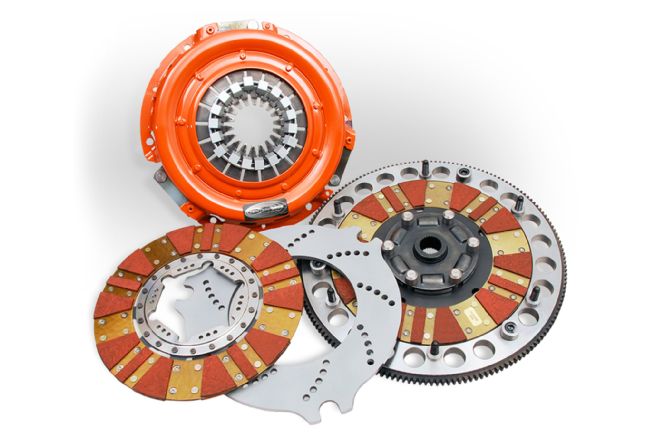
2. After some late-night research on that newfangled interweb, we landed on Centerforce’s twin-disc DYAD (pronounced “dy-ad”) DS drive system. The complete setup fits into the stock clutch envelope with no modifications needed to the factory self-adjusting hydraulic system or transmission itself. It comes complete with a billet steel flywheel, ARP fasteners, and Centerforce’s proprietary ball-bearing pressure plate design and centrifugal weights for added clamping power at higher engine speeds. Part number 04234805 lists for $2,315.95 and fits all Coyote Mustangs with the MT-82 and factory 23-spline input shaft.
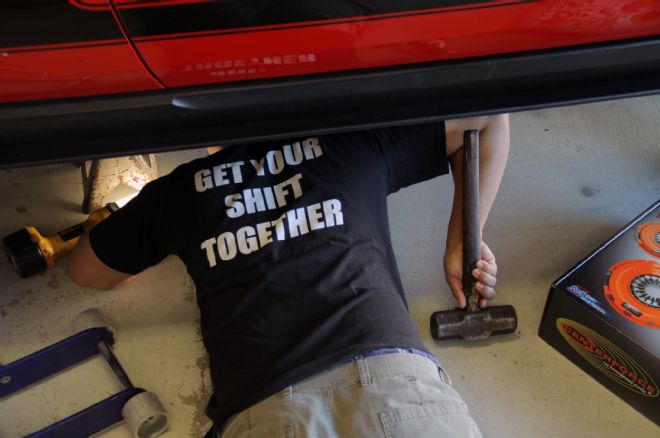
3. With our Coyote coupe securely placed on jackstands, we went to work.
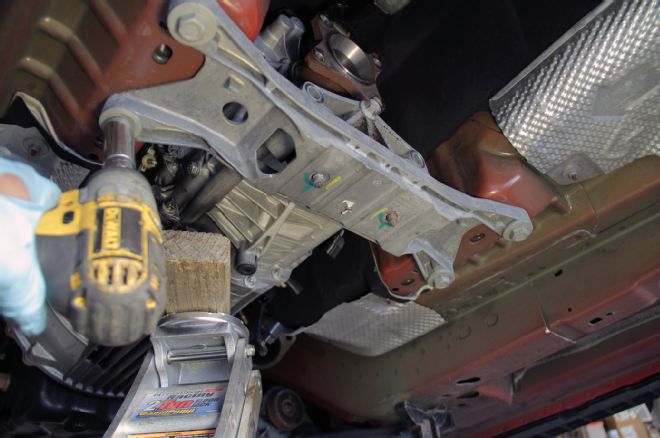
4. With the transmission raised slightly with the jack, we removed the driveshaft and cat pipe and then undid the four crossmember bolts with an 18mm socket. The transmission mount is held in place with three bolts going horizontally into the rear of the gearbox and two nuts at the bottom. Using a 15mm socket and a cordless impact wrench, these zip right off.
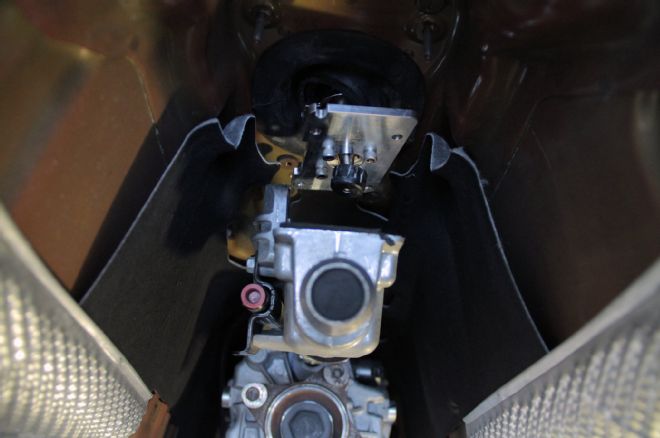
5. With the transmission lowered, we were able to undo the shifter from underneath. The starter was next (make sure you disconnect the battery!) and the bellhousing bolts were in sight.
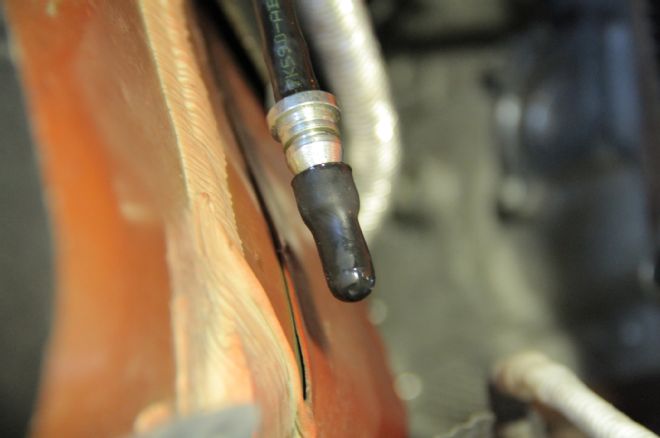
6. While it’s super-tight underneath here, you’ll need to disconnect the hydraulic clutch fluid line. A small clip on top of the slave cylinder’s elbow needs to slide off. This allows you to pull up on the line carefully to disconnect it. Cover the end fitting with a rubber cap to prevent the fluid from dripping all over the place.
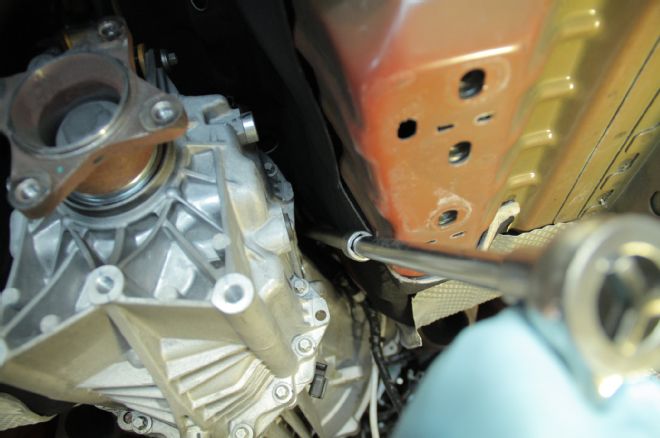
7. Up top, two bellhousing bolts are an absolute bear to get to. The best way to manage this is to use a couple of 12-inch, 1/2-inch drive extensions with a swivel and a 13mm deep socket on top. The driver-side bolt isn’t too bad, but the passenger-side one has some wiring in the way that will need to be slid down to make room for the socket.
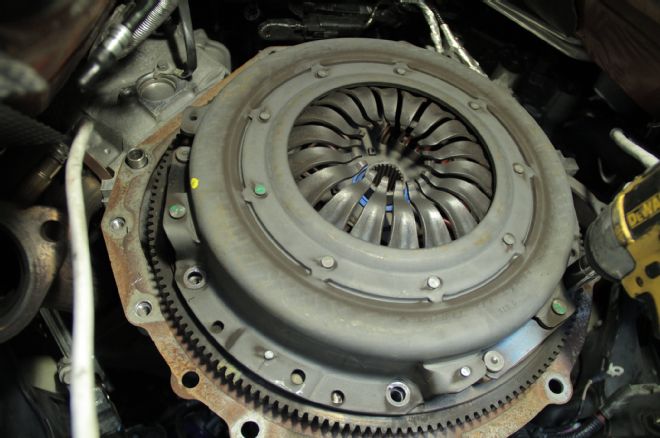
8. With the transmission carefully lowered and out of the car, we were able to remove the stock clutch cover and disc.
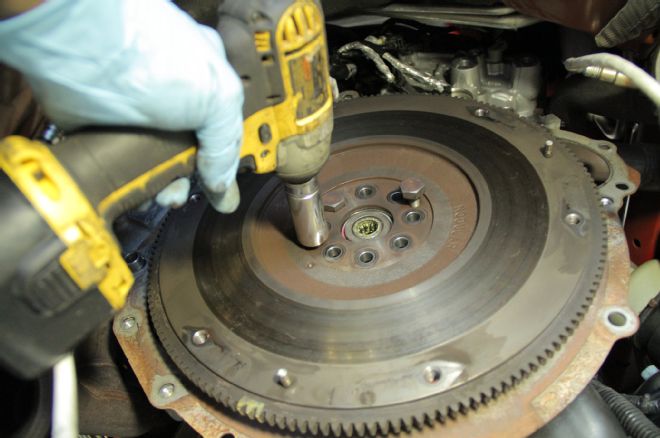
9. The stock nodular iron flywheel is held in place with eight bolts. Plus, as you’ll notice, there are two additional holes present that are designed to help you remove the flywheel by acting as a puller to overcome the interference-fit center bore. Take two bolts that you already removed and insert them into the threaded holes. Carefully tighten them by going back and forth between the two. The flywheel will come off in seconds.
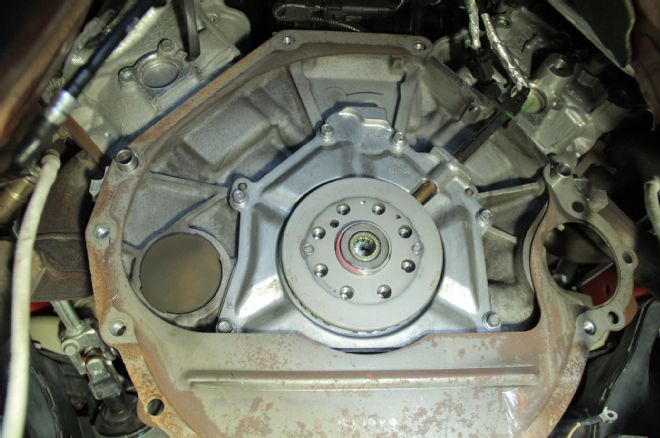
10. With the flywheel off, we can inspect the area behind for any leaks at the rear main seal. Since our car has very few miles, everything was bone-dry. Make sure you don’t disturb the crankshaft position reluctor ring on the end of the crank. Centerforce supplies a new roller pilot bearing, but we left ours alone as it looked perfect.
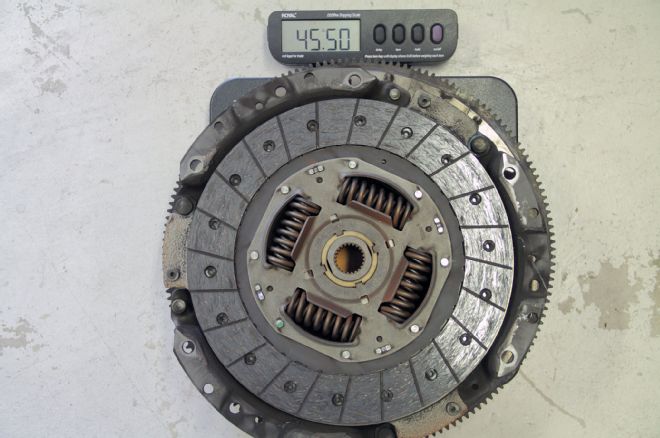
11. The factory clutch and flywheel setup weighs 45.5 pounds.
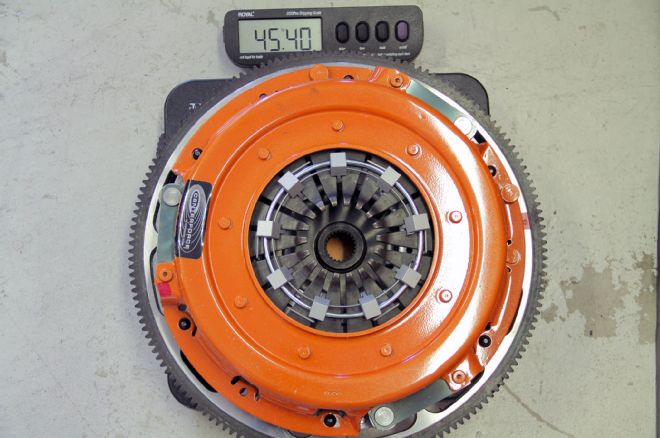
12. Centerforce’s DYAD setup weighs slightly less than the stock setup at 45.4 pounds. Impressive considering you’ve got two 10-inch discs and a floater in there.
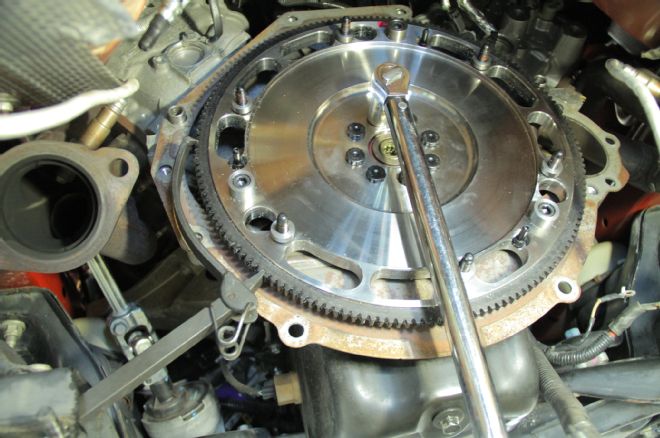
13. The Centerforce flywheel gets installed first. With the supplied ARP bolts, apply red thread-locking compound and tighten the bolts down in three steps—first to 25 ft-lb, then to 50, and finally to 70-72. Note the flywheel holding tool, which we consider a necessity when doing clutch jobs.
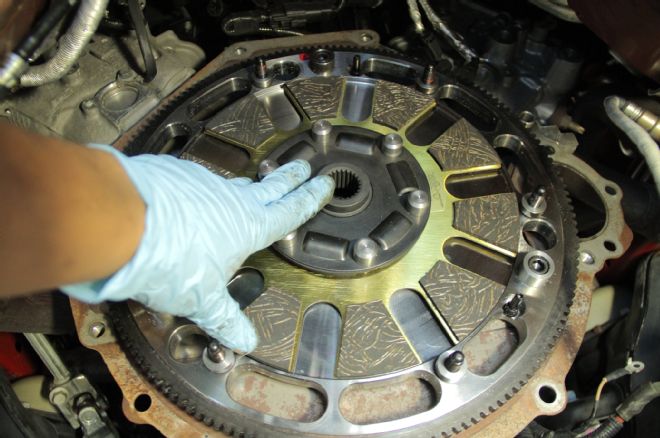
14. The first disc goes into place. Note the multifinger design and the sprung hub, which allows for smooth torque transfer.
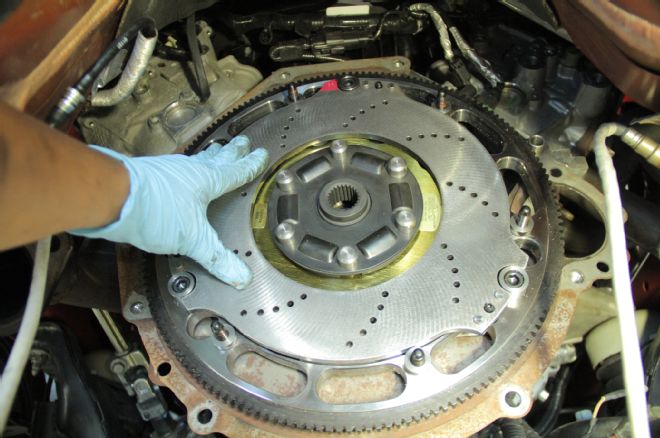
15. Next up, we install the floater disc by aligning it with the three guide pins on the flywheel. Check out the cross-drilling (that’s hotness!) Make sure you align the painted marks on the disc with that of the flywheel since the entire assembly was balanced by Centerforce and we need to make sure we maintain the zero balance of the engine.
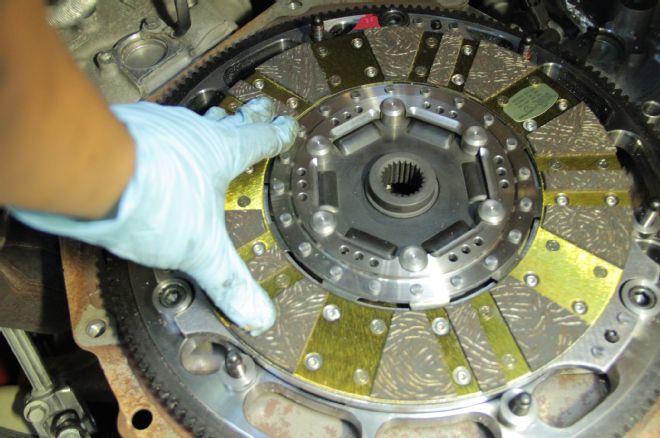
16. We then installed the outer disc onto the sprung hub of the first disc. This one has a spring between the two faces of the disc, which allows for smooth engagement.
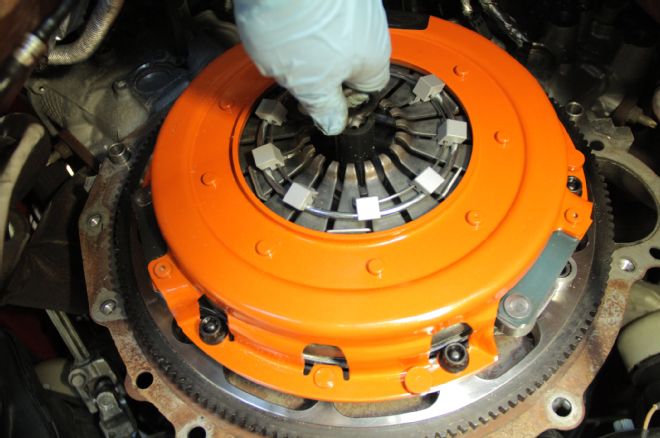
17. Lastly we installed the clutch cover and placed the ARP nuts in place, over the bullet nose studs. The supplied clutch disc alignment tool is then fully inserted.
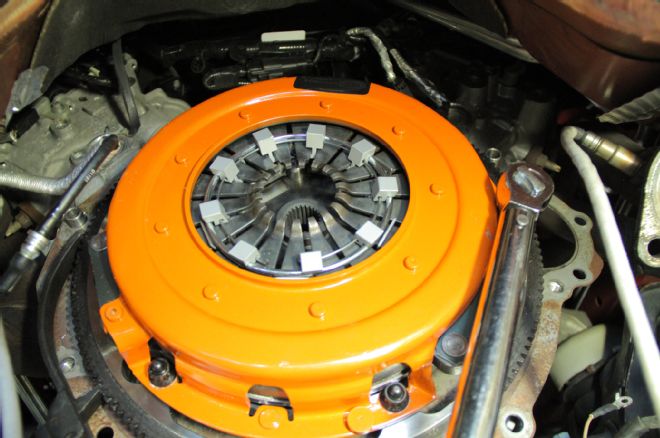
18. We then tightened the cover’s bolts to 35-38 ft-lb while working in a crisscross pattern.
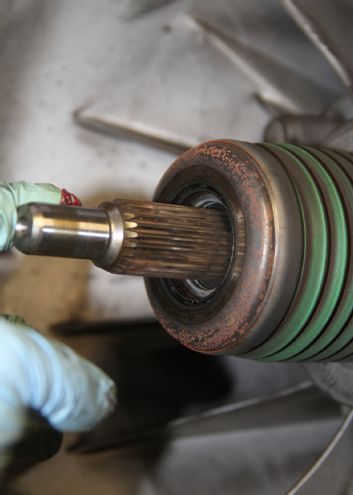
19. Before reinstalling the transmission, we placed some high-temp grease to the input shaft. Use just enough to leave a thin coat here to aid installation and promote longevity. Avoid slathering on too much because it can get slung off and onto the clutch disc surfaces, which could ruin everything.
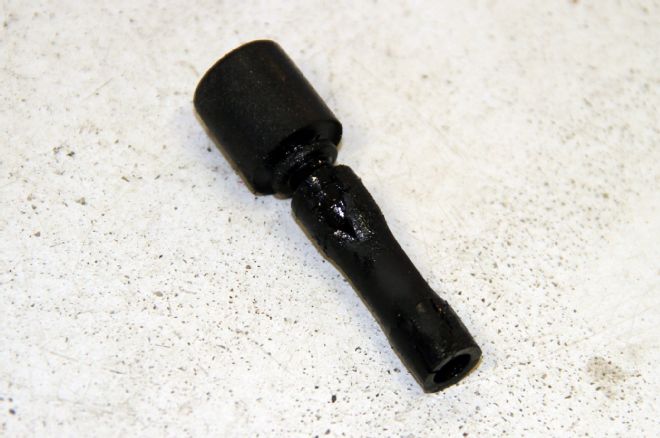
20. On top of the MT-82 is a small vent cap with a rubber hose extension. We noticed that the line was a bit dry-rotted, so we replaced it with a new section of hose and put it back on top of the gearbox.
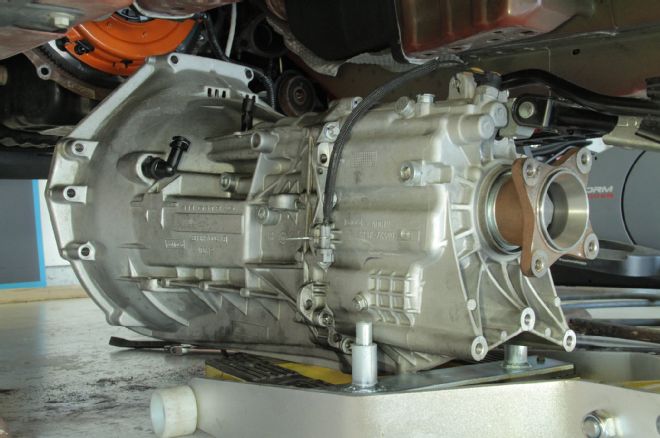
21. Here is the Getrag MT-82 in all its glory. Don’t let any of the naysayers detract you from this gearbox—it is a solid piece for street/strip use, and with fresh fluid and a good clutch setup it can outperform many of the so-called full replacement upgrades out there. Because of the integrated bellhousing design and the deep cooling fins on the bottom side, we strongly recommend the use of a transmission jack, or in our case a motorcycle jack with a large pad, to work this bad-boy into and out of the floor pan.
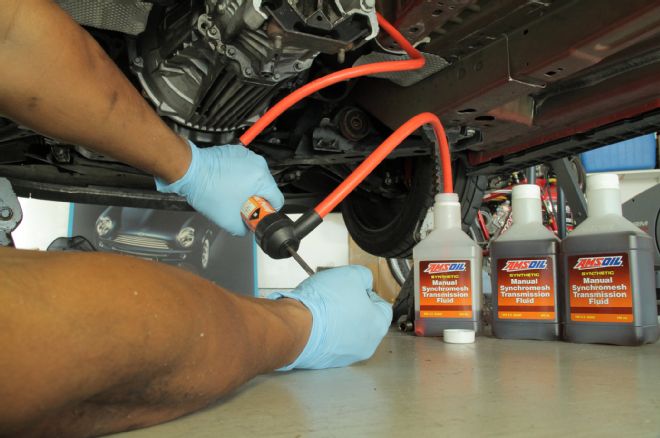
22. To ease shifting, the best thing you can do is upgrade to Amsoil’s Synchromesh Transmission Fluid because it contains the friction modifiers that this gearbox desperately needs. Because the fill plug is on the passenger side (comes off with an 8mm internal hex wrench) there is little room to fill it without the use of a pump like this one, which we bought at the local tool store. The MT-82 uses 2.7 quarts.
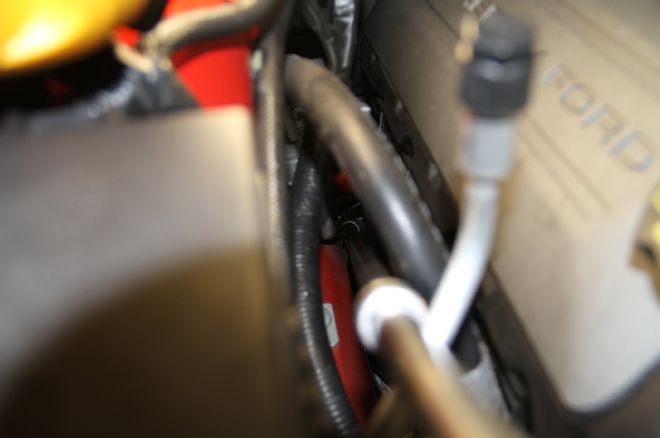
23. With everything nearly completed underneath, it was time to reinstall the cat pipe. The best way to get to the outer nuts of the pipe is to go from up top with a 15mm deep socket, a 1/2-inch drive swivel, and miles of extensions. It’s hard to see here, but the nut is way down there, getting cranked down to leak-free heaven. And yes, you can reuse the factory steel gaskets.
24. BYOB gets the strong bite and smooth shifting it deserves!