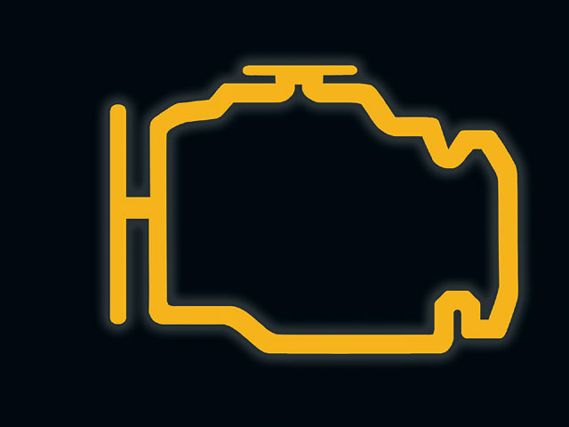
 | Check Engine Light Help - What's Up With That Check-Engine Light?
Check-engine lights, also known as Malfunction Indicator Lamps (MIL), appear for a reason-specifically when an engine is operating outside of its normal emissions parameters. When that light flashes, your car means business. Instead of forking out the dough to have some service shop read your codes, get educated and read them yourself.
Most '88-'91 Chassis
Do you have a check-engine light lit up, glowing in your face? Find out what the deal is by turning the ignition to the on position (don't start the engine), pull down the passenger-side carpet from below the dashboard, and observe the LED on top of the electronic control unit (ECU). The LED indicates system failure codes through intermittent blinks. It can convey any number of simultaneous component problems by blinking separate codes, one after another. Simply count the blinks and add the digits. Long blinks represent the number 10 while quick blinks count as one. For example, code 14 consists of one long blink followed by four quick blinks. The blinking procedure is the same for all years and isn't specific to the '88-'91 chassis.
Most '92-'95 Chassis
When the check-engine light comes on, locate the two-pin connector (service check connector) underneath the dash, making sure not to grab the three-pin connector (data link connector), which can be easily distinguished by its, well, three pins. The connectors are located behind the passenger-side kick panel. Jump the two terminals with a scrap piece of wire or paper clip and turn the ignition switch to the on position. As with the '88-'91 ECU, the MIL indicates codes by blink length and quantity, however, the MIL light on the gauge cluster blinks since OBD-I ECUs don't feature built-in ECU LEDs. Similar to the '88-'91 chassis, codes one through nine are indicated by individual short blinks while codes 10 through 48 are indicated by a series of long and short blinks. The number of long blinks equals the first digit while the number of short blinks equals the second.
Most '96-Present Chassis
There are a couple of ways to read codes on '96 and newer, OBD-II-equipped vehicles: You need a scan tool for many newer models that connect to the vehicle's data link connector (DLC), however, early OBD-II-equipped Civics and Integras will allow you to do the old paper clip trick like you can with previous chassis. The DLC can be located several different places depending on the model. Simply look underneath the steering column where you'll find a label indicating the DLC location. Connect the scan tool to the DLC to get results. The scan tool will give you a code indicating what you'll be spending your next paycheck on.
It's important to note that even after repairs have been made you'll need to reset the ECU. This can be done on early models by disconnecting the battery's negative terminal for 10 seconds or by removing the battery's backup fuse from underneath the hood. Be sure to remove the jumper wire (if used) when you're done. Many newer vehicles require a specialized scan tool to reset the ECU.
CODE SYSTEM INDICATED 0 ENGINE CONTROL MODULE 1 OXYGEN SENSOR 3 MANIFOLD ABSOLUTE PRESSURE SENSOR 4 CRANKSHAFT POSITION SENSOR 6 ENGINE COOLANT TEMPERATURE SENSOR 7 THROTTLE POSITION SENSOR 8 TOP DEAD CENTER POSITION SENSOR 9 NUMBER ONE CYLINDER POSITION SENSOR 10 INTAKE AIR TEMPERATURE SENSOR 12 EXHAUST GAS RECIRCULATION SYSTEM 13 BAROMETRIC PRESSURE SENSOR 14 IDLE AIR CONTROL VALVE 15 IGNITION OUTPUT SIGNAL 16 FUEL INJECTOR 17 VEHICLE SPEED SENSOR 20 ELECTRICAL LOAD DETECTOR 21 VTEC SOLENOID VALVE 22 VTEC PRESSURE SWITCH 23 KNOCK SENSOR 43 FUEL SUPPLY SYSTEM 41 HEATED OXYGEN SENSOR HEATER