When contemplating gauges it can be easy to get wrapped up in the style and 'tunable' colors of the dial and overlook the functionality of the unit in question. The AFR gauge is a Top 3 pick for serious tuned cars. An engine's air/fuel ratio is the parts of air in relationship to fuel. The higher the first number (representing air), the leaner the fuel mixture is. The lower the air value number, the richer the mixture. The old adage, "you need to burn more fuel to make more horsepower" is true but only with the caveat "at the proper ratio", which is where AFR gauges come into play.
L-E-Dinosaurs
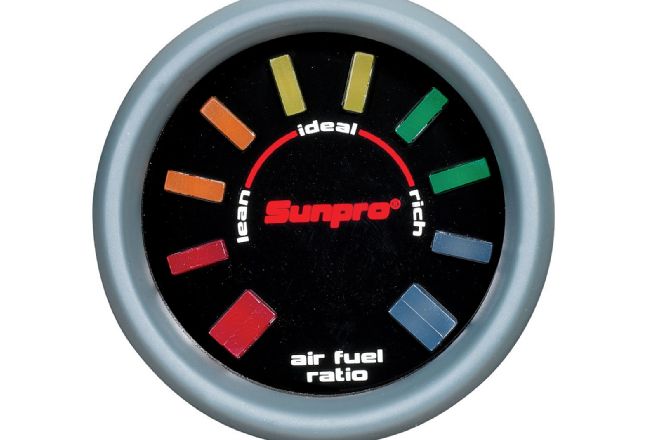
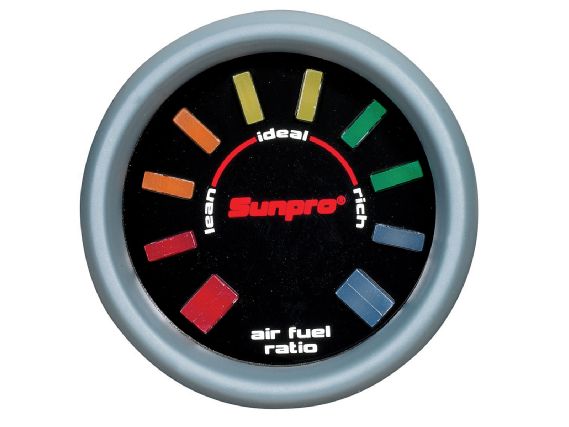
In the prehistoric era of performance tuning, an air/fuel gauge was a sad collection of LEDs that would sweep from yellow to green to red. There was no real AFR number being displayed, just hints really; yellow was 'rich,' red was 'lean' and the universal signal to lift.
 |
Total Tuning Nirvana - Tech
Further, the sensors at work in these "Jurassic period" pieces were so slow, that even if you could jump off the gas with catlike reflexes, odds are the information was so far behind current events in the combustion chamber your motor's fate was most likely already sealed. Back in the day, the only sensors quick enough and accurate enough to do the job right cost thousands of dollars.
Bandwidth Bandwagon
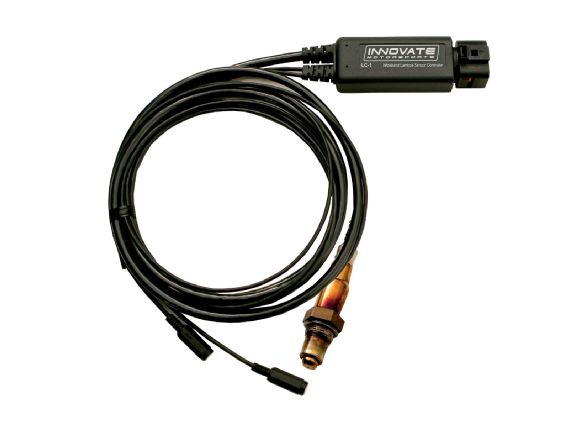
The emergence of wideband O2 sensors into the mainstream tuning market opened the doors for better, faster and more accurate on-board AFR gauge packages. What was once a twisted, slow-mo light show has been transformed into a high-performance tool capable of accuracy within 0.1 AFR with digital-like quickness. Consequently, modern AFR gauges have progressed far beyond metering duty. They can be linked to aftermarket programmable ECUs where they provide an incoming data stream that contributes to the calculation of tuning maps while also playing a role in generating datalogging information.
 |
Total Tuning Nirvana - Tech
I-AFRI-Intelligent Gauges Are 21st-Century-Smart
Today, air/fuel ratio gauges are joining the wireless revolution, using Wi-Fi technology to connect the dots.
 |
Total Tuning Nirvana - Tech
PLX Devices Kiwi
Wi-Fi iMFD
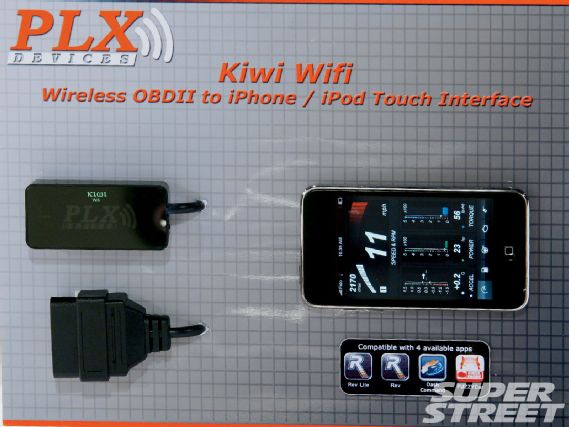
PDX Devices has developed an AFR gauge that replaces the gauge with a smart phone. The company's Kiwi Wi-Fi iMFD set-up employs a wideband O2 sensor, a sensor module and Wi-Fi interface. The sensor module interprets the information and sends it through the interface to your iPhone, iPod Touch or iPad, which becomes the display unit via an 8O2.11a/b/g connection in adHoc mode. The 'i-device' in question needs to be running a performance metering app, and Rev by DevToaster or Dash Command are the only two apps that currently support this system. The Wi-Fi interface is connected to the car's OBD-II diagnostic port, which means it can display many of the ECU's other operating parameters in real-time gauge format and serve as a mpg monitor, measure horsepower and torque and read and reset CEL codes. Of course a PLX gauge can be wired to the sensor module and mounted like a normal gauge for the more traditional at heart out there. PLX offers sensor modules for other functions such as EGT, boost, fluid pressure, fluid temperature etc.
 |
Total Tuning Nirvana - Tech
AEM Electronics X Wi-Fi
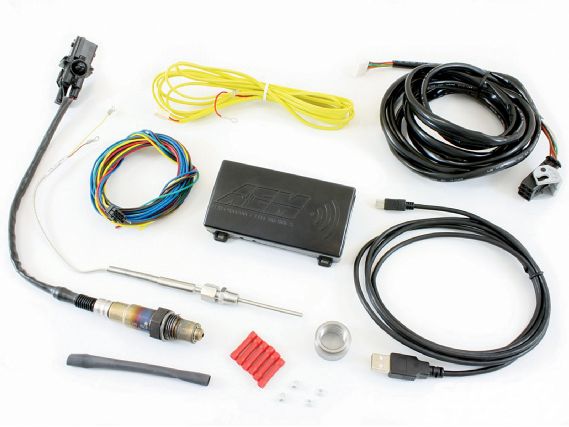
AEM has a Wi-Fi-based AFR system of its own. The twist here is the AEM X-Wi-Fi adds exhaust gas temperature monitoring to the mix. Along with the AFR reading from the tried-and-proven wideband UEGO, up to two optional EGT sensors can be added to glean even more precise combustion quality info. The AEM system uses the standard web browser on virtually any Wi-Fi enabled electronic device such as the iPhone, Droid, and Storm2 smart phones or a laptop computer, so no supporting app is required. Wi-Fi integration is attained in Infrastructure mode or AdHoc network mode and can also access WEP-protected networks.
 |
Total Tuning Nirvana - Tech
Innovate Motorsports OT-2
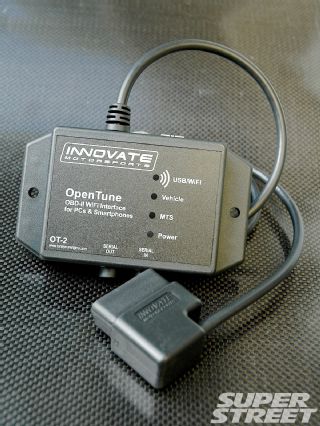
The OT-2 from Innovate Motorsports features the company's OpenTune interface that links OBD-II vehicles to an iPhone or iPod Touch. Innovate air/fuel meters and other Innovate Modular Tuning System (MTS) components can be added to expand the functionality of the OT-2 system. LogWorks mobile software, available free of charge from the Apple online app store, is a full-function performance meter that makes the most of the OT-2 OBD-II interface by displaying numerous parameters from the ECU.
 |
Total Tuning Nirvana - Tech
Putting i-AFR Into Action
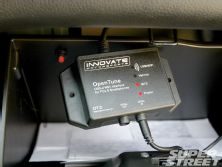
We elected to install an OT-2 in a Mitsubishi Lancer Evolution IX and upgrade it with Innovate's LC-1 O2 sensor array. The OT-2 simply plugs into the diagnostic port, which also powers the unit. Installation of the AFR module is a bit more involved but pretty straightforward. For the LC-1, Billy Lee from Drift-Office tapped into the ECU's power source, wired up the calibration button and mounted the button and the OT-2 in the Evo's glove box. The beauty of the Wi-Fi set-up is it eliminates half the wiring/installation headache because there is no gauge involved. No need to find a suitable mounting spot or crawling under the dash to run wires, and that means a quicker install, a more do-it-yourself-friendly project, and if you have the unit installed at a shop, less time means fewer labor costs.
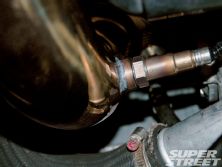
The Innovate LC-1 features a Bosch LSU-4.2 five-wire sensor and a Lambda controller, which Lee mounted underhood in a cooler, accessible spot for future calibrations. The controller is misnamed because it doesn't "control" anything. It can be more accurately described as a conversion interface as it takes the 0- to 5-volt signal generated by the sensor and converts it into information the OT-2 can understand and display.
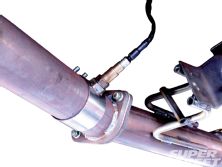
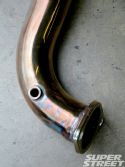
The most labor-intensive portion of the install is mounting the bung on the downpipe. We were keen to use the AEM no-weld mount (see sidebar) but the Evo downpipe had so many bends we couldn't find a good mounting spot that provided enough clearance for the sensor. So Lee marked a spot at the turbo-end of the pipe and the provided bung was welded in place.
Working The Software
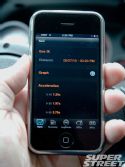
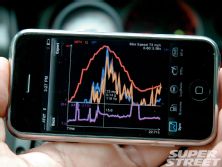
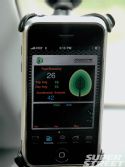
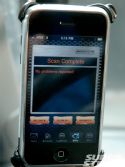
The LogWorks program starts the party with five menus: Dyno, Economy, LogWorks, DTCs and OT-2. The Dyno feature uses speed, load, AFR and g-forces to calculate acceleration and power. Fuel Economy tracks MPGs in real time, trip average, day average and as a graph by the month. The LogWorks menu allows the user to assign the ECU parameters that the will be monitored on the smart device. These include RPM, load percentage, spark advance, MAP, MAF, ETC, TPS, VSS and IAT to name a few. The more parameters you activate, up to 16, the slower the system samples and the smaller the readout on the iPhone. The DTCs (Detect Trouble Codes) displays any CEL codes thrown by the ECU and allows them to be cleared.
On The Road
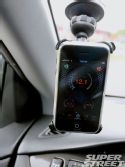
We enlisted a Griffin WindowSeat mount to secure our iPhone in a highly visible spot in the cabin. After linking the OT-2 and iPhone by going into the phone's Settings menu and assigning the Innovate network in the Wi-Fi menu it was time to set-up the system.
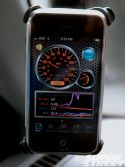
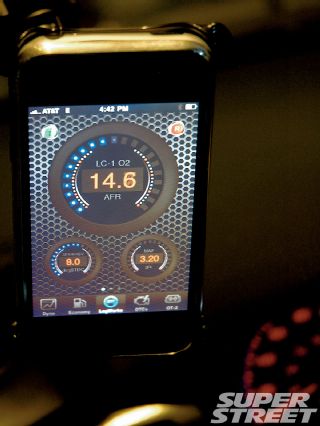
Innovate's quick start instructions made it easy to choose ECU parameters and navigate the system. We elected to monitor AFR on the main gauge, spark advance and MAF in the smaller readouts. We would have liked more contrast between the gauge face and the perforated background but the numeric display was easy to read at speed. The MPG mode is cool as well. When you are minding your manners the leaf is radiating green, get nasty, read jump on the throttle, and the leaf fades away to gray. We plan to chart our mileage and compare results.
Dyno mode provides a window into the performance of your car. After inputting vehicle weight the OT-2 can calculate quarter-mile acceleration with incremental times and it can make horsepower calculations in 100-rpm increments. The OT-2 is a very reasonable $179. It is cost-effective because it eliminates the need for a number of individual, hand-held devices and its LogWorks software is free. The LC-1 MTS kit costs $199 and adds a new dimension, turning your smart phone into a real genius as a gauge stack with precise air/fuel monitoring. Other Innovate MTS devices can be added to tailor the system to the seriousness of your ride. At the end of the day, it's a win-win for the informed enthusiast.
AEM's Do-It-Yourself Solution to O2 Sensor Installation
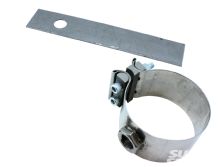
The AEM No-Weld Sensor Mount makes installing any O2 sensor a much more DIY-friendly endeavor. It's a hose clamp with a twist as the bung is welded to the 304 stainless steel clamp. Installation consists of drilling a hole in the pipe, positioning the gasket and tightening the clamp. The mount accommodates piping in four sizes ranging from 1.75 inches to 3.5 inches. We advise checking the under car environment to see where the sensor can be mounted. The AEM mount only works on straight piping and the curvaceous nature of our Evo downpipe hindered matters. We see it working fine with a straighter pipe, like that of a SR20DET. This product is a great way to further empower enthusiasts by making the installation process a "basic tools" affair.

