 | Nissan 240SX KA24DE Buildup - Head Games Part 2
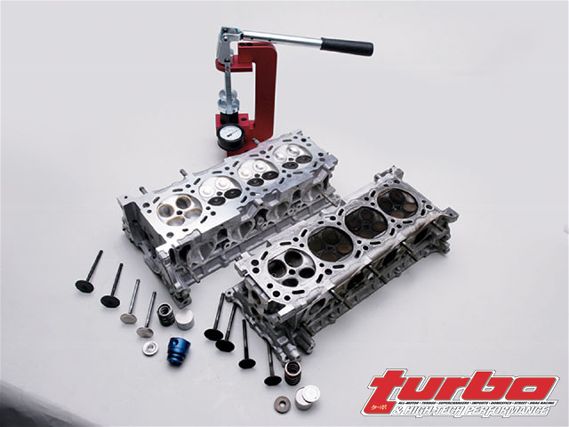
We're back with our follow-up to our KA24DE engine buildup. In the first part of our series we gave an overview of the project, as well as certain key features on the engine block. In this installment, again working with Naoto Negishi from NPD, we're outlining the key aspects of the cylinder head to help achieve our ultimate goal of 750 hp.
Just like the block, the factory head design has its positives and negatives. The intake ports are of mediocre size but the exhaust ports are much too small to give the head ample flow, choking off the engine. NPD resolved this issue by port matching the intake port entry and exhaust port exit to the gasket size. The gasket size is determined by the size of the inner diameter of the manifold in relation to the overall size of the manifold flange. It's possible to increase the inner diameter of the manifold, but you're limited by the size and pattern of the flange as well as the thickness of the pipe being used. (The weld, between the flange and the runner will be too close to the stud.)
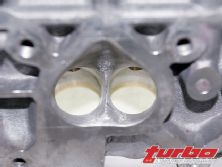
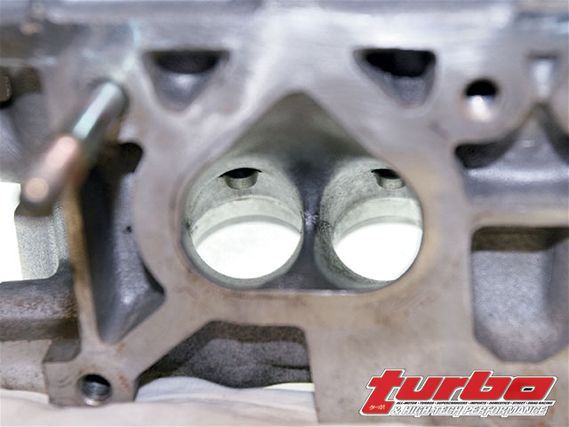
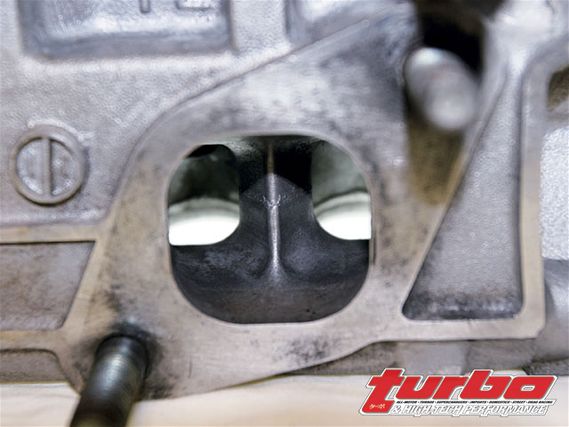 | Notice how much material is taken out of the center merge. This opens up the flow of the head substantially.
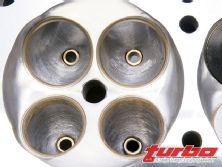
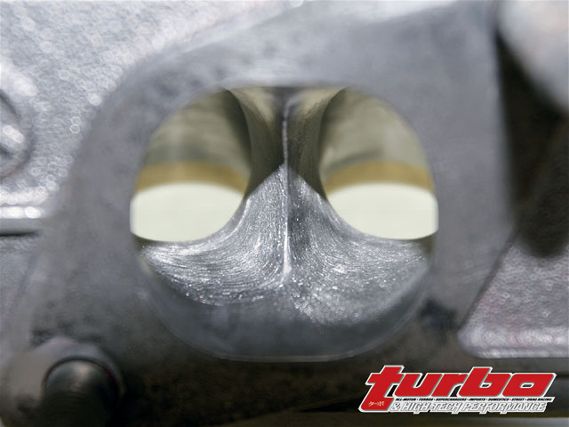
The real focus of the porting is at the merge, throat, and valve pocket. If you closely examine the stock KA24DE head, you'll see that there's quite a bit of material that can be cut out at the merge between the two exhaust passages. To a less severe degree, the merge on the intake side is narrowed. Cutting away at this material will open up the passage, increasing the capacity of air that can be exhaled out of the engine. The valve pocket is raised on both sides to increase the capacity of the port. The ramp is relatively unchanged on either side.
NPD chose to increase the size of the stock valve with Supertech 37.1mm nitride stainless intake valves and 32mm 751 Inconel exhaust valves, a 0.5mm increase on the intake valve and a 0.8mm increase on the exhaust valve. The valve throat also has to be substantially increased to accommodate the larger diameter. Without opening up the throat, you'll notice a flared ramp at the valve opening, which in effect doesn't take full advantage of a larger diameter valve. The intake valve is coated with a black nitride that's characteristically smoother than a chrome finish. This lowers the friction coefficient between the valve and the guide. For its ability to withstand extreme temperatures, Inconel is used for the exhaust valves. The quench area is also removed to lower the compression. A quench is great when building a naturally aspirated motor, but can cause unnecessary knock with raised cylinder pressures under forced-induction conditions.
 | Nissan 240SX KA24DE Buildup - Head Games Part 2
Once the head was ported, we took it over to cylinder head specialist Tom Fujita at Portflow. We had him install Portflow's custom bronze valve guides and valve seats into the head.
While bronze valve guides are commonly used, they're new to us. Tom informed us that similar to the guides, bronze valve seats have better heat-dissipation attributes, and therefore lower the risk of heat-attributed valve failure. Portflow then performs the final port, chamber shaping, and deburring to ensure a smooth flow of air and fuel. Each valve is then clearanced to the guide and a three-angle valve job is performed. Standard contact width is between 1mm and 1.1mm. Portflow's theory is that widening the contact width to 1.3mm promotes more heat dissipation through the bronze valve seats.
 | Similar to the intake side, the focus of the porting is on the merge, throat, and valve pocket.
Made of soft graphite sheet, the factory gasket is designed to withstand factory cylinder pressures. Adding boost into the equation, we opted for a more durable metal-type head gasket from AMS Performance. We had the head resurfaced to a mirror finish, free of pits and burrs, to mate to our metal gasket. Since the cam gears are a knock-pin type, care is taken in how much material is cut away since valve timing fine adjustment is an issue.
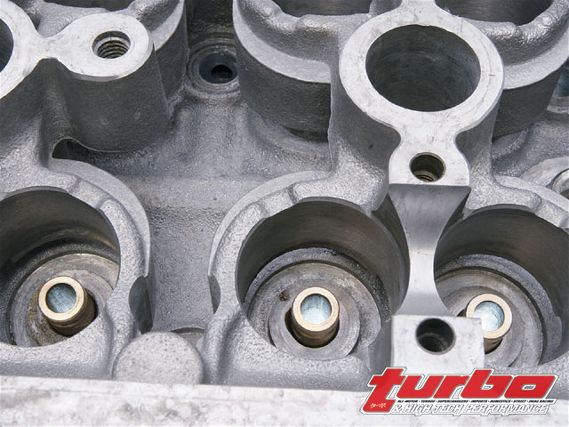 | Here you can see the tops of the valve guides. Each valve is mated to the guide to ensure smooth operation at high rpm.
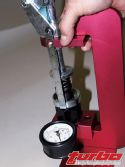
Once the head was finished being reworked by Portflow, Tom hand-lapped each valve per NPD's request. A gray ring should form 360 degrees around the valve and valve seat. Although head specialists like Portflow perform vacuum testing, not all do. Vacuum testing on its own is great, but hand-lapping promotes a sense of break in between the valve and the seat, in conjunction to creating a contact patch that's visible to the builder. NPD's belief is that the responsibility of final assembly falls on the shoulders of the engine builder and not the machine shop. These details should be examined by the builder prior to assembly. Each valvespring is then checked to ensure that they're equal and up to manufacturer specifications. In this case, we're using Supertech dual valvesprings with a seat pressure of 225 pounds and an 11.8 lift.
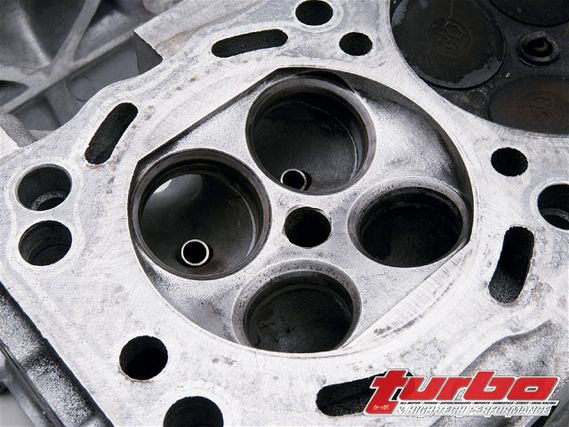 | The factory surfaces the head to a coarser finish than what we have. This is, in part, because the stock gasket material is softer, but much less durable than our metal gasket.
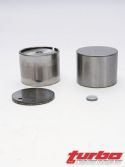
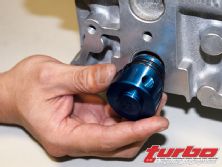
Final assembly was performed using Supertech titanium retainers, buckets, and shims. Instead of the factory-style outer shim, Supertech switches to an inner shim-type bucket. This frees up about 32 percent in weight from the bucket assembly and helps in reliability during high rpm operation. Although there's a port on the front water neck, which can be connected to an air separator tank, we opted to incorporate Auto Staff's water bypass block. This provides an additional source to remove any trapped cavitations in the cooling system.
While this much work may seem a bit excessive, this is the standard amount of effort and consideration that should be taken into building a motor of this caliber. These techniques can be applied to any high-performance motor build. Stay tuned for the next installment as we take a visit to the machine shop to have our KA24DE block bored and honed.

