 | Built For Boost Part II - Subaru EJ20
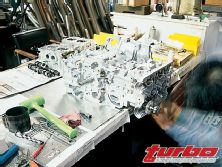
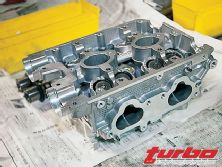
 In the last session of the EJ20 build-up, the block's deck was reworked and the cylinders were punched out over at RS Machine. With the machine work done, it was time to assemble the water boxer engine.
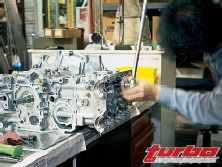
Under the watchful eye of Mr. Jon Kuroyama at HKS, we were able to enter the facility to follow along with Mr. Katsu Hibio on the assembly. Assembly downtime was reduced since bearings and gaskets were ordered before the engine was sent to RS Machine.
Before the engine was dismantled, the number three cylinder had ring sealing problems due to cracked ring lands on the pistons. We explained that the number three cylinder is more prone to problems due to heat.
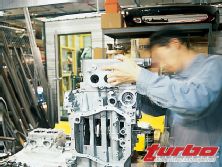
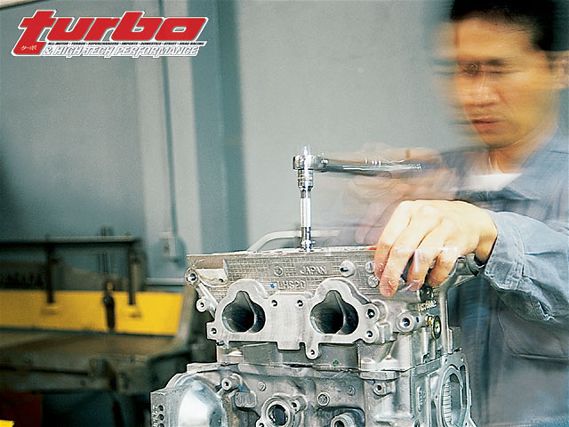 | Starting with the number one cylinder, crank the engine to its bottom dead center position and be sure the service hole lines up with the rod's wrist pin bushing.
 Knowing this weakness, the next task was lining up the aftermarket parts for the rest of the build-up. All that was needed for the reinforcement to take high boost was a set of Arias pistons and Crower connecting rods.
Unlike the factory cast aluminum slugs, the Arias pistons are forged aluminum weighing in at 370 grams in overbore trim. The particular units going into this engine are .020 over with an 8.5:1 compression ratio. The flat four's assembly process is different from a standard in-line engine's, so the wrist pins must be full-floating units. On a normal inline engine, the pistons and rods install as one unit, then slide into the cylinders.
In the case of the water boxer, the rods are installed on the crank first, then the piston is put into the cylinder to line up with the rod. Because of this, it's important to not only have a free-floating pin rather than a fixed pin, but also to have the wrist pin locks be the snap ring type. This is due to the snap rings being installed through the cylinders.
For connecting rod choice, the EJ20 requires 4340 billet steel Crower units. These rods use the standard I-beam style to ensure strength, along with plenty of crankcase clearance. Since the crank and rods are encased in the block, it's a good idea to clear the extremely small crankcase area. Cramming a thicker connecting rod in this area can be difficult using an H-beam pattern rod.
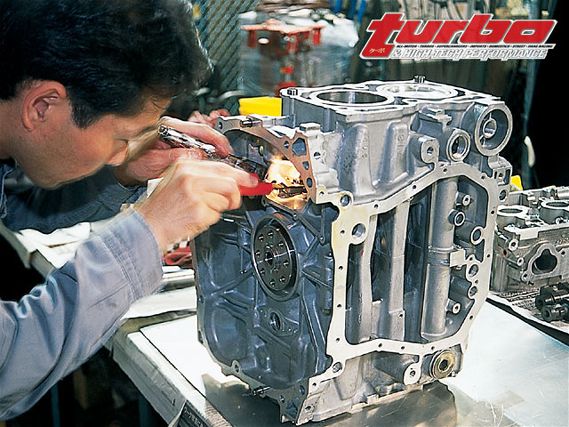 | In this particular case, Mr. Hibio custom made his own tool to line up the pistons with the rods. Subaru sells a specific tool designed primarily for this part of the build-up. The rings are lined up, and gapped and pistons are installed. All that is needed was to line up the small bore ends.
 Making the wrist pins free floating are bronze connecting rod bushings that ride on the wrist pins. As we stated earlier, the wrist pins use snap rings to keep the pin from moving, and the Crower bushing allows the pins to be free floating rather than fixed.
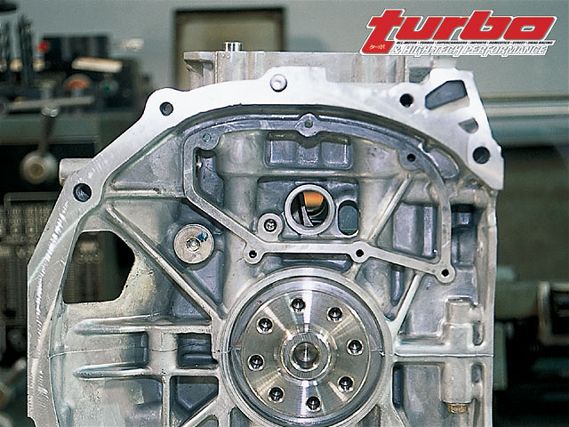
Let's examine the water boxer's two cases. One of the good things about the engine is the crank is encased between the halves, which helps keep the crank true when under power, and since the cylinders are opposing, this helps keep the rotating assembly balanced.
On the down side, the crankcase is very small, allowing only minimal amount of stroking with a larger crank. Another problem with stroking the Subaru engine is that in some cases, installing the pistons on the rods can be difficult. The EJ20 uses four service holes on the sides of the block to allow the wrist pins to be installed. The hole is only large enough to slip the wrist pin in on a stock stroke. These wrist pin holes are located at each cylinder's BDC. This means the rod length would also change, and in most cases, wouldn't line up with the service hole to install the wrist pins. Again, this only happens in some cases, but it should be noted if you plan to change the stroke.
Since this particular engine is loaded only with aftermarket rods and pistons, we don't have to worry too much about things not lining up, so it's on with the build-up.

