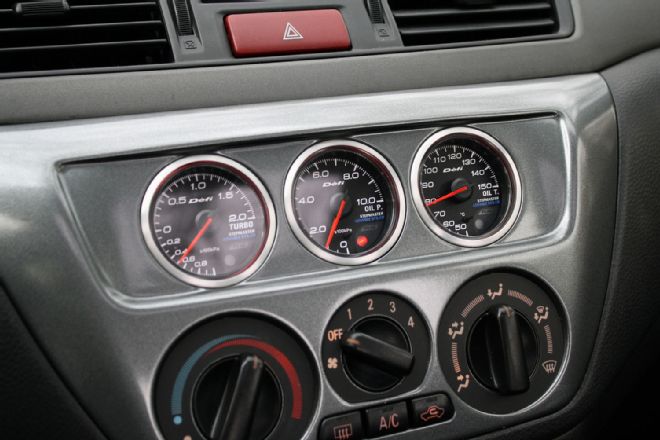
Shortly after I began to modify my newly acquired 2003 Evo VIII, I knew that having a way of monitoring the car's vitals would be important. Even though I primarily use the car for driving to and from work every day, you can never have too much information when it comes to your engine and how it's performing.
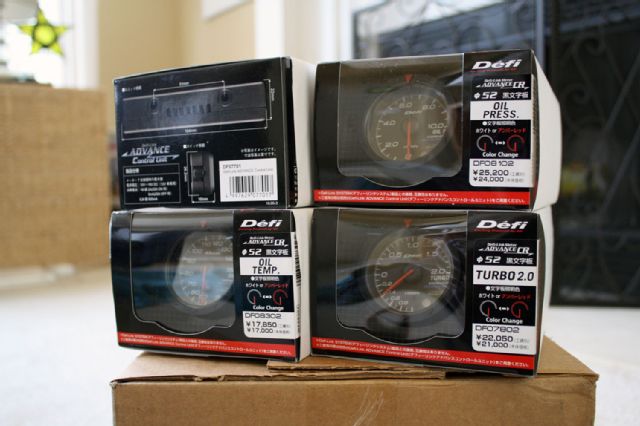 | Defi Gauge Install 01
Personally, I'm a big fan of using genuine components from Japanese manufacturers whenever possible. Don't get me wrong, there are companies all over the world (as well as right here in the USA) that make some incredible products, but it's simply my personal preference. And when I think of gauges from the land of the rising sun, I immediately think of Defi.
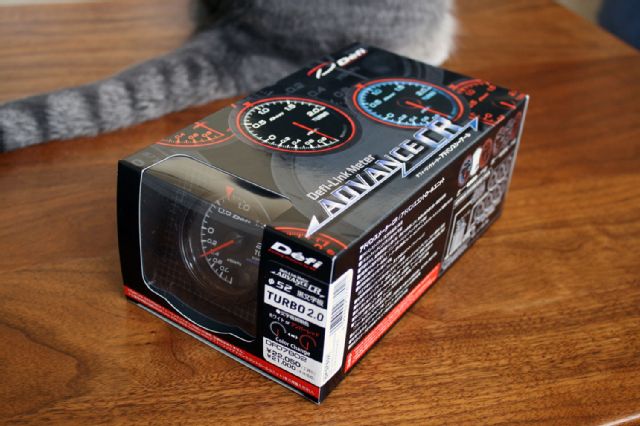 | Defi Advance CR Series Gauges 02
Defi has a reputation for building some of the highest quality gauges available in Japan. I chose to go with their latest offering, the Defi Advance CR series gauges. These gauges are a sequel of sorts to the model they replace, the Defi Link Meter II series. I had a few of these over the years and was always happy with their great looks and flawless operation. I contacted Tein USA, the official distributor of Defi products in the US, and was delighted to hear that they had all of the items I needed in stock stateside.
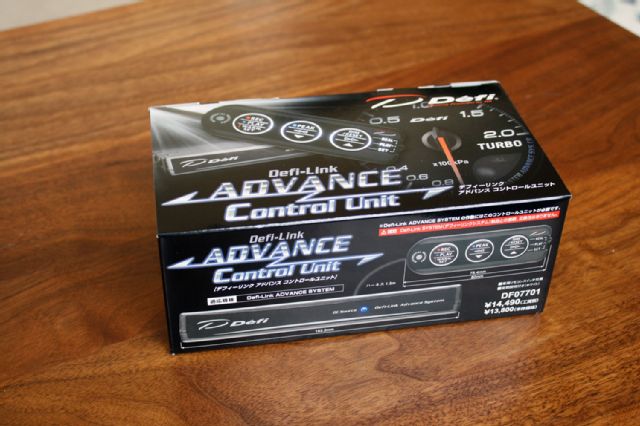 | Defi Advance CR Gauges 03
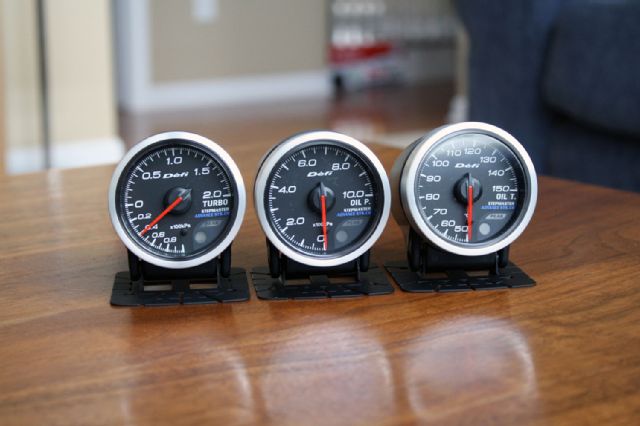
After about a week, a nice box from Tein in California arrived. Defi offers the Advance CR gauges in 52mm or 60mm diameters, both of which are available with black or white faces. I elected to run 52mm black face meters to keep things subtle but effective in my street car. My order included boost, oil pressure, and oil temp gauges in addition to the Defi Advance CR control unit needed to power and control the gauges.
 | Defi Advance CR Series Gauge Packaging 04
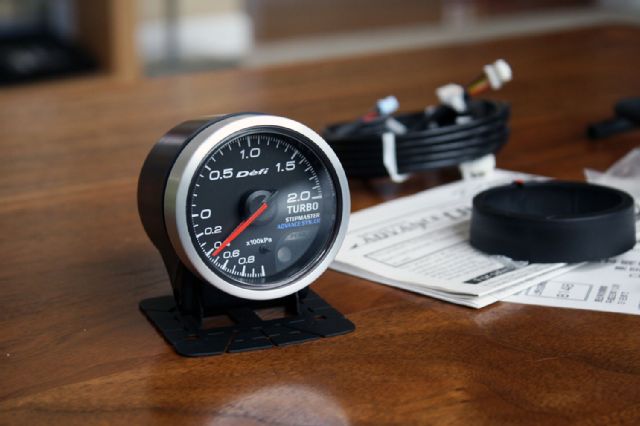
I was immediately blown away with the quality of the packaging included with all of the Defi products. Each gauge came in a vibrantly designed box that held the gauge itself, the required sensor, wiring, gauge cup, mounting tape, zip ties, and a detailed illustrated instruction manual. The included items varied slightly based on what the gauge is used for, but anything you could need for installation was covered. The directions were even translated to English in addition to the standard Japanese, and everything was easy to understand.
 | Defi Advance Cr Series Gauges Features 05
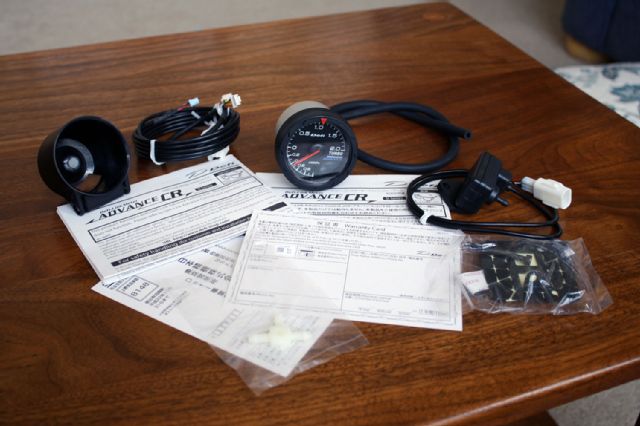
There are several features I really like about the Advance CR gauges and control box that are often copied, but never truly duplicated. The gauges each feature two plugs on the back of the unit that allow the gauges to be "daisy chained" together. This means that you only need to wire the control box itself, consisting of four wires total, to install all of the different gauges Defi offers- talk about easy! The gauge sensors themselves also feature a simple plug system that allows them to connect to the control unit.
 | Defi CR Series Illuminated Ring 06
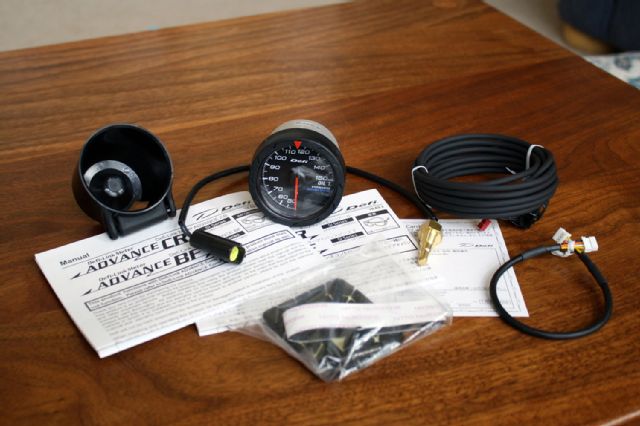
A new addition to the Advance CR series is the illuminated ring around the gauge face. The gauges allow you to select which color the gauge face and ring illuminates, giving you the ability to customize to your liking. The black face gauges lit up white by default, but I chose to switch them to red to match the Evo's factory interior- pretty trick! A warning light and buzzer illuminate to warn you of engine conditions exceeding a preset value that the user determines, and the warning chime can be turned off if you tire of the beeping sound. Defi gauges are known for their unique "opening sequence," a needle-sweeping, light-flashing display shown when the car is turned on and off. The Advance version allows you to choose between two unique sequences. It's pretty much just for show, but a cool addition nonetheless.
 | Defi Advance CR Series Control Unit 07
As for the control unit, updates have been made here as well when compared to the previous version. In the past, the control unit was one large box that needed to be mounted where it could be accessed by the driver to adjust settings. Defi has addressed this issue by designing a compact control device with three dual-purpose buttons. This allows the large and bulky control box to be hidden behind the dash, leaving only the small remote controller to integrate into the interior. I chose to conceal mine in the center armrest, since I don't typically need to access it very often.
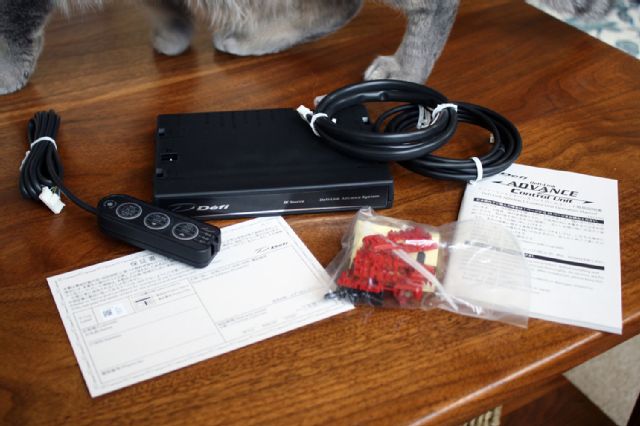 | Defi Advance CR Series Controller 08
With the controller, the driver can adjust the peak/warning values for the gauges, change the color of the display, and record and play back what the meters record over a specific period of time. This is really helpful when you're at the drag strip or competing in a time attack scenario and don't always have the time to be constantly watching your gauges. Simply press record, drive hard, and press play after the pass or lap is complete. The gauges will replay their exact path for the specified amount of time, even when the car is stationary. This adds a new dimension to monitoring what your car is doing on the track, allowing you to focus on what's really important- driving!
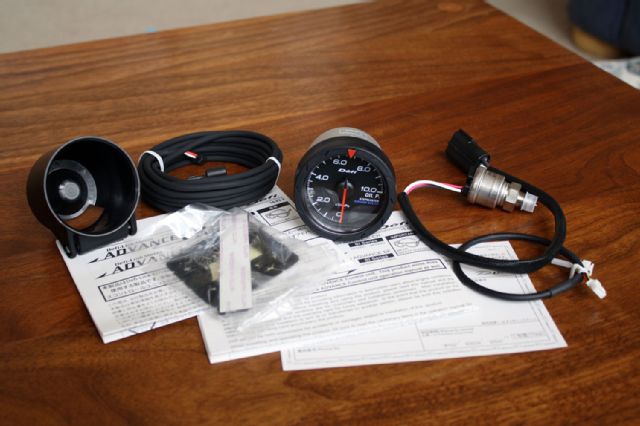 | Defi Advance CR Series Gauge Mounting Cups 09
Though the included gauge mounting cups are nothing to scoff at, I decided that I wanted a slightly more integrated solution for my car. Though gauge pods for the Evo VIII do exist, I wasn't overly impressed with anything on the market. I chose to turn to my good friend and interior customization extraordinaire Toby Broadfield of Broadfield Customs (Link to: http:// http://www.broadfieldcustoms.com/) to build me a mounting panel for my new Defi gauges.
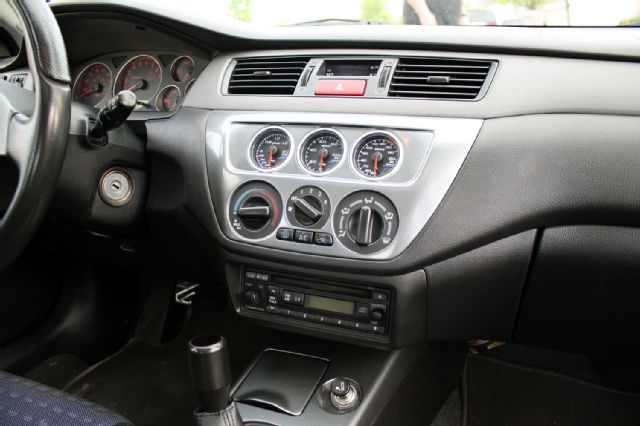 | 2003 Mitsubishi Lancer Evolution OEM Radio Relocation Kit 10
Russell from MitsubishiParts.net came to my aid once again with some OEM Mitsubishi components that would help with the look I was after. I purchased a radio relocation kit that moved the radio to what was previously a cubby hole located below the HVAC controls. With the head unit out of the way, I now had a decent size area in the center console to install the gauges where I could easily see them while driving. I sent a spare trim panel with my gauges to Toby at his shop in Normal, Illinois for him to work his magic.
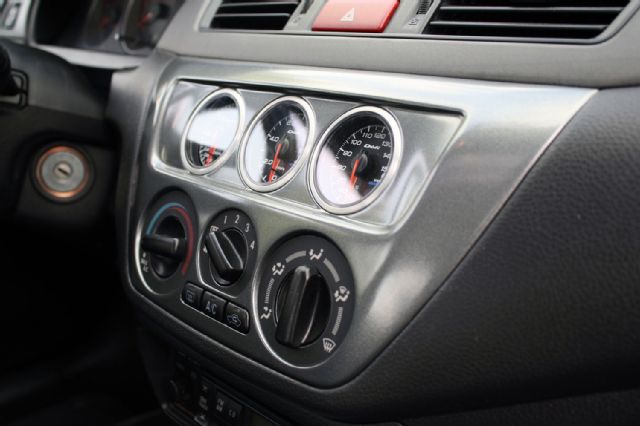 | 2003 Mitsubishi Lancer Evolution OEM Trim Panel 11
After a few weeks, Toby had managed to flush mount the Defi gauges into the OEM trim panel. Following considerable sanding and refinishing, he sprayed the panel in a color that turned out to be a perfect match for the factory finish- pretty impressive! He also sprayed my shifter trim and ash tray for me to freshen them up a bit and ensure that everything matched 100%. The finished piece is truly a work of art. And though it may look similar to other mounting solutions on the market, nothing comes close to the final finish and detailed features in the Broadfield Customs piece- it truly looks like it could have been an OEM option. The details matter folks!
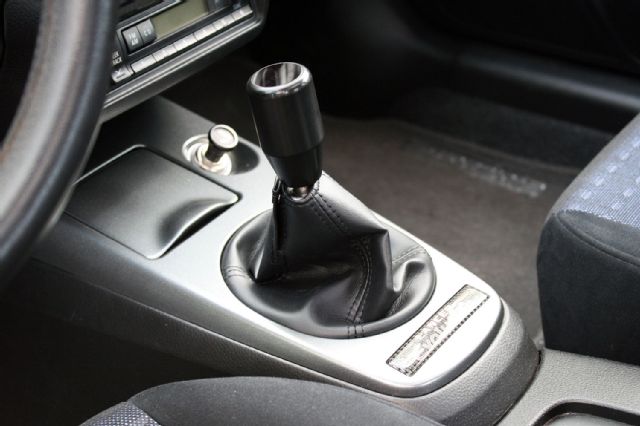 | 2003 Mitsubishi Lancer Evolution Shifter 12
With the gauges and new mounting panel back in my possession, I took a Saturday afternoon and installed the setup into my Evo. Installation is pretty straight forward thanks to the detailed instructions from Defi, but do yourself a favor and research a bit on the forums to familiarize yourself with the best way to install the desired gauges in your platform. Fortunately, the Evo has a couple of plugs in the oil filter housing that can be tapped into for a fairly easy install. Be sure to check for any fluid leaks after installation, and ensure that all wires are mounted securely away from any moving parts.
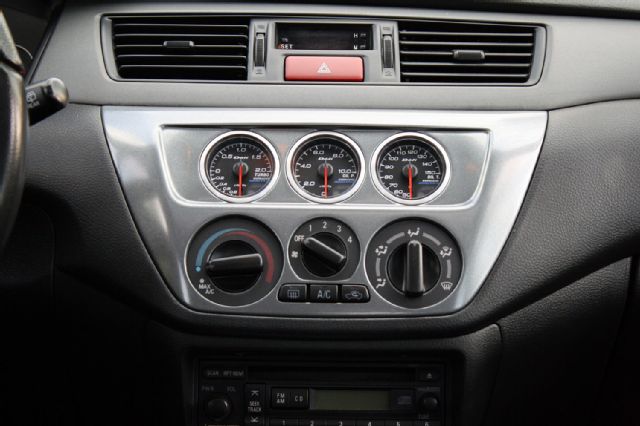 | 2003 Mitsubishi Lancer Evolution Defi Advance CR Series Gauges 13
So there you have it! Not only do I have a cool new trio of gauges that look trick inside of the car, but I'll be aware of the engine's vitals at all times. Though it might not always save your engine from an untimely death, you can't argue the fact that a few well thought out gauges can be a great addition to any modified car, whether it be a full-blown track car or a casual street cruiser.

