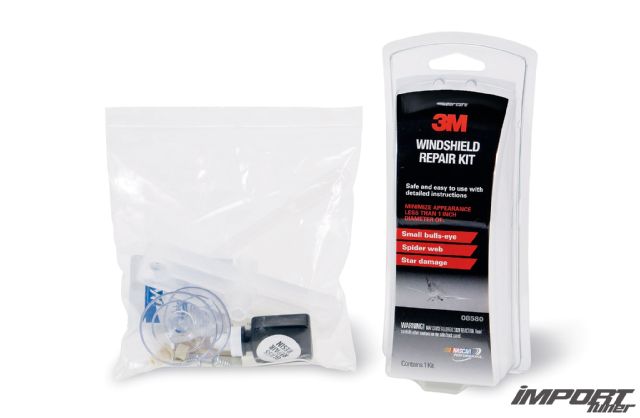
We've all been there or experienced it at one time or another: That all too familiar driving scenario that places you and your car on the local highway when all of the sudden, a semitruck kicks up a rock that comes hurling toward your windshield. That unpleasant thud followed by a chipped windshield is not only frustrating but also discouraging. We all know too well that a small chipped windshield could develop into a crack at any time—and often happens when you least expect it. That is when knowing proper windshield repair techniques become important.
 | DIY Auto Glass Repair 3M Windshield Repair Kit 01
Replacing a windshield or any auto glass repair can become a costly situation but there is a less expensive alternative. 3M offers a windshield repair kit that's designed to repair small bull's eyes and chips in auto glass. While the kit won't eliminate the damage completely, it can minimize the appearance of small bull's eyes, spiderweb cracks, and star damage that are less than 1 inch in diameter on windshields. This simple-to-use kit includes everything you need to repair small cracks and chips in the comforts of your own garage.
 | Windshield Repair How To
1. To begin the windshield repair process, remove any loose glass debris. 3M includes a stick pin with their kit but we used a larger-sized pick, which offers more control.
 | Windshield Repair How To
2. Clean the surface thoroughly using foam cleaner and towel/cloth while making sure not to embed any dirt or contaminants into the crack
 | Windshield Repair How To
3. Use the provided alcohol wipe to clean the area surrounding the crack to promote proper adhesion for the suction cups.
 | Windshield Repair How To
4. Assemble the bridge and place it onto the windshield while making sure to center the unit directly over the damaged area.
 | Windshield Repair How To
5. Assemble the bridge and place it onto the windshield while making sure to center the unit directly over the damaged area.
 | Windshield Repair How To
6. Double-check the placement of the bridge from the inside before proceeding to the next step. Notice we placed a paper towel under the piece to prevent excess resin from flowing onto the glass.
 | Windshield Repair How To
7. Use the supplied dropper to fill the chamber with 3M glass resin at half capacity.
 | Windshield Repair How To
8. Screw the injector into the chamber. This is an important step that forcibly injects the resin into the crack/chip.
 | Windshield Repair How To
9. Dry the area under the sun completely for a minimum of 30 minutes before removing the bridge.
 | Windshield Repair How To
 | Windshield Repair How To
10. Any excess cured resin should be gently scraped off before wiping the area with cleaner.
 | Windshield Repair How To
11. We couldn't believe it ourselves but the nasty crack was nearly invisible thanks to the 3M repair kit. The only evidence of the crack was the impact chips marked by the red arrow.

