 | Honda Civic Window Molding - Bye-Bye Chrome
Embrace Your Inner Noob
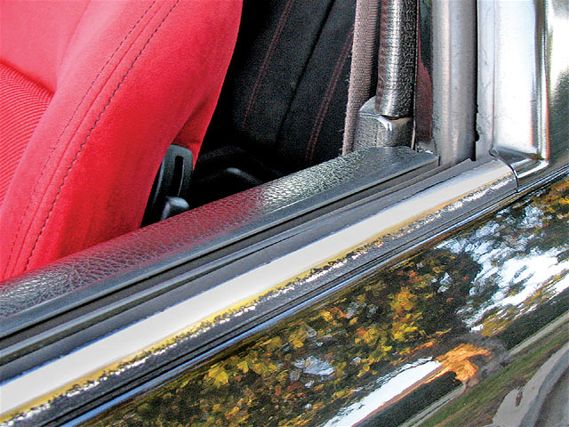
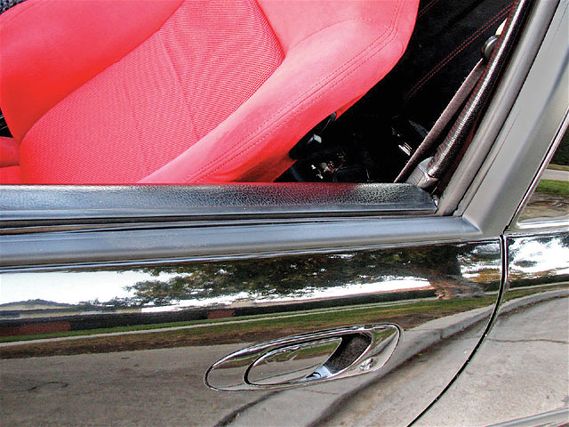
In the early '80s, chrome window moldings on Hondas was the cool-guy thing. It isn't anymore. Honda builds many of its cars with black moldings now, some of which have plastic rubber coverings that, with excessive sun exposure, can harden and eventually chip apart. At this point, those black moldings begin to take on that '80s chrome look again, not cool if you're living in the 21st century. Don't be lame, step out of the '80s and replace your abused moldings with something fresh-shoot, you don't even have to remove the door panels or glass to do it. Here's how '92-'95 Civic owners can go about doing it, although the process differs little from car to car.
 | Honda Civic Window Molding - Bye-Bye Chrome
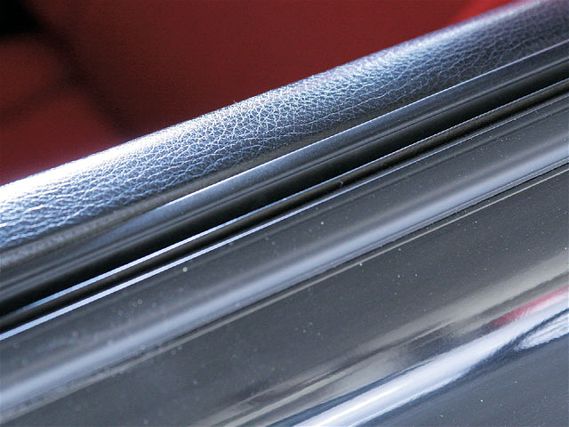
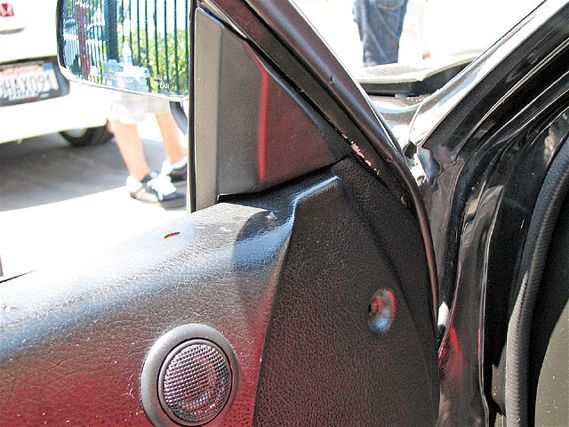
Step 1: Remove the door's inner plastic cover panel-the one that hides the sideview mirror's bolts. Loosen the nuts, being careful not to drop them behind the door panel, which will defeat that whole thing we just said about not having to remove the door panel. A magnet comes in handy here.
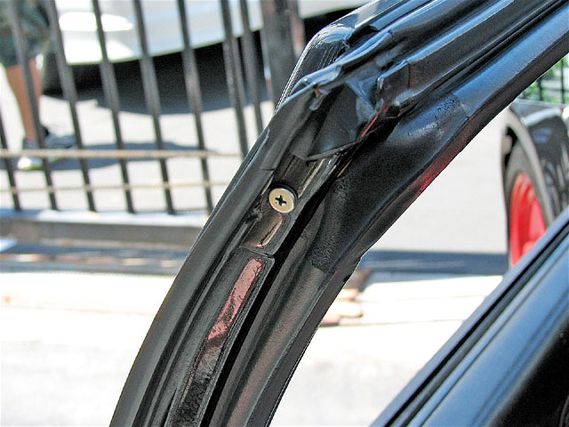
Step 2: Use a Phillips-head screwdriver to remove the door sash garnish. There are three screws that hold the plastic strip against the outside of the door-unscrew all of them and pull the garnish off.
 | Honda Civic Window Molding - Bye-Bye Chrome
Step 3: Lower the window and, with a flat-head screwdriver wrapped in a towel, pry the outer molding up at the end while pulling up on the middle with your hand. All of this will break the four clips one by one. Don't cry about the clips or those little pieces of plastic that fall inside the door depths though; you can work them out through the holes underneath or they'll eventually just fall out.
 | Honda Civic Window Molding - Bye-Bye Chrome
Step 4: Now is a good time to clean and apply some wax to the painted surface, so do it.
Step 5: Carefully snap that new molding into place by working side to side, read all of this backward to put the whole thing back together, and say goodbye to the '80s.
 | Honda Civic Window Molding - Bye-Bye Chrome
’92-’95 CIVIC HATCHBACK AND COUPE PART NUMBERS: Right window molding: 72410-SR3-003 Left window molding: 72450-SR3-003 Right door sash garnish, in case yours breaks: 72430-SR3-003 Left door sash garnish, in case yours breaks: 72470-SR3-003
