How To Install A Set Of Hood Dampers.Admit it. You were pretty excited the first time you figured out your hood had a second set of notches so you could prop it open all the way. From then on, every time the hood went up, you had to show off your mad hood prop skills. Stretching your washer squirter lines was a small sacrifice for your newfound coolness. The only real concern was when the wind picked up it rocked the hood and generally made it scary to be under.
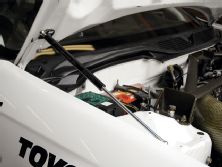
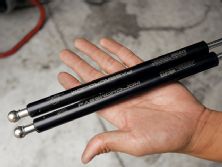
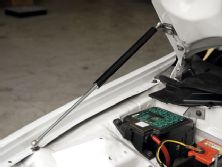
Well, in our ever-advancing world, technology has once again replaced the craftsman. Your hood propping skills and courage to use them have now been made obsolete by the hood damper. Like the struts on a hatch, these gas charged shocks push and securely hold the hood open from both sides. That's it. That's all they do other than make that pshhhh sound and make it look like The Terminator is part of your crew at car shows.
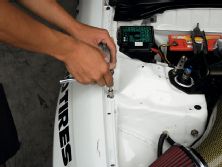
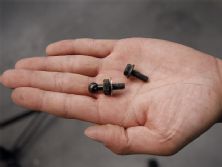
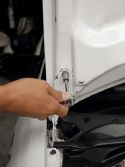
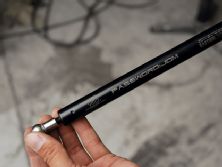
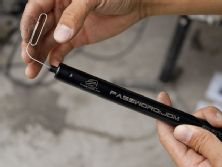
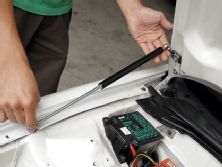
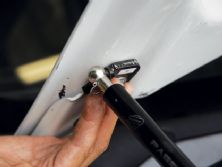
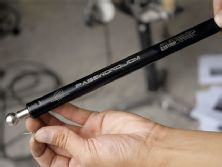
Here we are installing a set of hood dampers from Password:JDM. They are similar to other brands except that these have a valve to discharge some of the pressure when using them with a carbon-fiber or other type of lightweight composite hood. They come pressurized to support the weight of a factory hood, but that much pressure can cause stress cracks on carbon-fiber hoods. By dumping some of the pressure, you can tune these for however much weight they need to support. Just be careful! The valves are one way and if you let out too much, you can't get it back. You will likely need to bleed the pressure in increments and re-install them a couple of times until you get it just right.
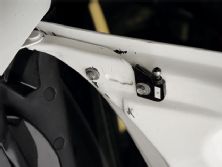
These are being installed on a '96 Civic, but the process is pretty much the same for Password's other kits for Civics, Intgras, RSXs and S2000s. It is a relatively easy install that anyone can do with basic hand tools and a paper clip.

