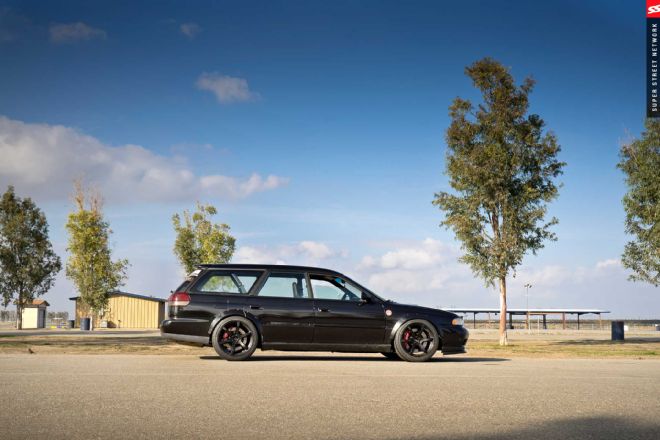
It hasn't been an easy road to our annual Super Lap Battle time attack, but that's just part of the fun of building a capable track car! So far, our '98 Subaru Legacy GT wagon has received a grip of updates, including a JDM 2.0L swap and larger Garrett turbo, plus every upgrade you can think of for the chassis—this was going to be one badass wagon. In our last update, we had two days to finish a laundry list of last-minute touches, such as fender flares, new Gram Lights wheels, and a full wrap. We checked the clock and it was 3 a.m., so the team felt it was time to take a quick nap. Come early morning, it was crunch time!
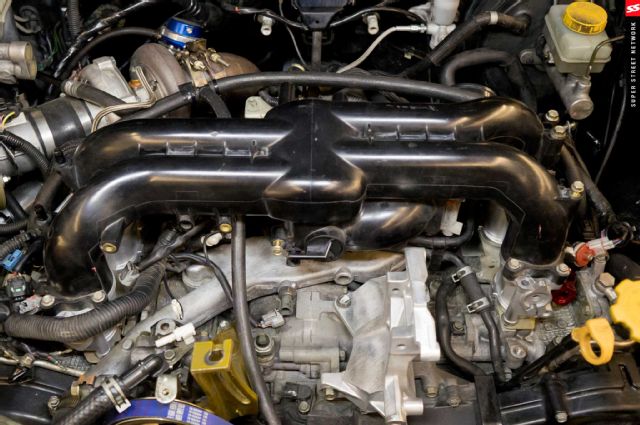
 | 98 Subaru Legacy Fuel System Upgrade Engine Bay
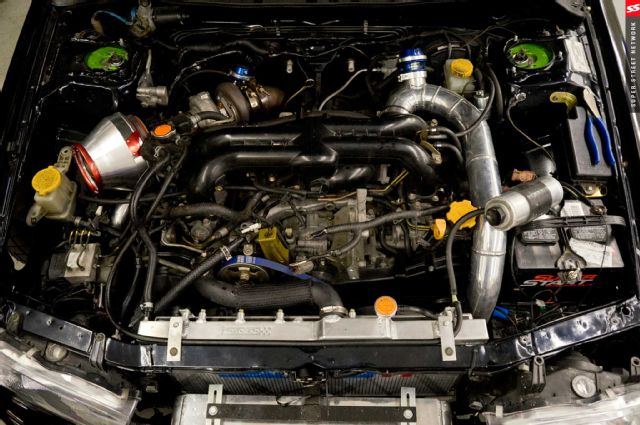
First order of business was addressing the fuel system. We decided to drop in a new fuel rail and lines from Aeromotive to complete this piece of the puzzle.
 | 98 Subaru Legacy Fuel System Upgrade Tgv Plate Intake Manifold Removal
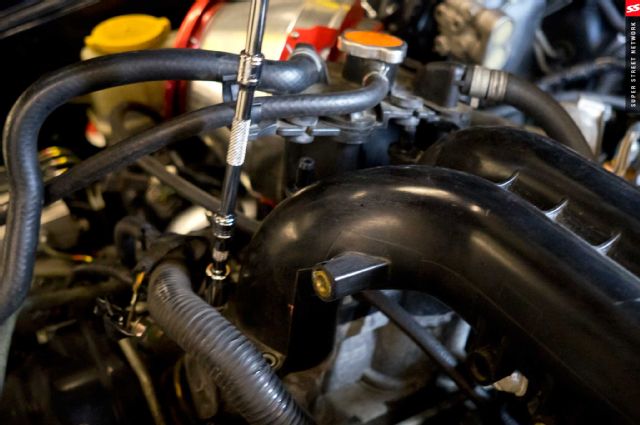
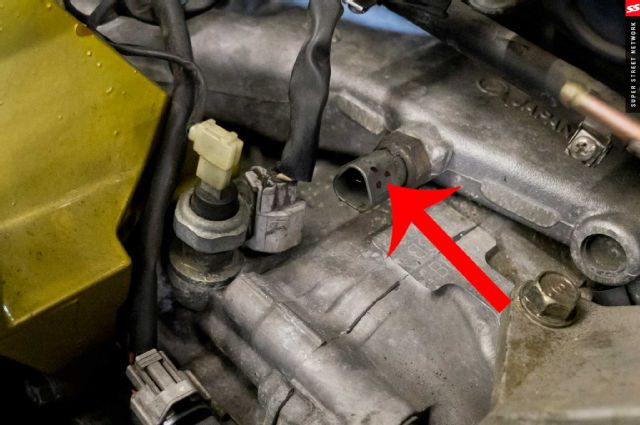
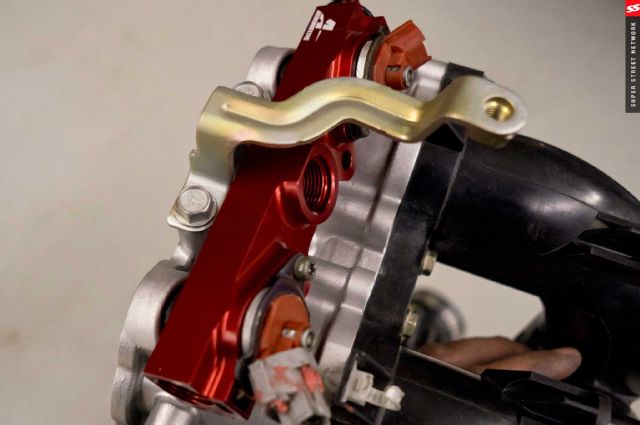
The first step of this install was to remove and clean up the old manifold and TGV plates. The easiest place to start was unplugging the battery and removing all the ground cables from the manifold.
 | 98 Subaru Legacy Fuel System Upgrade Tumble Generator Valve
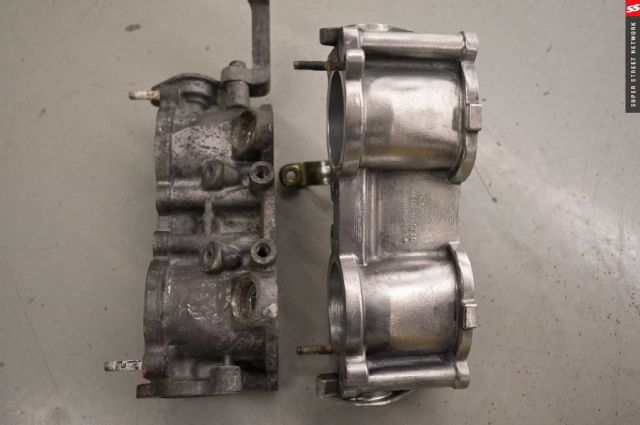
Once removed, we hit the four bolts holding the TGVs onto the heads.
 | 98 Subaru Legacy Fuel System Upgrade Alternator Ac Bracket Pump Removal
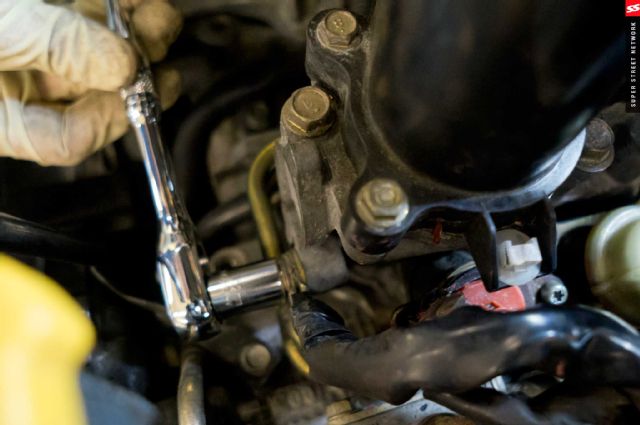
Before the manifold could be lifted off, we removed the alternator, A/C bracket, and pumps to give us access to some sensors underneath the manifold.
 | 98 Subaru Legacy Fuel System Upgrade Plug And Bolt Labeling
Pro Tip: If you're not sure where plugs or bolts go, it's always a good idea to take your time, slow down, and label them like we do.
 | 98 Subaru Legacy Fuel System Upgrade Factory Fuel System Removal
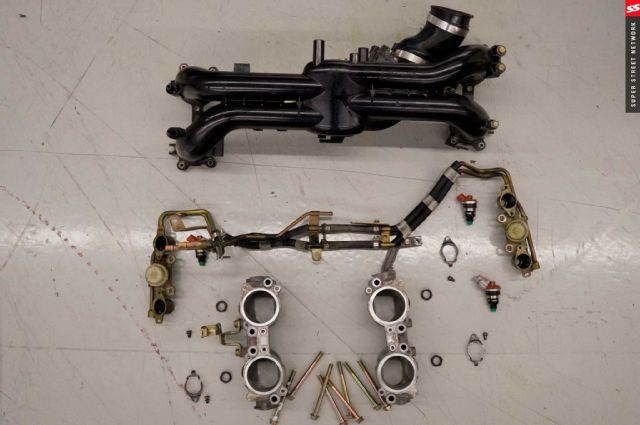
Once the bolts and plugs were free, it was time to pull off the insanely confusing factory fuel system. Just look at that mess of fuel lines!
 | 98 Subaru Legacy Fuel System Upgrade Fuel Line Taping
Pro Tip: Anytime you pull lines with fluid in them, an easy way to cap them off is to stick a bolt in and tape it closed. This will keep fluid from leaking all over your floor or car.
 | 98 Subaru Legacy Fuel System Upgrade Intake Manifold Tgv Assembly
It was time to pull off the entire manifold and TGV assembly from the heads. Once it was removed, we laid it on the ground to see all the little parts involved. Unfortunately, a couple of our injectors were stuck to the stock fuel rails and were sticking shut so it made the install a little slower.
Pro Tip: Although it's not pictured, we immediately closed the holes into the heads with masking tape. Nothing is worse than dropping a bolt or debris inside your engine during an install!
 | 98 Subaru Legacy Fuel System Upgrade Tumble Generator Valve Cleaning
Since the TGVs looked a little worse for wear and our injectors needed some CPR, we figured we would take this opportunity to polish and clean those dirty units.
 | 98 Subaru Legacy Fuel System Upgrade Fuel 850Cc Side Feed Injectors
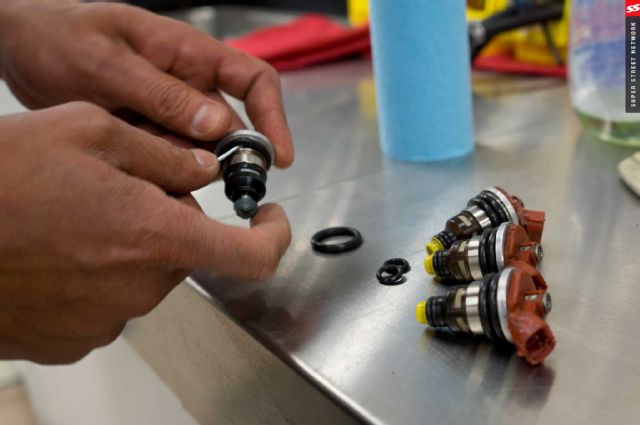
Once the TGVs were clean, we headed over to RC Engineering to get our 850cc side-feed injectors cleaned and serviced.
 | 98 Subaru Legacy Fuel System Upgrade Fuel Injector Cleaning
First, the injectors sat in a tank in order to be cleaned.
 | 98 Subaru Legacy Fuel System Upgrade Fuel Injector Piston
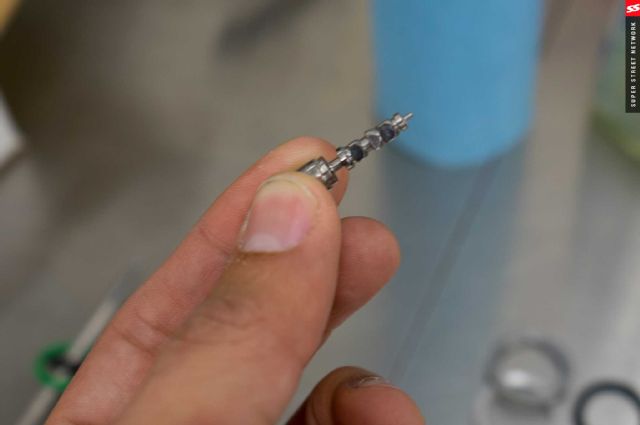
It turned out that a couple injectors had a piston that was stuck closed because old fuel had sat inside them for too long.
Pro Tip: Side-feed injectors have a very unique piston design that looks similar to a tiny camshaft. The lobes on the piston help regulate fuel flow and pulse, but they can also jam up easily. If banging on them with a screwdriver does not get them to open, save yourself the hassle and go get them professionally serviced.
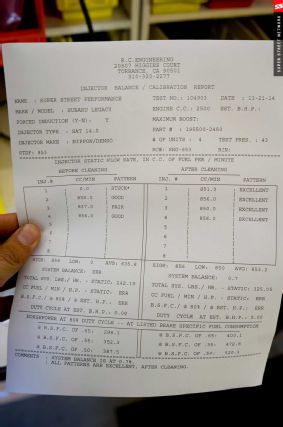 | 98 Subaru Legacy Fuel System Upgrade Flow Report
After we got our injector flow report card back from RC, it was time to head back and finish the install. As you can see, all four injectors were flowing right around 850 cc and were in excellent condition.
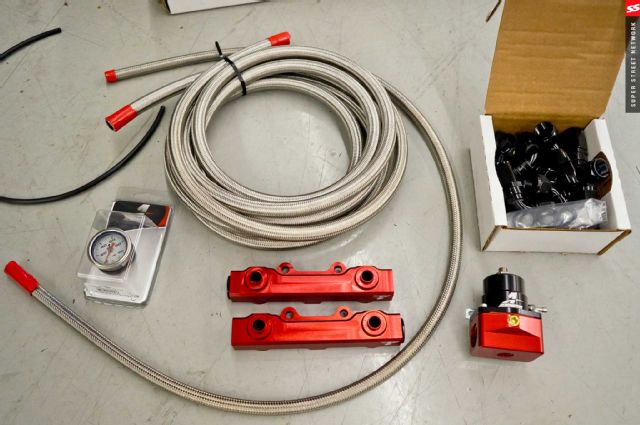 | 98 Subaru Legacy Fuel System Upgrade Aeromotive Fuel Kit
It was time to unpack the Aeromotive components. First thing you will notice is that the fuel lines were not specifically made for our Legacy. But this is actually a good thing - not only does it allow you to make the kit fit for our specific application, but it also gives us the freedom of line arrangement.
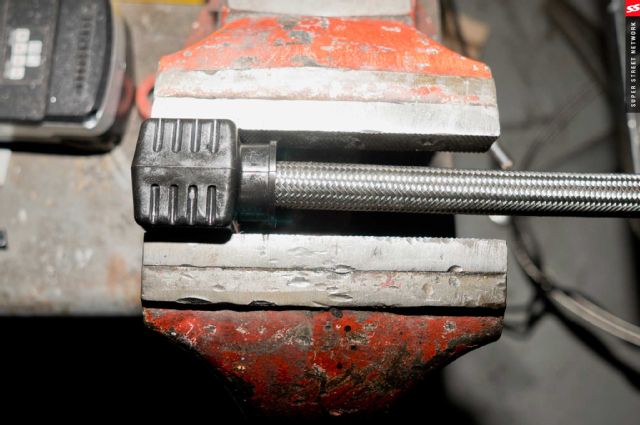 | 98 Subaru Legacy Fuel System Upgrade Fuel Line
 | 98 Subaru Legacy Fuel System Upgrade Fuel Line
While the instructions included were extremely detailed, it's best to measure and route your fuel lines based on your engine layout.
Pro Tip: Subarus with top-mount intercoolers may have a different fuel line layout than cars with a front mount.
 | 98 Subaru Legacy Fuel System Upgrade Fuel Rail
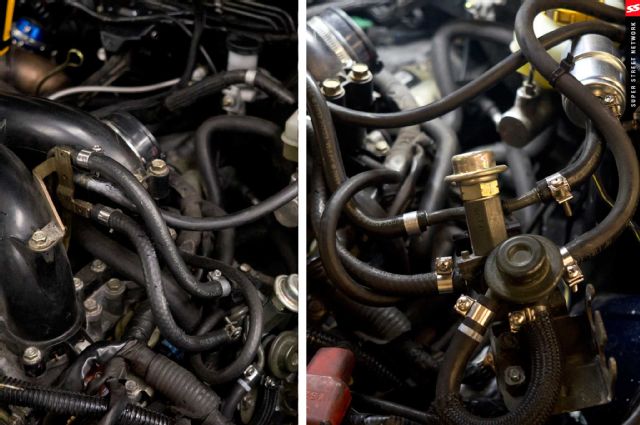
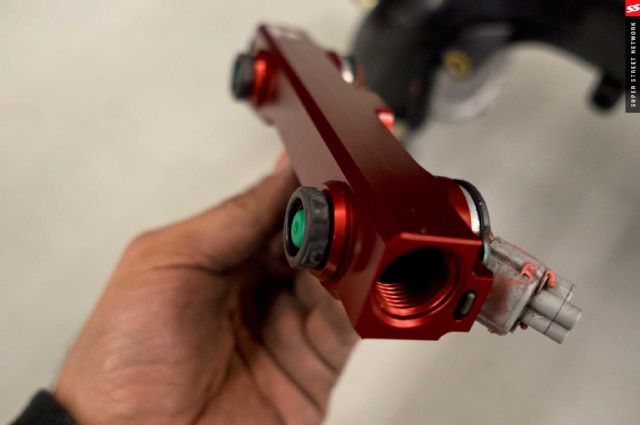
After the lines were made and mocked up, it was time to connect our fuel rails to the TGVs, then mount them to the manifold.
 | 98 Subaru Legacy Fuel System Upgrade Fuel Rail Gasket
Pro Tip: Make sure you check and replace every O-ring, seal, and gasket when you do this step. Nothing is worse than finding a fuel leak after you're all done!
 | 98 Subaru Legacy Fuel System Upgrade Fuel Pressure Regulator
 | 98 Subaru Legacy Fuel System Upgrade Fuel Line Route
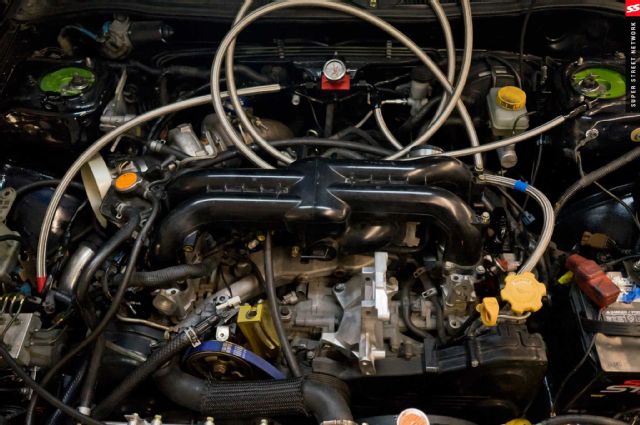
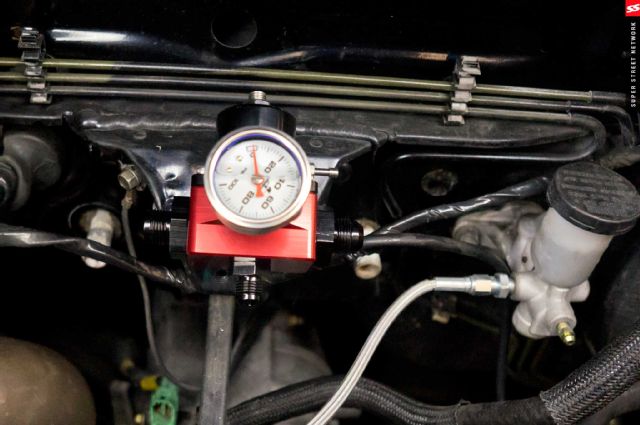
Once everything was bolted on, it was time to finalize our line route and connect the fuel pressure regulator.
 | 98 Subaru Legacy Fuel System Upgrade Fuel System Check
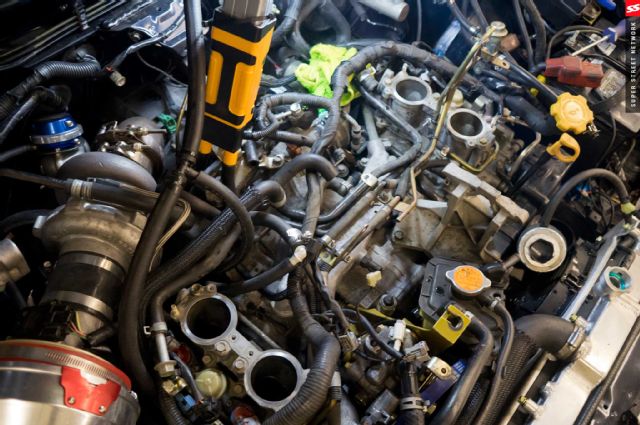
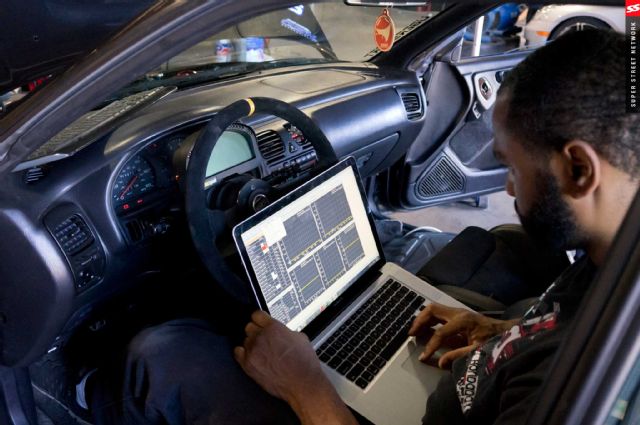
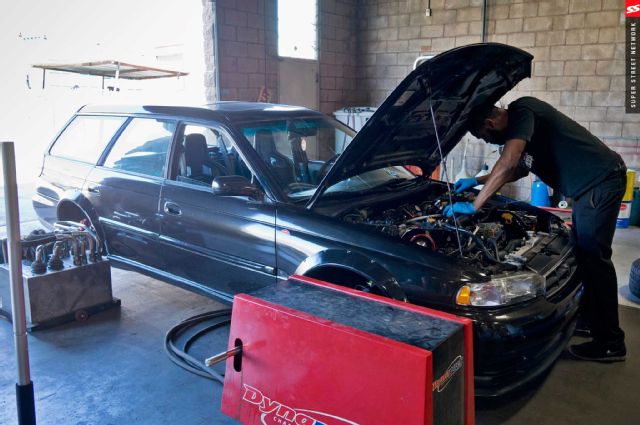
With everything complete, it was time to test the car for leaks under pressure and at idle. It turns out, luck was on our side and there were zero leaks! After we circled the block a few times just to make sure the car was running solid and leak-free, we shot over to Church Automotive for the wagon's first real tune. Daniel from Church worked his magic on our car for two hours while power and driveability kept building.
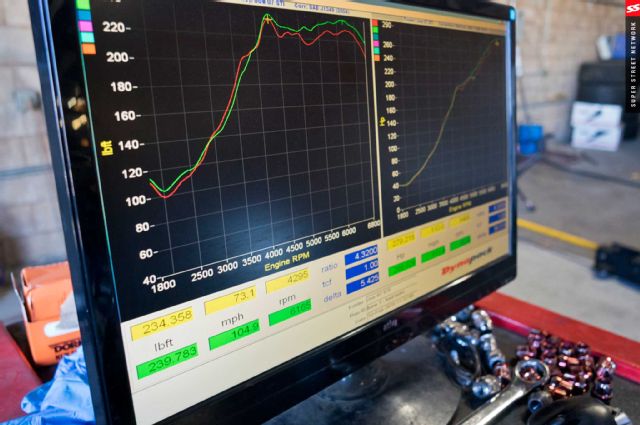 | 98 Subaru Legacy Fuel System Upgrade Dynograph
 | 98 Subaru Legacy Fuel System Upgrade Dynotest
We ran into a little issue with the boost controller giving us spikes so we decided to leave the boost levels at the 14 psi that our Turbosmart wastegate was set at. While 14 psi is really darn close to stock boost, we managed to put down a very respectable 289 whp and 279 lb-ft of torque on 91-octane pump gas. These aren't very impressive numbers, but the goal for this stage was to make roughly 300 whp safely and reliably so we could scoot around any road course with ease.
 | 98 Subaru Legacy Fuel System Upgrade Project Car