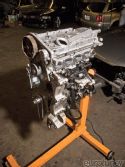
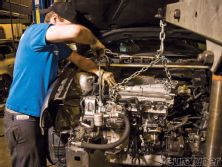
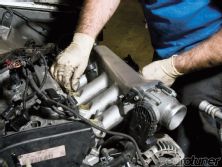
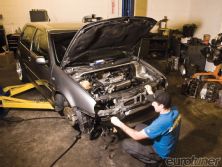
In the previous two issues we highlighted the engine build on our '03 VW GTI 1.8T. Since we'd reached a limit of 195whp with bolt-on parts and the stock turbo, the next step was to go big. So in et 12/10 we introduced the major components in the Integrated Engineering (IE) two-liter stroker kit that would give us a stronger motor with more torque and prepare us for more boost.
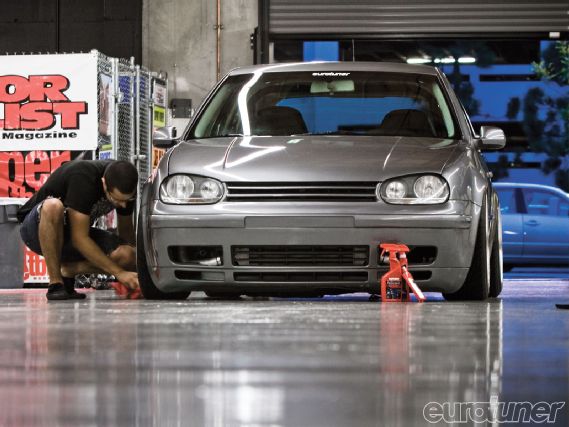 |
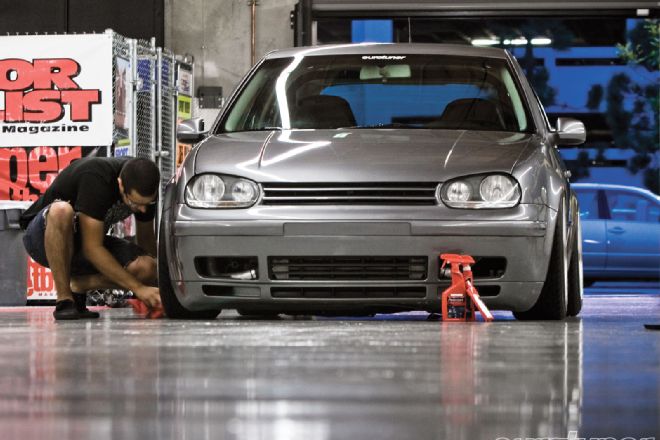
Special thanks to Fernando Maduro who helped detail Silverstone before the SEMA show
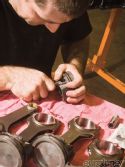
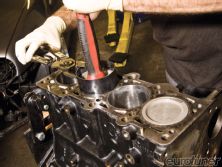
To quickly review, the kit consists of 83mm Mahle pistons that replace the 81mm factory parts. Together with a 2.0T crank it took the displacement from 1781cc to 2008cc and helped minimize stress on the engine. The pistons also reduced the compression ratio from 9.25:1 to 9:1, which would be better for boost.
The next component was IE's H-Beam rods with a more rigid design than stock. They have a machined, heat-treated and shot-peened surface to make them twice as strong as the factory pieces.
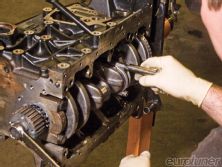
The final component was the 2.0T FSI crank that was modified to drop into the 1.8T block. It's a stronger forged part compared to the 1.8T's cast crank, so our bottom-end was ready for abuse. It has a stroke of 92.88mm from the 1.8T's 86.4mm to give us our capacity increase.
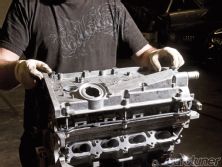
While we were preparing the motor for reassembly, 034Motorsport supplied a new cylinder head. Last month, we showcased the rebuilt, high-flow AEB head. It's a direct fit to our AWP block but the head features larger intake and exhausts ports.
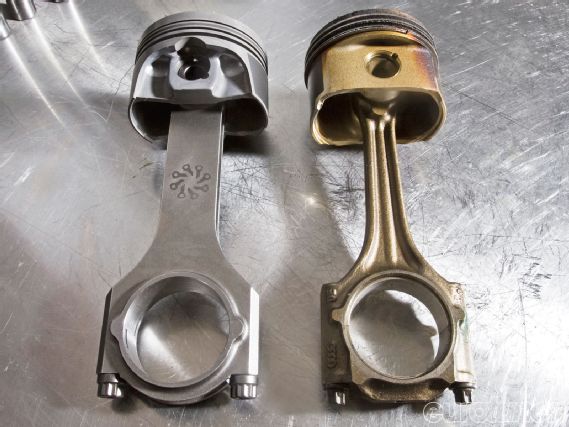 |
Integrated Engineering 2.0L piston and rod assembly compared to stock 1.8T. Notice the difference in thickness
For the high performance head, 034 performed its stage 3 porting job to improve the airflow by smoothing and reshaping the combustion chamber and ports. They also installed oversized stainless steel intake and inconel exhaust valves to aid airflow, while upgrading to Supertech valve springs and titanium retainers. This will ultimately help the valvetrain react faster, improve turbo spooling and increase mid- and high RPM power.
An Autotech intake cam was inserted to alter the duration of the valves, raising the powerband further.
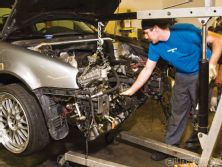
With the parts in hand, we returned to Raven Motorsports in Long Beach, CA. The tuner had been responsible for all the work thus far, including the engine disassembly and head install.
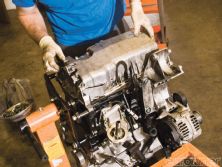
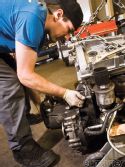
After the 1.8T was removed from the car, Raven owner Matt Baumann stripped the engine and prepared the block for the stroker kit. It needed a deep-clean before the pistons, rods and crank were balanced to ensure there wouldn't be any unnecessary stresses or vibrations on the rotating assembly. Our blueprinted engine was built to tighter tolerances than the factory used in order to ensure power wasn't lost through inefficiencies.
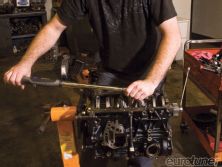
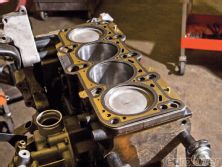
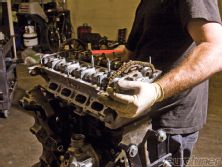
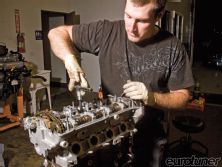
It took two full days to install the stroker kit, reassemble the motor and get the GTI fired up. With any engine build, it's advantageous at this stage to replace as many factory parts that might be worn to give you peace of mind. After all, it would be a pain to tear the motor down again if something small like an old oil pump failed. Knowing this, we sourced new seals, gaskets and certain auxiliary components. We also obtained a heavy-duty kevlar timing belt from RAI Motorsport so we wouldn't have to worry about it 20,000 miles later.
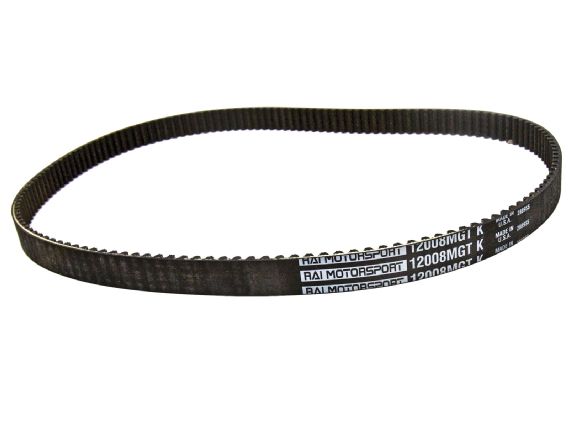 |
When rebuilding a motor it makes sense to replace parts prone to wear, such as the timing belt. This RAI Motorsport kevlar belt uses a GP-2 jacket to increase tooth strength. It's claimed to be 400% more durable than stock
With the car fired up for the first time, we bedded-in the engine by continuously changing RPMs over the first few hundred miles, then changing the oil several times to wash out any remaining metal shavings or waste. Our final shakedown was en route to Las Vegas a week later when we displayed Project Silverstone at the SEMA Show '10 (elsewhere in this issue).
Stay tuned next month when we preview the new turbo components.

