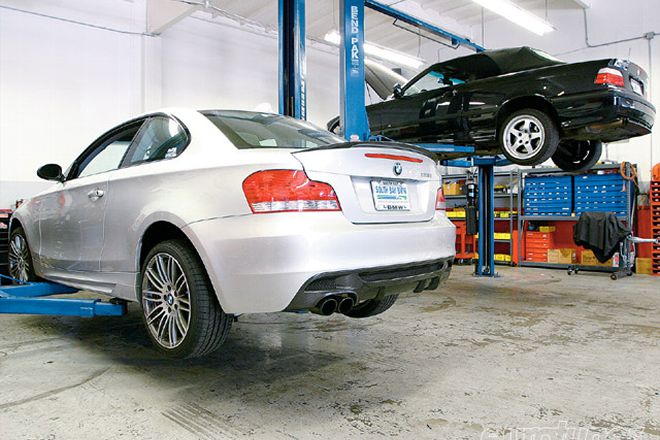
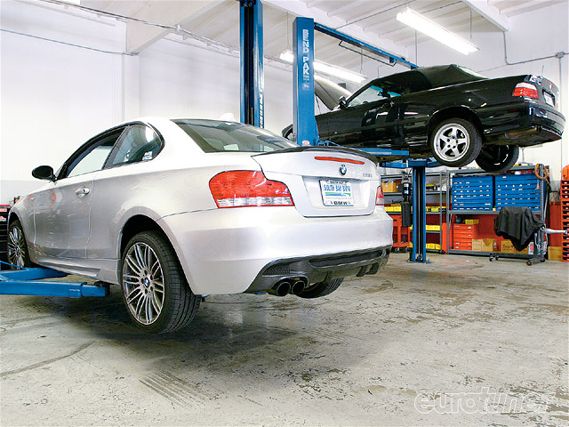
The downside of being the first in North America to modify the BMW 135i Coupe is that we were sometimes the guinea pig for various parts. On a few occasions, where no instructions were available, we made an educated guess about how parts might fit. Generally, we guessed right but we admit to a few errors. So in this update we plan correct a few wrongs and install some new parts.
 |
Project BMW 135i Coupe - Double Take
Boing
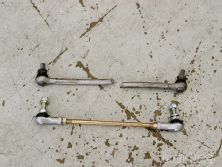
As You May Have Read In Our Blog Posts At eurotuner.com, we snapped both sway bar end-links holding our H&R sway bar in place. To be honest, the stiff 135i shell and firm H&R Street coilovers from Turner Motorsport (TMS) meant the car remained driveable, but it needed to be resolved.
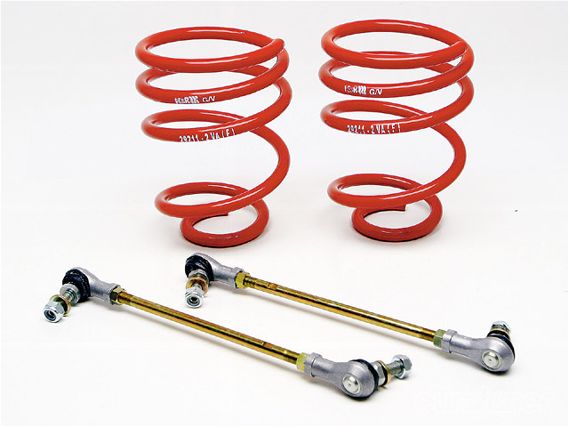 |
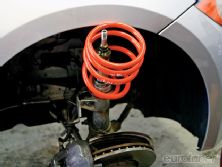
We hoped the longer H&R springs and strong Turner Motorsport end-links would resolve our 135i's problems
Since we were among the first to install H&R's 27mm front bar, there was some uncertainty about the cause of the breakage. So we obtained adjustable front sway bar end-links from TMS. These ball-jointed rods were both stronger and allowed adjustment to accommodate a range of sway bars.
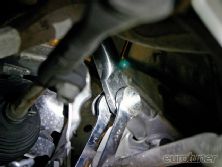
Before we took them to BMW specialist, BMS in Santa Ana, CA, we were advised that the problem was possibly caused by incorrect location of the H&R front struts. It appears the aftermarket units don't have a locating tab to ensure they fit into the spindle clamp as the OE parts do. Therefore, it's relatively easy to misalign the struts, causing the end-link brackets to be out of position. This would explain the stress our stock end-links suffered, resulting n inevitable failure.
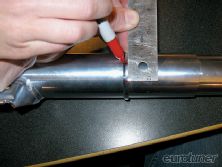
To avoid similar problems, we were advised that the locating slot in the spindle clamp must be 47.5° (+/- 2.5°) away from the vertical edge of the sway bar bracket. To achieve this, take a straight edge from the sway bar attachment point and make a mark on the seating ring. From that mark, measure 18mm round and make another mark. This second mark must line up with the center of the slot in the spindle clamp!
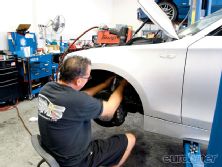
Fortunately, Chris Welch from BMS knows his way around a BMW and was easily able to rectify the problem. H&R now includes an alignment template with its kit. And since he was re-aligning the struts, we also asked him to fit new front springs.
We had also installed the first coilover kit and nobody was sure how it would work. As it happens, the ride comfort is exceptional, but the ride height was a problem. We love a slammed car but the front springs didn't give us enough clearance. We were constantly scraping the belly and air dam on curbs and speed bumps. We also encountered problems fitting our 19" wheels, since the front tires were tucked, even with the coilovers in their highest setting, causing them to rub when we turned.
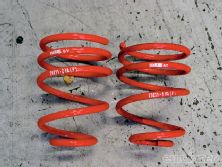
To resolve this, H&R supplied another pair of front springs, which Chris fitted. However, they didn't make a huge difference and again had to be raised to the max setting. But we can now turn the 19s, so hopefully these new taller springs will be supplied in the H&R coilover kits.
Stop
In terms of bragging rights, few cars can compete with the 135i's stock Brembo-derived six-piston calipers and 13.3" (338mm) rotors, which leave cars like the M5, M3 and 335i looking under-equipped.
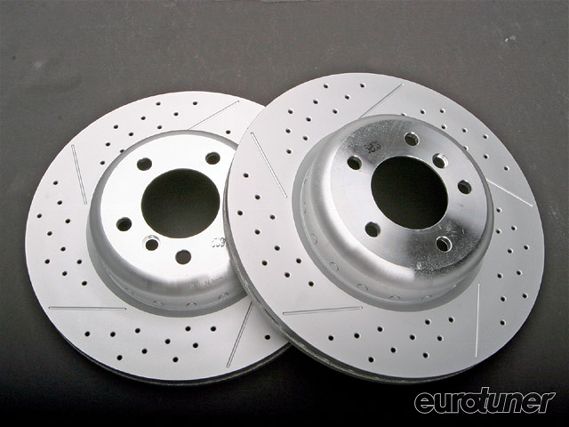 |
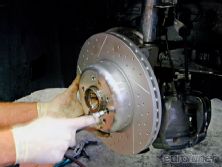
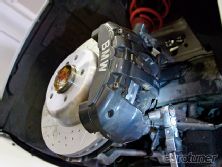
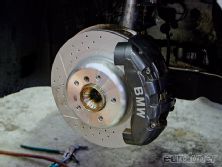
New drilled and slotted rotors from BMW Performance
Thanks to the catalog of parts available through BMW Performance, owners of the base model 128i can also enjoy these brakes with a $2425 upgrade from your dealer. The kit includes funky yellow calipers and drilled/slotted rotors.
While we obviously didn't need to spend that kind of cash on the painted calipers, the rotors intrigued us. There are all kinds of theories about cross-drilling and grooved surfaces including better pad bite, release of heat and gases, etc. More than that, they look good, so we thought we'd try them!
Again, BMS took this in its stride, removing the two 10mm allen bolts that secure the caliper to its carrier. With the caliper supported, remove the 6mm allen screw from the stock rotor and replace with the new part. When refitting the caliper, use blue Loctite on the bolts and torque to factory specs. Don't use power tools because the aluminum caliper is "relatively soft".
In use, there is a marginal improvement in braking, particularly during repeated hard use. However, the trade-off is slightly more noise when the brakes are applied. You soon ignore it, though.
Air
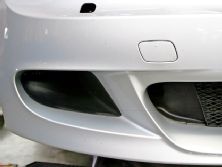
When we fitted our BMW Performance front bumper (et 6/09), we had been mistakenly supplied the cooling ducts for the 128i model, which had insufficient cooling provisions for either the brakes or oil cooler. So we obtained the correct parts and returned to the South Bay BMW dealership in Torrance, CA where the body kit and interior parts had been installed. This was the first time they'd fitted the parts and the instructions left something to be desired, but with the correct parts, everything came into focus.
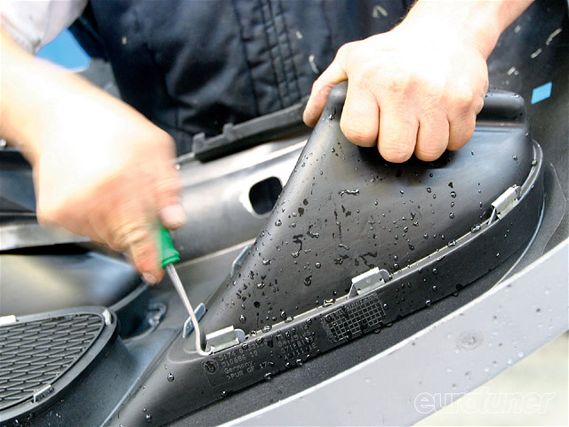 |
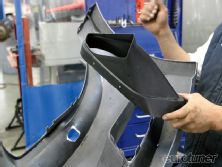
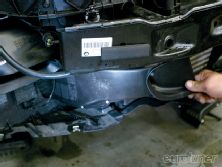
We removed the oil cooler duct we'd previously fitted by prying off the retaining clips
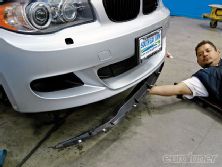
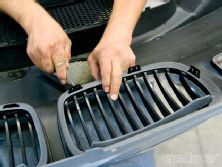
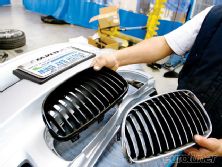
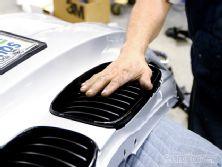
In order to replace the ducts, we had to remove the bumper (covered in et 6/09), which was the perfect opportunity to fit the gloss black kidney grilles we'd also obtained from BMW Performance.
The grilles are a little more expensive than you'll find from the aftermarket, but the fit and finish is flawless. They install using the factory clips, and the paint won't chip over time. We wanted them because the car has its carbon mirrors, trunk spoiler and diffuser, but the front end lacked any black additions. The new grilles have balanced the overall appearance and given it more attitude.
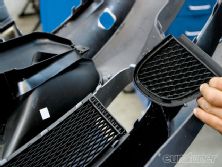
As for the ducting, we had to remove the side pieces from the front grille and cut off their tabs to ensure a close fit between the bumper and duct. The brake ducts were then located in the front of the car using a prong and a single screw to secure them.
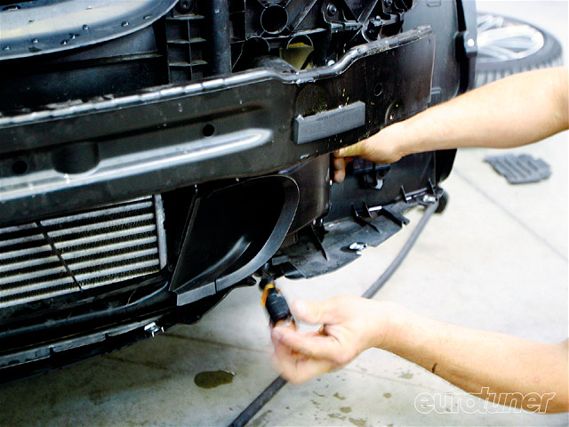 |
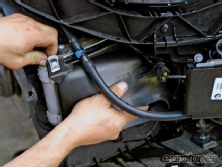
The plastic brake ducts are secured quickly with a simple prong and single screw
For the oil cooler, you should remove the OE shroud and push the screw clips onto the new shroud. You then screw the replacement onto the cooler and the new duct in the bumper will channel air to it. Simple when you have the right parts!

