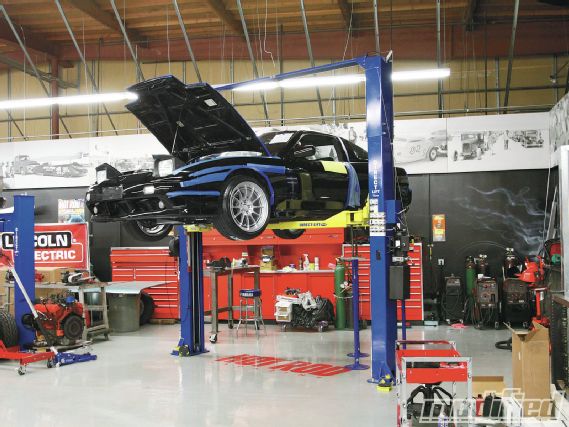
 | 1991 Nissan 240SX - The Home Stretch - Project LS13
With the newly transplanted LS3 engine actually running and the car moving under its own power, it feels as if a huge weight has been lifted off my shoulders. With any project car build of this magnitude, there’s always uncertainty and the fear of failure. Thankfully, I can put all those notions behind me now and focus on finishing everything up.
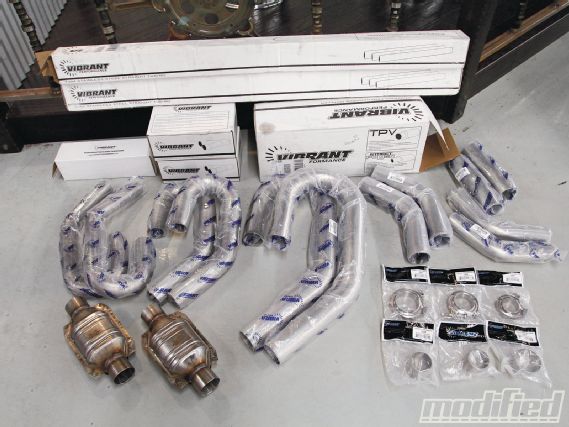 |
Vibrant performance has your custom exhaust-building needs covered with practically any part you can think of. From simple tubing to V-band connectors to merge collectors, Vibrant makes the job a whole lot easier with purpose-built components.
I guess I jumped the gun saying all my anxiety has gone away, because I was a bit worried about how I’d make the exhaust system work in this car. It’s not like there are any prebuilt, ready-to-buy, V8-in-an-S-chassis exhaust systems. Mine was going to have to be all custom, and to make matters worse, I had to utilize the GM-supplied catalytic converters (two per each bank) while making sure they were placed as close to the headers as possible for CARB legality. Any skilled fabricator wouldn’t flinch at this task, but because this was my first attempt at building an entire exhaust system, you could say I wasn’t extremely confident. I did some extensive research on which way to run the pipes and whether to go dual or single, I consulted my friends over at Car Craft and Hot Rod magazines for their opinions, but in the end, words from my tech shop manager (who also happens to be a very skilled fabricator) were the most helpful: “You’re overthinking it. Just build it already.”
He was right. I was looking at it in an overly complex manner. I just needed to do it. Before I set off on the task at hand, I needed materials and lots of them. I didn’t want to run out of anything and have to wait days to get more, so I put together a large list of the finest metal piping and components and sent it over to my good friends at Vibrant Performance.
If you’re going to build anything out of metal, then Vibrant Performance should be your first stop. The company offers a massive catalog of all sizes and metals of piping, clamps, mufflers, gaskets, sensor fittings, flanges, collectors, and on and on. It is a true one-stop shop for fabrication parts.
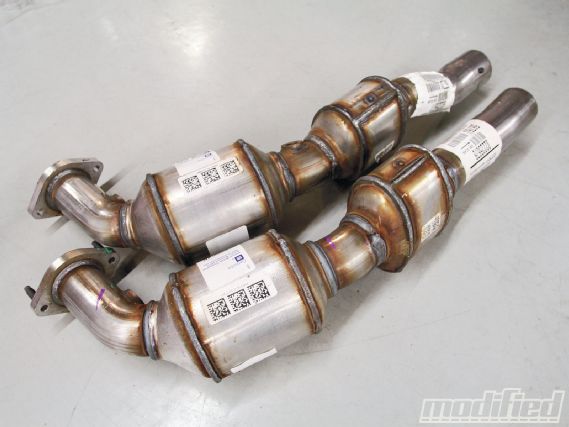 |
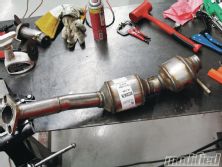
The GM E-Rod catalytic converters come with the engine kit and must be used in order to properly pass CARB. They’ll need some modification to fit into this setup.
Because of its durability and resistance to high heat, 304 stainless steel was the metal of choice for the entire exhaust system. I ordered 2.25-, 2.5-, and 3-inch U-J mandrel bends and 45- and 60-degree bends as well as one straight tube of each size. The U-J mandrel bends from Vibrant are great because they combine 180- and 45-degree bends with some straight pipe providing a plethora of bend combinations from one piece. Instead of using conventional flanges that require a gasket, I chose the stainless steel V-band flanges because they offer a gasketless seal and are much quicker and easier to disconnect.
I also picked up two OE-spec ceramic-core catalytic converters in case I couldn’t use the supplied GM units. (I found out after ordering these that I needed to use the OE GM cats.) As a side note, CARB allows the use of aftermarket catalytic converters on swaps such as these as long as they meet the emissions standards for the engine being used in the swap.
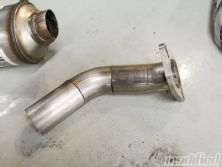
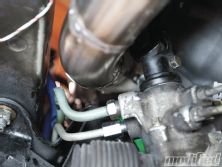
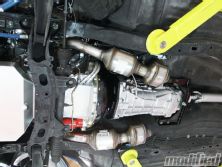
The E-Rod is a somewhat special case, and after talking to a CARB referee, I was told I would need to make the GM cats fit in order to comply with the regulations. At first I thought it would be damn near impossible to fit them, but after cutting off the neck and placing them underneath the car, they actually fit. The inlet side of the first cat is 2.25 inches, which is a good thing because if I were to use any bigger size piping, it wouldn’t clear the gap between the steering knuckle and power steering lines. Making the piping that would bolt to the engine header and run down to the cat proved to be the most time consuming, but as the pictures show, I was able to place both banks of catalytic converters very close and tight to the engine.
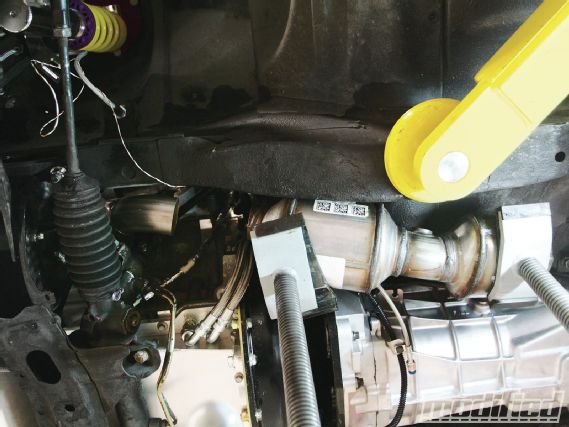 |
After cutting the inlet and outlet pipes off the cats, it was much easier to place them under the car and then build a section that mates them to the engine’s header.
 Building the Y-pipe took quite a bit of time because it required different bends of each side of the pipe before merging into a 3-inch 2-into-1 collector.
Next up was making the piping from the catalytic converter’s outlets (2.5-inch) to the 3-inch single pipe that would lead to the muffler. Once again, this process took much more time than I had originally anticipated. I learned why fabricators charge so much for building custom exhaust systems: It takes a lot of time—not just mocking everything up, but TIG-welding it as well.
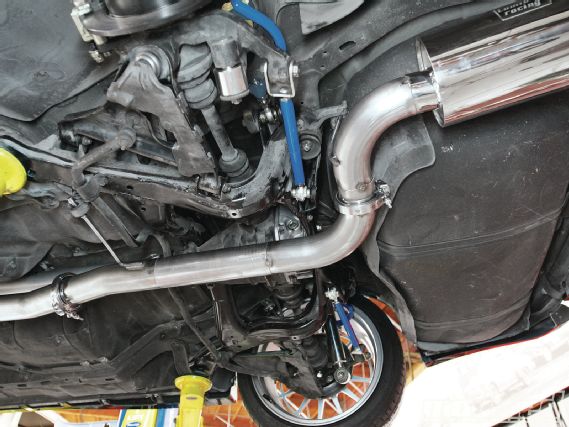 |
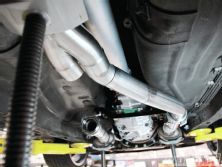
The rest of the single 3-inch section came together fairly quickly, with only one S-bend needed to ensure the exhaust pointed in the right direction.
The 2.5- to 3-inch Vibrant merge collector was a saving grace, as it made mating the dual exhaust setup into a single 3-inch pipe easy. I can’t imagine how much time it would have taken to fabricate a collector roughly resembling the Vibrant one.
The rest of the 3-inch system went together fairly smoothly; there was one sharp S-bend I needed to make to line up the muffler properly. I had planned to use a Vibrant flat-black universal 3-inch muffler for its stealthlike appearance, but the tip was a bit too short and would surely burn my new paintjob. After some poking around, I managed to score a throwaway Tomioka Racing dual-tip WRX muffler from EDO Performance that was perfect for the application.
Last on my list were exhaust hangers. They too came from Vibrant (I told you the company makes everything you need), and with an acetylene torch in hand, I was able to bend them into the shape I needed and weld them into place.
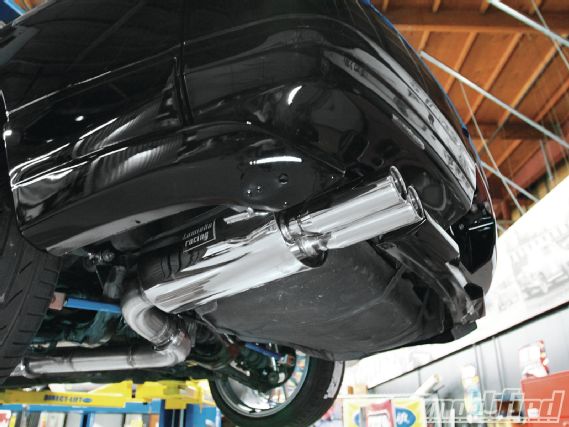 |
Using a Tomioka muffler from a WRX exhaust system provided the perfect blend of form and function.
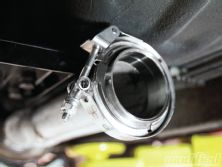
When building a system such as this, you have to take assembly and disassembly into consideration. You can build one long piece of exhaust, but good luck trying to take it off the car, especially if you don’t have access to a hoist. I, therefore, split the exhaust system into four large sections using V-band clamps from Vibrant.
All in all, I probably have invested more than 15 hours into building this exhaust system. It was one of the most time-consuming and exhausting (no pun intended) things I have done on this car, and yet it was also the most rewarding. Because I had never built an exhaust system before, this was quite an accomplishment and has sparked a great deal of interest in fabricating. The feeling you get when you’ve built something out of nothing with your own two hands is hard to describe, and I recommend each and every one of you try doing it.
Lube It Up
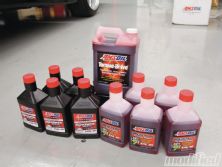
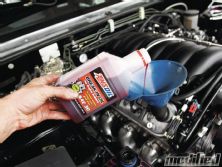
Before I could drive on out of the garage, I needed to make sure the engine and transmission were topped up with some fresh fluids. GM has a strict engine break-in procedure it recommends, and I just happened to have some of Amsoil’s new SAE 30-weight Engine Break-In Oil on hand. You’re thinking, what’s so special about break-in oil? It’s just another marketing gimmick. Wrong. Amsoil’s break-in oil is formulated without friction modifiers to allow for quick and efficient piston ring seating. It also contains zinc and phosphorus antiwear additives to protect cam lobes and other critical engine components during the critical break-in period when wear rates are at their highest.
 |
Building a custom exhaust system such as this is extremely time consuming but well worth the effort—not only because of the personal accomplishment but because you know it’s done right.
After breaking in the engine, Amsoil synthetic 5W-30 motor oil was used, and the transmission got a healthy amount of Torque-Drive synthetic automatic transmission fluid. Yes, the T56 transmission uses automatic transmission fluid, so please save the emails that I used the wrong stuff.
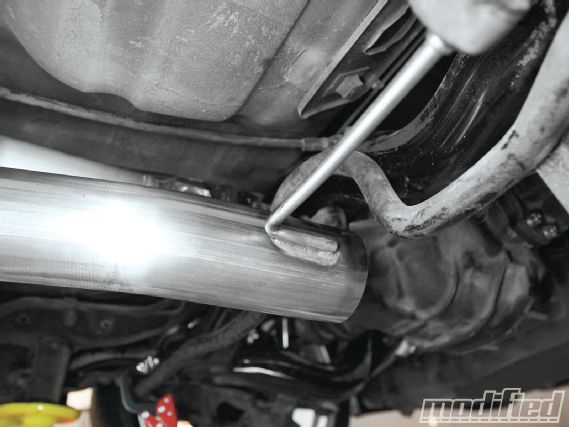 | Vibrant exhaust hanger rods fit securely into OE rubber hangers, and with the help of an acetylene torch, they form to whatever shape you desire.

