 | 2011 Volkswagen Jetta - Project Jetta 2.d’oh
We’ve been living with and working on our 2011 Project Jetta 2.0 for several months now, trying to make it friendlier to the tuner market. In the previous issue we fitted a VW Accessories body kit, which certainly gave the car a greater curb appeal, but it needed so much more.
With relatively few mods on the market for our Mk6 Jetta, we played it safe and started with a set of 18” wheels from VW Accessories, plus lowering springs from H&R.
With its rear drum brakes and cloth interior, our Jetta couldn’t be more basic. It keeps the purchase price down but you certainly miss all the modern conveniences. Fortunately, it’s possible to retrofit lots of items, and nothing comes more convenient than in-car navigation with Bluetooth and iPod attachment.
When choosing a nav system there are a variety of options, such as a suction cup for a GPS device or using your phone. However, we decided to go with the OEM option because car thieves like smashing windows for GPS systems and using our phones could get us into trouble with Johnny law.
So we stopped at FMS Automotive to get the scoop on the upgrade nav options for our Mk6 Jetta. The RNS-315 and -510 head units have different benefits when it comes to entertainment options. And while the RNS-510 is the tits when it comes to VW equipment, its $2200 asking price put it out of our league. Yet the premium head unit delivers real-time traffic updates as well as touchscreen navigation. It’s also compatible with a back-up camera, has a radio and satellite radio plus options for Bluetooth, iPod connection and can be paired with a TV tuner to watch your favorite shows.
The RNS-510 has been out for a while, and if your interested in picking one up be sure to check the part number ends in an “F”. This indicates a newer models without the bugs of the earlier units.
RNS-315
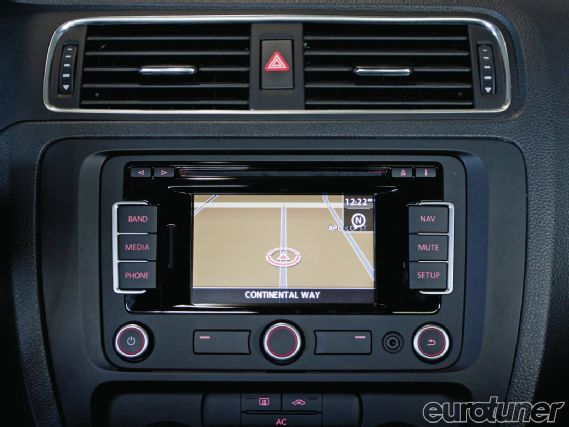
The cheaper RNS-315 seemed to better suit Project 2.d’oh. It has basic OEM navigation with radio, CD and 1/4" media jack. And while we were initially bummed not to have all the fancy features, we were still able to upgrade it with options like Bluetooth and iPod Connect. The system is equipped with an SD card reader for easy map pack installation and utilizes a touchscreen for safer operation.
 |
2011 Volkswagen Jetta - Project Jetta 2.d’oh
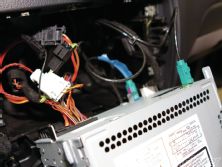
The fitting is relatively straightforward: simply remove the radio, run a new GPS antenna and plug it into the new navigation. Then secure it back in place. Drive to the dealer, have them code the new device and your off ’n running.
However, we wanted to take it a step further with the addition of iPod and Bluetooth capability. It was thought we could use both but our 2.0 was so basic it needed additional components to accommodate this. A company like OEMplus could probably help in this situation and we’ll be contacting them to see what’s possible.
So with only one option available, we chose iPod Connect because our interior dome light didn’t have a microphone holder for the bluetooth alternative. The average DIYer could easily make their factory plastic do the job, however.
Choosing the Bluetooth would have enabled full phone integration and address book capability with the RNS-315.
It turns out, we couldn’t use the full iPod Connect function either, which would have made it accessible through the head unit. Instead, we can plug into the 1/4" jack on the front to access the iPod but it doesn’t have a control or charging function.
FITTING
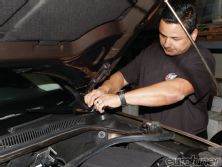
We also opted for a sharkfin antenna so we could take advantage of the 315’s satellite radio option. To fit this, we disconnected the battery and started to drop the headliner by removing all but the driver’s grab handles. Then we carefully removed a screw from both lower “C” pillars and pulled at the edges of both lower and upper “C” pillar trim to pop them loose.
For the “B” pillar, there’s a screw hidden behind the airbag logo. Once removed, pull at its edges to release the headliner. Take care when removing the “A” pillar trim. You don’t want to disturb the airbag curtain behind it.
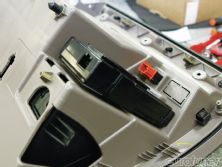
Next, we removed the sunvisors by pulling out the clip and removing a screw from the snap holder. Once everything was loose, the headliner sagged enough to run the new antenna wires and secure the sharkfin in place. For a cleaner OEM install, we also removed the six screws holding the glovebox, unplugged the TPMS button and put the glovebox aside.
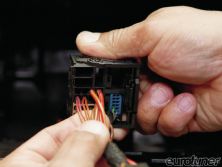
Now pry off the trim piece surrounding the radio to gain access to the four screws holding it in place. With the radio out and
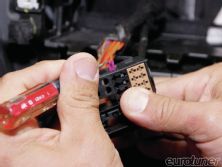
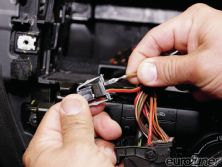
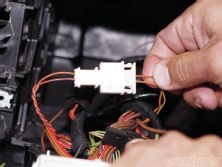
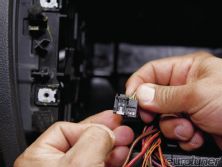
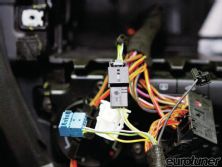
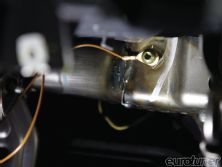
the rear connectors unplugged, run the new harnesses. The two antenna wires were run to the A-pillar, securing them with zipties behind the airbag curtain and along the metal bar that supports the dash to where the RNS-315 would be installed. Next, we took the MDI harness for the iPod connect and routed it behind the dash on the glovebox.
Coding
After reconnecting the battery, start the engine and use VAG-Com diagnostic software on a laptop connected to the OBD2 port. We first ran an auto scan to check the entire system and copied the file to a word document as a safety measure. Then follow the on-screen prompts to clear a few of the codes that had been thrown, like the new navigation and radio.
The navigation coding worked and we were able to locate the car and obtain route directions. However, coding the MDI box wasn’t as simple. The software wouldn’t code, so the RNS-315 doesn’t know an iPod is connected and it won’t charge it or play music. After several tries we figured that a trip to the dealer to use their software was in order.
All-in-all, the system works fine but we can’t help but think we should have gone the Bluetooth route for a more satisfying result, since we could have streamed music as well...
Chassis
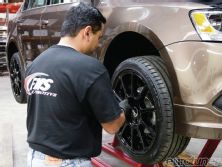
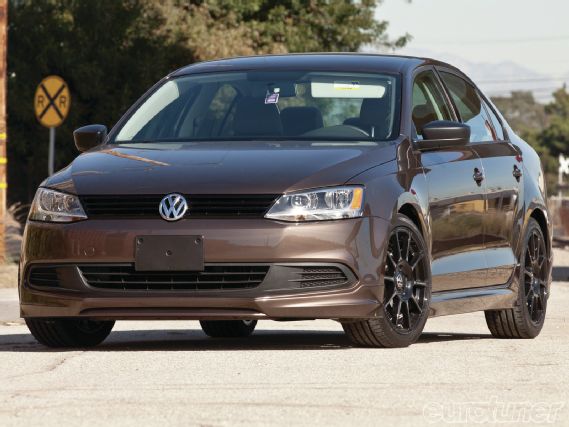
Long overdue, we had H&R Sport Springs installed along with 18" VW Motorsport wheels fitted under the fenders. The aim was to give the car more appeal and we’ve had several people tell us it’s the best looking VW they’ve ever seen, which is stretching it but indicates we’ve come along way!
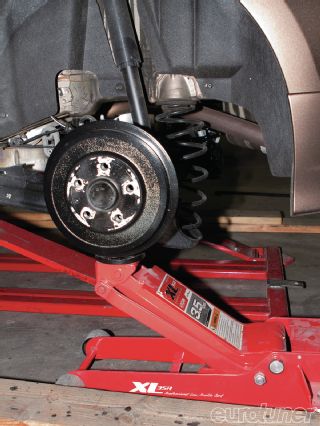 |
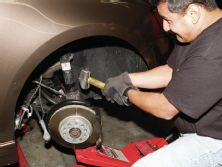
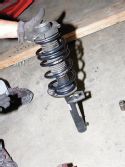
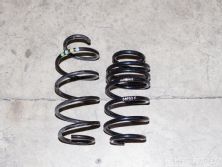
1 Starting on the rear, raise the car and use a jack to take pressure off the rear suspension. Remove the lower bolt holding the shock in place, then carefully lower the jack to release the spring and replace with H&R Sport springs
The additions have also made a huge difference to the handling as well. The rather vague steering got some nice weight when we fitted the 225/40 Nitto NT850 Premium tires. Although it’s an all-season tread pattern, they feel like race rubber after the skinny stock tires, giving us loads more confidence to enjoy the car.
And while the new springs haven’t put it in the weeds, at least it’s not such a 4x4 any more. Obviously, we’re going to come lower with either coilovers or air, but we wanted to make a start somewhere.
The springs have removed the car’s high-speed wallow, making it actually feel more comfortable than stock.
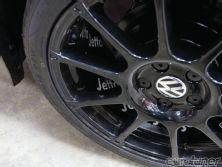
The graphics inside the wheel barrels came courtesy of VW Second Skin (vwsecondskin.com). It’s an in-house design option that allows you to add a series of vinyl graphics to the car. The VW dealers have access to more options but the website gives you an idea of what’s possible.
We liked the wheel graphics because they’re not over-the-top but let people know this was something we did.
The Jetta dropped about 1" with the H&R springs, significantly reducing body roll in the process. Now if we could only make it act like less of a brown slug… Check back next month to see what we’ve got in store for Project 2.d’oh.
Modifications
Part
Supplier
Price
RNS-315 Head Unit
Volkswagen Accessories
$1770
RNS-315 iPod Kit
Volkswagen Accessories
$285
Sharkfin Antenna
Volkswagen Accessories
$237
H&R Sport Springs
H&R Suspension
$329
18x7.5" Motorsport Wheels
Volkswagen Accessories
$375 (each)
225/40 R18 NT850 Tires
Nitto Tire
POA
FMS
When it comes to factory installations, FMS Automotive in Cerritos, CA has been working with Volkswagen of America since the ’90s. The company helps to advise on installation procedures for factory upgrades, even producing and painting some VW dealer-fit parts in-house.
You may have seen their handiwork a few issues back when Project 2.d’oh got a Volkswagen Accessories body kit fitted (et 11/11). So we gave them another call in order to see a dealer-fit installation on our RNS-315 head unit for ourselves, and to get our Jetta closer to the ground.

