 | 2000 Honda S2000 - Chassis Prep - Project S2000
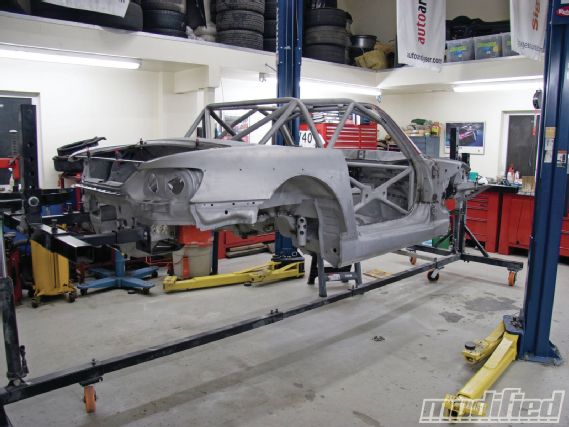
This past month has been a busy one; I had a serious push to get the S2000 project ready for paint and after some — OK, many late nights — it’s ready to go, and I’m excited to get if off to paint. After that, I can begin final assembly.
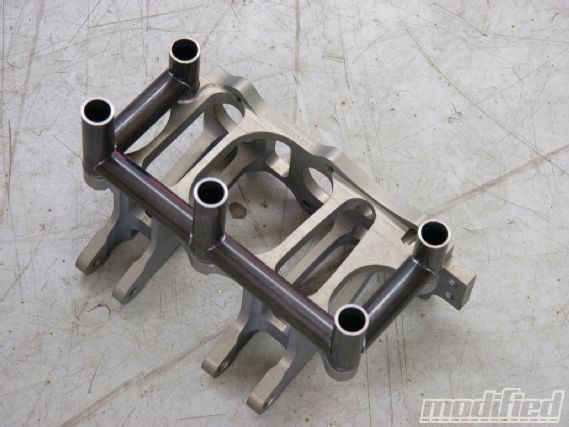 |
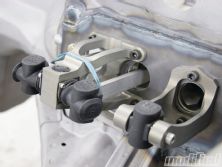
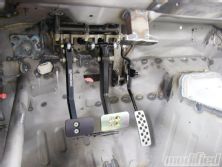
AP’s overhung pull-type pedal box took some serious fab work, but turned out great.
The AP pull-type pedal box is hands down the best pedal setup available on the market. It’s beautifully crafted from hard-coated billet aluminum and uses AP’s unique pull-type master cylinders, coupled with ball bearings/needle rollers at all pivots. The advantage of a pull-type cylinder is that the actuator rods that attach to the pistons are in tension, as opposed to compression. By eliminating deflection of the rods, AP is able to reduce friction, resulting in improved repeatability and modulation — two very important aspects in a braking system. While conventional pedal boxes will see a large variation in front/rear distribution from one brake application to the next, the AP setup stays exactly where you set it. Impressive stuff!
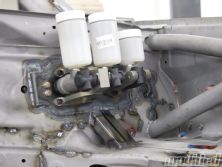
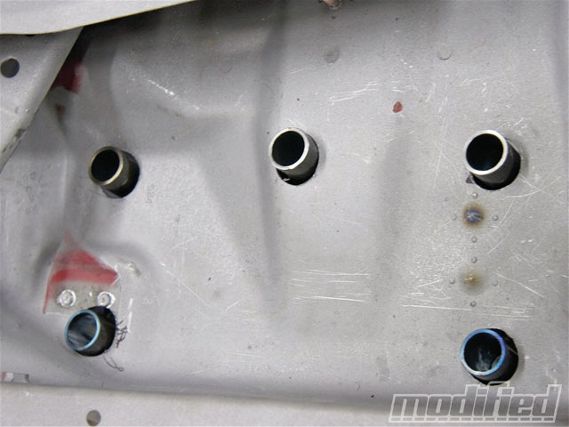
Fitting the pedal setup was a labor-intensive but very rewarding task. The firewall is sectioned out and a custom-milled plate (that took me four tries to get right) is welded in to mount the pedal carrier. Once the firewall plate installation was complete, the mounting structure above the pedal box was fabricated and fitted. Being able to rotate the car completely upside-down greatly improved the ability to fully weld and reinforce all junctions. Finally, I made up two dummy master cylinders from some aluminum bar stock and did a stiffness test by applying both feet to the brake pedal and pushing as hard as possible to ensure the mount offered minimal deflection and adequate strength. A dial indicator was used to quantify the deflection at the mounting points.
 |
2000 Honda S2000 - Chassis Prep - Project S2000
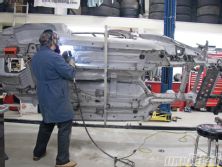
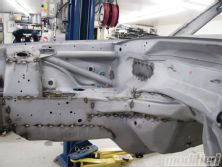
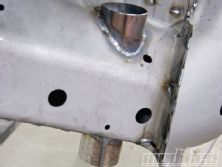
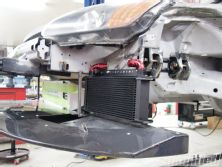
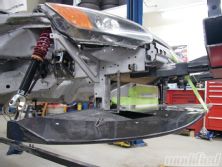
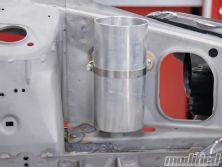
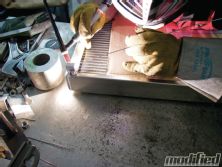
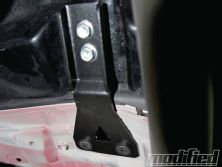
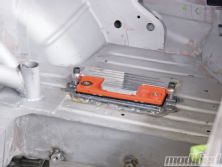
Brackets everywhere! This was the last chance to weld anything and everything before the car goes for paint. Once painted, preparing and welding anything becomes messy and needs touchup afterward, so getting everything in place before paint is ideal. Unused OEM brackets have been removed, holes in the firewall covered and brackets have been fabricated and added to mount the dry sump tank, cockpit-adjustable anti-rollbar controller, front splitter reinforcement points, oil cooler, dash, three right side net locating tabs, and I’m sure there are more I’m forgetting in my argon-intoxicated state. It has been a serious month of TIG welding, and I’m pretty excited to see my skills improving — there’s nothing like a project car build to force you to test and improve your abilities.
Stitched and seamed. Door jambs and underhood sheetmetal junctions were decked flat with a flap wheel and fused with the TIG. Everything else was MIG-welded in between the factory spot welds to help improve the chassis stiffness and ensure critical brackets like the fuel tank mounts stay put. The reason for MIG-welding the stitches is even with the media-blasted chassis, there are still some contaminants like seam sealer in between sections that contaminate the TIG’s tungsten on a regular basis, making it a very slow process. TIG, pop, grind the tungsten and repeat — the MIG tolerates the contamination better and does a great job for stitch-welding, though I still prefer TIG-welding and everything else on the car is done with a TIG welder.
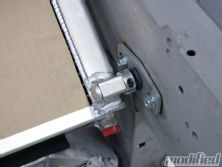
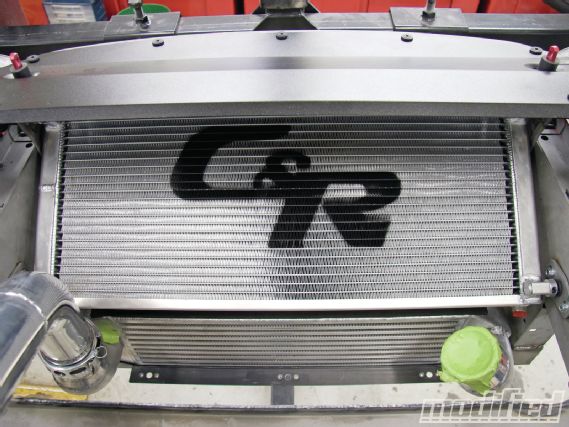
Our custom C&R radiator arrived and fit like a charm. It’s a dual-pass (like two radiators folded over on each other) and cross-flow, as opposed to vertical flow, which helps improve cooling efficiency. This setup allows both the inlet and outlet (to be added later) to be on the left side, ideal for the S2000 cooling system layout. I machined some custom billet aluminum carriers that are TIG-welded in place and use custom .375-inch aluminum pins to support the rad. The pins slide into rubber bushing carriers mounted to the chassis. Fully isolating the radiator from vibration, the pins are locked in place with some .375-inch billet clamp rings. We also added the necessary brackets to secure the air separator/header tank for the coolant system.
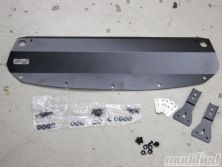
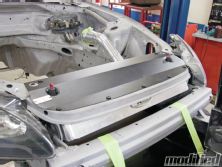
Alloy Craft came through with a custom non-vented cooling plate that turned out great. I just drilled and dimple-died the openings for the hood pins, and it was good to go. This helps to shroud the radiator, improving cooling efficiency. Alloy Craft also supplied its bolt-on hardtop brackets, which can be ordered in a locking version. These will work with any hardtop configuration and fit great with the Spoon roof. This will make sure our roof stays sealed up and where it belongs. We used Alloy Craft’s flush-mount hardware to mount everything in place. The two-piece fasteners are especially good for fiberglass fenders as they spread clamping force over a wide area, helping to reduce cracks at the mounting points.
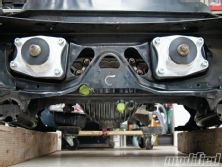
Hasport has released billet aluminum/polyurethane differential mounts for the S2000. We bolted these up to our Puddy Mod diff, and they fit just like factory but look fantastic and reduce movement in the drivetrain and improving response. Stay tuned for more info once we get some time on track with these.
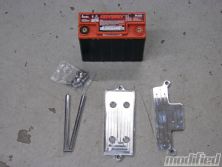
Finally, we fitted the Stored Energy Product billet aluminum battery mount kit to secure our Odyssey PC680 lightweight battery. I fabricated the battery carrier from the metal jacket supplied with the PC680 and then used the top half of the billet battery mount kit to secure the battery in place.
West Coast has a complete range of mounting solutions for the full range of Odyssey batteries. Next up is paint and graphics, and I can’t wait to make it happen!
 | 2000 Honda S2000 - Chassis Prep - Project S2000
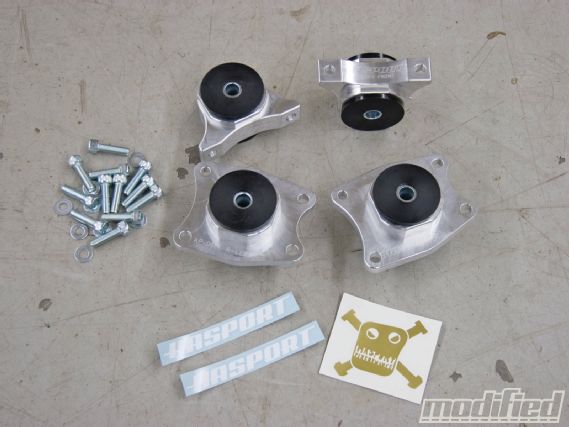 | Hasport’s S2000 diff mounts fit perfectly and minimize driveline movement.

