 | 1991 Nissan 240SX - Tightening Up Loose Ends - Project LS13
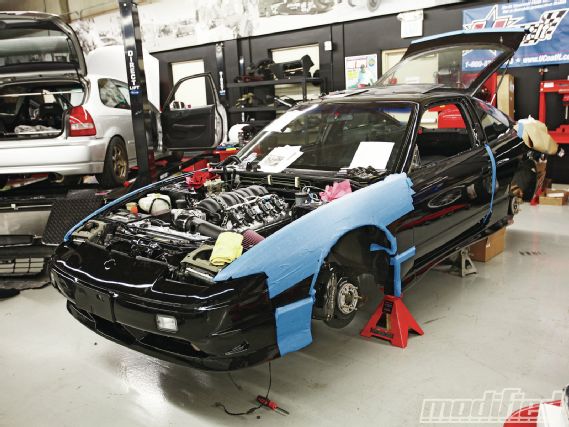
It’s go time, and by go time, I mean it’s time to kick this project into high gear. With the LS3 engine mounted in place, it was time to turn my attention to the odds and ends that need to be completed before this engine roars to life.
Radiator
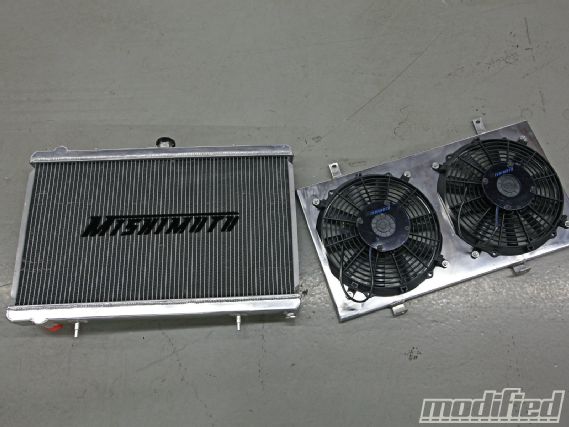
First on the list was the radiator. I chose to use an OEM S13 KA24DE aluminum rad from Mishimoto that should provide adequate cooling for the bigger motor. Thankfully, there’s no need to modify the inlet and outlet points, so the rad can be used as is. Mishimoto also makes an aluminum fan shroud that bolts directly onto its radiator and is only 3.5 inches thick, making it ideal for an engine swap such as this. The shroud utilizes two fans that flow 934 cfm each and will pull air through the radiator very efficiently with the ducting just like an OEM setup would.
 |
1991 Nissan 240SX - Tightening Up Loose Ends - Project LS13
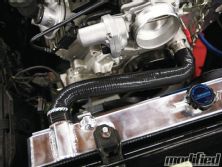
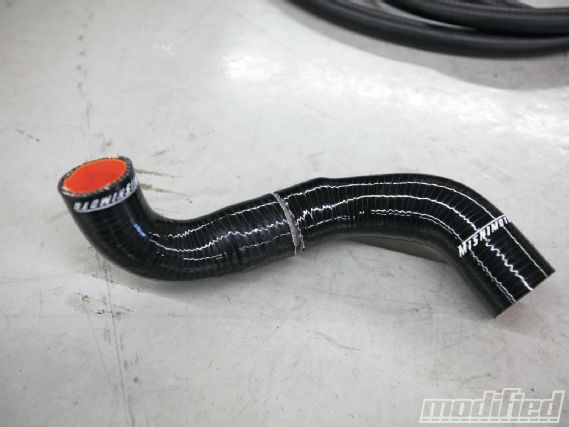
For the rad hoses, a set of ’04 GTO Mishimoto silicone hoses were utilized. For the top hose, a trim to shorten the ends was needed to make it work. The lower rad hose proved a bit trickier; the problem is that the GTO hose ends don’t line up correctly and need to be clocked differently. Cutting the hose in half, then using a hose adapter, allowed me to tweak the hose ends and line them up correctly.
 | 1991 Nissan 240SX - Tightening Up Loose Ends - Project LS13
LS3 Steam Ports
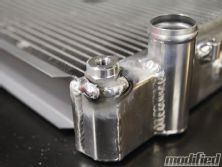
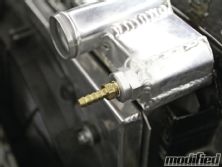
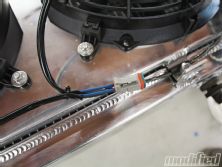
Something that I haven’t encountered on Japanese engines before are steam ports. In a nutshell, these LS-engine-specific ports help eliminate hot spots in the cylinder heads created by stagnate coolant and vapor by venting coolant back to the radiator. Problem is, the S13 Mishimoto radiator never intended to have a steam port line run to it. Solution? Bust out the trusty welder and add one. Using an Earl’s aluminum weld fitting and cutting a hole at the top-right corner of the radiator, I was able to fit a ¼-inch barb fitting ready to accept a steam port line.
Intake
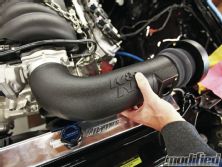
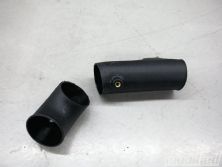
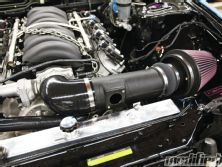
Obviously, this swap is going to require a custom intake, but before I went ahead and built a completely custom piece, I had a look at LS intakes on the market that I could potentially modify and make work. The ’10 Camaro K&N intake kit looked like it would fit without any modification — it had a hard J bend in the pipe and lots of wiggle room on the air filter side. Unfortunately, when it came time to mount it, the intake was too long and would hit the radiator. With one measured, precise cut, the bend in the intake was all but removed and a short, 4-inch, 90-degree coupler was used in it place. This allowed the intake to fit snugly between the radiator and engine. The mounting bracket also needed a bit of tweaking to mount to the S-chassis framerail — after that, the air filter fit just like it was meant to be there. The nice thing about using this intake is that it has provisions for the LS3 MAF sensor that will be used with this engine.
Stepping back, I was quite impressed by how well the entire setup came out with relatively little modification. I would’ve spent much more time building an intake out of aluminum piping, and it would potentially never have looked this good or fit as well.
OEM Temperature Sensor
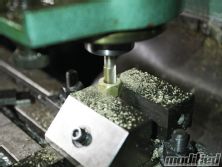
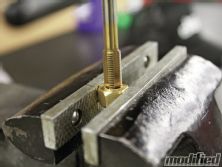
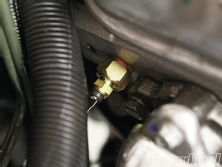
In order to utilize the S13’s cluster temperature gauge, the factory Nissan temp sensor has to be fitted into the LS block. Thankfully, there’s a coolant port that’s plugged from the factory at the back of the right cylinder head — too bad it’s not the correct size. To fit the Nissan temp sensor, you’ll have to make an adapter plug. Luckily, Gary Narusawa from Project Car pitched in a helping hand, machining and tapping an adapter fitting purchased from summitracing.com so that it would fit the temperature sensor. This job requires the use of a drill press and a lot of patience to get right, but having a functional OEM temperature gauge is well worth the hassle.
Sikky Oil Filter Relocation
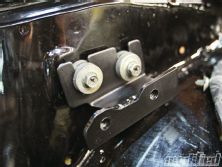
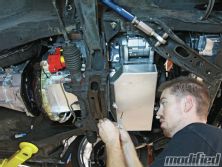
Since there’s no room to mount a filter on the Sikky pan, the use of an oil filter relocation kit (that’s supplied with the pan) is mandatory. I had originally intended to mount it out of sight with access to it under the car, but after some thought and concerns about heat and header interference, the kit was mounted to the fenderwell.
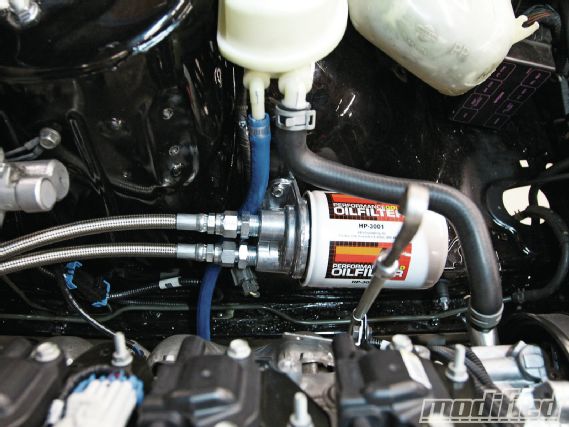 |
Sikky’s oil filter relocation kit allows placement of the filter in an easy-to-get-at location.
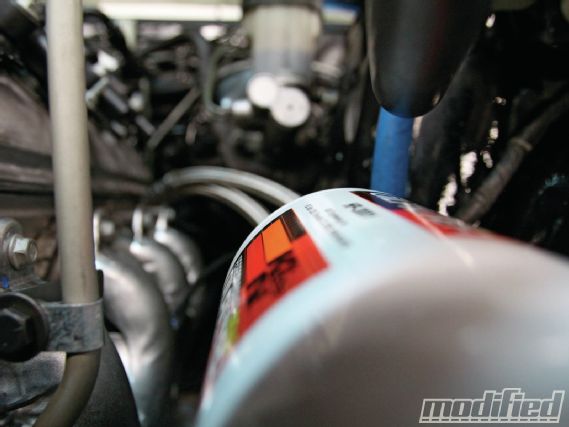
A K&N performance oil filter (HP-3001) is a favorite of mine to use on any project car since it not only has excellent filtering ability but the nut on the end of the filter makes removing it a piece of cake.
 | 1991 Nissan 240SX - Tightening Up Loose Ends - Project LS13
The fans, starter, alternator, transmission and gauge cluster all need to be wired, loomed and connected to the relay box to work correctly.
Power Steering Reservoir
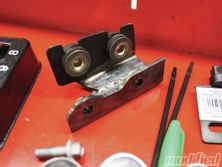
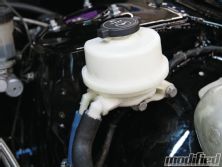
The LS3 power steering reservoir is placed snugly at the top of the power steering pump that, up until the hood was installed, I had every intention of keeping there. As you guessed, clearance issues arose and I had two options: notch the inside of the hood or relocate it. I chose the latter, and using the S13 power steering reservoir bracket, I quickly cut it up and welded it back together so it would work with the LS3 reservoir. I needed to source some new hoses, but a trip to Pep Boys and rummaging through all the hoses in the back yielded what I was looking for.
Turn One Power Steering Pump
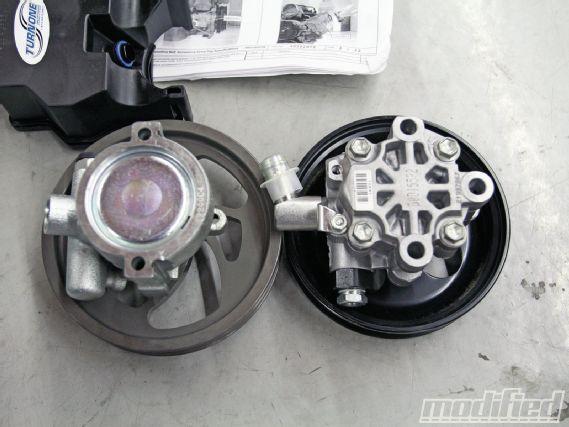
Having done some research on the LS power steering pump, I discovered that many LS-swap owners were complaining about over-assisted power steering with the pump and Nissan steering rack. The solution was to install a restrictor in the line that would reduce the pressure output of the pump and increase steering wheel feedback. A company specializing in all things power steering, Turn One, offers a restrictor specific for this application, but it also does one better — Turn One’s high-performance LS1 pump is built to handle the stresses of autocross, road course and drifting abuse unlike the factory pump that can quickly become overwhelmed. In my case, it’s too bad the LS3 power steering pump is different than the LS1 pump Turn One offers, so I was unable to use it. I recommend investing in such a unit if you’ll be running the car hard at grip or drift events.
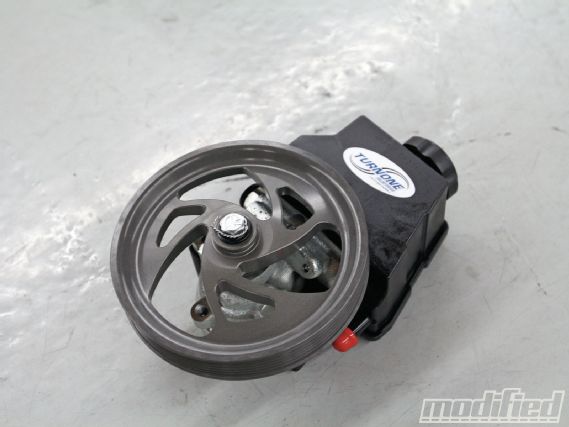 |
A power steering upgrade is a worthwhile investment if you’ll be drifting or racing your car. In this instance, the LS1 pump wouldn’t fit our application and we had to settle for the stock LS3 pump.
 | 1991 Nissan 240SX - Tightening Up Loose Ends - Project LS13
Optima Battery
I decided against relocating my battery to the trunk in the theme of keeping it as OEM-looking as possible, but that didn’t mean I would be running the old and tired battery that came with this car. Upgrading to an Optima Red Top battery ensures that I won’t get caught with weak start problems, and if the car sits for weeks (or even months) on end I won’t have low battery issues. Batteries are often overlooked in these types of builds, but I maintain that having a good one will save you lots of headache.
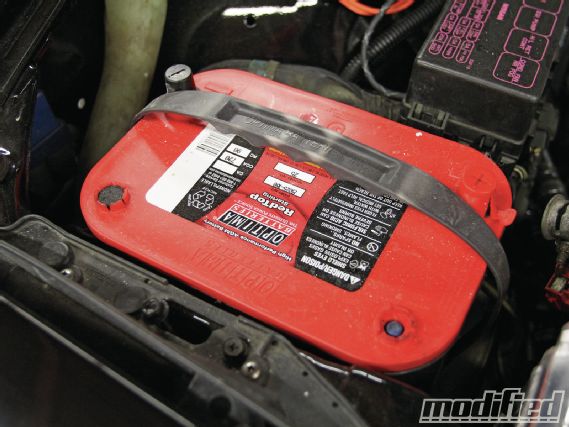 |
A powerful, long-lasting battery like an Optima Red Top is a wise investment for a car such as this.
Engine & Chassis Wiring
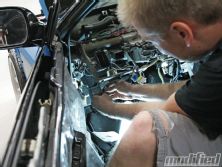
The LS3 e-rod engine package comes complete with a wiring harness and relay box, which, theoretically, should make for a very easy install — give power to the relay box, run a signal to the fuel pump and it should start right up. Well, it’s not that easy. Even though GM has done most of the hard work for you, there’s still a good amount of wiring that needs to be completed. The fans, starter, alternator, transmission and gauge cluster all need to be wired, loomed and connected to the relay box to work correctly. As I mentioned, this job isn’t that difficult. GM provides a great diagram, and anyone who has good knowledge of electronics should be able to handle it. I personally always leave wiring to the professionals because I want it done right the first time. I got in touch with Jeff Jordan of Jordan Innovations who has been doing wiring on Formula D drift cars, such as Conrad Grunwald’s Camaro and Luke Lonberger’s Corvette, just to name a few. Jeff is used to doing custom one-off jobs using Mil-Spec wiring components, so this was going to be a walk in the park for him. In just about a day, he had the entire car wired and ready to fire. That’s exactly why I went with him rather than doing the wiring myself.
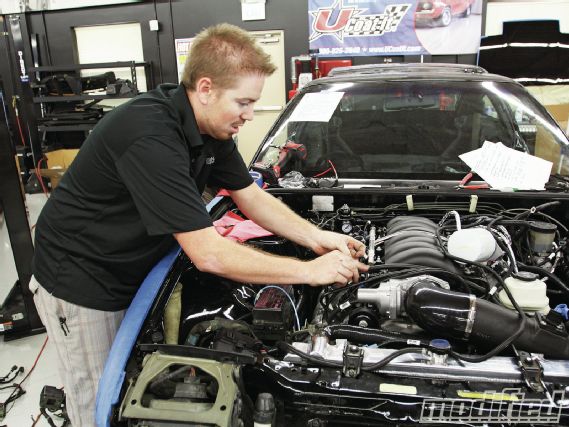 |
Wiring is a job best left to the professionals. Jordan Innovations handled the entire job and ensured every piece of wire and connector used was top notch.
The LS3 roared to life and ran for a brief moment before we shut it down since it was still missing some key components. Success, though! I know I won’t have to worry about wiring and that alone is worth the price of a job like this, which runs anywhere from $500 and up, depending on what needs to be done.
Almost There
The light at the end of the tunnel is shining bright — I can almost reach out and touch it. Project LS13 still needs some work, but you better believe that I’ll be driving this car sooner than later. The maiden voyage will soon be upon us.

