 | 1998 Honda Civic - Dialing It All In - Project Civic
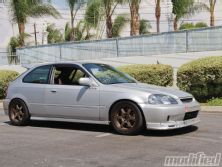
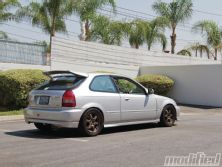
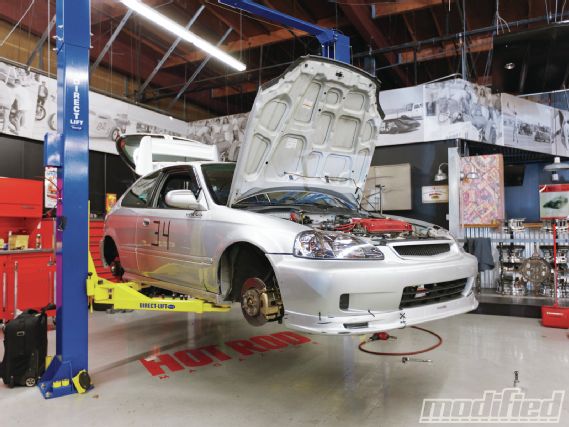
Throughout the relatively short time we’ve been fixing up Project Civic and getting it back (and above) the level it once was, the end goal has changed and morphed a few times. Right now, Project Civic resides in that proverbial gray area that so many cars get stuck in: is it a street car or a track car? There’s no one-word answer to this question, and trying to balance the two aspects can be tricky.
Because the car isn’t practical to drive regularly here in California (smog, theft, Officer Jack on your back) the most logical choice seems to be to take the plunge and abandon hopes of keeping the car street friendly. But I’m not ready to do that just yet, because even though my conscience tells me that I shouldn’t drive the Civic on the streets anymore, it’s still really fun to do that sometimes. The part that’s not fun, however, is dealing with the unbelievably stiff suspension, which has plagued my EK for years. In an effort to come up with a solution that will be more civilized, yet retain (or better yet, improve) the handling characteristics of the car, I turned to KW Suspensions.
KW offers a wide variety of suspension solutions, catering to any car from a mild street build all the way up to Le Mans–spec GT cars. For my purposes, I opted for the Variant 3, a 2-way adjustable twin-tube shock with independent compression and rebound adjustment. This is important because in order to maintain a balance between street-friendly characteristics and high performance, this independent adjustment allows the user to fine-tune to his own driving style (aggressive or soft), while losing minimal performance from the other end of the spectrum. The V3 comes standard with a street-friendly progressive spring, and I opted to stick with that route. The engineers at KW spend countless hours testing and designing their products, so I’m inclined to follow their lead. V3 coilovers don’t include an upper mount, and while a car equipped with a stock suspension can use the factory upper mounts, my Civic wasn’t stock, so I chose to contact TEIN for a set of its pillow-ball upper mounts. This is a good solution for anyone in a similar situation to my own or if you’re just looking to replace the factory upper bushing with a more precise upper mount.
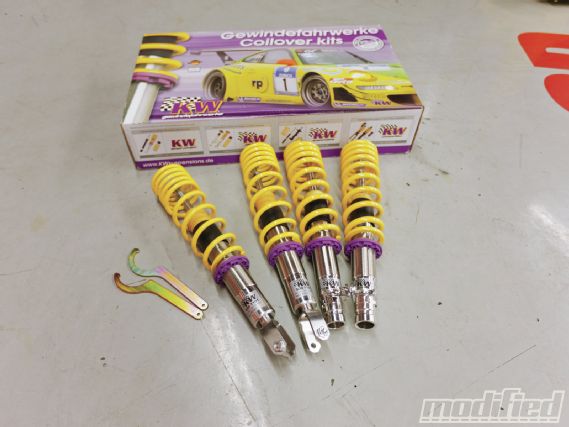 |
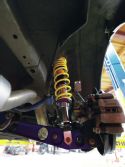
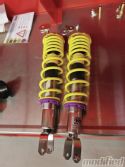
KW Variant 3 coilovers: These two-way adjustable shocks offer a great balance between performance and street-friendly comfort.
Before starting, I needed to take out the old suspension and disassemble it to reuse a dust shield from the upper mounts. If you install a suspension without some sort of a barrier between the upper mount and the spring, it’s possible for your suspension to bang around and cause all sorts of racket if there isn’t enough pre-load to keep everything in place. As I put the KWs together, I initially set the ride height so that the spring is just a little bit pre-loaded, but not by very much. I’m not sure how much everything will settle once the car is back on its wheels, so this is as good a starting position as any.
Installing a coilover on a ’96–00 Civic is a straightforward process. With the car up on the lift, it’s just a matter of removing a few bolts, taking out the stock (or whatever old suspension you have in there) shock assembly, and putting the new stuff in place. This can be a one-man job if it absolutely must be, but take my word for it, invite a friend over for the evening. If you want (or need) to do it on your own, be warned that you’ll need to remove a lot more stuff to get the suspension to slack down far enough to allow the shock body to physically clear the components that keep everything in place.
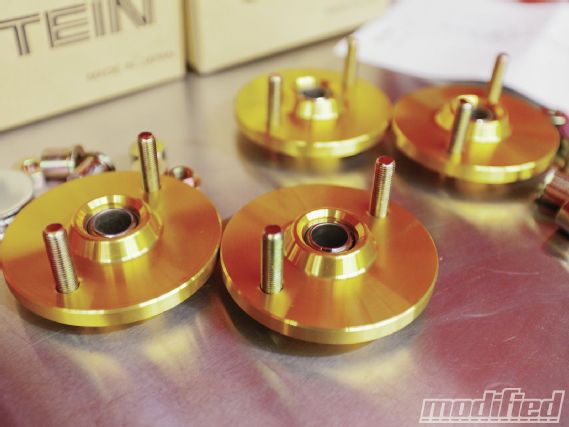 |
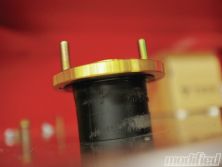
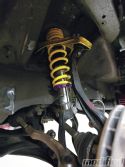
TEIN pillow-ball upper mounts are a good solution for anyone needing increased adjustablility, as well as improved driving feel over factory rubber bushings. The black plastic sleeve is recycled from my old suspension and is used to stabilize and pad the spring from banging around too much when the spring isn’t under load.
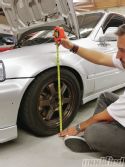
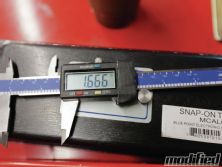
With the new suspension installed, I bolted everything back together for a test drive. Because the spring is fairly mild, it shouldn’t take more than a few miles of driving for the suspension to settle into place. After a few spins around the block (and a very good initial impression of the ride quality) I measured out how each corner of the car sits. I decided to go with a functional ride height — you won’t see any “pants-off-stance-off” with Project Civic. With the car back on the hoist, I use a dial caliper tool to see how much I need to raise or lower each corner. In the end, I was able to reach my target heights within a tenth of an inch tolerance — great!
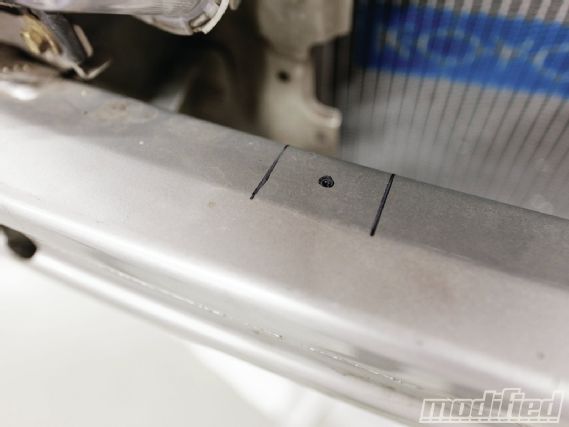 |
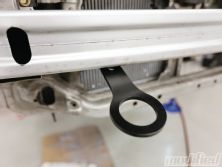
Measure twice, cut once. This is the placement for the front tow hook.
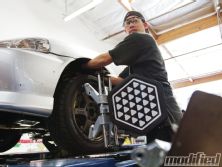
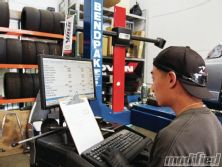
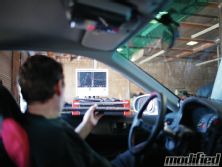
After doing any sort of adjustment to (let alone swapping out entirely) your suspension, it’s necessary to have a 4-wheel alignment performed on your car. For this task, I turned to our friends over at Evasive Motorsports in La Puente, CA. Mike and his guys have a long history of motorsports, including their famous time attack EVO, and more recently, a full-season Formula DRIFT effort with driver Charles Ng and their FC RX-7. With my Civic up on the rack, Mike and I discussed what I wanted out of the car with the alignment; a lot had changed since my last visit to Evasive in January of this year. Mike suggested that I go with a more aggressive alignment because the car isn’t frequently used on the street. While it’s true that aggressive alignment settings can decrease tire life, the increase in grip is by far worth it, especially since track days make fairly short work of tires anyway. Mike’s guys spent an hour or two dialing me in to specifications of -3 degrees up front, -1.5 degrees in the back and zero toe all around.
Happy and satisfied with my new alignment specs, I headed over to Church Automotive Testing in Long Beach, CA, for the final stage of preparation before my next track outing. In the last installment of Project Civic (“Fuel the Fire,” Oct. ’11), we gave the car a fuel system overhaul, including new larger injectors. Because of this change, we asked Shawn Church if he wouldn’t mind quickly adjusting our tune to accommodate the larger squirters. Shawn obliged, and we made pretty much the same power as before (221/160), but we weren’t leaning out at the top of the rpm range anymore.
 |
Measure twice, cut once. This is the placement for the front tow hook.
With the car now about as ready as it can be, it’s off to Buttonwillow one more time (maybe twice if we can swing it) before the Super Lap Battle finals at the end of the season.
PCI Steel Tow Hooks
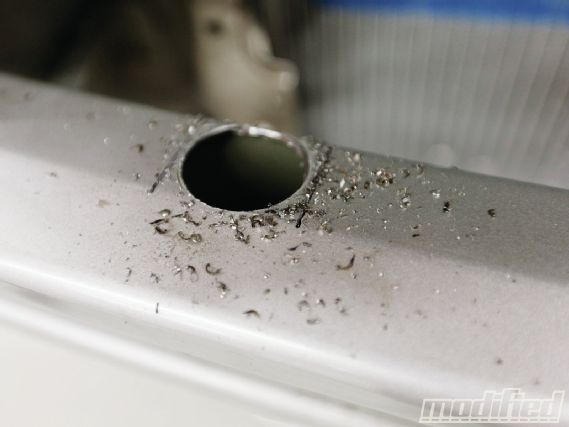
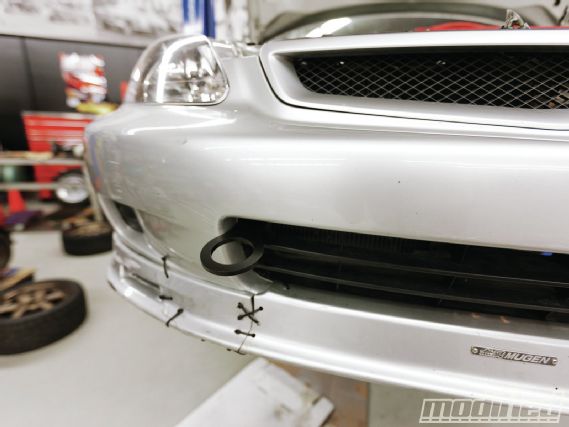
Another seemingly small yet important part of preparing a car for track duty is to ensure that you have proper tow hooks. No one wants to run off track, but if you do, you need to be able to be pulled out quickly and safely. I turned to Brian of Pro Car Innovations (PCI) for a set of his steel tow hooks in a subtle flat black. Installation of the rear hook is very simple — it’s just a matter of bolting the hook onto the factory rear tow point. For the front, it’s a bit more involved, requiring a bit of cutting into the front bumper support. Using a circular saw cutting bit, I drilled a hole up top so I could access the inner side of the support. After drilling another smaller hole from below, simply line everything up and torque it down tight.
 |
1998 Honda Civic - Dialing It All In - Project Civic
Source box
KW Suspensions
Variant 3 Coilovers
kwautomotive.com
TEIN
Pillow-ball Upper Shock Mounts
tein.com
Pro Car Innovations
Tow Hooks
pci-eng.com
Evasive Motorsports
4-wheel Alignment
evasivemotorsports.com
Church Automotive Testing
Dyno Tuning
home.earthlink.net/~spchurch/

