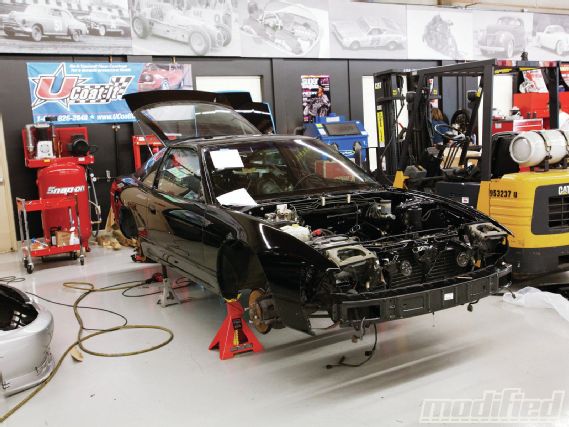
 | 1991 Nissan 240SX - Starting From Scratch - Project S13
With Project S13 out of the paint booth and back at the office, I was eager to start rebuilding it from the ground up with practically all-new parts. From ball joints, to brakes, to interior, I have a laundry list of to-do’s long enough to keep me occupied for weeks.
With such a large build at hand, there isn’t necessarily a certain order that upgrades need to be installed. Since the car isn’t going anywhere until it’s all put together, I decided I would tackle the easier things first, then make my way to the engine since it’s going to be the most complicated part of this project.
Fuel Pump
Believe it or not, the first modification that I made on the S13 was the fuel pump. I figured it would be good to get it out of the way early since the DeatschWerks 300-lph in-tank fuel pump is an item that can easily get lost in the piles of boxes I have in my office.
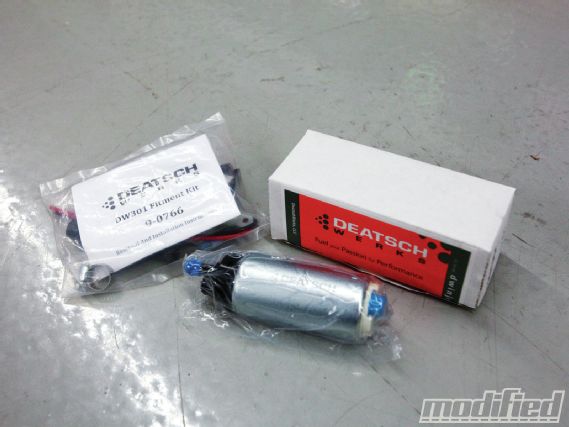 |
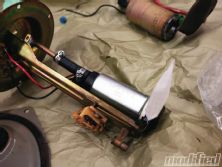
A plug-and-play option, the DeatschWerks 300-lph fuel pump drops right into the stock fuel pump location.
The LS3 is going to need more fuel than the now-retired KA24DE, that’s a given. The DeatschWerks 300-lph fuel pump is a great replacement because, with a fitment kit, it drops into the stock fuel pump location but delivers over double the flow of the stock unit. DeatschWerks also claims that it’s remarkably quiet compared to other high-flow pumps on the market, and I’ll report back on that claim when I actually start the car.
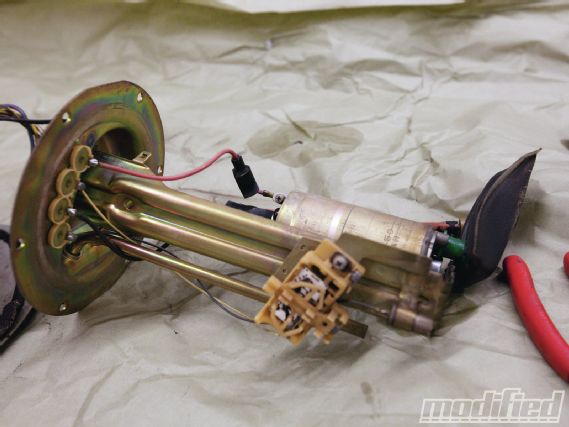
Swapping fuel pumps is about an hour’s worth of work. Removing the old pump and assembly is done by disconnecting the fuel lines and removing the bolts holding the pump assembly in the tank. Be careful with the fuel level bobber because it has to be disconnected inside the tank. Once out, with the supplied fitment kit from DeatschWerks, you’ll have the new 300-lph pump swapped over in a matter of minutes, then it’s back in the tank and you’re done.
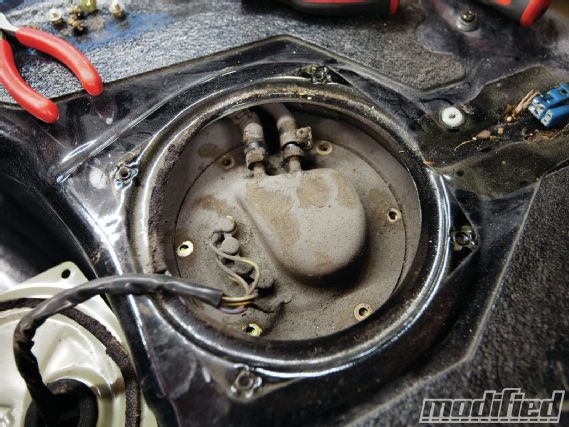 |
Installing the 300-lph fuel pump requires removing the entire fuel pump assembly from the fuel tank. With the supplied fitment kit, the DeatschWerks pump drops in — just solder on the new power wires, and it’s ready to go. Thankfully, we’ve got a new sock filter because the old one looks like it has had enough.
Rear Subframe & Differential
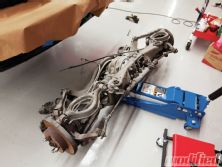
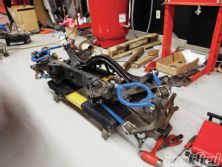
My particular 240SX came with a HICAS system. For those of you who are unfamiliar with that, it’s essentially a rear-wheel steering system that’s supposed to improve handling. Judging by the amount of people who remove or disable the system, I’m not so sure Nissan succeeded with it, but that’s beside the point. I was intent on removing it, and after pondering a simple HICAS delete bar that would lock the steering in place, I opted to just swap the entire subframe over to a non-HICAS unit to prevent any future headaches.
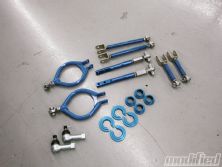
This also provided a great opportunity to swap out the factory arms and replace them with some adjustable pieces from Circuit Sports. I replaced the rear toe links, camber arms and traction rods with Circuit Sports pieces that have Teflon-coated, durable rod ends and enough adjustment to get my camber and toe settings to whatever I need. I’ll also install some Circuit Sports subframe collars when I put the subframe back on, as they get rid of any slop that occurs during hard driving.
 |
1991 Nissan 240SX - Starting From Scratch - Project S13
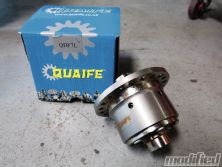
Some S13s came with a factory-optioned viscous limited slip differential that helps put power down evenly to the rear wheels. Unfortunately, being 20 years old, this VLSD, like many out there, has seen better days; at best, it operates at a fraction of its full potential. Considering the 424 ft-lbs of torque the LS3 will be transferring to the rear differential, an upgraded diff was in order. There are many good differentials on the market, but most are setup aggressively for track use, which means they aren’t very street friendly. I have a clutch-type LSD in my Integra that works amazing on the track, but driving it on the street is a huge nuisance because it clunks around almost every corner. I wanted a diff that would suit street-driving conditions but handle some minor track duty if need be. Enter Quaife and its ATB helical-type LSD. Using gears instead of clutch packs provides smooth operation with no clunking, zero maintenance and long-lasting, consistent performance. With the ATB LSD you’ll maximize traction and effectively put power down to both wheels without ever experiencing any harsh engagement — it truly is the best solution for a street-friendly LSD.
Installation should be left to an expert, as swapping a diff requires knowledge about backlash and shimming. Don’t expect to just pull your old diff out and drop the new one in without checking for proper clearances — do that, and you’ll quickly have a paperweight on your hands. I took my Quaife LSD to Technosquare, where Howard Watanabe took care of all the hard work and reassembled my differential to factory specifications.
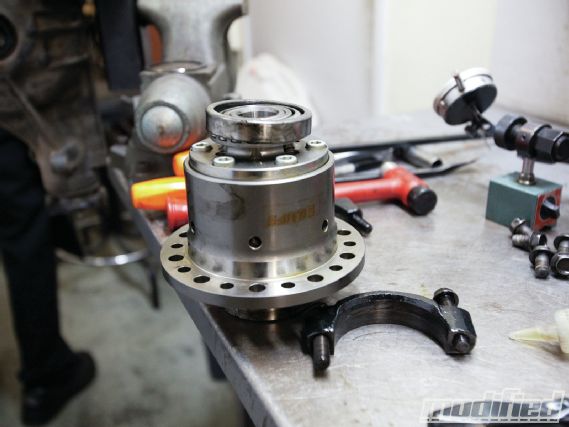 |
The Quaife LSD is built much stronger to handle more abuse than the stock LSD.
It should be noted that the VLSD axleshafts can’t be used with the Quaife LSD because the Quaife is built to accept open differential output shafts, so you’ll have to source a set of those only if you’re using a VLSD housing.
5-lug Setup
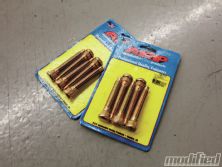
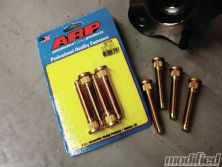
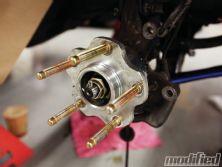
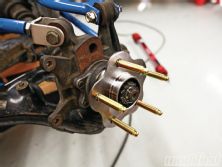
With the differential back on the subframe, I turned my attention to the hubs. Running the factory S13 4-lug setup severely limits wheel options, and swapping over to 5-lug alleviates that problem. Ichiba makes a bolt-on solution that, unlike going the S14 5-lug route, requires using S14 front lower control arms. Ichiba hubs bolt onto the S13 hubs with no modification. Before I would install the Ichiba hubs, a set of ARP extended wheel studs replaced the shorter Ichiba studs. I want to have the option of running spacers, so extended wheel studs are a must-have and ARP studs are proven to be durable and strong.
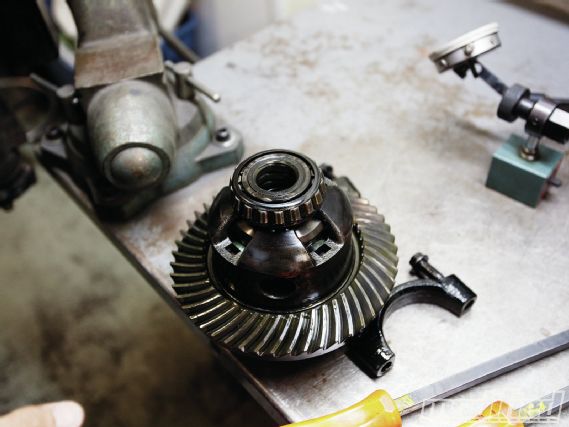 |
The Quaife LSD is built much stronger to handle more abuse than the stock LSD.
Having a hydraulic press, like I did, is very handy for this job. Otherwise, a big hammer will work by knocking out the studs, then stacking washers with a lug nut at the end and tightening will press the new extended stud in. It takes twice as long as the press, but if that’s all you’ve got, then it’s a worthy replacement.
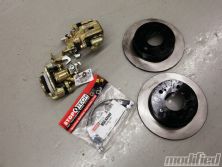
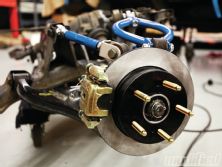
With the Ichiba 5-lug setup, you can get away with replacing just the rotors with new 5x114.3 bolt pattern ones. However, I opted for a Wilwood big brake kit up front (I’ll get to featuring it next month) and in the rear I decided to stick with the factory brake setup. I replaced the old calipers and rotors with new remanufactured units from Centric Parts. This way I have worry-free, like-new calipers that should last 20 years like the old ones did. Seeing that the old rubber factory brakes lines were showing signs of cracking, I also replaced them with some stainless steel brake lines from StopTech.
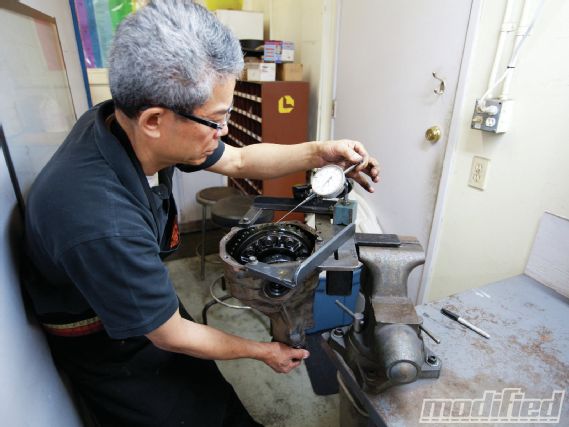 |
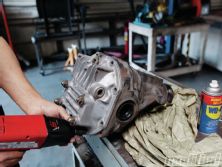
Aside from transferring the bearings and final drive gear onto the Quaife LSD, Howard also ensured that proper backlash was set before closing up the differential pumpkin.
What’s Next?
Next month, I’ll tackle the front brakes and install some coilovers. You’ll also get to see which wheels I chose and how to address an aging interior. Project S13 has just started, but its already coming together quite quickly!
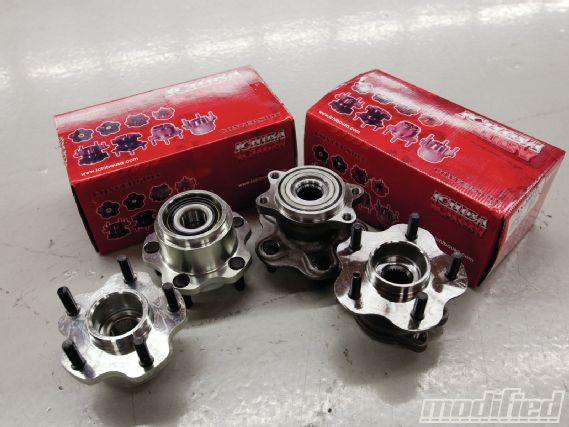 |
Ichiba 5-lug conversion hubs are a simple solution for replacing the S13 4-lug setup. ARP extended wheel studs will allow spacers to be run, if need be. A set of Mitsubishi EVO VIII ARP studs were used for the front, while ’90–93 Mazda Miata studs were used in the rear.
Sourcebox
DeatschWerks
300-lph In-tank Fuel Pump & Fitment Kit
deatschwerks.com
405-217-0701
Centric Parts/StopTech
Replacement Brake Calipers, Rotors & SS Brake Lines
centricparts.com
626-961-5775
Circuit Sports
Adjustable Arms & Subframe Spacers
circuit-sports.com
800-745-1703
Quaife
ATB Helical Limited Slip Differential
quaifelsd.com
Technosquare
Differential Install
technosquareinc.com
310-787-0847
Ichiba
5x114.3-bolt Pattern Hubs
ichibausa.com
626-962-3784

