 | Acura NSX Gets New Engine & Transmission Parts - Project NSX - Wrenchin'
NSX Drama
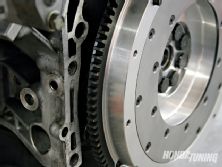
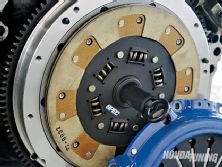
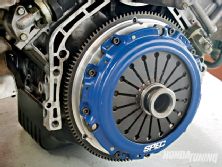
Look around and you'll find that early NA1 NSXs have at last transcended below that price point that many simply find unreasonable when considering a 15-plus-year-old Acura. It could be because of the economy, or perhaps it's the lack of interest in cars with two too many cylinders in this age of fuel efficiency awareness, but it doesn't matter. Honda's all-aluminum supercar is, at long last, affordable. Rejoice, but don't let the entry cost fool you. Owning and maintaining an NSX is never cheap and modifying one is even worse. Deep pockets are mandatory as is at least an inkling of mechanical know-how. For perspective, compare a mid-'90s Civic timing belt to the NSX's. The NSX belt is nearly four times more costly, yet it's made of the same material, by the same manufacturer, presumably at the same plant. It isn't gold-lined, and it won't make you any more popular. The clutch assembly is even more discouraging, with the NA1 NSX's OEM twin-disc setup retailing for roughly $1000 more than the Civic's. Installation costs are worse, as space is tight and many technicians prefer complete engine removal for otherwise routine maintenance. But with a little bit of dexterity and a whole lot of patience, the NSX can be relatively easy to work on and, if you've familiarized yourself with engines like Honda's B-series and chassis like mid-'90s Civics and Integras, you'll no doubt find yourself in familiar territory when tinkering with the NSX.
Recapping
Bolt-ons are nice but they often lead to bigger things. The story begins with a sub-$30K Berlina Black NSX, a few basic mods, like coilovers and rims, and an overzealous, anal-retentive owner. Project NSX--until now, a one-owner, high-mileage commuter car--fell into my hands in relatively good condition. Upon inspection, the chassis was straight--never so much as tapped--the interior was a 7 out of 10, and the suspension, brakes, and drivetrain were all met with a nod of approval. As such, there was little left to do except install a set of Buddy Club coilovers paired with 17- and 18-inch Enkei RPF1s matched with BFG tires. The engine was left untouched, but a few key brake upgrades were made along with an alarm and tracking system, and some basic, albeit expensive, interior trim pieces. Life was good...for about a week.
 | Acura NSX Gets New Engine & Transmission Parts - Project NSX - Wrenchin'
The Build
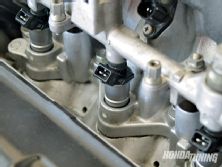
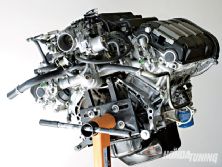
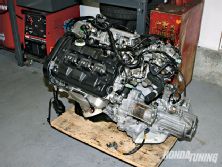
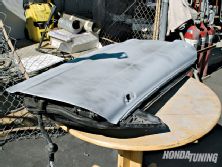
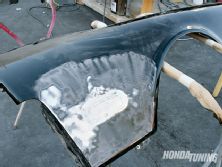
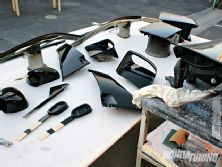
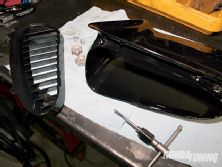
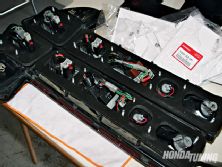
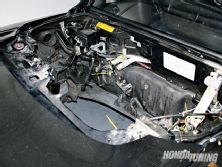
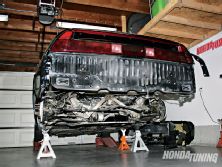
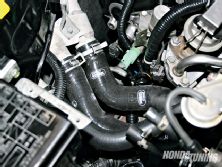
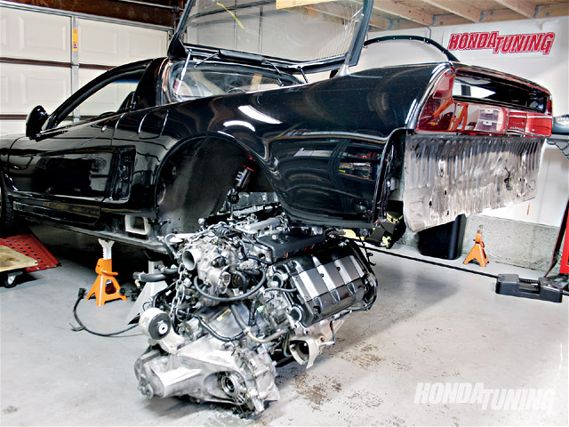
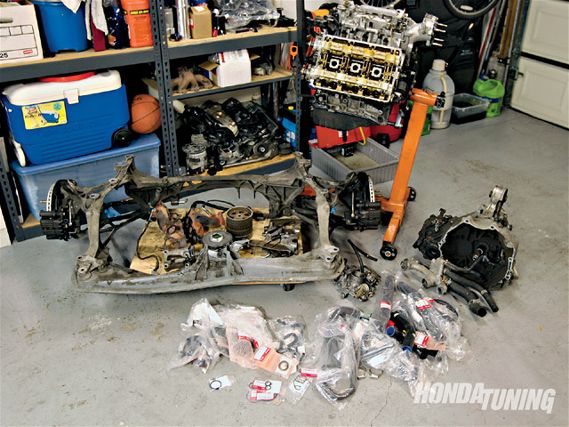
It's difficult for an honest enthusiast to leave something alone. Improvement is often unavoidable. Such was the case with Project NSX. The idea to freshen up the aging paint job soon led to a complete teardown and overhaul. The chassis was stripped of all four fenders, its hood, bumpers, trunk, doors, side sills, and wing, and the engine and transmission were pulled all in an effort to increase the car's longevity both inside and out. Similar to newer Hondas, the NSX's engine and transmission must be removed along with the car's rear subframe, which includes the rear brakes and suspension assembly. It really is one of the easiest engines to remove; of course, there are the routine engine-removal steps like disconnecting fuel and coolant hoses and throttle cables, but the axles can be left in and the engine can remain seated in its subframe by its front and rear mounts until it's pulled away from the chassis. Now was a good time to separate the engine from its transmission and get it up on an engine stand. Aside from any gaskets or seals that would be encountered once the cylinder heads were removed, every single gasket, hose, and o-ring known to Honda was ordered and thrown in the parts pile and eventually onto the engine. The opportunity was also taken to replace the transmission's input shaft bearing. Like the engine, even the NSX's transmission is eerily similar to its B-series Integra sibling and the process for replacing parts like bearings, synchros, and differentials isn't much different.
 | Acura NSX Gets New Engine & Transmission Parts - Project NSX - Wrenchin'
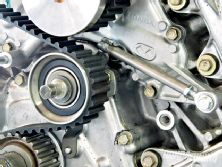
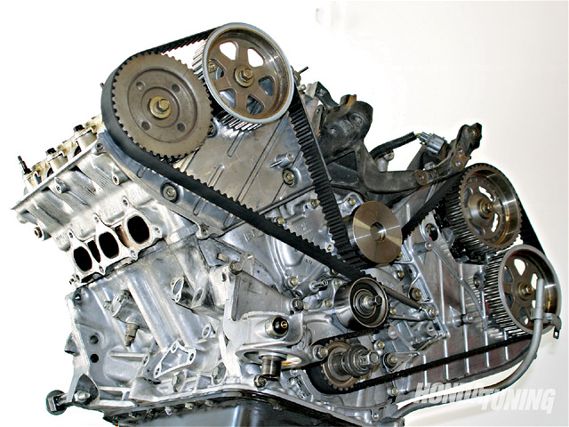
Cleaning an engine that's seen more than 100,000 miles isn't easy and involves several bottles of degreaser, multiple wire brushes, and stockpiles of rags. Once cleaned, the timing belt and water pump were replaced, camshaft seals were swapped, and the valves were adjusted. The valve adjustment procedure for C-series engines is similar to that of any other twin-cam Honda engine. When installing the timing belt, it's important to align the camshaft gears and to tension the belt exactly how Honda instructs you to. Also, notice that the C-series' camshaft gears are specific to each camshaft; don't mix these up. Failure to perform any of these steps the right way will most likely result in bent valves, nicked pistons, and a much smaller savings account. On a side note, it's extremely difficult to line up all four gears with the engine in the car. The process involves a couple of mirrors and lots of double-checking. Notice how the entire drive belt system looks similar to any other early- or mid-'90s Honda engine.

