 | Why Short Shift? - Bona Fide Tech Tips
For Those Interested In Doing Things Quicker, A Short Shifter Is A Good Start.
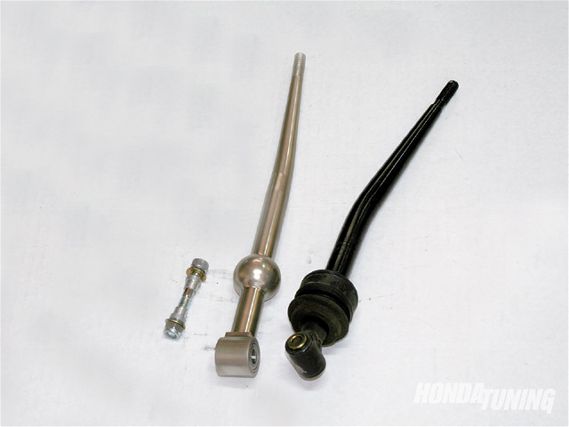
But short shifters don't necessarily shorten your shifter-they shorten the throw. This means you can bang through the gears quicker, even easier in some cases. Although some might think a short shifter is simply nothing more than a lopped-off factory shift lever, it's not. Do this and you just might screw up the complex, engineered mechanism that Honda spent a considerable amount of time developing. Any shift lever-OEM and engineered short shifters-are carefully constructed so that each upper throw corresponds and synchs with what's going on inside the transmission. There's math involved here, which means simply cutting off an inch or so up top probably isn't a good idea.
 | Why Short Shift? - Bona Fide Tech Tips
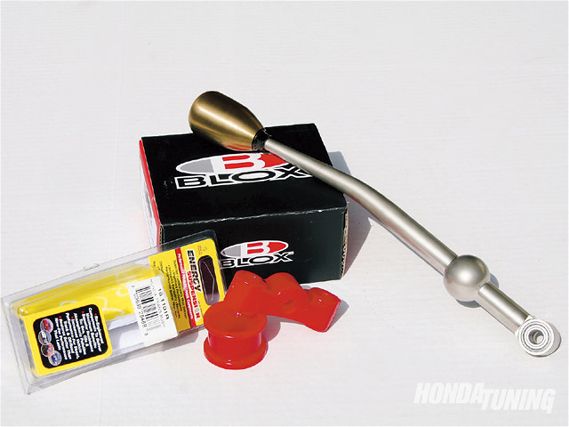
There's no easier way to learn how short shifters work than to install one. But you've got to buy one first-we picked ours up from BLOX. The BLOX shifter does everything you'd expect from a short shifter. It gives impatient people the shorter, quicker throw they're after and can actually make gear changes smoother, which will help with any transmission's life expectancy. Like any product worth its salt, BLOX short shifters come with easy-to-follow instructions and all of the hardware you'll need for a complete install. Of course, no short shifter would be complete without a fancy-looking shift knob. BLOX also offers a range of CNC-machined steel shift knobs to complement its short shifters. BLOX shift knobs weigh in at a hefty 450 grams, which means they're not exactly light-a good thing when considering shift knobs. Heavier shift knobs make quick shifting easier and also help reduce gear binding.
 | Why Short Shift? - Bona Fide Tech Tips
No matter what brand you've got, installing a short shifter onto most any Honda with a shift linkage gear selector is easy. Here's how:
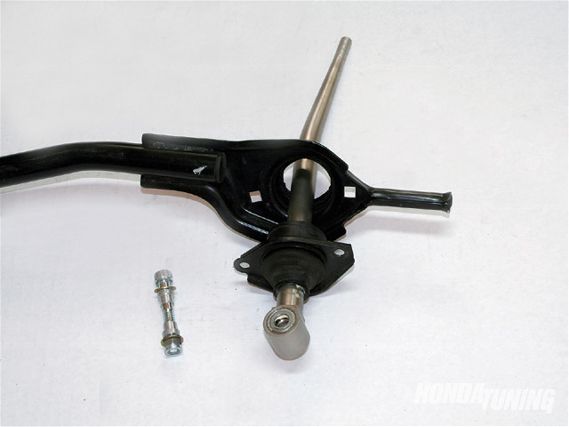
If you're replacing the shifter bushings, simply push out the old ones by hand.Lubricate the new bushings and push them into place.
Step 1: Unscrew and remove the shift knob. Step 2: Remove the center console and adjacent trim panels. Step 3: Raise the front of the vehicle and secure with jackstands. Step 4: Remove the two 12mm-head bolts under the vehicle, directly underneath the shifter. Step 5: Remove the single 12mm-head bolt at the end of the linkage extension rod, on the transmission end. Step 6: Pull back the rubber boot to expose the small sleeve on the linkage gearshift rod. Use a small punch or drive to remove the roll pin that holds the shift rod to the transmission. Step 7: Remove the shift linkage and the 12mm-head bolt that fastens the bottom of the shift lever. Step 8: Remove the two 10mm-head nuts that hold the shift lever to the linkage and pull apart. Step 9: Remove the old shifter's rubber boot, apply a small amount of white grease, and reinstall the boot on the new shifter. Step 10: Reassemble.