Ever since I became a full-fledged member of the Truckin' staff, I've been lucky enough to take advantage of some great opportunities to further customize my '00 Chevy S-10. Before I started working for the best truck magazine ever, I had lowered it a few times and finally landed on a 4/5 stance that not only looked good, but it was just tall enough to not scrape on every single speed bump in town, which was a real problem since this truck happens to be my daily driver. After finishing a few cosmetic upgrades that were featured as tech stories in the mag last year, a fresh surge of excitement rushed through my veins-something that hasn't happened since I first started tearing into my truck. At that point, I knew I wanted to see more out of my personal ride, so I decided that stepping up to a full 'bag setup was a definite must (it's been on my wish list for nearly a decade now). Airbagit was more than happy to accommodate my enthusiasm, so they extended a warm invitation to their Tempe, Arizona, headquarters that I accepted without hesitation.

| After
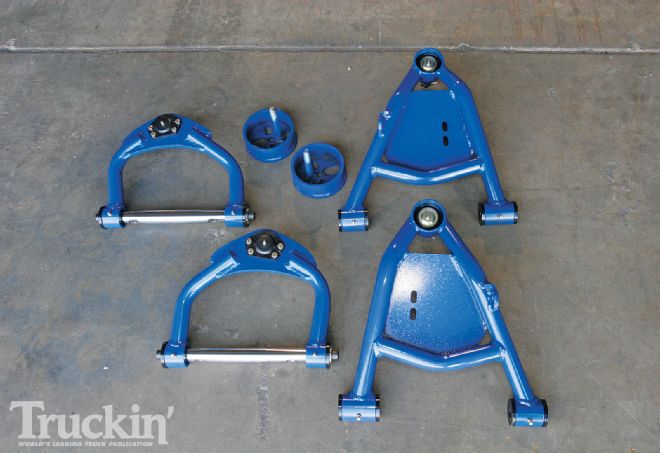
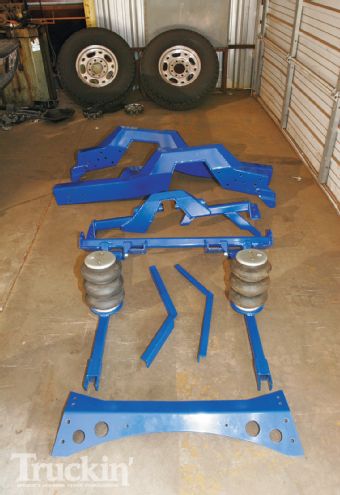
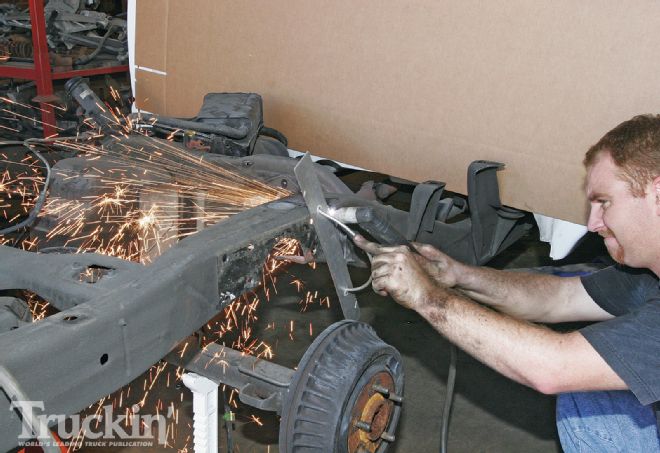
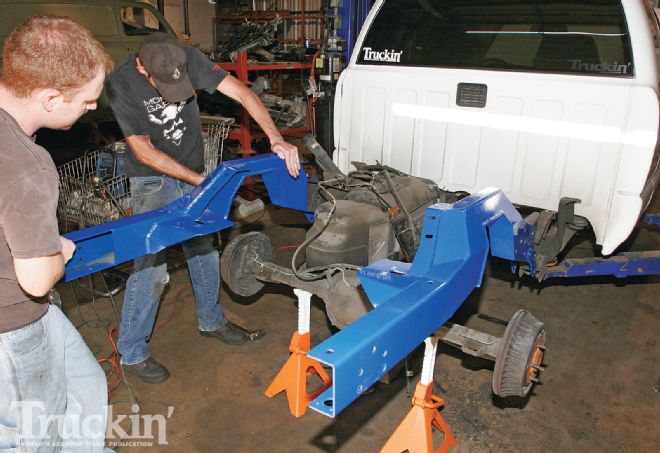
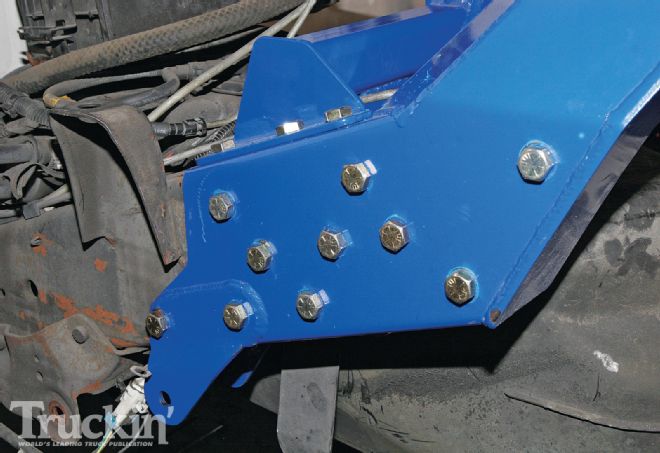
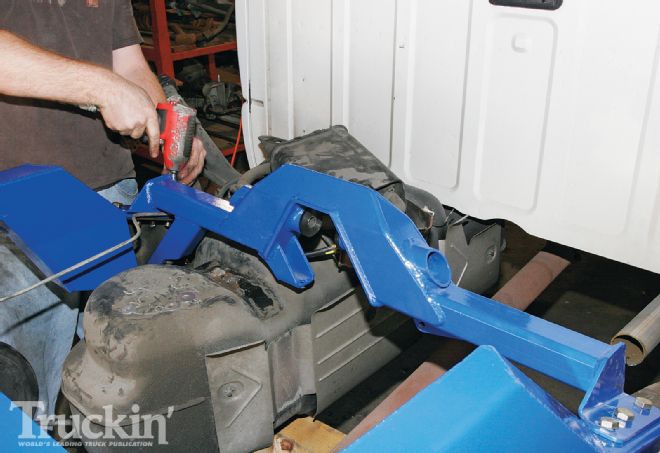
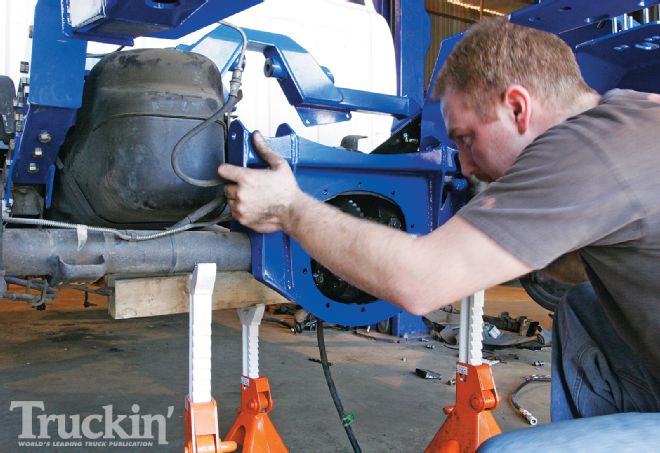
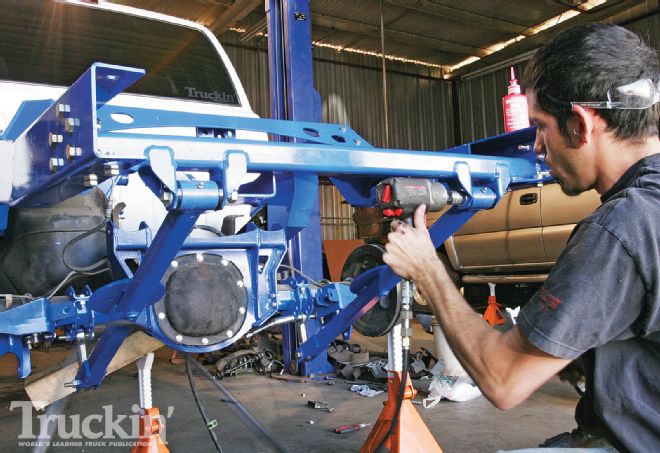
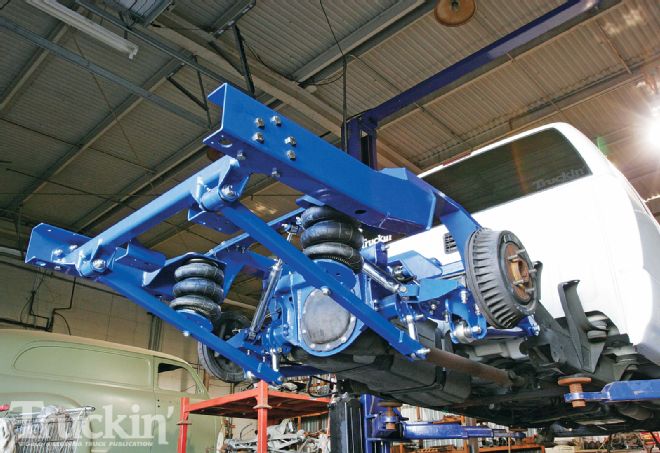
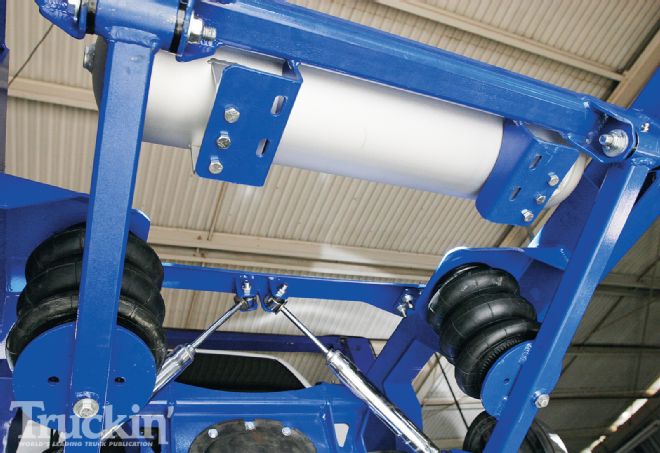
Airbagit's Street Scraper back half kit was the perfect solution to bringing the S-10's posterior down to ground level, and their Air Arms would drop the front perfectly. To complement the rest of Airbagit's air-ride products, they suggested their self contained Plug & Play unit, which included an upgraded DC7055 air compressor and a premium Air-Engine V-8 valve manifold that came prewired and ready to rock. With all the parts lined up, and the Airbagit crew ready to do their thing, I fired up my camera, and the long-awaited suspension transformation finally began. Follow along and learn, just as I did, how an air suspension works and how easily it can be installed.

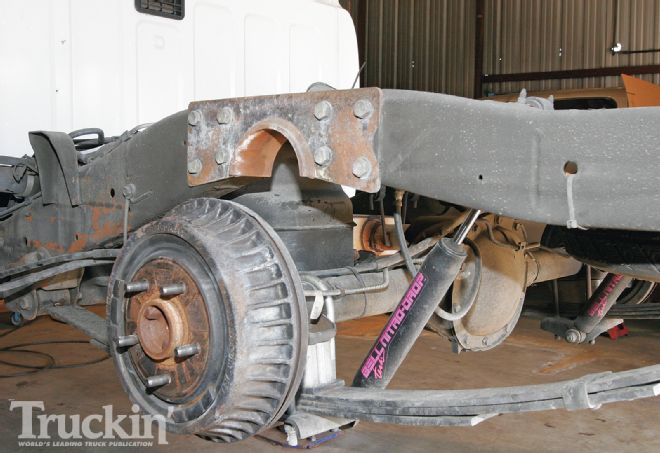
| Before
FROM THE DRIVER SEAT
Once this project was considered 'finished', it was a bit of a relief to be back behind the wheel of my truck again. Finding the time to sneak out of the office during the week and spending some quality weekend hours over the course of a few months finally paid off. I say 'finished' because there are still a few tweaks that I plan on making to the air-ride system that will dial it in closer to my personal taste. Another compressor will add some speed, and having more reserve air would be nice, so another tank will take care of that. At the time of this writing, I have had my truck back for roughly three weeks and the thing I love most about having a fully adjustable air suspension is airing it out wherever I decide to park. It's fun to watch the reactions of unsuspecting spectators, but I'd have to say that it's even better to walk back to the S-10 to see it completely dumped and laying frame on 20s in the back. (I know that 20s in the rear is nothing compared to tucking 24s all around like some of my favorite custom minis, but give me a break. I have to start somewhere!) The ride quality is about the same, if not better than the old static drop setup, and I'm not even running front shocks! I would like to take this time to extend my genuine appreciation to Joe Morrow and Aaron at Airbagit.com, Dan Meadows at Discount Tires Direct, Stillen, Flowmaster, Josh Gledhill at The Muffler Man, and last but not least, Matt Means and Tom Prewitt of Department of Customz for all the assistance, pointers, and valuable storage space along the way. Thanks for making my 10th year of ownership of the 'ol Dime a truly memorable one.
YOUR QUESTIONS ANSWERED
Time Spent Working: Roughly 35 Hours
(It's hard keeping track with all of the stopping and starting)
Degree of Difficulty: Intermediate
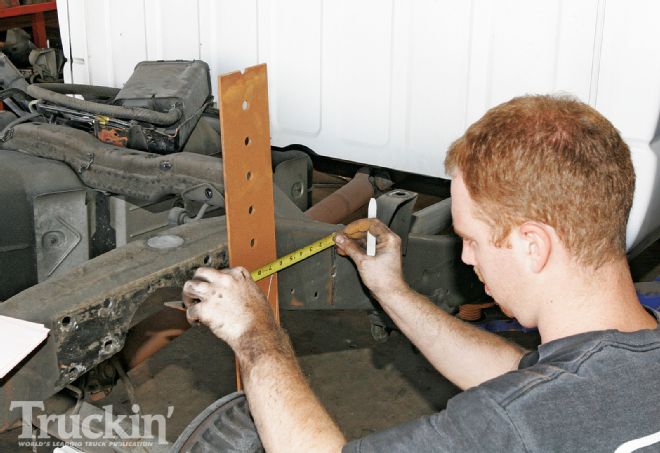
(The hardest part is building up enough bravery to cut through a perfectly good frame, and actually cutting it right)
Tools Needed:
Let's just say that having a well-stocked garage is definitely key for this kind of job since there is a fair amount of cutting, bolting, and wiring involved.
Parts Used:
Generation II Street Scraper:
$1,499
Air Arms Uppers (set):
$379
Air Arms Lowers (set):
$399
Plug & Play with 1/2-inch Air-Engine V-8:
$899
Five-gallon air tank:
$79
Five-position switch:
$59
Digital gauge:
$179
Front #2500 air bags (2):
$59 (each)
Rear #2600 air bags (2):
$89 (each)
Wheels:
MB Wheels Old School 18x8.5 (2)
$151 (each)
MB Wheels Old School 20x8.5 (2)
$199 (each)
Tires:
Falken FK452 tires 255/40ZR18 (2)
$179 (each)
Falken FK452 tires 255/35ZR20 (2)
$127 (each)
Stillen Brake Pros front cross-drilled rotors:
$218.14 (pair)
Flowmaster #42541 40-series muffler:
$69.95
Total: $5,389.09
(Prices from Airbagit.com, Discounttiredirect.com, Stillen.com, and Summitracing.com and do not include tax, shipping, or installation costs.)
