1993 Toyota Pickup - Weekend Warrior: Part 4, Front Air Bags
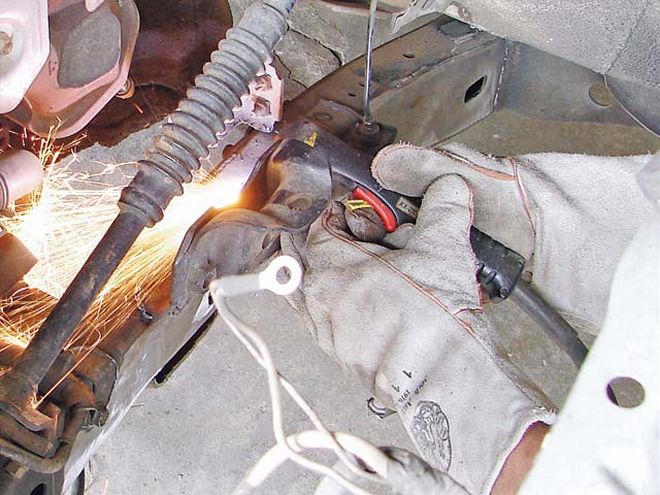
This weekend, we decided to finally tackle the front setup. We chose to go a more non-conventional route and rather than Z-ing the frame (cutting off the frame in front of the firewall and moving it up) to clear the trouble crossmembers, we tweaked the suspension.
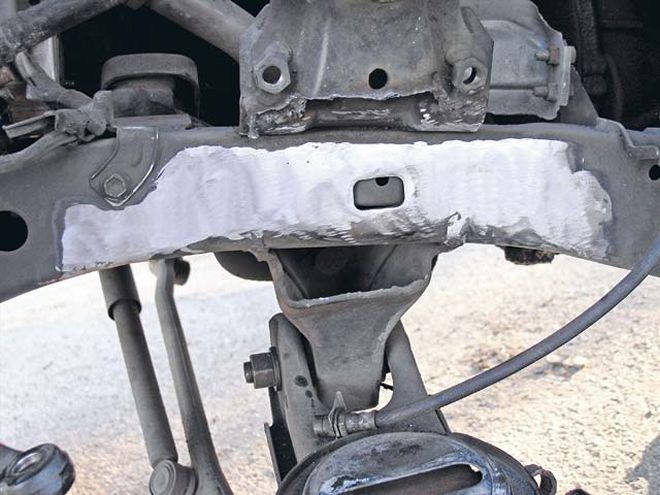
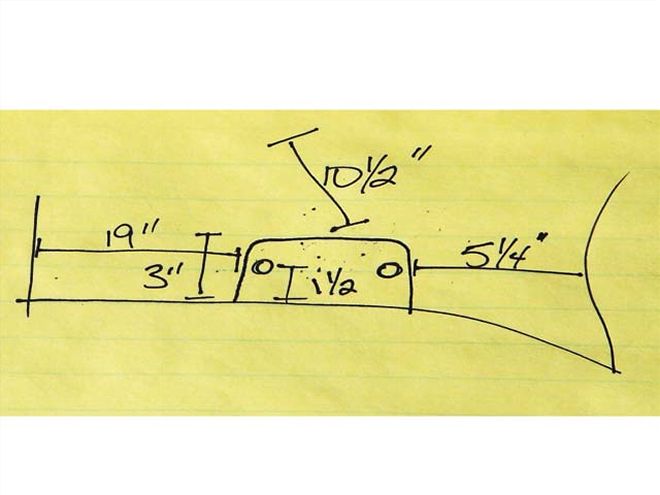
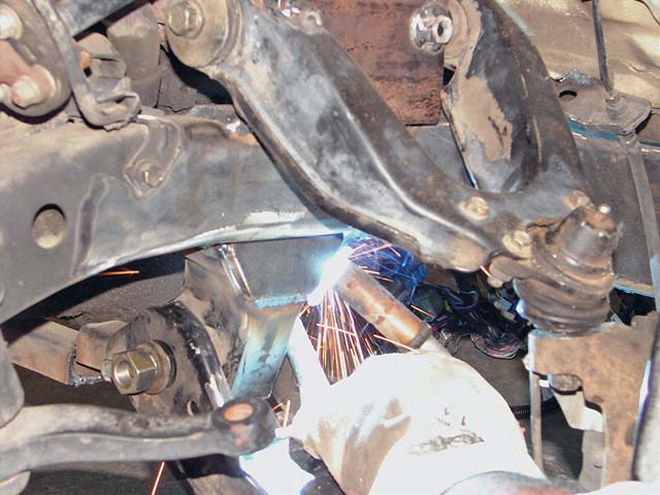
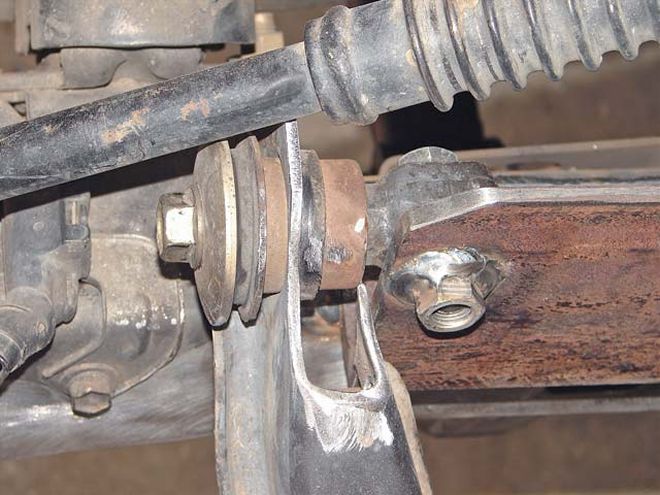
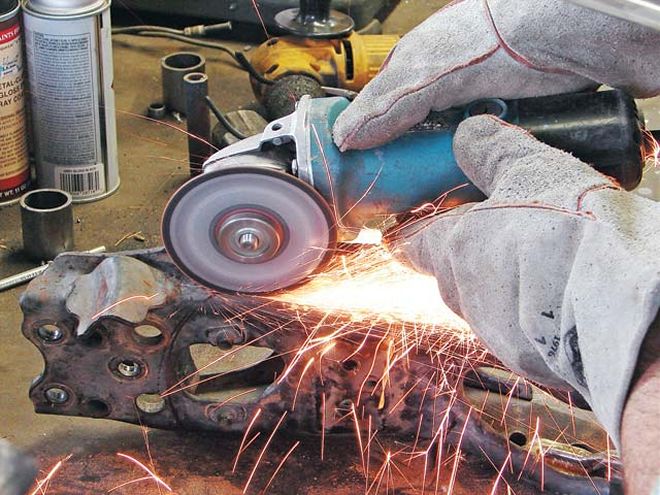
Because ultimately this truck will be body-dropped and we want to keep a stock hood, Bobby at Sadistic Iron Werks decided to section the lower control-arm mount. To keep the suspension geometry intact, a new upper arm mount was built. Yes, the steering is affected by doing it this way, but that's nothing that can't be handled with a few Heim joints and steering spacers. So, for now, we'll show you how we laid this truck flat on the frame (suspension-wise), and we'll save the steering for another day. For more information, contact the companies in the source box.
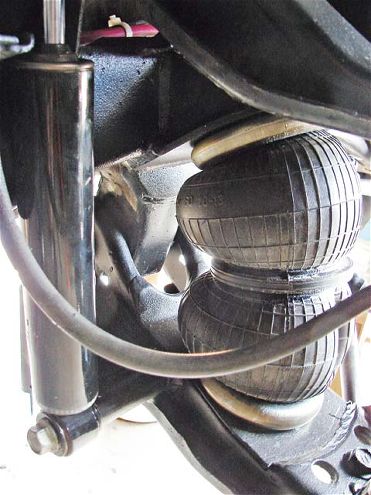
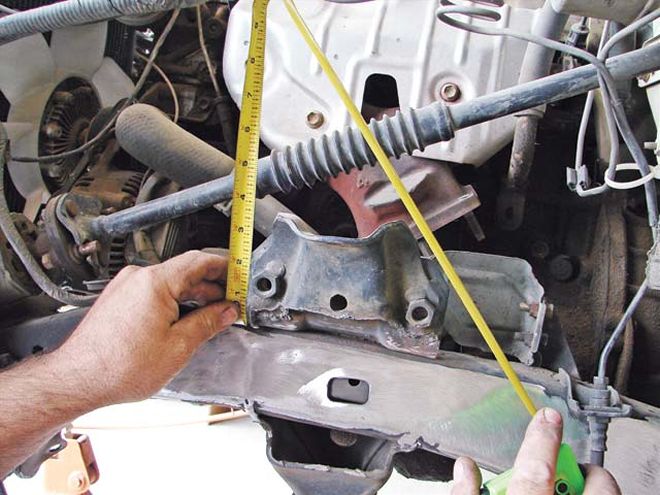
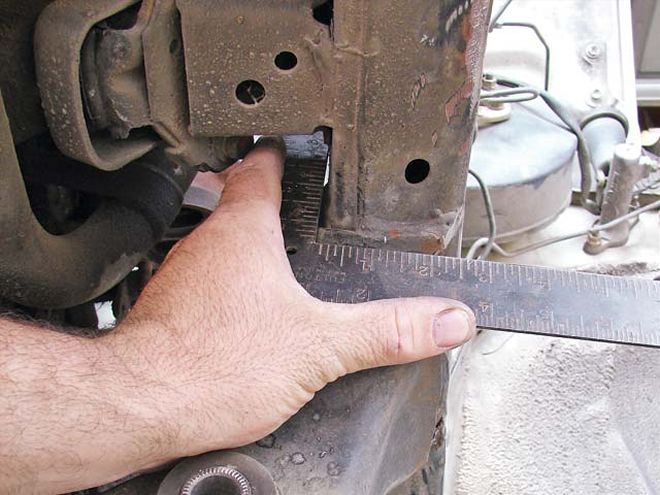
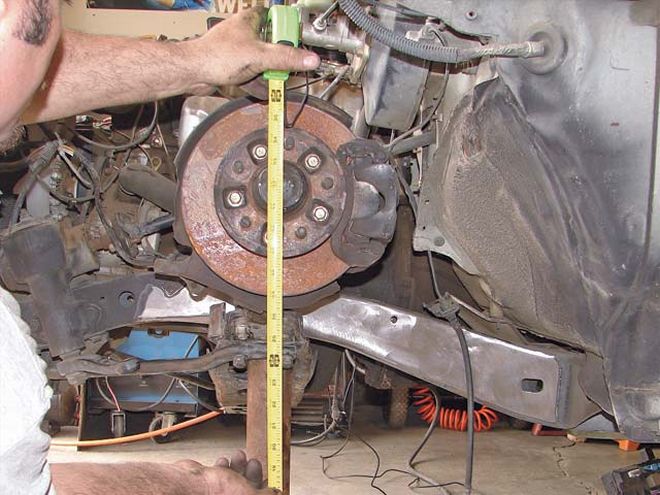
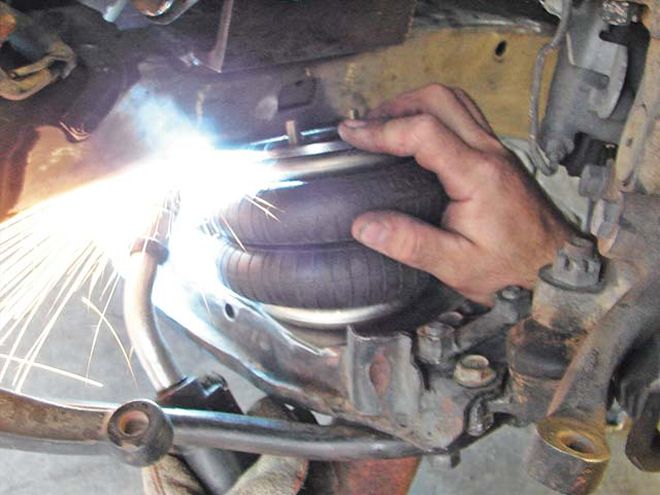
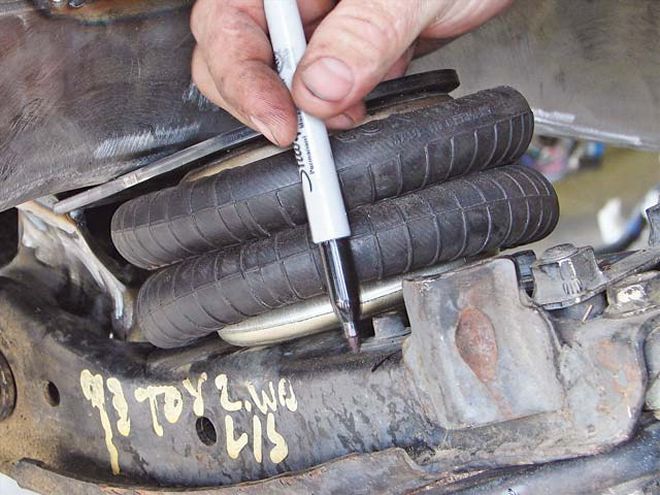
TECH TIP: For 'bag placement, we need to know two important measurements: half of the overall tire diameter and wheel center when the truck is laid out. A fully deflated 'bag is 3 inches plus a 1/4-inch safety. So, to set up our truck to run 18s, we bolted the top of the 'bag plate on the 'bag, jacked up the truck, and set the 'bag between the frame and the lower control arm to know how much room we needed to lay out completely. Then we can measure wheel center on the hub to ensure we're laying out with our desired wheel/tire combo. See steps 15-17.
