With the price of a new bare-bones truck approaching $20,000, it doesn't take a genius to figure out that it makes sense to treat your truck-new or old-to regular service. Periodic maintenance doesn't require a lot of skill or time. But if you neglect your truck, you can bet it will require some costly and time-consuming repairs that are beyond the budgets of most shade-tree mechanics.
A regularly serviced truck that runs like new is a pleasure to drive. No one enjoys driving a truck that wanders all over the road and changes lanes because the suspension and brake systems are worn out. Likewise, it's no fun to get into the truck after a hard day's work, turn the ignition key, and wonder if you're going to be met with the harmonious firing of all the cylinders or the death wail of an engine that won't start and should be put out of its misery.
We've compiled a group of basic maintenance operations that can ensure that your truck will be on the road for years to come. Any one of these practices can be easily performed in a single afternoon, or, if you're really ambitious, all of them can be done in a day.
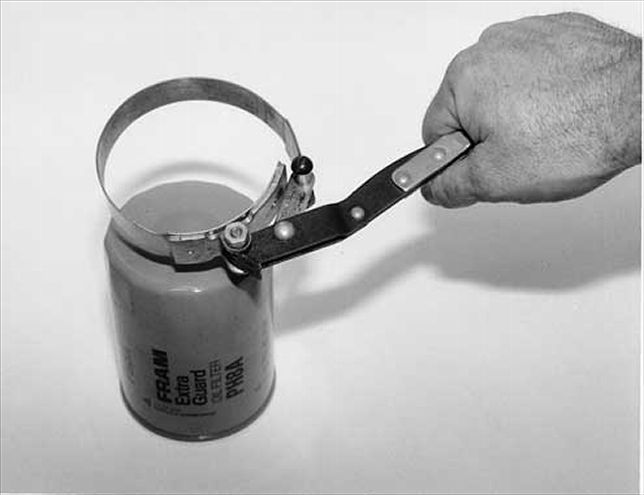
Tools: End wrenches; Ratchet and sockets; Oil filter wrench; Screwdrivers
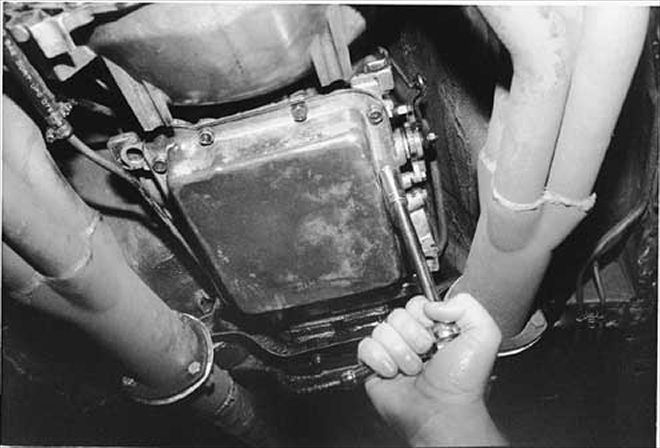
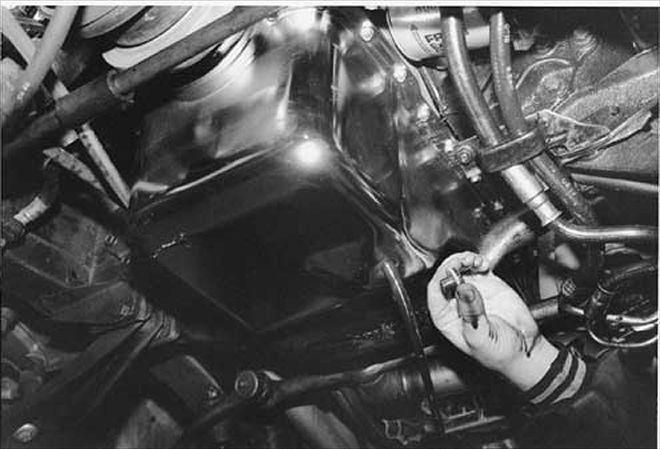
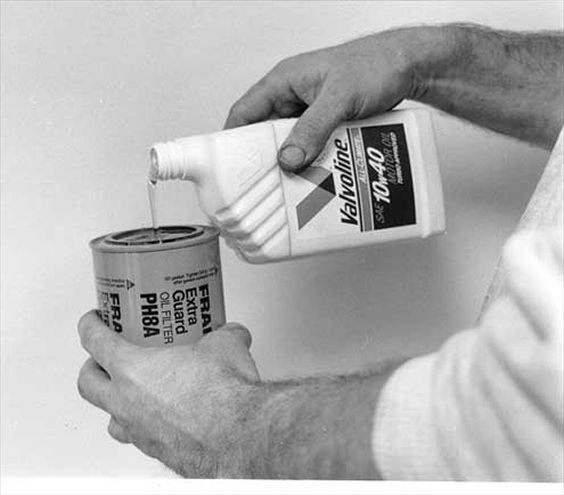
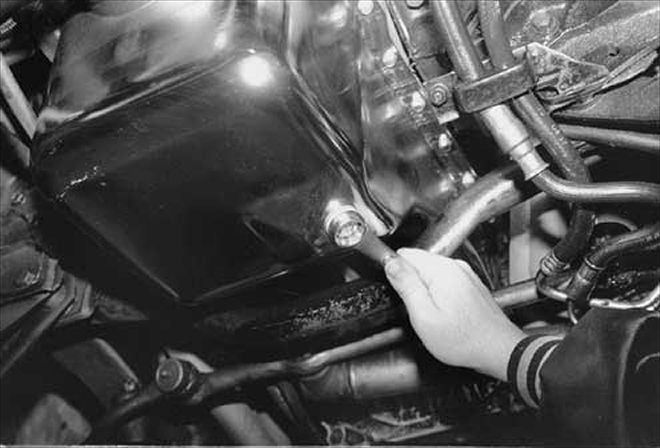
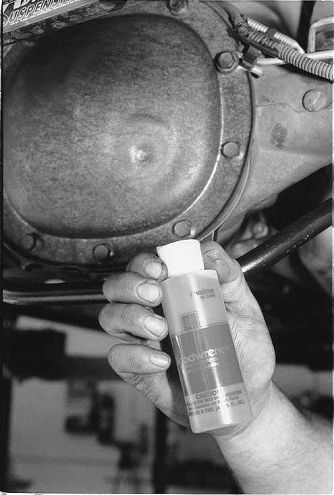
Fluids. Those slimy, colorful liquids that inhabit the engine, transmission, and rear axle are the lifeblood of your car. And dagnabbit, they need to be changed on a regular basis, regardless of wacky Uncle Henry's philosophy: "Aw hell, I've got 122,000 miles on the oil in Ol' Blue out there!" Petroleum breaks down with use, age, and heat, and if it's not changed, the parts will suffer.
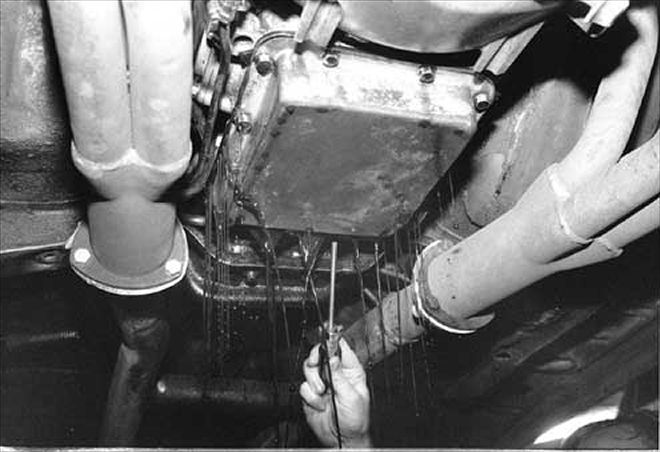
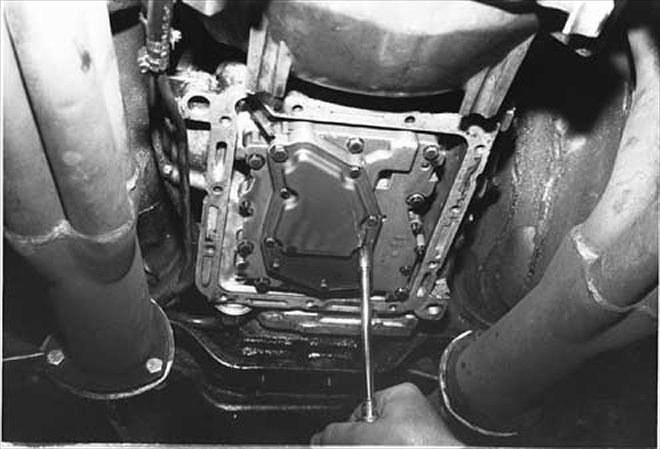
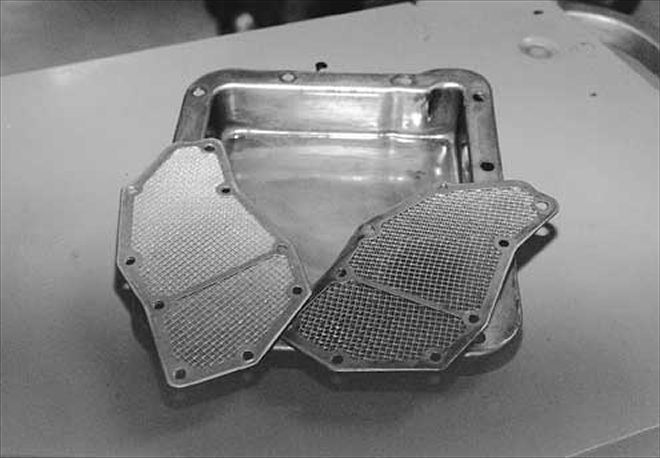
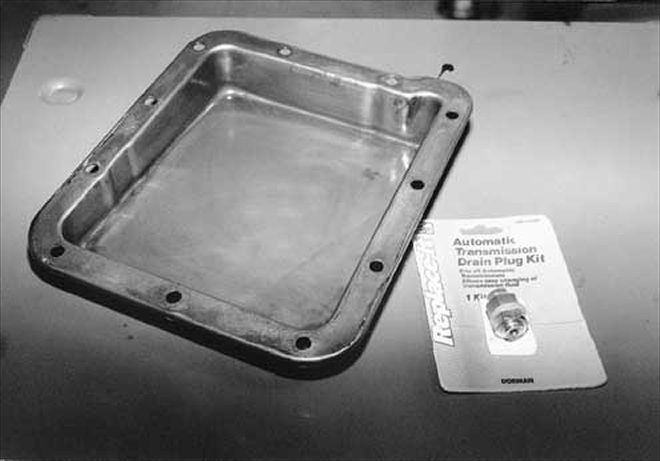
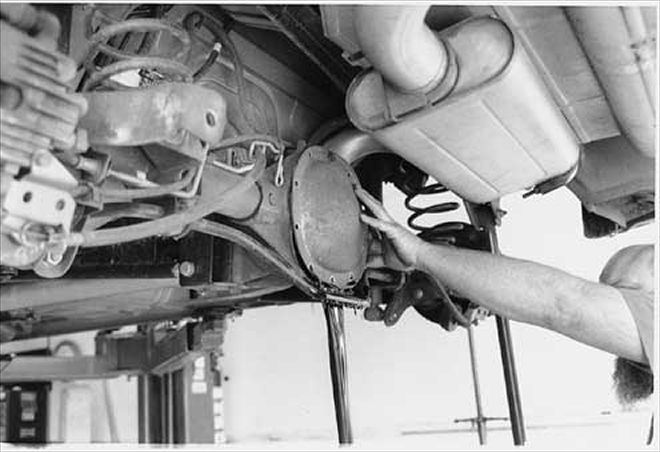
Engine oil can go as long as 7,000 miles before changing (longer if synthetic oil is used), but why risk it? Compared to a rebuilt engine, the stuff is cheap, and it only takes a few minutes to change. We swap oil every 2,500-3,000 miles. Transmission fluid lasts a lot longer in normal use; change it every 20,000 miles--or once a year. Rearend honey is even more viable under normal use and is good for 30,000 miles or so.
Extreme conditions considerably shorten the intervals between fluid changes. An engine that works in stop-and-go traffic all day in 100-degree weather is just as hard on oil as an engine that spends most of its time at 6,500 rpm. Both situations require an abbreviated schedule, and the same is true of transmission and rearend fluid.
Tools: Carburetor cleaner spray; Length of vacuum hose
Sport trucks are meant to be enjoyed. So when it comes to driving your street dream, it must run properly. Few things are more aggravating than an engine that hunts, sags, and generally runs poorly at idle and light throttle. Short of an engine that won't run at all, vacuum leaks are the worst.
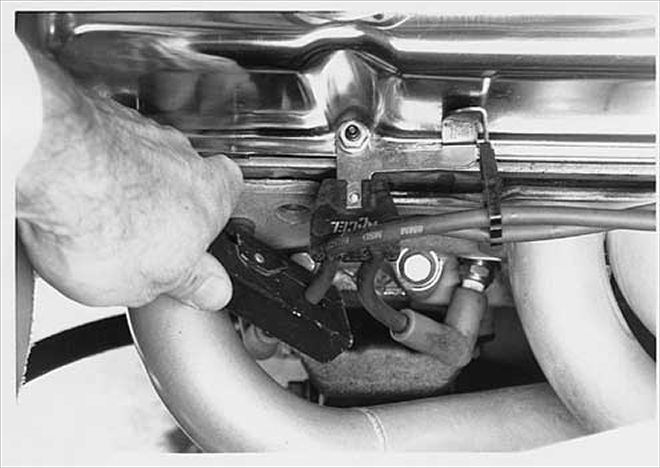
Before you search for that elusive bugger, it's best to know what you're looking for. Vacuum leaks are what Bosch calls "false air," or air that enters the engine unmetered. Cracked or broken vacuum lines, leaking intake manifold or carburetor gaskets, open carburetor fittings, and loose or missing carburetor screws are just a few of the causes of vacuum leaks.
These leaks are often difficult to detect, especially those that affect the intake-manifold gaskets. Nick Jennings (Jennings Dyno Shop, Dept. ST, 9519 Sepulveda Blvd., North Hills, CA 91343, 818/894-3811) gave us a few quick and easy tips for ferreting out those imps.
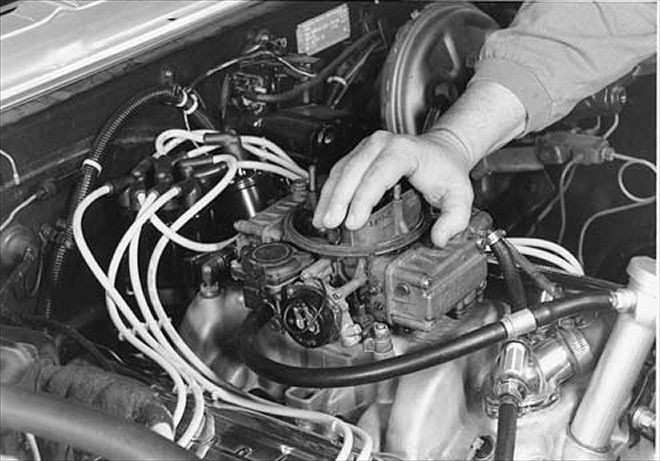
Perhaps the easiest way to determine if an engine has a vacuum leak is to cup your hand over the choke housing while the engine is idling. This artificial choke will create a richer mixture. If the idle speed increases with the richer mixture, there's a vacuum leak lurking about.
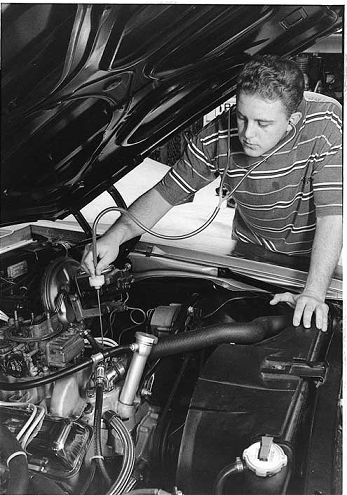
Snap-On, Mac, and other tool emporiums sell inexpensive automotive stethoscopes to locate vacuum leaks. If these tools are unavailable, you can use a length of vacuum hose. Place one end of the hose to your ear and use the other end to search for the leak while the engine is running. Be careful not to come too close to the fan or fan belts.
If the engine is not a polished show piece, Jennings mixes cleaning solvent with automatic transmission fluid in a squirt oil can and shoots this mixture around the intake gasket. If there's a leak, engine speed should increase, but the most obvious sign will be white smoke from the ATF coming from the tailpipes.
Other tricks include shooting aerosol carb cleaner around the suspect gaskets while the engine is running. When the carb cleaner hits the leak, engine rpm usually increases, thus pinpointing the source.
The hardest part of fixing an unmetered air leak is finding it. These few tips should help. While fixing a vacuum leak won't make your car run quicker in the quarter-mile, it will certainly be more fun to drive.
Tools: Small straight screwdriver; Vacuum gauge or low-speed tachometer
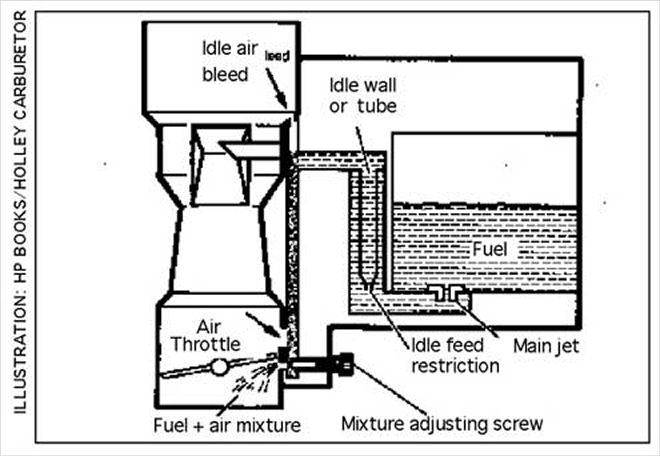
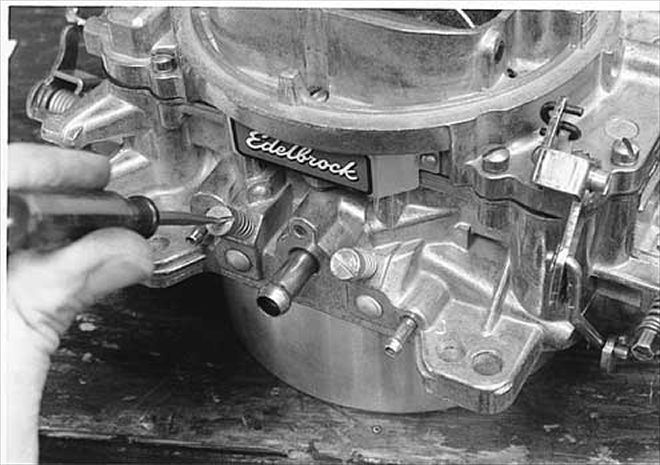
Little things can make a big difference in how an engine performs. Street engines spend a lot of time at idle and off-idle speeds, so on carbureted engines it's important that the idle mixture be adjusted properly. This improves driveability, minimizes rough idle, and can provide cleaner emissions and better fuel economy. Here's a quick look at how to set idle mixture on a stock or mildly modified engine.
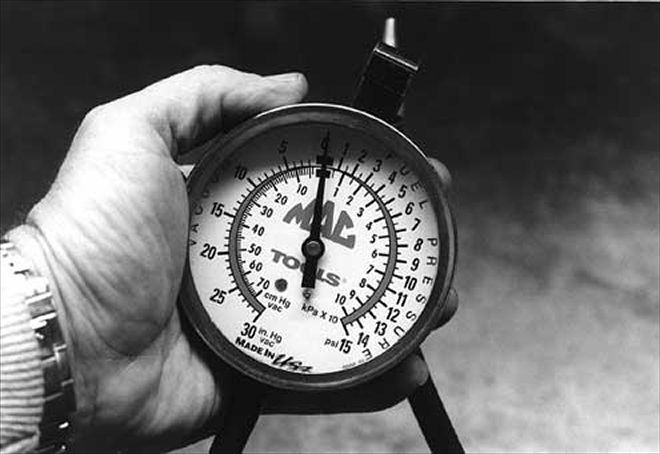
All engines require an acceptable air/fuel ratio to run properly, even at idle. Stock or mildly tweaked engines generally idle at 16-18 inches of intake-manifold vacuum between 750 and 900 rpm. Carburetors equipped with adjustable mixture screws allow the tuner to change the amount of fuel delivered to the engine, creating an ideal idle mixture.
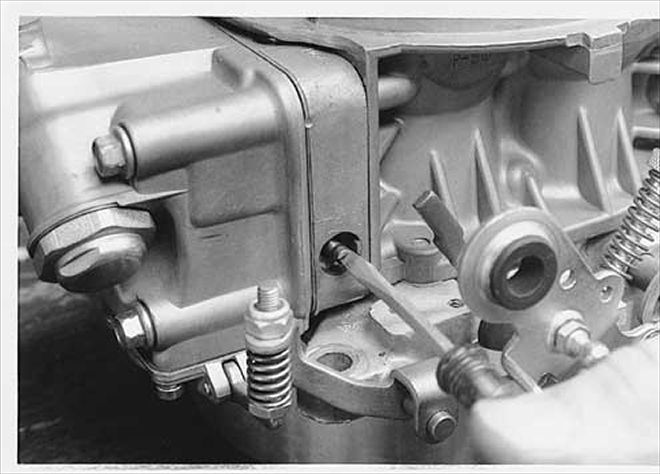
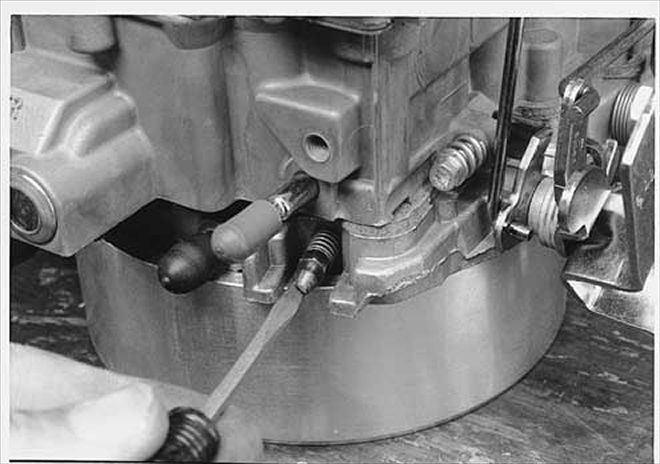
On most carburetors, turning the idle mixture screw clockwise leans the idle mixture. Turning the screws counterclockwise richens the mixture. If there's a vacuum leak, it must be repaired before the idle mixture can be properly adjusted.
All stock engines specify a certain idle speed, but generally 800-850 rpm works well. Properly setting the idle mixture also creates the highest manifold vacuum, so a vacuum gauge makes the task easier.
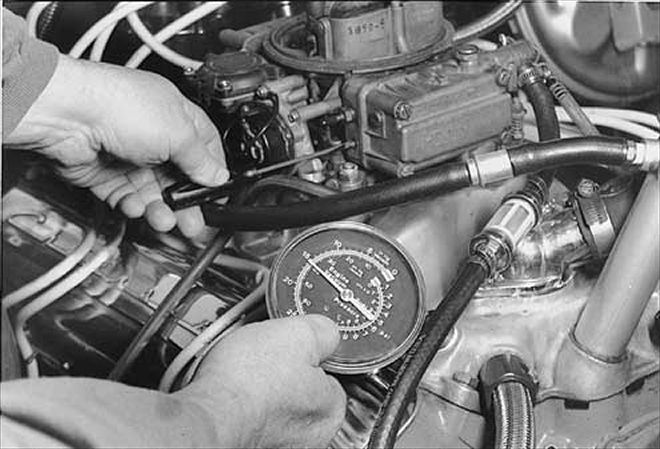
The best backyard procedure for setting idle mixture is the idle-speed-drop method. First, connect the vacuum gauge to the manifold. Adjust the idle mixture richer or leaner until the highest vacuum is read. Once that's attained, turn the idle mixture screws leaner until the rpm begins to drop, then turn the screws richer a slight amount. The ideal idle mixture has now been set.
If you don't have a vacuum gauge, use a low-speed tachometer. The tach should have a low-scale readout that's sensitive to increments of at least 50 rpm. Use the tach to help you adjust the idle-mixture screws evenly to create the highest idle speed. If the idle speed exceeds 950 rpm, use the idle speed screw to slow down the engine, then readjust the idle mixture.
This isn't a difficult procedure, but it can be tough if the engine has a big cam and low manifold vacuum. If the carburetor requires a large throttle-blade opening, modifications will be necessary. Otherwise, this is a simple procedure that anyone can do in a matter of minutes.
Tools: End wrenches; Timing lights; Screwdrivers
There are two things an engine must have: spark and fuel. The proper amount of fuel and air, compressed and ignited at the ideal moment, produces power. In this piece, we deal with igniting the spark that lights the fire.
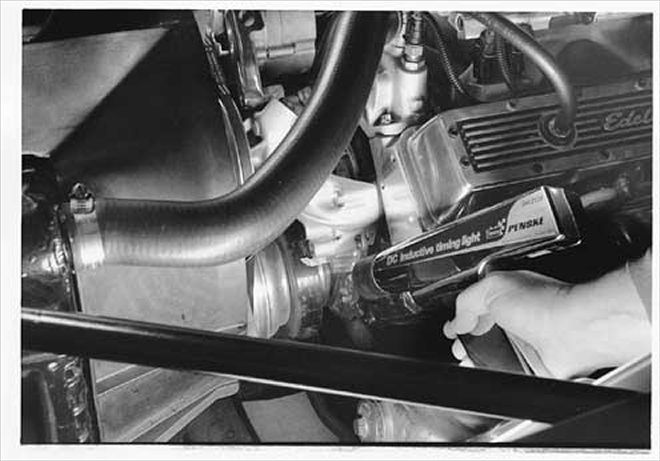
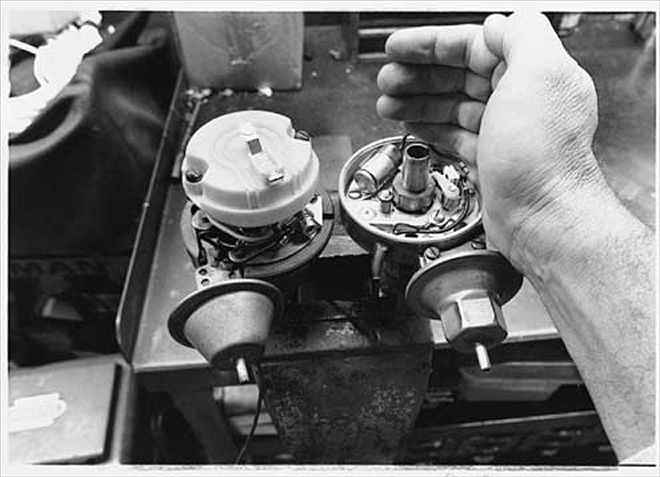
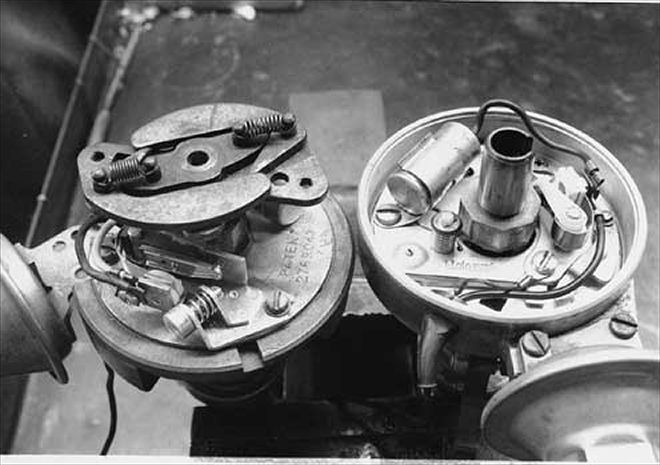
Ignition timing is typically split into three types. The first is initial timing--that is, the amount of spark lead that's set using a timing light (aimed at the harmonic balancer), with the engine at idle. The second type is mechanical advance, which is determined by the distributor's mechanical advance system. The final type is vacuum advance, which is determined by the vacuum canister attached to the distributor. The three types of ignition timing combine to produce the total amount of ignition timing in your engine at any given load or rpm.
Since a mechanical distributor is still the most popular form of ignition, we'll focus on it. But before we set these values, it's important to understand how these events interact. Initial advance is set by moving the distributor in the engine. Once initial timing is set, it's complemented by the mechanical and vacuum-advance curves.
Mechanical advance adds more timing to the engine and is based strictly on rpm. The mechanical advance weights and springs inside the distributor combine to produce a curve that begins with initial timing (with the engine at idle) and increases to a certain rpm but generally peaks below 3,000 rpm. This is often referred to as the mechanical ignition curve.
Vacuum advance also adds timing to the engine, but it's based on engine load and is controlled by intake-manifold vacuum. When the throttle is partially open (highway cruising), manifold vacuum is high. This vacuum signal is routed to the distributor and "pulls" on the vacuum advance canister to create more ignition timing. As the throttle opening increases, load increases and manifold vacuum decreases. At wide-open throttle (WOT), manifold vacuum is at or near zero, and the vacuum advance produces no additional ignition timing.
Now that we know how these three systems work, let's look at a real-world example. Our fictitious engine is a small-block V-8--any V-8, but these variables interact the same with all engines. Let's give the motor 8 degrees of initial timing, as observed with a timing light. A test on the distributor machine reveals 28 crankshaft degrees of total mechanical advance (at 2,800 rpm) and another 14 degrees of vacuum advance. By adding all three values, we can see that at 2,800 rpm at light throttle (14 inches or more of manifold vacuum), the engine has 50 degrees of total ignition advance. At WOT at 2,800 rpm, however, the engine only has 36 degrees of total timing (50 degrees minus 14 of vacuum advance).
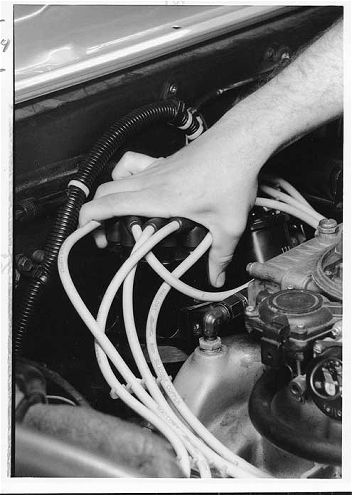
The photos illustrate how to go about moving the distributor and setting the initial timing. By applying a timing tape from MSD (PN 8985) to the harmonic balancer, for example, you can set initial timing with a standard timing light and check total timing as well. To check only initial timing-plus-mechanical advance, disconnect the vacuum advance.
Total timing requirements are dependent upon many variables. A typical street engine with a compression ratio of 9.0:1 runs very well with around 36 degrees of timing (initial plus mechanical) for a rough total of 15-55 degrees of timing at light throttle when vacuum advance is employed. If the engine detonates or pings under WOT, reduce the timing. If it surges or pings at part throttle, reduce the vacuum advance.
Experimentation with timing can help performance, driveability, and mileage by customizing the ignition curve to your particular application. Don't be afraid to make changes.
Tools: Floor jack; Jackstands; Grease gun; Air pressure gauge
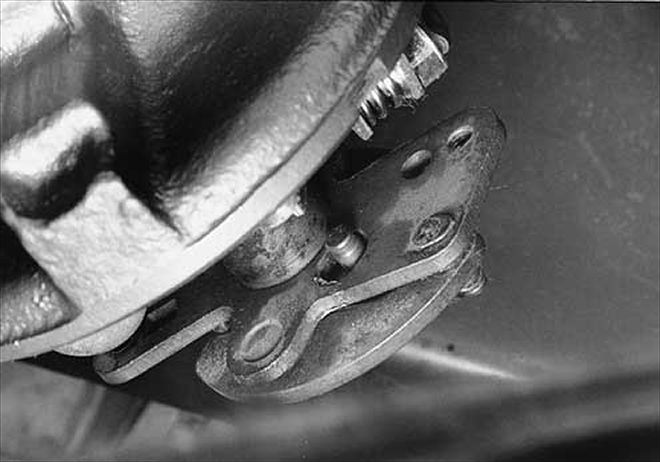
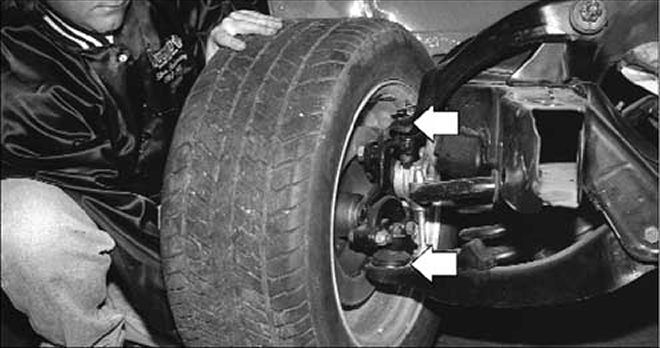
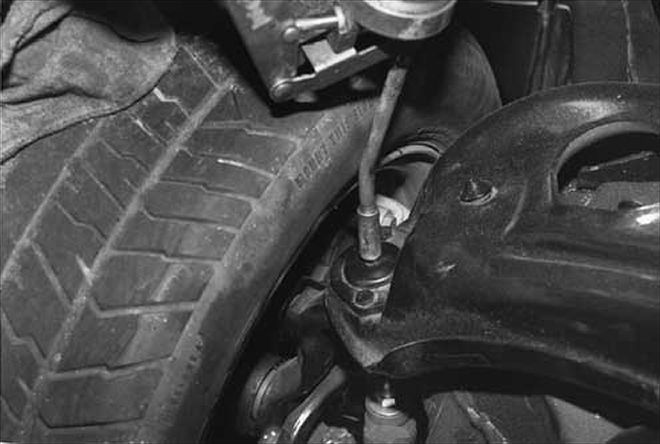
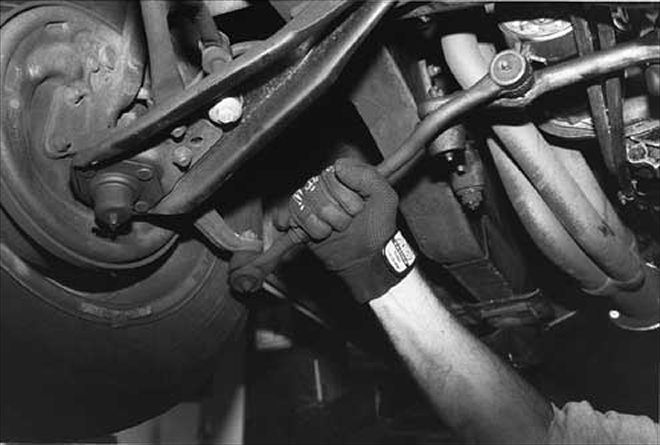
Aside from a flaming gas tank, there’s nothing more dangerous than worn suspension bushings or ball joints. Make sure the parts are sound and keep them greased.
The same regimen applies to tire pressure. Make a habit of checking tire inflation every time you put gas in the tank. Improper tire pressure will ruin the tires in short order. The following tips show you what to look for and how to fix it.
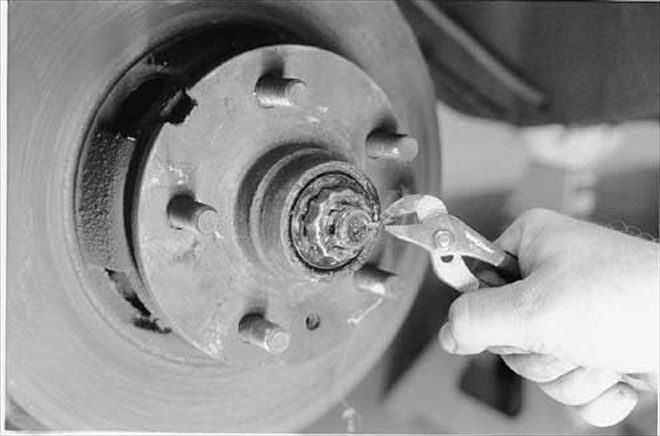
Tools: High-temp axle grease; Pliers; Hammer; Punch; Wrenches and sockets; Grease gun (not mandatory); Bearing packer(not mandatory).
Basic sport truck maintenance isn't as much fun as bolting on a supercharger or a trick set of wheels, but proper care of the less glamorous parts of a truck--the stuff that doesn't contribute to performance--is mandatory. A worn-out suspension, bad brakes, sloppy steering, and the like aren't visible to the cruising crowd, but they must be in optimum condition to make the truck safe and fun to drive.
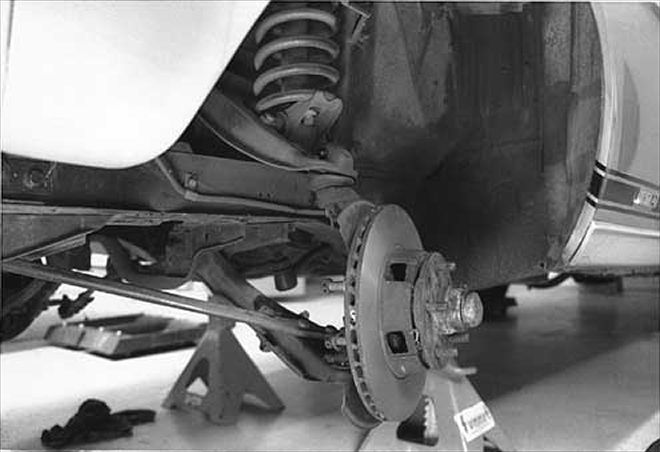
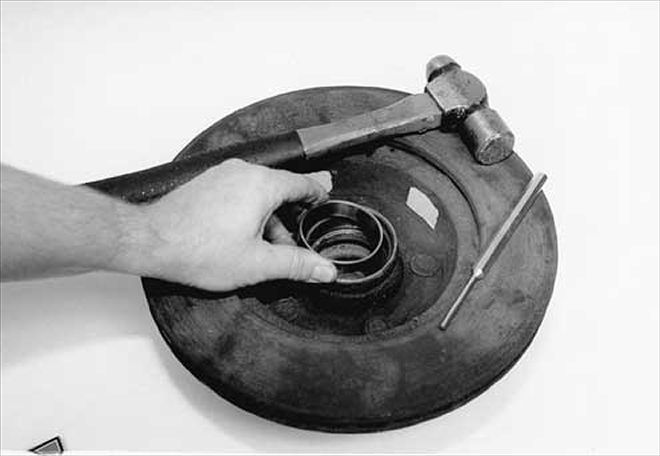
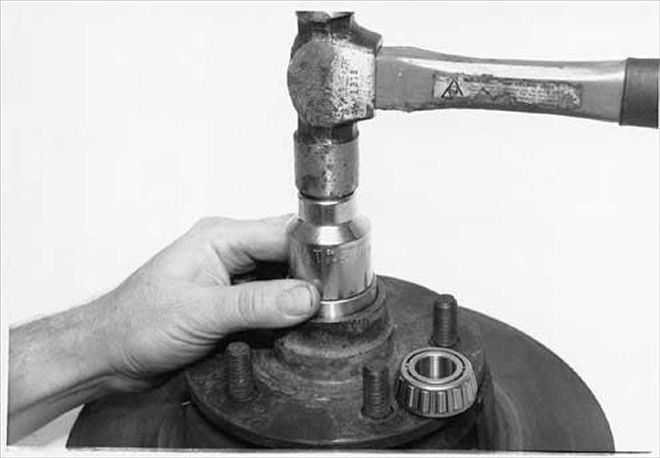
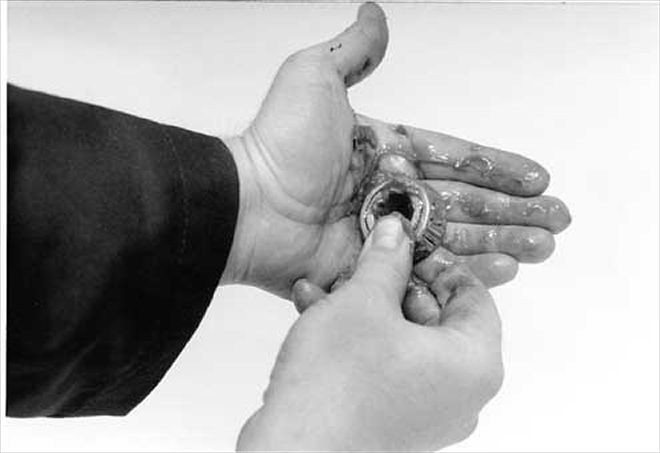
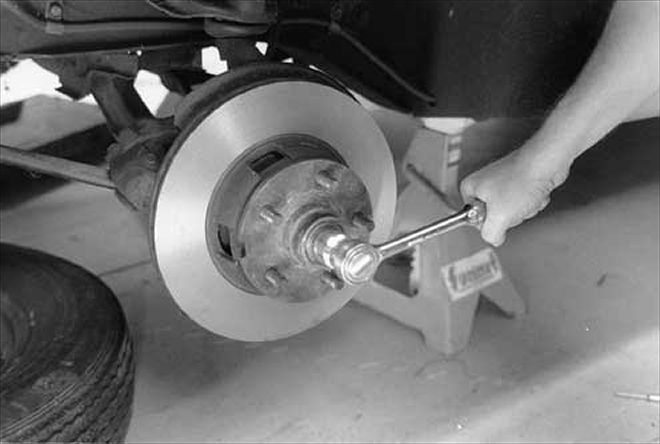
Those lowly wheel bearings require periodic attention too. Hidden behind the wheel under a little tin cover, wheel bearings are virtually invisible, and even if you install the world's trickest ones, you'll gain not one iota of performance. But even if it's just repacking them with new grease every two years, your wheel bearings need attention. They're lonely.
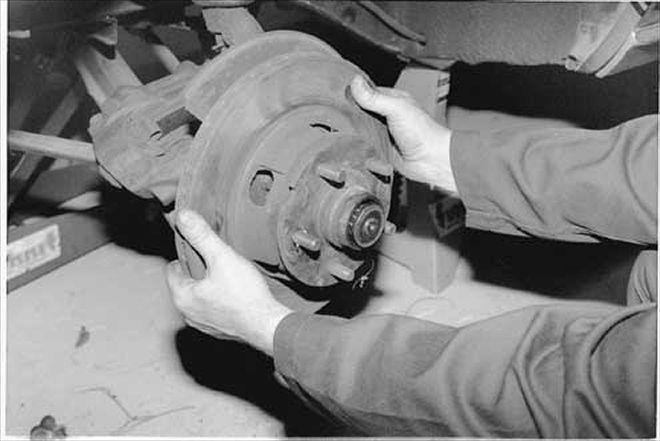
The following shows how to repack wheel bearings with a disc brake car (this one is a Mustang). Drum brake setups are similar, except that the drum must be removed first. This is a gooey, messy affair, so be prepared with plenty of disposable rags.
