Rearview mirrors serve a few purposes, from checking your hair, to keeping an eye on back seat passengers, and the ever popular checking for 5-0 behind you. But beyond that, the rearview mirror just sits on your windshield not doing much. That was until Rydeen came out with their replacement backup camera mirrors.
"Now we will always know what’s behind us without having to do a walk-around of our truck every time."
These kits come with everything needed to seamlessly add a backup camera to your truck. Since Truckin magazine is all about safety, we ordered a kit for our ’12 Ram 1500 (PN: MV411TKBLH, $430). The cool thing about this kit is that once installed, it looks totally factory. There are even options to keep your factory Bluetooth or add navigation into the mirror. Follow along to see how to make your vehicle safer in less than 2 hours.
| 01.
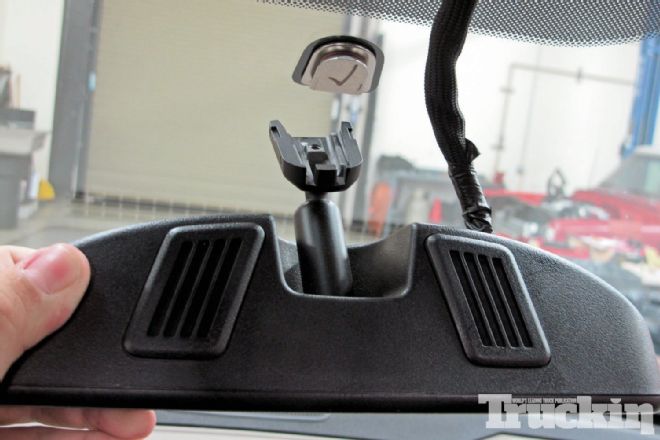
01. After disconnecting the battery, we used a T-20 Torx bit to remove the screw holding the mirror to the windshield bracket. With the screw loose, the mirror slid off and we disconnected the wiring harness.
| 02.
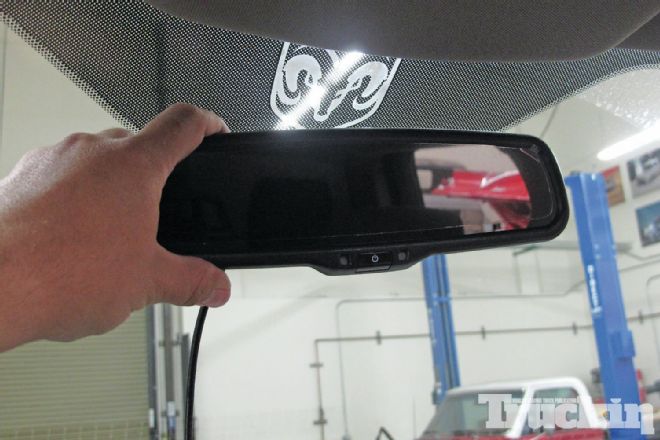
02. Next, we installed the new mirror by sliding it over the D-bracket and tightening down the Torx screw.
| 03.
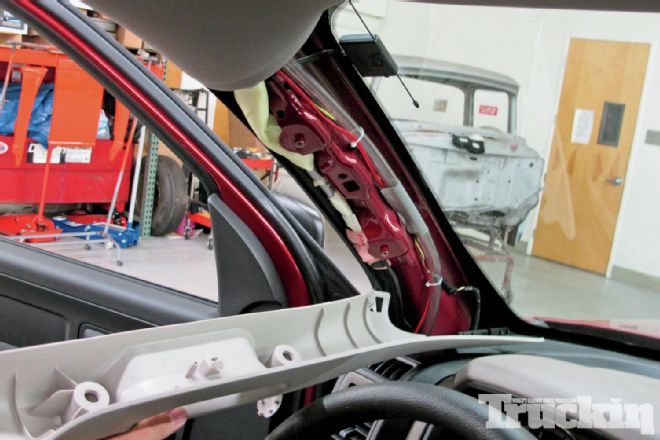
03. In order to cleanly run the wires down the pillar, we removed the sunvisor and pillar cover.
| 04.
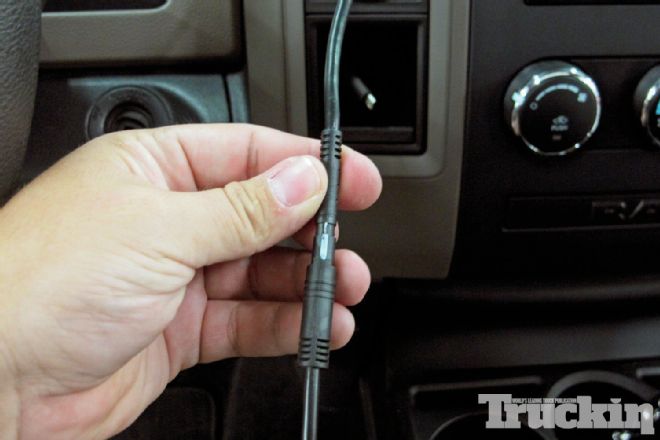
04. Following the directions in the kit, we connected the wiring harnesses together and tucked them up under the headliner.
| 05.
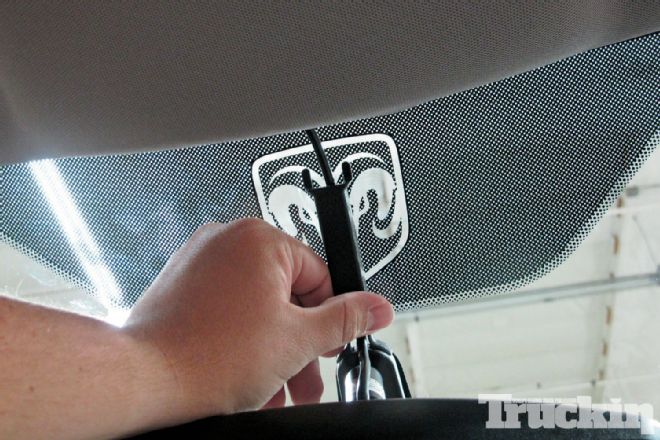
05. Included in the kit is a cover that hides the wire for a stealthy look. After this was installed, we ran the rest of the wiring harness to the rear of the truck.
| 06.
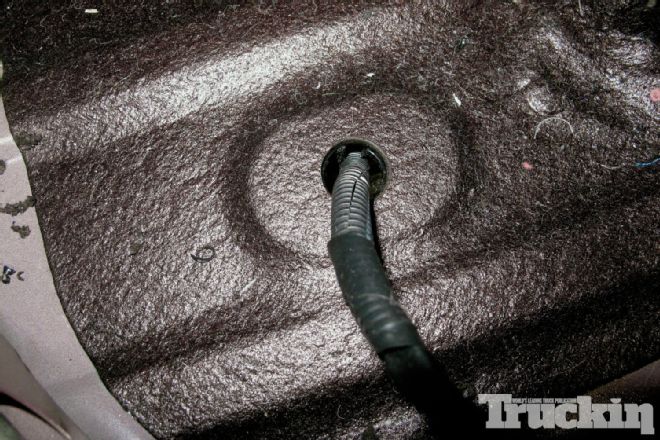
06. Next, we drilled a hole in a plastic plug under the rear bench seat. This allowed us to run the wires outside the truck and back to the camera.
| 07.
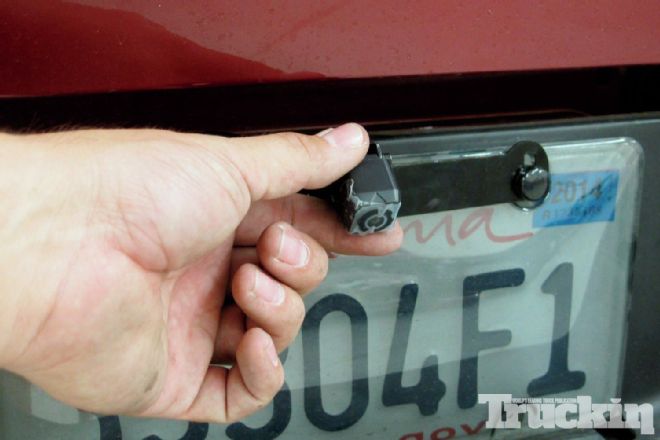
07. The included camera is high definition with night vision technology built-in. The included bracket was bolted to the license plate with security bolts and the camera was bolted to the bracket.
| 08.
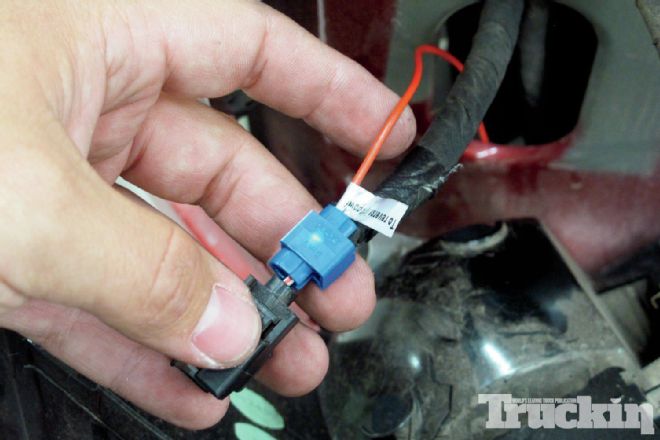
08. So the system will automatically turn on when the truck is put in Reverse, a lead was run from the wiring harness to the hot side of the backup lights.
| 09.
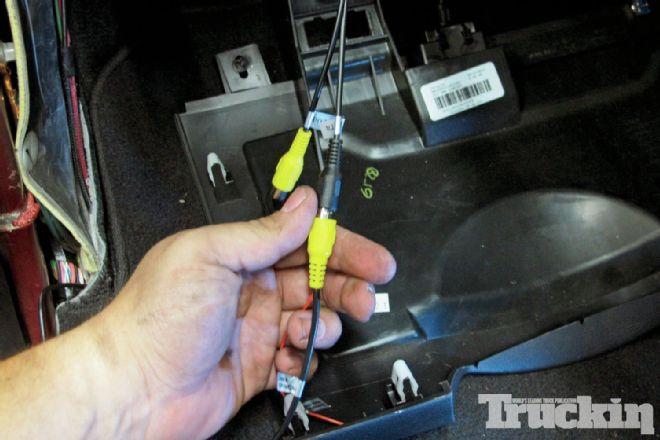
09. Moving back under the dash, we connected a keyed 12V hot lead to power everything and plugged the A/V cables in. Rydeen provided an extra input to be able to plug in a DVD player or other video device to watch on the screen.
| 10.
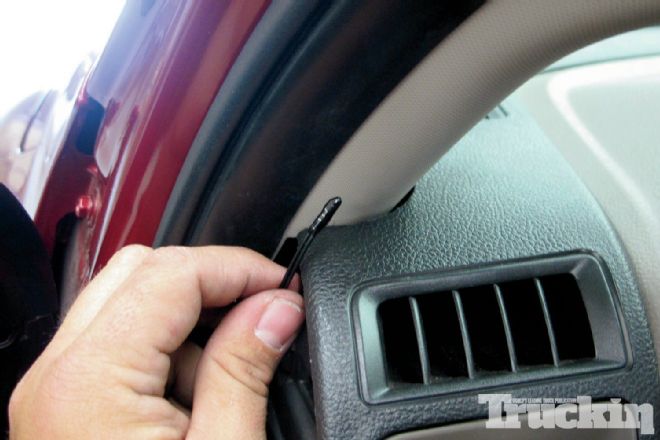
10. Finally, the kit included two temperature sensors. One is for the internal temperature and the other is to run out to the grille for the external temperature. These were zip-tied in place and provided extremely accurate temperature readings.
| 11.
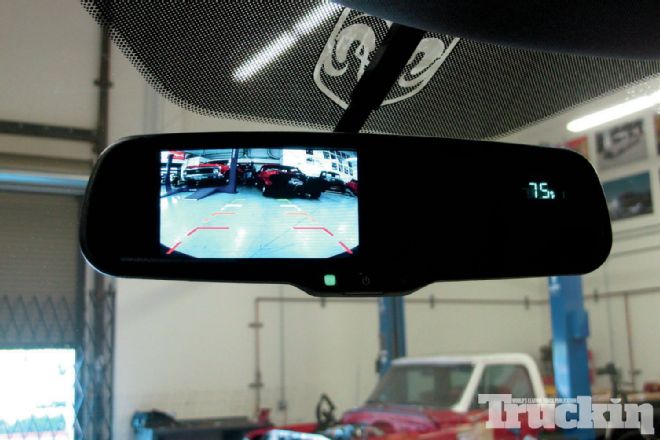
11. After all of the connections were made, we reattached the battery and checked the system. It worked flawlessly and looked great. The digital readout can be switched between internal temperature, external temperature, and compass modes. You can also remove the guidelines or flip the image over if you needed to mount the camera upside down.
 | 01.
01. After disconnecting the battery, we used a T-20 Torx bit to remove the screw holding the mirror to the windshield bracket. With the screw loose, the mirror slid off and we disconnected the wiring harness.
 | 02.
02. Next, we installed the new mirror by sliding it over the D-bracket and tightening down the Torx screw.
 | 03.
03. In order to cleanly run the wires down the pillar, we removed the sunvisor and pillar cover.
 | 04.
04. Following the directions in the kit, we connected the wiring harnesses together and tucked them up under the headliner.
 | 05.
05. Included in the kit is a cover that hides the wire for a stealthy look. After this was installed, we ran the rest of the wiring harness to the rear of the truck.
 | 06.
06. Next, we drilled a hole in a plastic plug under the rear bench seat. This allowed us to run the wires outside the truck and back to the camera.
 | 07.
07. The included camera is high definition with night vision technology built-in. The included bracket was bolted to the license plate with security bolts and the camera was bolted to the bracket.
 | 08.
08. So the system will automatically turn on when the truck is put in Reverse, a lead was run from the wiring harness to the hot side of the backup lights.
 | 09.
09. Moving back under the dash, we connected a keyed 12V hot lead to power everything and plugged the A/V cables in. Rydeen provided an extra input to be able to plug in a DVD player or other video device to watch on the screen.
 | 10.
10. Finally, the kit included two temperature sensors. One is for the internal temperature and the other is to run out to the grille for the external temperature. These were zip-tied in place and provided extremely accurate temperature readings.
 | 11.
11. After all of the connections were made, we reattached the battery and checked the system. It worked flawlessly and looked great. The digital readout can be switched between internal temperature, external temperature, and compass modes. You can also remove the guidelines or flip the image over if you needed to mount the camera upside down.