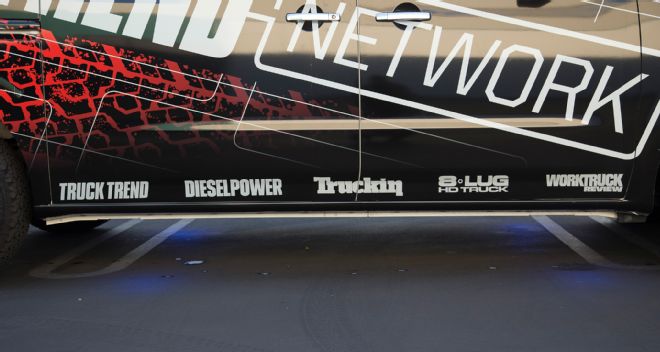
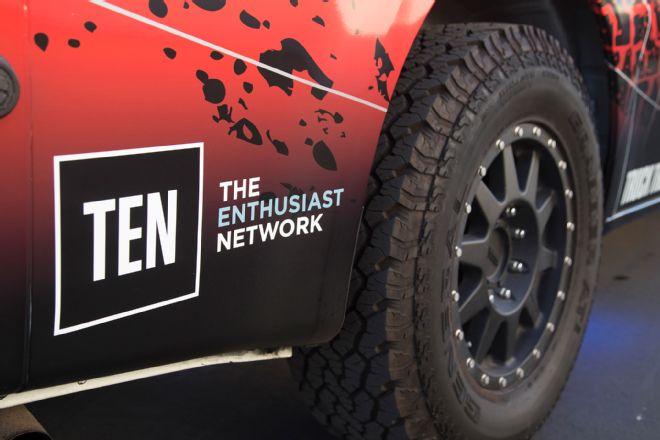
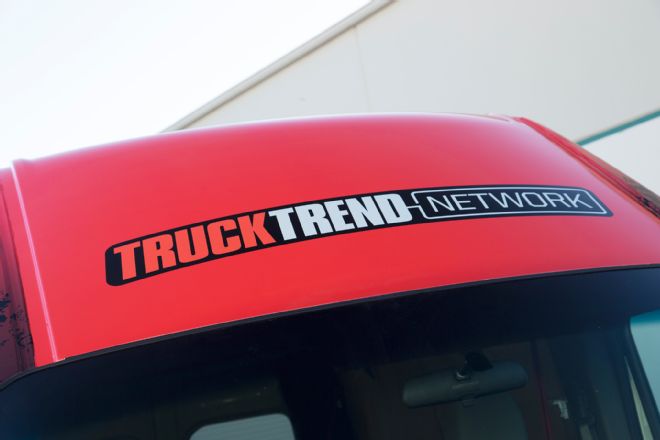
“It’s the best form of advertising, bar none, because it’s targeted directly at the areas where you’re working.” Those sage words from Mike Smith, the head honcho at Raceskinz, are in reference to vehicle wraps. Whether you drive a small pickup for a local business or operate a fleet of big vans for a nationwide enterprise, wrapping a vehicle with a company logo is one of the most cost-effective ways to advertise a business, Mike says. He would know; he’s wrapped hundreds of vehicles, including some that ended up as fully designed and wrapped SEMA show trucks and some that currently roam neighborhoods and suburbs as plumbing trucks, contractors’ vehicles, and shuttle vans.
Looking at the blank white slate that was our windowless Nissan NV2500 event support van, we decided Mike was right about localized, targeted advertising. Why not publicize the Truck Trend Network, to which Work Truck Review belongs, by wrapping our cargo-hauling beast in high-quality, paint-protecting, attention-grabbing vinyl?
After a few days of design and deliberation, the Truck Trend Network was ready to roll down the road in style, so we turned to Mike and his team at Raceskinz (also known as Kreate Ink) to apply the high-quality printed vinyl to our Nissan.
| 002 Truck Trend NV2500 Van Wrap
| 003 Truck Trend NV2500 Van Wrap
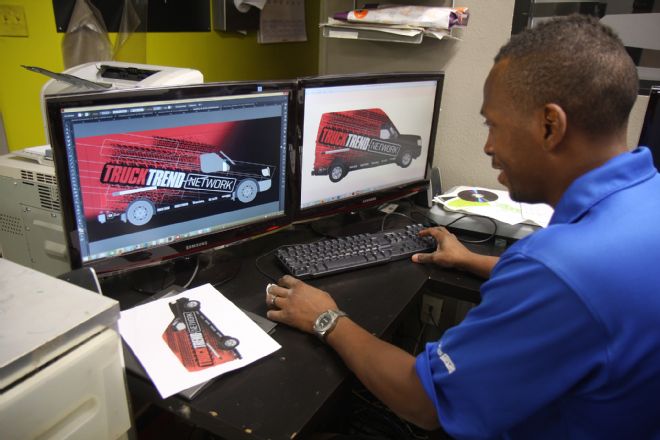
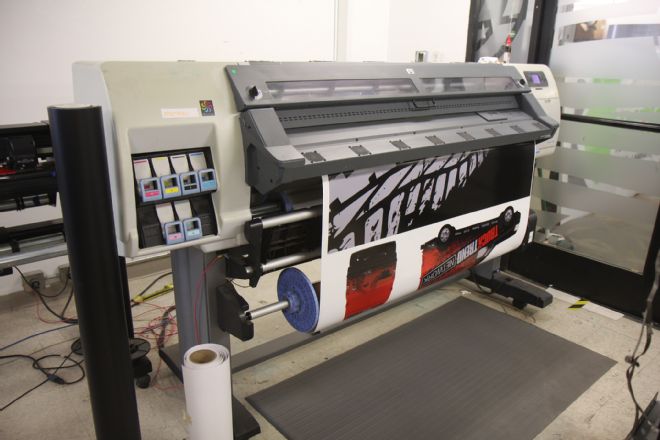
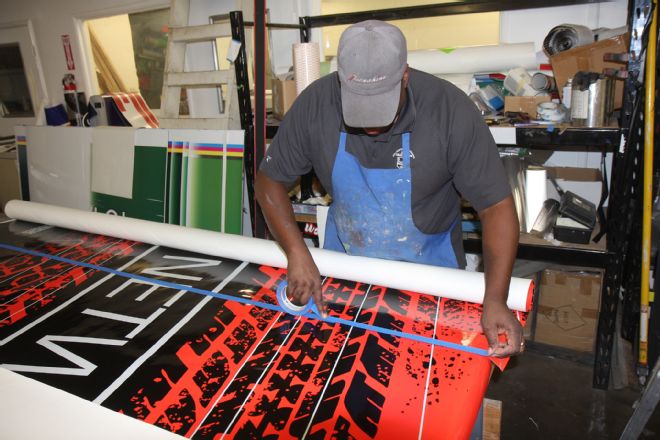
“Good prepress is essential,” Mike says. Here, Mike’s brother and resident Raceskinz graphics expert Tirrell uses a template purchased directly from Nissan to lay out the Truck Trend Network graphics, ensuring any visible or important elements of the design stay out of the window and wheel-arch cutouts. Prepress also helps make sure colors come out of the large-format printer as well as intended.
| 004 Truck Trend NV2500 Van Wrap
| 005 Truck Trend NV2500 Van Wrap
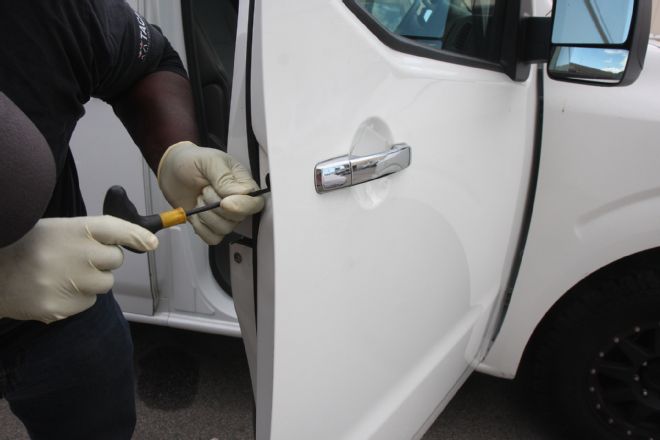
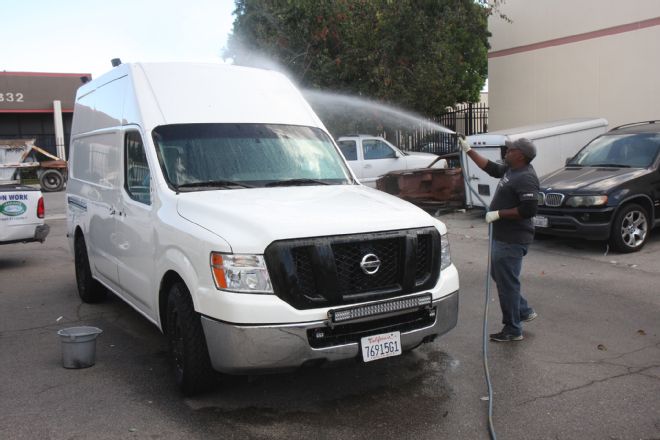
Just as you wouldn’t apply paint to a dirty surface, every inch of the body must be prepped and cleaned. This means removing door handles and body trim, loosening and/or removing lights, and meticulously ridding any road grime and dirt from the body panels. Not pictured is the painstaking process of eliminating the remnants of the van’s old vinyl wrap.
| 006 Truck Trend NV2500 Van Wrap
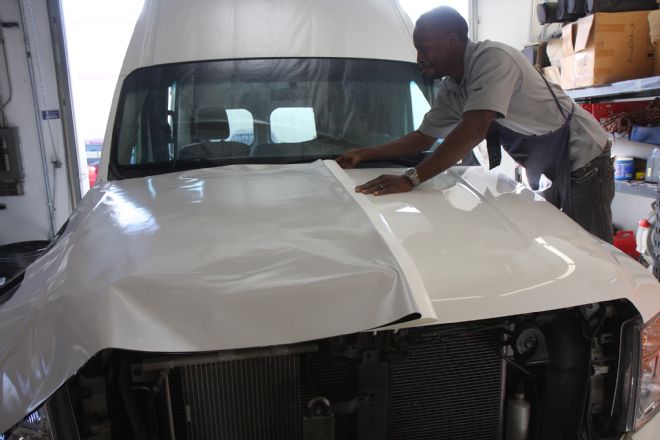
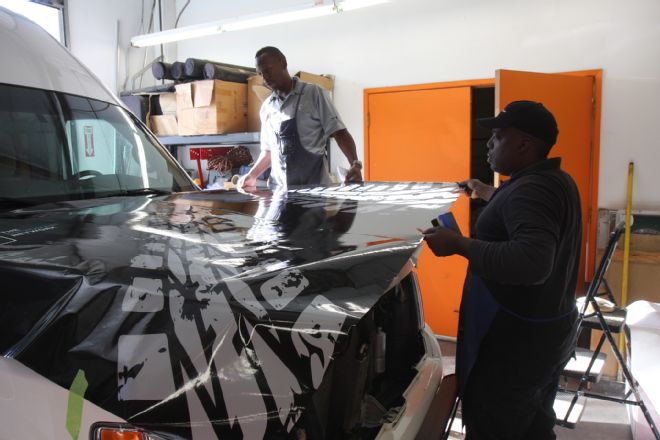
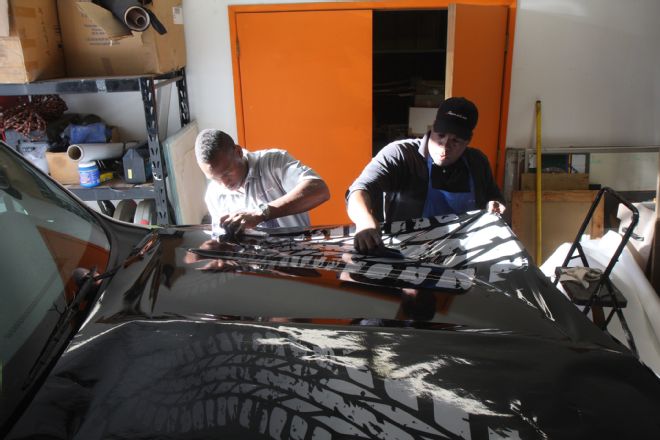
With the van cleaned and the vinyl printed and laminated, it’s time to put some color on this blank canvas. Mike and Tirrell drape the sheet of vinyl across the hood and line it up where it belongs, then use masking tape to keep the sheet in place and mark its proper position. The sheet then gets gently folded on itself, and half of the backing is removed.
| 007 Truck Trend NV2500 Van Wrap
| 008 Truck Trend NV2500 Van Wrap
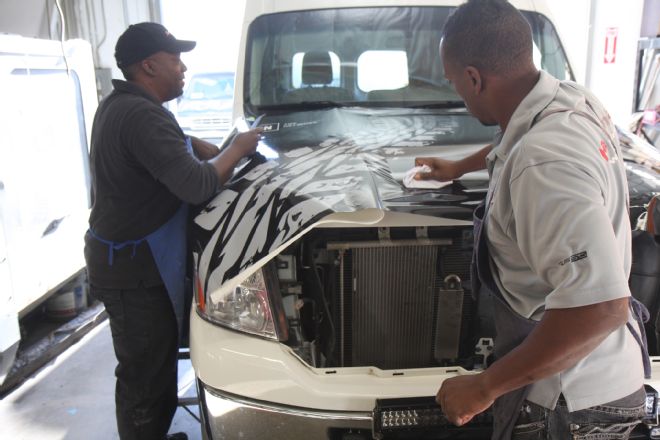
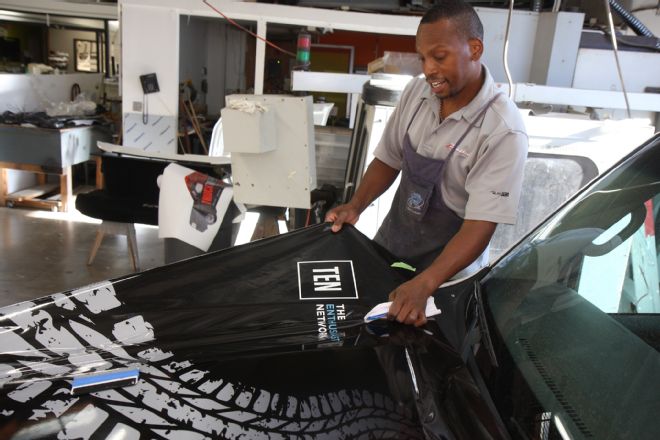
Adhesive side down, the wrap is again gently laid across the vehicle surface, and Mike and Tirrell use cloth-covered squeegees to apply the wrap. The vinyl is tougher than it might appear, so the guys can gently yank it off the body if it adheres in the wrong place or a large bubble develops. (Our high-grade vinyl is perforated on a near-microscopic level, meaning small bubbles and laminate “silvering” actually fix themselves over time.)
| 009 Truck Trend NV2500 Van Wrap
| 010 Truck Trend NV2500 Van Wrap
The process repeats itself on the other half of the wrap. One of the important things to remember is to turn the cloth on the squeegee regularly; it will gradually accumulate dust that can scratch the vinyl otherwise.
| 011 Truck Trend NV2500 Van Wrap
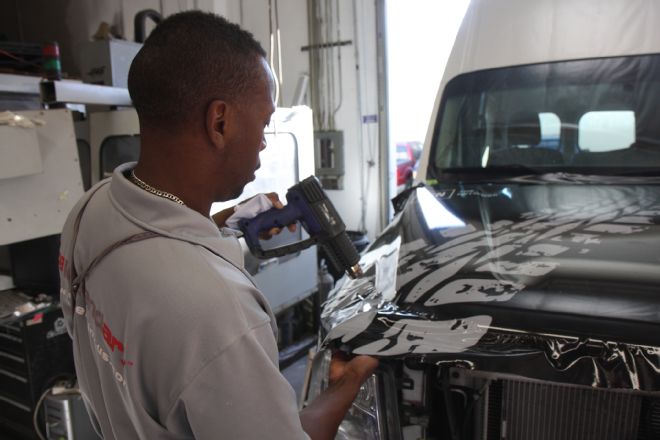
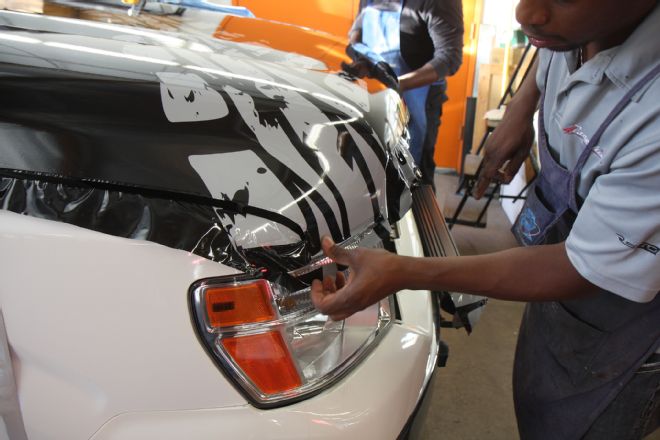
Heat guns loosen the vinyl, making it easier to stretch over compound curves like the ones at the van’s front hood corners. However, Tirrell cautions against using too much heat, as the vinyl can shrink and crack when cooling if it’s stretched too far. Additionally, the vinyl will burn like an old filmstrip if the heat is left on for too long.
| 012 Truck Trend NV2500 Van Wrap
| 013 Truck Trend NV2500 Van Wrap
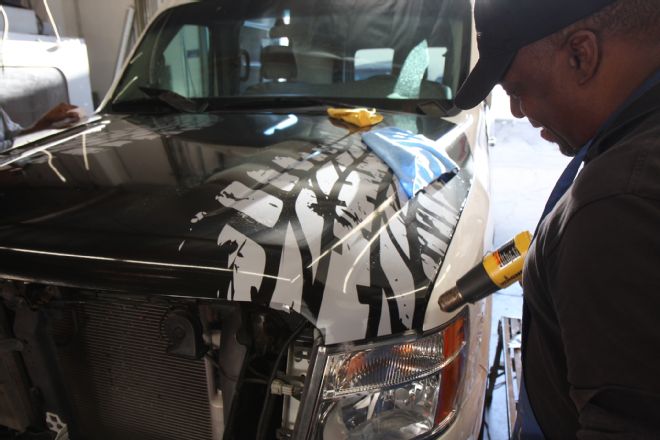
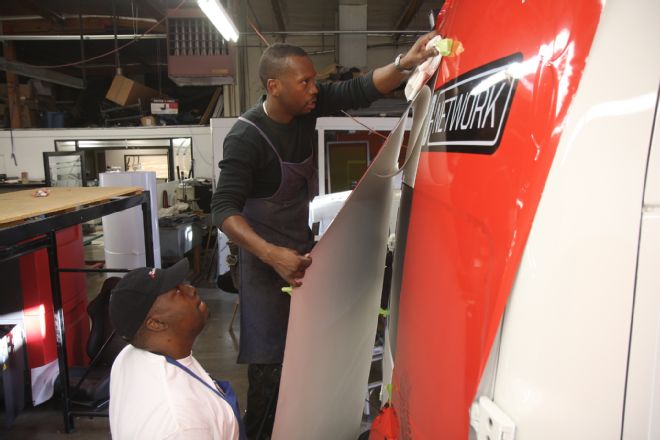
Heat applied and vinyl stretched, Mike and Tirrell make cuts along the van’s panel gaps. A little more heat will go on the rough edges of the vinyl to help it adhere to the undersides of the body panels.
| 014 Truck Trend NV2500 Van Wrap
| 015 Truck Trend NV2500 Van Wrap
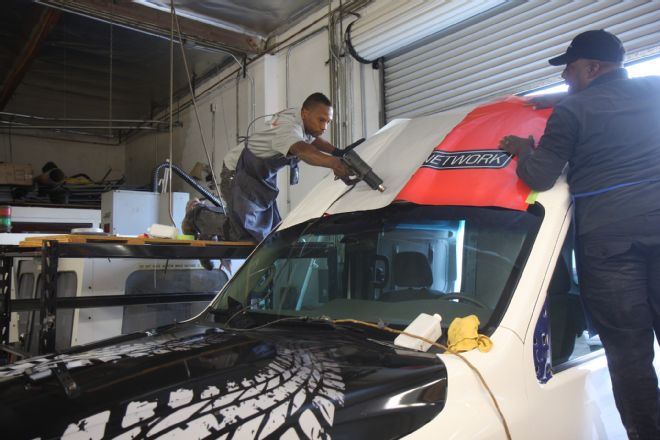
The same process is repeated for the leading edge of the van’s high-roof cap. It’s similar for the rear doors, although each door gets its own piece of vinyl rather than using a single piece that gets split in half.
| 016 Truck Trend NV2500 Van Wrap
| 017 Truck Trend NV2500 Van Wrap
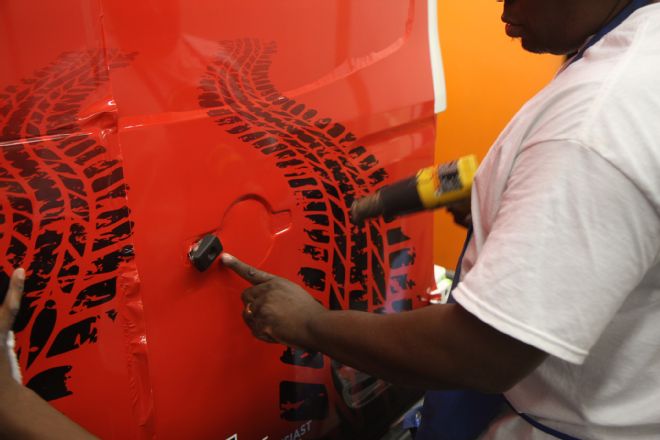
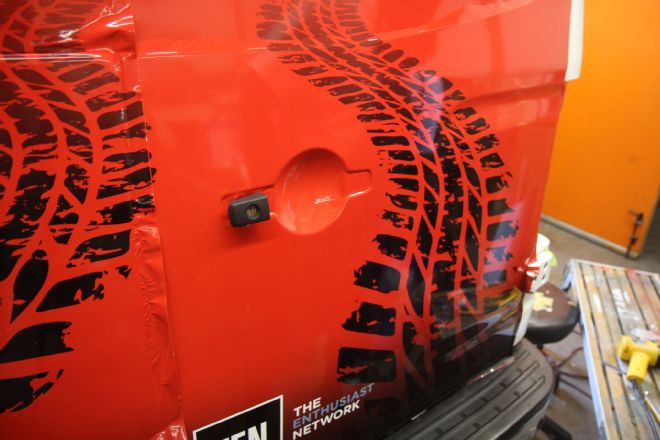
Although the Nissan looks simple and boxy, its body has a number of subtle character lines, including these door handle notches. Once again, heat is applied to the vinyl, allowing it to be “injection-molded” into the divots. Gentle heat, gentle pressure, and patience are the orders of the day for this step.
| 018 Truck Trend NV2500 Van Wrap
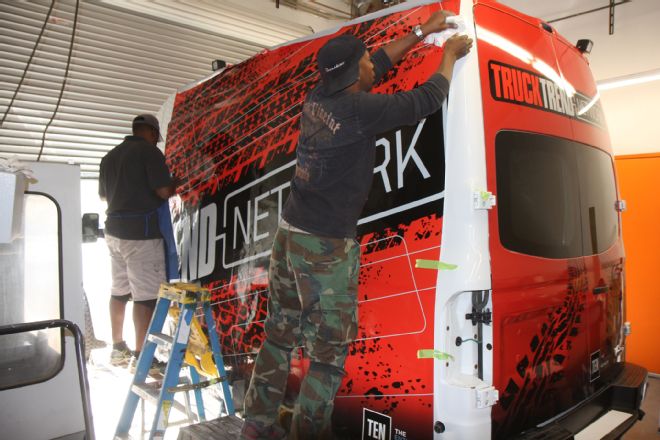
Since the bodywork on the side of the van is relatively feature-free, Mike butts two widths of vinyl together, allowing him to apply them both at the same time. This process saves him an hour on both the driver and passenger side.
| 019 Truck Trend NV2500 Van Wrap
Mike and Tirrell wrap the side of the van. After positioning the vinyl, they separate it from the backing near the top, then gradually roll the backing down, adhering the vinyl a few inches at a time.
| 020 Truck Trend NV2500 Van Wrap
| 021 Truck Trend NV2500 Van Wrap
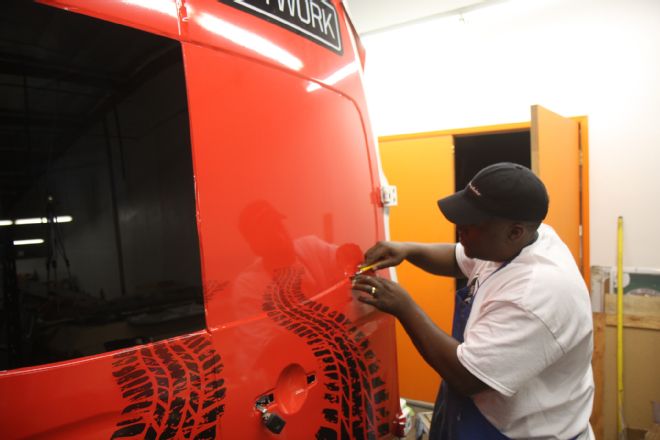
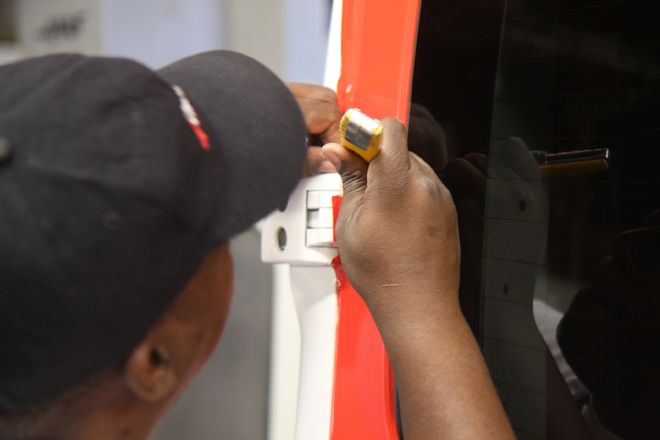
Details, details. With vinyl applied to the van’s bodysides, hood, bumper, and front and rear caps, Mike and Tirrell go over the design with precision blades, heat guns, and squeegees, ensuring every window gets cut out, each body contour is wrapped perfectly, and all exposed hardware (like these hinges) is butted firmly against the wrap. We won’t wrap the hinges, as vinyl doesn’t take to those tiny surfaces and moving parts very well. It’d look worse to have peeling vinyl there than exposed hinges. They’ll be rattle-canned black, gray, or red.
| 022 Truck Trend NV2500 Van Wrap
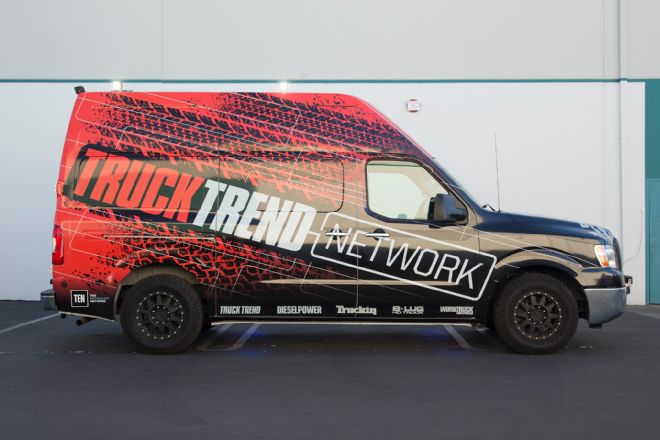
With the wrap fully applied, trimmed, and detailed (and all body parts and lights reinstalled), our van looks the absolute business running down the road. If you see it roaming about Southern California, Colorado, or anywhere else it might be, flag us down and say hello!
 | 002 Truck Trend NV2500 Van Wrap
 | 003 Truck Trend NV2500 Van Wrap
“Good prepress is essential,” Mike says. Here, Mike’s brother and resident Raceskinz graphics expert Tirrell uses a template purchased directly from Nissan to lay out the Truck Trend Network graphics, ensuring any visible or important elements of the design stay out of the window and wheel-arch cutouts. Prepress also helps make sure colors come out of the large-format printer as well as intended.
 | 004 Truck Trend NV2500 Van Wrap
 | 005 Truck Trend NV2500 Van Wrap
Just as you wouldn’t apply paint to a dirty surface, every inch of the body must be prepped and cleaned. This means removing door handles and body trim, loosening and/or removing lights, and meticulously ridding any road grime and dirt from the body panels. Not pictured is the painstaking process of eliminating the remnants of the van’s old vinyl wrap.
 | 006 Truck Trend NV2500 Van Wrap
With the van cleaned and the vinyl printed and laminated, it’s time to put some color on this blank canvas. Mike and Tirrell drape the sheet of vinyl across the hood and line it up where it belongs, then use masking tape to keep the sheet in place and mark its proper position. The sheet then gets gently folded on itself, and half of the backing is removed.
 | 007 Truck Trend NV2500 Van Wrap
 | 008 Truck Trend NV2500 Van Wrap
Adhesive side down, the wrap is again gently laid across the vehicle surface, and Mike and Tirrell use cloth-covered squeegees to apply the wrap. The vinyl is tougher than it might appear, so the guys can gently yank it off the body if it adheres in the wrong place or a large bubble develops. (Our high-grade vinyl is perforated on a near-microscopic level, meaning small bubbles and laminate “silvering” actually fix themselves over time.)
 | 009 Truck Trend NV2500 Van Wrap
 | 010 Truck Trend NV2500 Van Wrap
The process repeats itself on the other half of the wrap. One of the important things to remember is to turn the cloth on the squeegee regularly; it will gradually accumulate dust that can scratch the vinyl otherwise.
 | 011 Truck Trend NV2500 Van Wrap
Heat guns loosen the vinyl, making it easier to stretch over compound curves like the ones at the van’s front hood corners. However, Tirrell cautions against using too much heat, as the vinyl can shrink and crack when cooling if it’s stretched too far. Additionally, the vinyl will burn like an old filmstrip if the heat is left on for too long.
 | 012 Truck Trend NV2500 Van Wrap
 | 013 Truck Trend NV2500 Van Wrap
Heat applied and vinyl stretched, Mike and Tirrell make cuts along the van’s panel gaps. A little more heat will go on the rough edges of the vinyl to help it adhere to the undersides of the body panels.
 | 014 Truck Trend NV2500 Van Wrap
 | 015 Truck Trend NV2500 Van Wrap
The same process is repeated for the leading edge of the van’s high-roof cap. It’s similar for the rear doors, although each door gets its own piece of vinyl rather than using a single piece that gets split in half.
 | 016 Truck Trend NV2500 Van Wrap
 | 017 Truck Trend NV2500 Van Wrap
Although the Nissan looks simple and boxy, its body has a number of subtle character lines, including these door handle notches. Once again, heat is applied to the vinyl, allowing it to be “injection-molded” into the divots. Gentle heat, gentle pressure, and patience are the orders of the day for this step.
 | 018 Truck Trend NV2500 Van Wrap
Since the bodywork on the side of the van is relatively feature-free, Mike butts two widths of vinyl together, allowing him to apply them both at the same time. This process saves him an hour on both the driver and passenger side.
 | 019 Truck Trend NV2500 Van Wrap
Mike and Tirrell wrap the side of the van. After positioning the vinyl, they separate it from the backing near the top, then gradually roll the backing down, adhering the vinyl a few inches at a time.
 | 020 Truck Trend NV2500 Van Wrap
 | 021 Truck Trend NV2500 Van Wrap
Details, details. With vinyl applied to the van’s bodysides, hood, bumper, and front and rear caps, Mike and Tirrell go over the design with precision blades, heat guns, and squeegees, ensuring every window gets cut out, each body contour is wrapped perfectly, and all exposed hardware (like these hinges) is butted firmly against the wrap. We won’t wrap the hinges, as vinyl doesn’t take to those tiny surfaces and moving parts very well. It’d look worse to have peeling vinyl there than exposed hinges. They’ll be rattle-canned black, gray, or red.
 | 022 Truck Trend NV2500 Van Wrap
