It’s truly amazing how many people still roll from job site to job site throwing tools, equipment, and materials on an unprotected truck bed floor. The dents, dings, and scratches left behind not only lessen the truck’s resale value, but also cut down its usable life. Fortunately for truck owners, there are many options for protecting the bed, with the simplest and most common of these being the standard drop-in plastic liner. However, these too come with their drawbacks. Water, dirt, or worse can easily get between the liner and bed, which can lead to rust. Over time, the plastic can become brittle and cracked from the sun’s harsh UV rays. In extreme cases, they can also become detached from the bed, ending up along the side of the highway.
Thankfully, in the last decade, an alternative bed covering has come into the picture, providing excellent coverage and protection, great looks, and unmatched longevity. These polyurethane coatings are often sprayed in and can cost upward of $500. But if you’re the do-it-yourself type and don’t mind getting a little dirty, you can have a similar polyurethane bedliner for a quarter of the cost.
Herculiner is the number one brand of DIY roll-on bedliners -- and for good reason. Because of its proprietary formula, Herculiner is able to bond to any type of material, including wood, aluminum, plastic, fiberglass, rubber, and even asphalt. Applying the product to a pickup bed takes about a day to complete with a bit of elbow grease, but when it’s cured you’re left with a bedliner that has a textured, skid-resistant surface that won’t chip, flake, or peel. It also prevents rust and is resistant to gasoline, oil, and solvents.
Wanting to give it a try for ourselves, we gathered up a Herculiner Bedliner Kit and set to work making over the bed of our 1985 Ford Ranger work truck. Overall, we were quite pleased with the results and are confident our bed will now outlive the rest of the truck, no matter what we toss its way.
| 01.
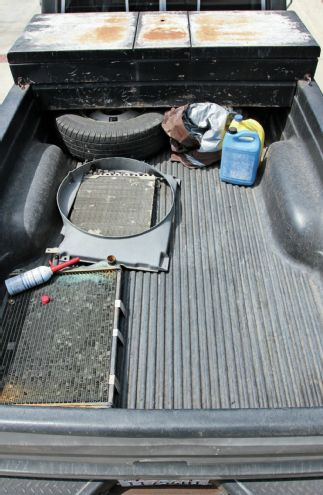
1. Our test mule is a well-used 1985 Ford Ranger four-wheel drive that came equipped with a factory 2.3L turbodiesel engine. This particular truck spent the majority of its life working the oilfields in Oklahoma and Kansas. And, like any good work truck, a toolbox and other assorted parts, pieces, and equipment have made the bed their home.
| 02.
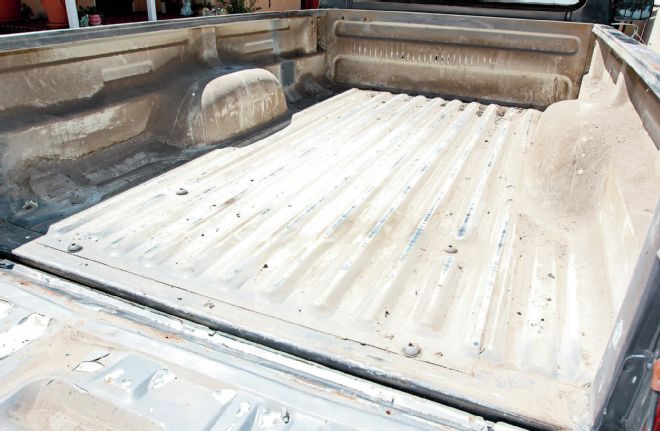
2. The original owners did a good thing by opting for the factory drop-in plastic bedliner, which left us with a near pristine floor underneath. Unfortunately, this isn’t always the case with plastic bedliners, as they can trap water underneath, which leads to rust.
| 03.
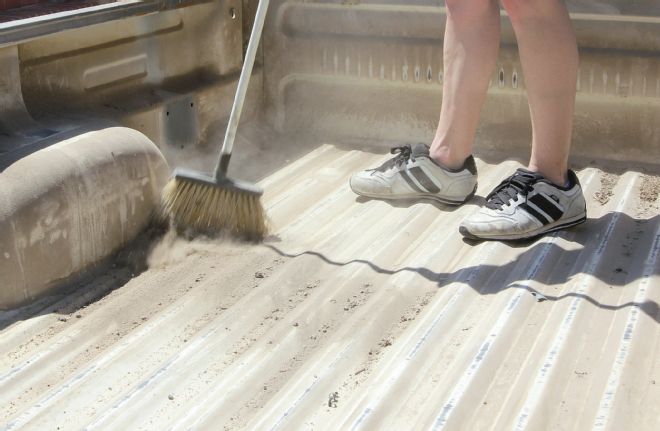
3. Bed prep is key to a good-looking and long-lasting roll-in bedliner. With the old liner and toolbox removed, we started by first sweeping out the decades of dirt and debris that had built up. Next, we grabbed a hose and bucket and gave the bed a thorough scrub.
| 04.
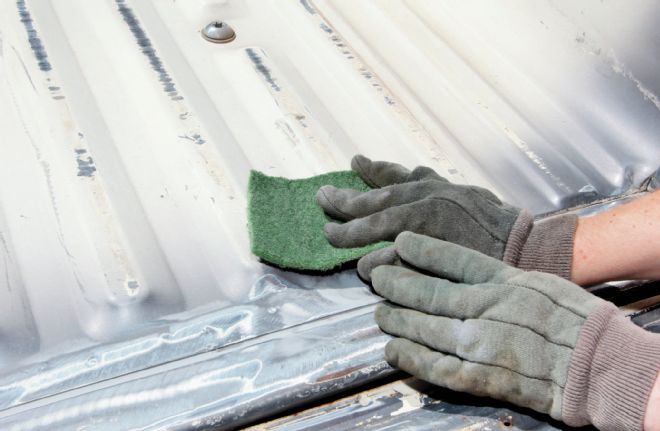
4. Once the bed was dry, it was time to rough it up with the provided scouring pads, which allows the Herculiner to properly adhere to the sheetmetal. This is one of the most time-consuming steps, but also the most important.
| 05.
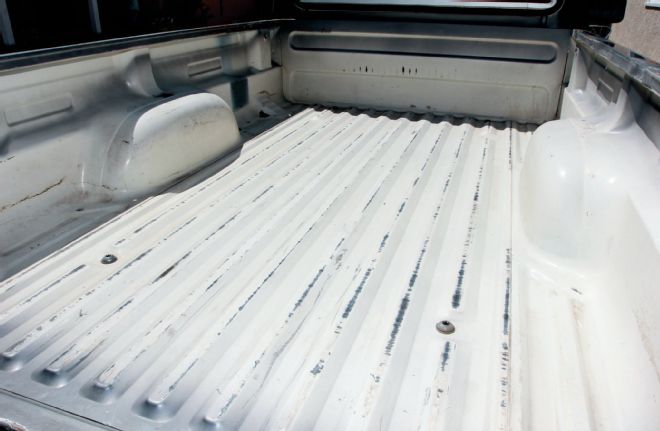
5. While it may not look like much has changed, if you look closely you’ll notice that the shine has been knocked off the paint and the surface is now rough to the touch. Notice that you don’t have to completely strip the paint. The last step before applying the Herculiner is to tape off all the areas that aren’t going to be coated.
| 06.
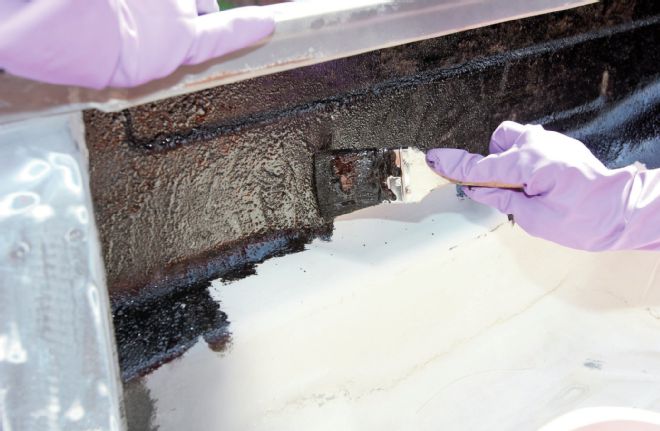
6. Herculiner provides detailed instructions with each kit. These, along with a little common sense, will ensure you don’t get painted into a corner, literally. With the Herculiner mixed well, the first areas that were coated were the corners of the bed, using the provided brush.
| 07.
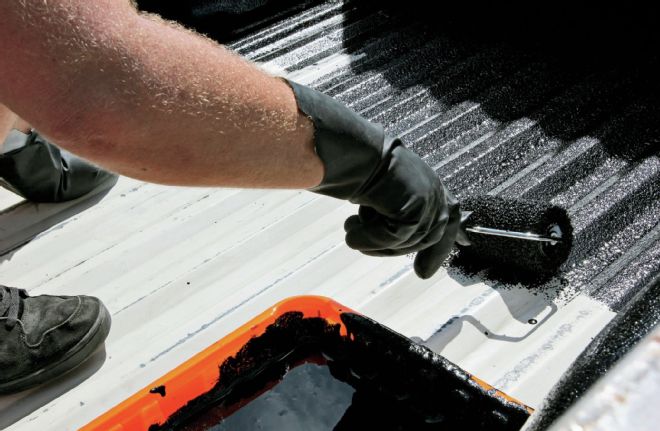
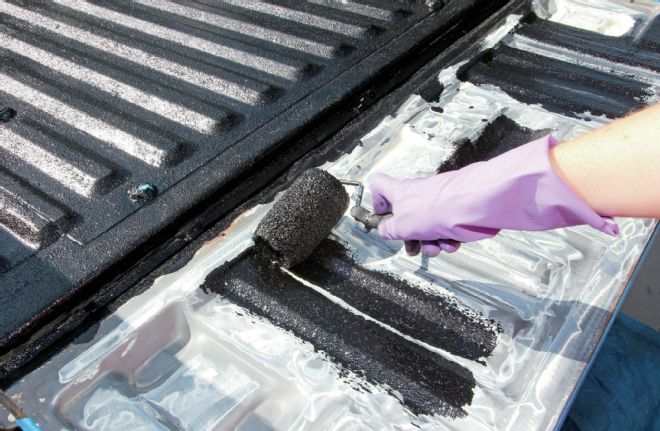
7. Next, using the roller and foam pads from the kit, we turned to the bed floor and other larger areas. While you could use other rollers to apply the Herculiner, these foam ones are designed to work with the heavy, rubber-impregnated material and ensure an even distribution.
| 08.
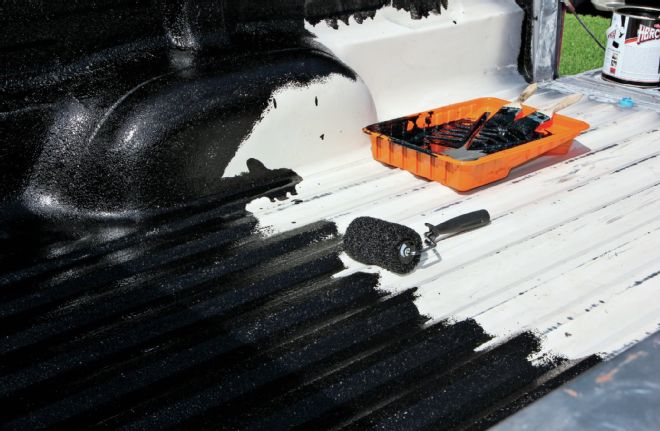
8. It’s recommended to work slow and methodically, and avoid getting it on skin (as it is quite difficult to wash off.) The work also needs to be performed outside; even with fresh air and a breeze, the fumes can be overpowering.
| 09.
9. The tailgate is last to be coated. After the first coat was completed, we waited an hour for the Herculiner to become dry to the touch, and then set about applying the recommended second coat. Remember, you can’t apply it too thick, so use all that is left on the second coat.
| 10.
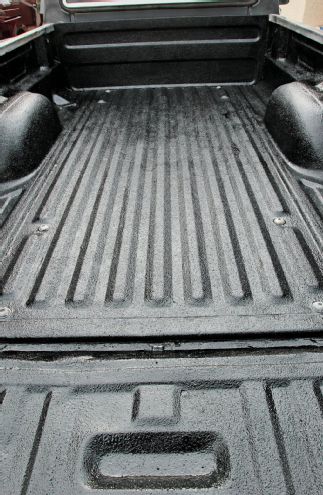
10. When applied in warm weather, the Herculiner will become dry to the touch in about an hour, is ready for use in 12 hours, and fully cured in 24.
| Herculiner Roll On Bedliner 1985 Ford Ranger 013
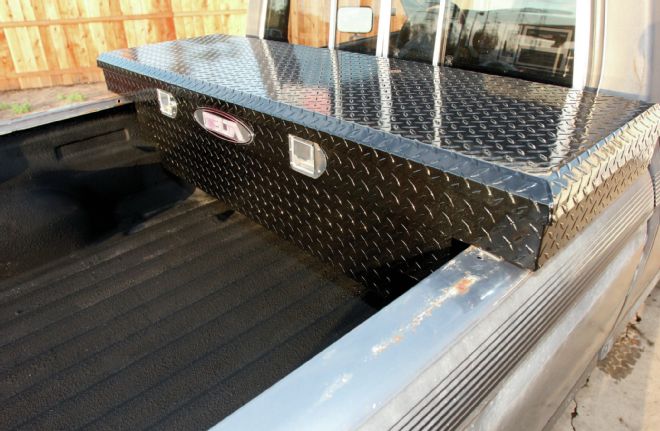
To complement the new look and functionality of our bed, we decided to replace the old steel toolbox with a new gloss-black aluminum diamond-plate model from Delta. This new box is lighter than the old steel version and has a single lid for better access.
| Herculiner Roll On Bedliner 1985 Ford Ranger Delta Toolbox
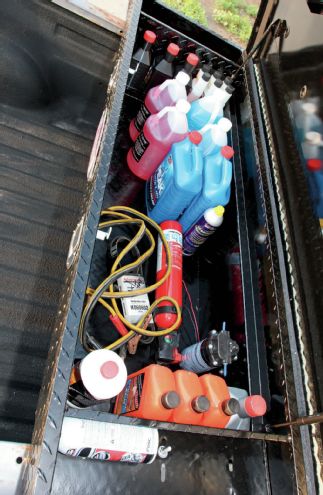
The Delta toolbox provides plenty of space for tools, spare parts, and fluids. We even mounted our Snow Performance water-methanol pump inside the box to protect it from the elements.
 | 01.
1. Our test mule is a well-used 1985 Ford Ranger four-wheel drive that came equipped with a factory 2.3L turbodiesel engine. This particular truck spent the majority of its life working the oilfields in Oklahoma and Kansas. And, like any good work truck, a toolbox and other assorted parts, pieces, and equipment have made the bed their home.
 | 02.
2. The original owners did a good thing by opting for the factory drop-in plastic bedliner, which left us with a near pristine floor underneath. Unfortunately, this isn’t always the case with plastic bedliners, as they can trap water underneath, which leads to rust.
 | 03.
3. Bed prep is key to a good-looking and long-lasting roll-in bedliner. With the old liner and toolbox removed, we started by first sweeping out the decades of dirt and debris that had built up. Next, we grabbed a hose and bucket and gave the bed a thorough scrub.
 | 04.
4. Once the bed was dry, it was time to rough it up with the provided scouring pads, which allows the Herculiner to properly adhere to the sheetmetal. This is one of the most time-consuming steps, but also the most important.
 | 05.
5. While it may not look like much has changed, if you look closely you’ll notice that the shine has been knocked off the paint and the surface is now rough to the touch. Notice that you don’t have to completely strip the paint. The last step before applying the Herculiner is to tape off all the areas that aren’t going to be coated.
 | 06.
6. Herculiner provides detailed instructions with each kit. These, along with a little common sense, will ensure you don’t get painted into a corner, literally. With the Herculiner mixed well, the first areas that were coated were the corners of the bed, using the provided brush.
 | 07.
7. Next, using the roller and foam pads from the kit, we turned to the bed floor and other larger areas. While you could use other rollers to apply the Herculiner, these foam ones are designed to work with the heavy, rubber-impregnated material and ensure an even distribution.
 | 08.
8. It’s recommended to work slow and methodically, and avoid getting it on skin (as it is quite difficult to wash off.) The work also needs to be performed outside; even with fresh air and a breeze, the fumes can be overpowering.
 | 09.
9. The tailgate is last to be coated. After the first coat was completed, we waited an hour for the Herculiner to become dry to the touch, and then set about applying the recommended second coat. Remember, you can’t apply it too thick, so use all that is left on the second coat.
 | 10.
10. When applied in warm weather, the Herculiner will become dry to the touch in about an hour, is ready for use in 12 hours, and fully cured in 24.
 | Herculiner Roll On Bedliner 1985 Ford Ranger 013
To complement the new look and functionality of our bed, we decided to replace the old steel toolbox with a new gloss-black aluminum diamond-plate model from Delta. This new box is lighter than the old steel version and has a single lid for better access.
 | Herculiner Roll On Bedliner 1985 Ford Ranger Delta Toolbox
The Delta toolbox provides plenty of space for tools, spare parts, and fluids. We even mounted our Snow Performance water-methanol pump inside the box to protect it from the elements.