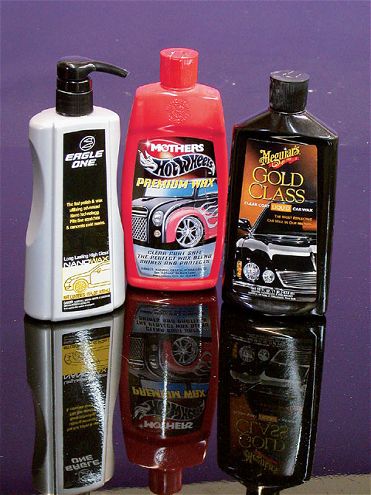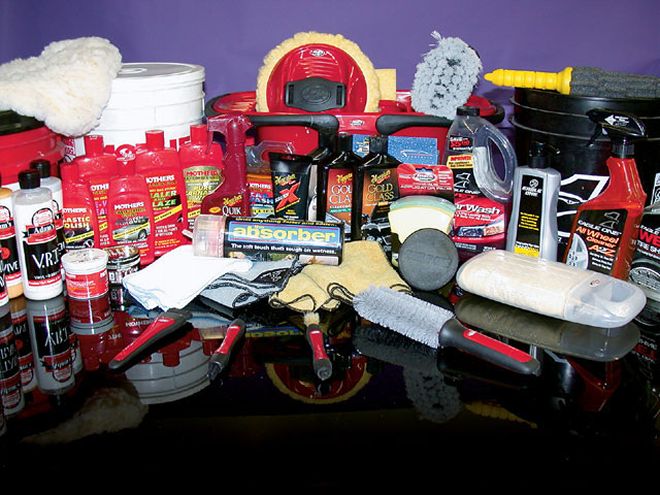
| If this looks confusing, don't feel left out - nine times out of ten the hardest thing about detailing is knowing what products to use.
When it comes to having a nice sport truck, there are many factors that play into it, but if your paint is scratched and your wheels dull, all it will do is take away from all your customizing. We all know to some degree how to care for our truck's paint - wash it when it's dirty, and so on - but wouldn't we all like to know more? If you agree, then this story is for you. We will break down when to use what product to produce a great shine and some cool detailing tips to make life easier.
We suggest starting with the engine compartment. Mixing a soap and water solution and applying it to the fenders and cowl will keep any engine cleaners from hurting the paint. Cover all the electronics you can and don't go crazy with the water. If you have a lot of polished aluminum on your engine, stay away from harsh degreasers. Make sure to read the label before using any product on your truck. Use a nylon brush for the stubborn spots. Then rinse and dry with a towel or compressed air.
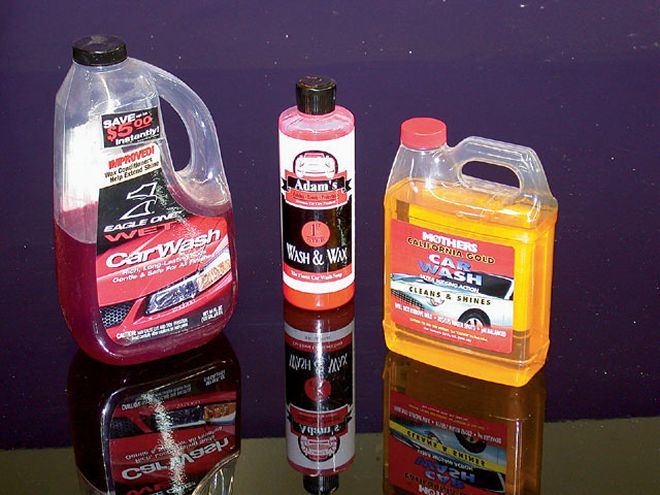
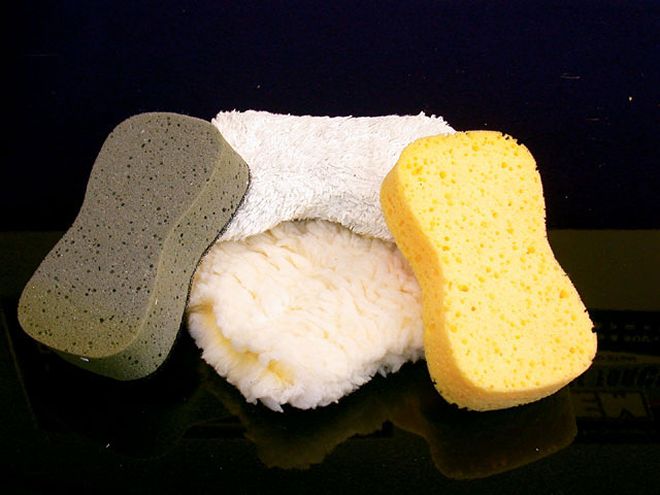
Now it's time to wash. Park the truck in the shade and use vehicle-specific soaps, not dish soap. Dish soap works so well that it will remove any wax that is on the vehicle. For the best no-scratch wash, you should invest in a sheepskin-type wash mitt. Because of its fluffy high-nap texture, it allows the dirt to go deeper into the mitt and farther away from your paint.
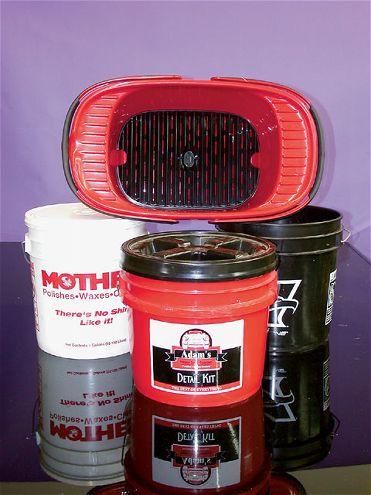
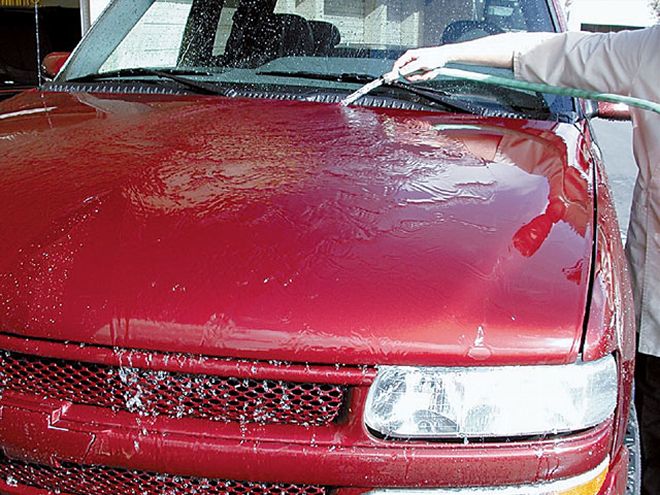
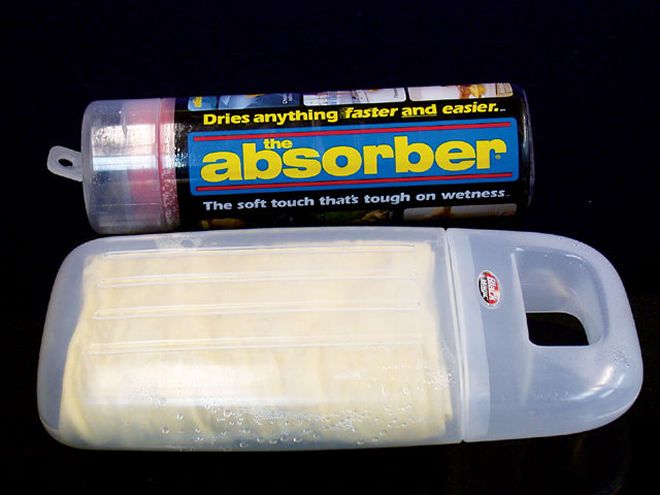
If you have a wash bucket with a grate in the bottom such as the one from Black Magic, you are good to go, but if not, use two buckets - one bucket for your soap mixture and the other filled with water to rinse off your mitt before dunking it back into the soapy water. Wash the truck from top to bottom (the roof is usually cleaner than the rockers) out of the direct sunlight. When it comes time to rinse the truck, spray it off like you would normally, but when all the soapsuds are gone, remove the nozzle. With just the water pressure from the hose, let the water flood the surface, and then it will run off in sheets. This will cut way down on the amount of water left on the vehicle and in turn reduce drying time. There are many things you can dry your truck off with, from a plain towel to a chamois, but we prefer the Absorber to a towel because it holds more water and won't leave lint on the surface. Just remember: The better the towel, the fewer the scratches. With the outside of the truck dry, open the doors and dry the doorjambs.
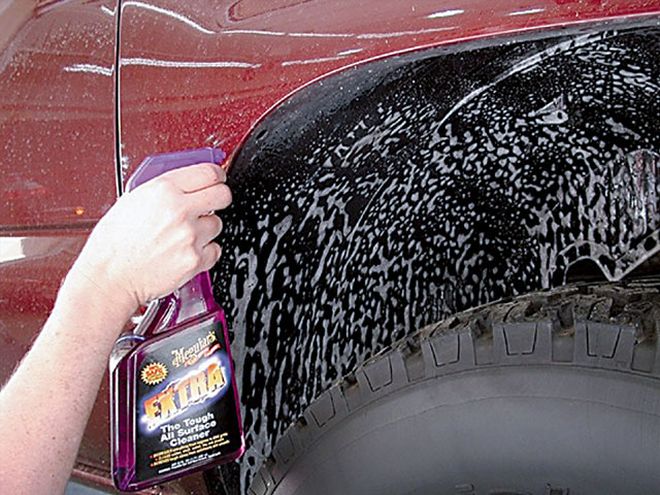
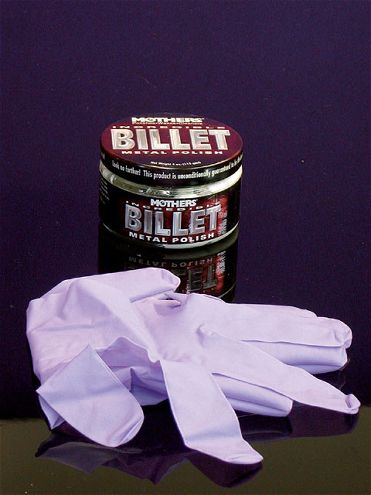
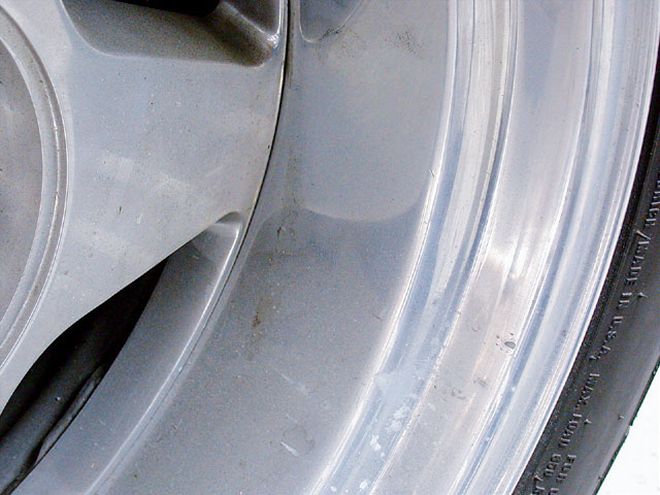
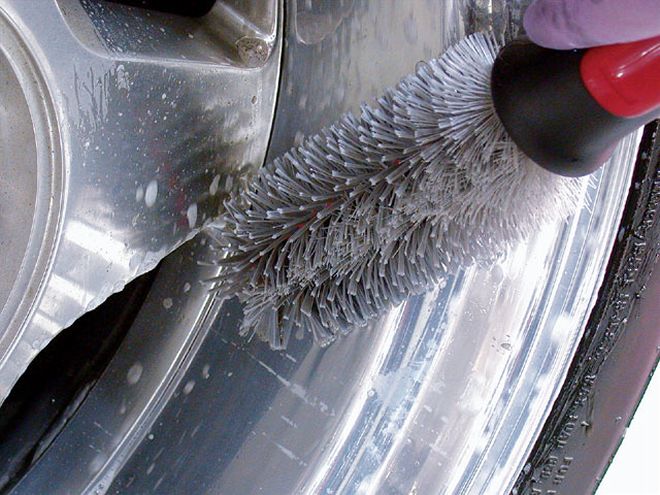
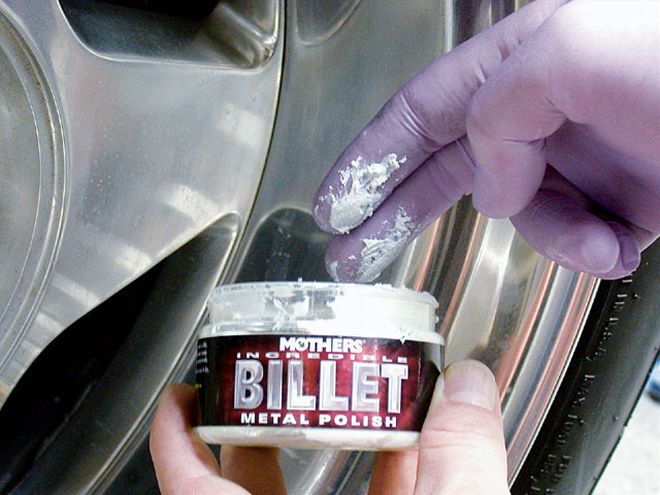
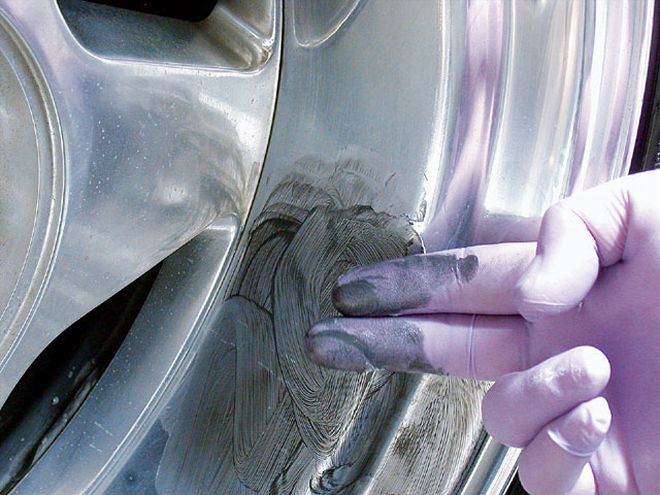
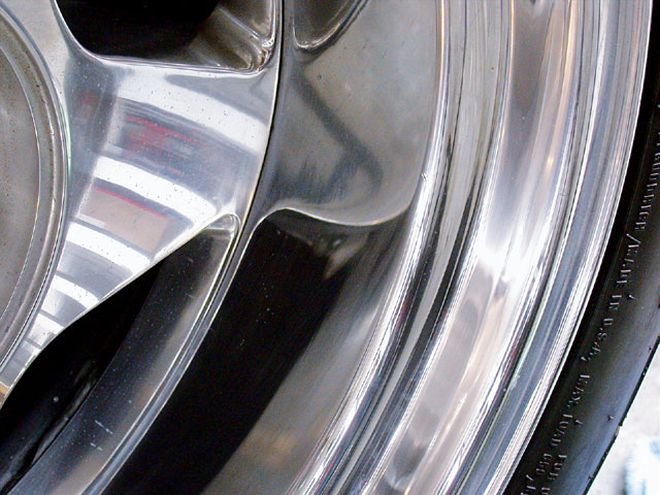
The wheels and tires are next on the list. If you're not sure what kind of material your rims are made of or the finish they have (clearcoat, anodized, and so on), be sure to use a "safe for all wheel types" cleaner. Working one corner at a time, spray the cleaner from the bottom to the top (to prevent runs). Use a brush to get into all the nooks and crannies. Then rinse and dry. Do not apply your tire dressing yet. Don't forget to clean the wheelwells. Spray the wheel cleaner inside the well, scrub with a brush, then rinse and dry. You can use a tire dressing in here if you so choose. If you have aluminum wheels with no clearcoat, break out the polish and get to rubbing. One cool tip we've learned is to put on some surgical gloves and use them to polish the wheel. It works great - try it. Apply the polish to the rim and rub until you have a black residue, then buff that off with a soft rag.
Now it's time to freshen up the interior. Start by cleaning out any trash or little wrappers stuffed in the cupholders. Next, give it a good vacuuming. After you've finished vacuuming, if you have any stains that need to be taken care of, use a carpet-specific cleaner. One of the biggest mistakes people make when cleaning their carpet is they use too much cleaner and saturate the carpet. The cleaner then soaks through into the jute padding and will eventually stink. Spray the cleaner directly onto the stain sparingly and scrub in a back-and-forth motion, not in circles. Then dry with a towel.
While your carpet is drying, you can clean all the air vents and little areas of the dash. Q-Tips and a soft brush with compressed air is the perfect combination for getting all of the dirt and crud out of the tight spaces. It is also a good time to use a dash dressing if you want to. We recommend using a low-gloss protectant to reduce the glare reflected onto the windshield. Spray the dressing onto your rag, then apply it to the dash. It's hard to get that stuff off glass.
When the dash is finished, get up off your butt and do the seats. If you have cloth seats, clean them as you would the carpet, only gentler. If you have leather, use a leather cleaner and conditioner. The leather was once alive and protected by natural oils, and if you don't replace the oils, it will dry and crack. If you have a custom interior with suede in it, compressed air and a soft brush is your best bet to remove dust and dirt. Whatever you do, do not spray and kind of leather protectant on it - all that will do is stain it and make it look worse.
Once the interior is finished, it's time to evaluate your paint so you will know what products to use. First, you must know if you have a clearcoat or single-stage paint. Most trucks these days have a clearcoat finish, but if you're unsure, take a small amount of a mild polish on a terry cloth towel and rub in an inconspicuous area such as the doorjamb. If you pull the paint color onto your towel, you have single-stage paint. Most, if not all, custom trucks have a clearcoat finish, so that's what we will concentrate on.
The wash should have removed the loose stuff, but for the harder, more stubborn contaminants, we 'll start with a clay treatment. To use the clay, form it into what looks like a hamburger patty, spray the truck with the Quick Detailer, and then rub the clay in a circular motion. The clay will grab anything stuck to the paint and hold it, leaving your finish nice and smooth. When the clay becomes dirty, fold it over and knead it back into shape. Take your time and be thorough.
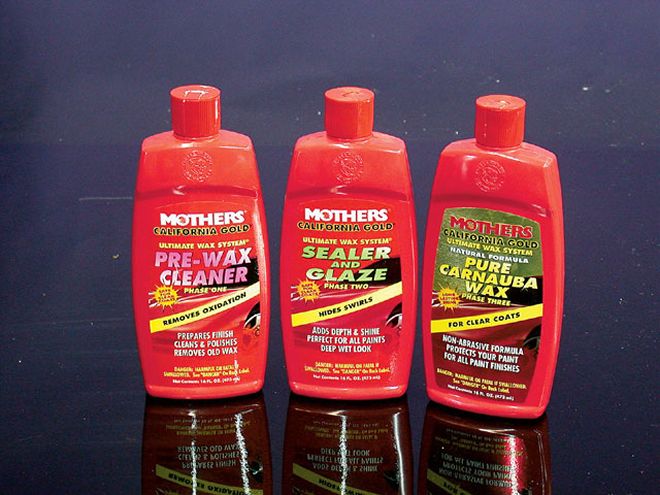
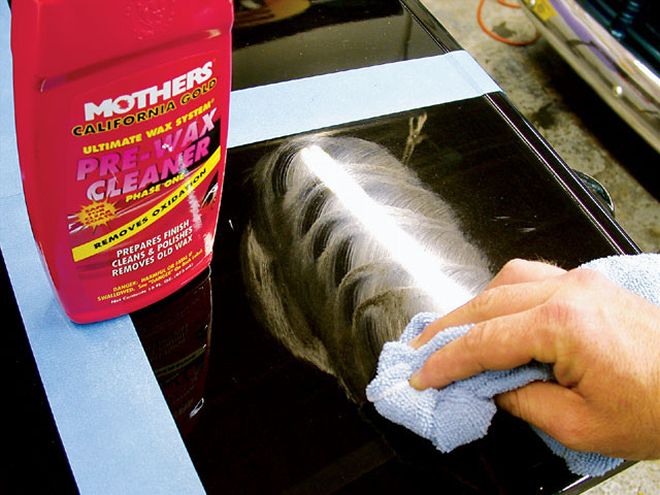
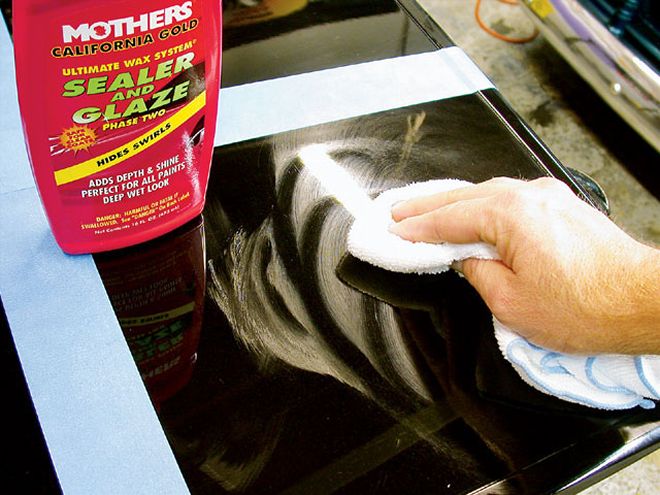
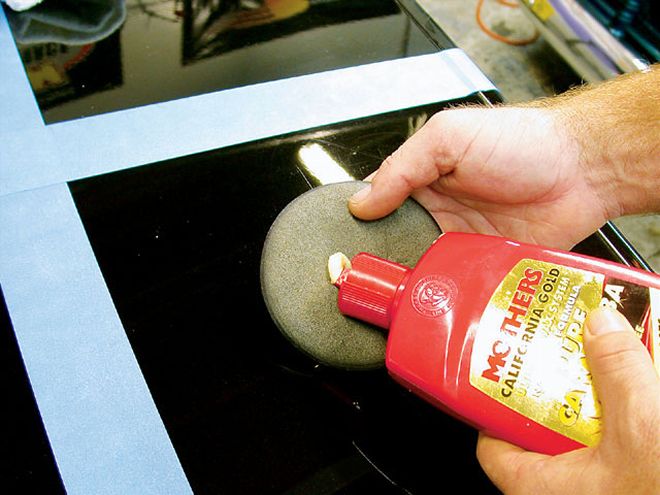
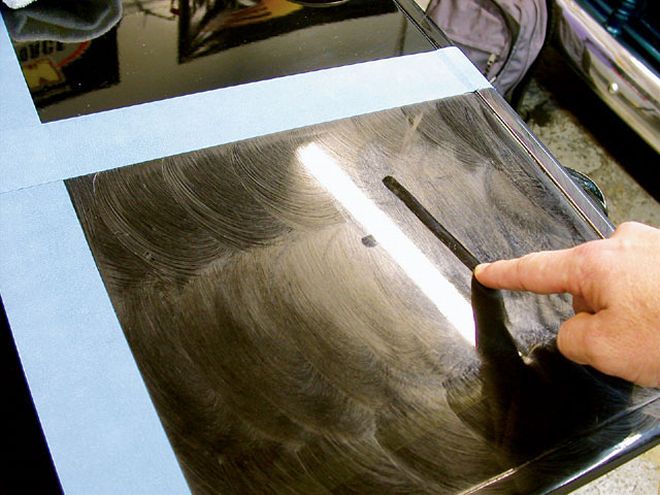
When you are finished with the clay, you need to now remove any stains or light scratches with a pre-wax-type cleaner. Then a glaze is used to remove the swirl marks the previous step left. Then a final application of a good wax will seal in the shine and protect the paint from the elements.
When it comes to waxing, we recommend applying all waxes evenly and in small, overlapping circles. The best way to tell if the wax is dry is to wipe it with your finger. If the wax doesn't smear, it's dry. Once it is dry, wipe it off with either a 100-percent terry cloth towel or even better use a microfiber towel.
When all the wax is off, it's time to dress your tires. This is where personal preference comes in. If you like a very shiny tire, then apply your dressing and let is soak in; if you like a satin finish, come back and wipe off the excess with a rag.
Now put your stuff away, wash yourself, and hit the road to show off your finely detailed ride.
Quick Reference to a Great Shine General * Work in the shade
* Evaluate your finish so you can choose the right product
* Read the directions on the product
Washing * Never use dish soap
* Wash from the top down
* Wash and rinse one section at a time
* Use the two-bucket method if you don't have one with a grate at the bottom
* Use the flooding method for your final rinse
* Wash at least once a week
* Hand-washing at home is always best (you can control all the variables)
* Detailing spray is not meant to replace washing, but works well at shows
Cleaning/Prep * May be skipped if your finish is in good shape
* No need to let these types of products dry (wipe on, wipe off)
* Work one section at a time (wipe on, wipe off)
* Clay your truck first before using a liquid cleaner
* Use 100 percent cotton terry cloth towels or a microfiber towel to remove product
* Do this step on an "as needed" basis
Waxing * Apply in a circular overlapping motion
* Use the finger test to determine correct setup time
* For a daily driver, wax three to four times a year
Wheels * Know what kind of wheels you have (polished, clearcoated, anodized, and so on) before you choose a wheel cleaner for it
* Choose the correct cleaner for your wheels
* If unsure, soap and water are safe for all wheels
* If using a wheel cleaner, let the wheels cool first
* Spray cleaner from the bottom up
* Use a soft nylon brush for any scrubbing
* Dry thoroughly to prevent water spots
* You can use rubber gloves to apply aluminum polish
Tires * Scrub with vinyl/rubber cleaner before applying protectant
* Use a foam applicator to apply product evenly onto sidewall
Interior * Use products designed for specific interior surfaces (leather, vinyl, plastic) - do not cross-apply
* Use detail spray to dust vinyl at shows
* Small brushes, Q-Tips, and compressed air are perfect for the small areas
* Use "tint safe" window cleaners on tinted windows (no ammonia)
 | If this looks confusing, don't feel left out - nine times out of ten the hardest thing about detailing is knowing what products to use.
When it comes to having a nice sport truck, there are many factors that play into it, but if your paint is scratched and your wheels dull, all it will do is take away from all your customizing. We all know to some degree how to care for our truck's paint - wash it when it's dirty, and so on - but wouldn't we all like to know more? If you agree, then this story is for you. We will break down when to use what product to produce a great shine and some cool detailing tips to make life easier.
We suggest starting with the engine compartment. Mixing a soap and water solution and applying it to the fenders and cowl will keep any engine cleaners from hurting the paint. Cover all the electronics you can and don't go crazy with the water. If you have a lot of polished aluminum on your engine, stay away from harsh degreasers. Make sure to read the label before using any product on your truck. Use a nylon brush for the stubborn spots. Then rinse and dry with a towel or compressed air.
Now it's time to wash. Park the truck in the shade and use vehicle-specific soaps, not dish soap. Dish soap works so well that it will remove any wax that is on the vehicle. For the best no-scratch wash, you should invest in a sheepskin-type wash mitt. Because of its fluffy high-nap texture, it allows the dirt to go deeper into the mitt and farther away from your paint.
If you have a wash bucket with a grate in the bottom such as the one from Black Magic, you are good to go, but if not, use two buckets - one bucket for your soap mixture and the other filled with water to rinse off your mitt before dunking it back into the soapy water. Wash the truck from top to bottom (the roof is usually cleaner than the rockers) out of the direct sunlight. When it comes time to rinse the truck, spray it off like you would normally, but when all the soapsuds are gone, remove the nozzle. With just the water pressure from the hose, let the water flood the surface, and then it will run off in sheets. This will cut way down on the amount of water left on the vehicle and in turn reduce drying time. There are many things you can dry your truck off with, from a plain towel to a chamois, but we prefer the Absorber to a towel because it holds more water and won't leave lint on the surface. Just remember: The better the towel, the fewer the scratches. With the outside of the truck dry, open the doors and dry the doorjambs.
The wheels and tires are next on the list. If you're not sure what kind of material your rims are made of or the finish they have (clearcoat, anodized, and so on), be sure to use a "safe for all wheel types" cleaner. Working one corner at a time, spray the cleaner from the bottom to the top (to prevent runs). Use a brush to get into all the nooks and crannies. Then rinse and dry. Do not apply your tire dressing yet. Don't forget to clean the wheelwells. Spray the wheel cleaner inside the well, scrub with a brush, then rinse and dry. You can use a tire dressing in here if you so choose. If you have aluminum wheels with no clearcoat, break out the polish and get to rubbing. One cool tip we've learned is to put on some surgical gloves and use them to polish the wheel. It works great - try it. Apply the polish to the rim and rub until you have a black residue, then buff that off with a soft rag.
Now it's time to freshen up the interior. Start by cleaning out any trash or little wrappers stuffed in the cupholders. Next, give it a good vacuuming. After you've finished vacuuming, if you have any stains that need to be taken care of, use a carpet-specific cleaner. One of the biggest mistakes people make when cleaning their carpet is they use too much cleaner and saturate the carpet. The cleaner then soaks through into the jute padding and will eventually stink. Spray the cleaner directly onto the stain sparingly and scrub in a back-and-forth motion, not in circles. Then dry with a towel.
While your carpet is drying, you can clean all the air vents and little areas of the dash. Q-Tips and a soft brush with compressed air is the perfect combination for getting all of the dirt and crud out of the tight spaces. It is also a good time to use a dash dressing if you want to. We recommend using a low-gloss protectant to reduce the glare reflected onto the windshield. Spray the dressing onto your rag, then apply it to the dash. It's hard to get that stuff off glass.
When the dash is finished, get up off your butt and do the seats. If you have cloth seats, clean them as you would the carpet, only gentler. If you have leather, use a leather cleaner and conditioner. The leather was once alive and protected by natural oils, and if you don't replace the oils, it will dry and crack. If you have a custom interior with suede in it, compressed air and a soft brush is your best bet to remove dust and dirt. Whatever you do, do not spray and kind of leather protectant on it - all that will do is stain it and make it look worse.
Once the interior is finished, it's time to evaluate your paint so you will know what products to use. First, you must know if you have a clearcoat or single-stage paint. Most trucks these days have a clearcoat finish, but if you're unsure, take a small amount of a mild polish on a terry cloth towel and rub in an inconspicuous area such as the doorjamb. If you pull the paint color onto your towel, you have single-stage paint. Most, if not all, custom trucks have a clearcoat finish, so that's what we will concentrate on.
The wash should have removed the loose stuff, but for the harder, more stubborn contaminants, we 'll start with a clay treatment. To use the clay, form it into what looks like a hamburger patty, spray the truck with the Quick Detailer, and then rub the clay in a circular motion. The clay will grab anything stuck to the paint and hold it, leaving your finish nice and smooth. When the clay becomes dirty, fold it over and knead it back into shape. Take your time and be thorough.
When you are finished with the clay, you need to now remove any stains or light scratches with a pre-wax-type cleaner. Then a glaze is used to remove the swirl marks the previous step left. Then a final application of a good wax will seal in the shine and protect the paint from the elements.
When it comes to waxing, we recommend applying all waxes evenly and in small, overlapping circles. The best way to tell if the wax is dry is to wipe it with your finger. If the wax doesn't smear, it's dry. Once it is dry, wipe it off with either a 100-percent terry cloth towel or even better use a microfiber towel.
When all the wax is off, it's time to dress your tires. This is where personal preference comes in. If you like a very shiny tire, then apply your dressing and let is soak in; if you like a satin finish, come back and wipe off the excess with a rag.
Now put your stuff away, wash yourself, and hit the road to show off your finely detailed ride.
