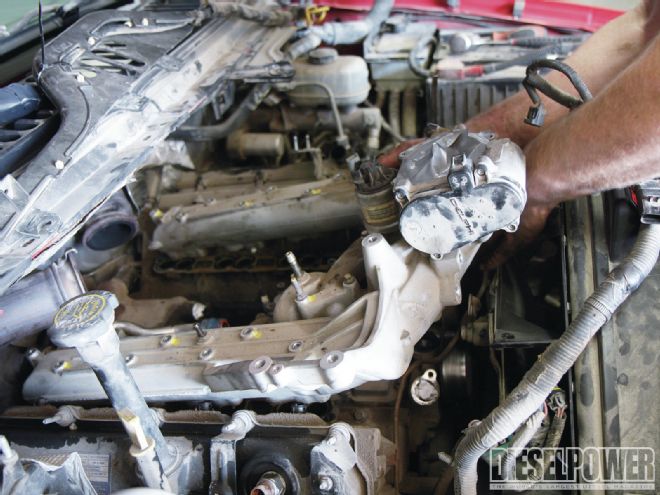
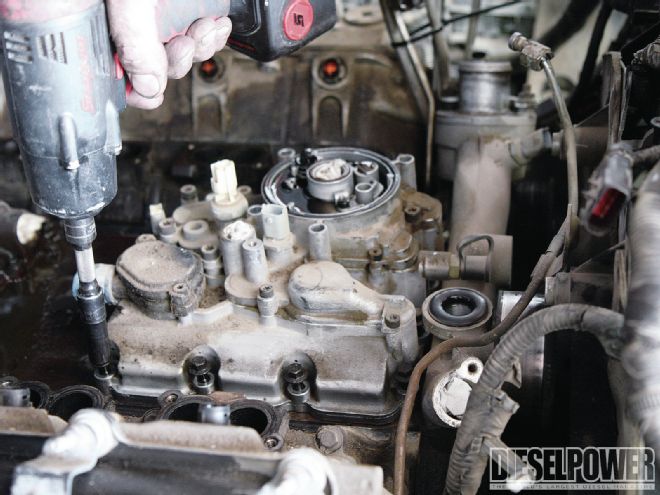
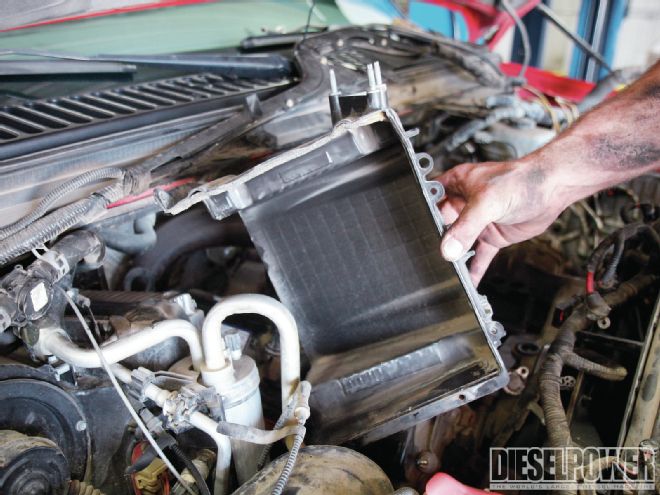
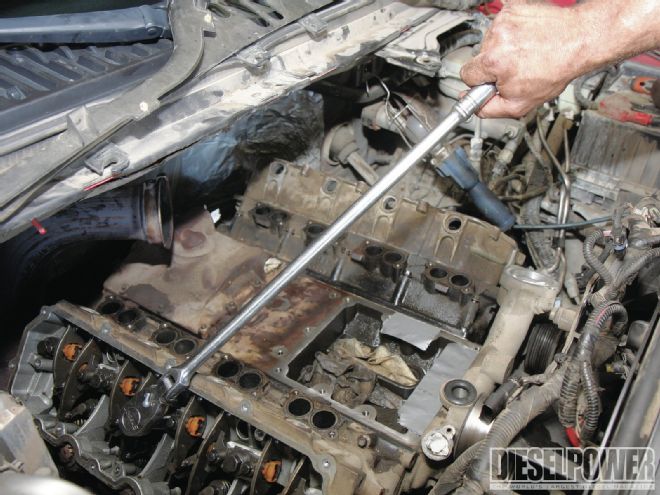
This month we’re tackling the inevitable for modified 6.0L Power Stroke engines. We’re replacing blown head gaskets and scrapping the factory head bolts in favor of studs. While most professional shops prefer to lift the cab for this process (which rules out a ton of underhood clearance issues), some opt to perform the work in-frame. And for those of us without high-capacity lifts at home, we really don’t have a choice—other than completely pulling the engine.

| project Outcast Part 2 ford Super Duty With Cab Off
The Cons of Pulling the Cab
Let’s face it: Pulling the cab off ’03 to ’07 Super Dutys is the preferred method of addressing the 6.0L’s most common problem, but it also takes considerable time. Before ever getting to the source of the problem, the A/C system has to be vacuumed down (and recharged later—a cost passed on to the customer). Lowering the cab back down typically takes three times as long as getting it up in the air, not to mention making sure the bodylines line back up perfectly. And, the Ford Workshop Manual illustrates that cylinder head removal can and should be done in-frame (it even shows you how to dent the firewall to reach the rear head bolts).

| Finding coolant residue on the degas bottle is usually a telltale sign that a 6.0L has toasted a head gasket. If the gasket stops sealing in even the smallest area, compression slips past the gasket and the coolant system gets pressurized. Unfortunately for this engine, it was puking coolant for a lengthy period of time before being addressed, so we were concerned the heads would be warped beyond repair. First things first: Flynn drained the coolant.
Flynn’s Shop has been performing cab-on, engine-in head stud installs for years, so it has the procedure down to a science. According to the folks there, all the time spent lifting and lowering the cab equals out to just getting to work on the engine. We recently sat in on a head stud install and took note of all the little things you need to remember to do throughout the process. The following pages should empower any do-it-yourselfer with novice mechanical skills.
Parts List (Labor and machine work not included)
Total $1,047.16
Part:
Vendor:
Price:
ARP head studs (PN 250-4202)
MKM Customs
$468.71
*OE head gaskets (PN 4C3Z-6051-EB)
Crossroads Ford
$378.46 (both gaskets)
EGR delete
River City Diesel
$199.99
*Head gaskets with 18mm dowel holes for engines manufactured before January 2006: PN 4C3Z-6051-EB; head gaskets with 20mm dowel holes for engines manufactured after January 2006: PN 6C3Z-6051-AA
TearDown Tips
As with any modern V-8 diesel engine, much of the work involved in a head gasket job lies in the teardown process. Throughout the course of the job, we took note of the tips and tricks Flynn used to make the job a little easier. From start to finish, we felt the following tips were worth mentioning.
- Pull the grille before scratching it (you’re going to spend your day laying across this area)
- Remove the intake elbow and cold-side intercooler tube as one piece (less hassle with boots and clamps)
- For fuel filter reservoir removal, use a small piece of cardboard to divert dripping fuel away from the lifter valley
- Install zip ties on the fuel filter lines so the fittings don’t slide down onto the valve covers or heads
- After removing the fuel and oil filter housings (as one unit), place the oil spout in a plastic bag
- Don’t forget to remove the bracket bolt for the passenger-side head—it’s located under the throttle valve (’05-and-later engines had no throttle valve)
- Mark each stud’s location on the intake manifold before removing (this way you’ll know where the studs vs. bolts go when reinstalling it)
- Fuel lines and the exhaust backpressure line have to be removed (in front of the driver-side head)
- You have to pull the driver-side engine eyelet to remove the fuel lines running to the filter reservoir
- Oil and transmission dipsticks have to be pulled
- Remove the IPR valve before removing the driver-side head
- Make sure you have extra drain pans under the truck when breaking the heads loose (to collect additional coolant)
- Arrange all the valve bridges, rocker arms, and pushrods so they can be reinstalled the same way they came off (this keeps the valvetrain in perfect sync and all wear points the same)
- In order to reach the rearmost bottom head bolt on the driver side, you may have to dent or deform the firewall slightly (clearance is different on every truck)
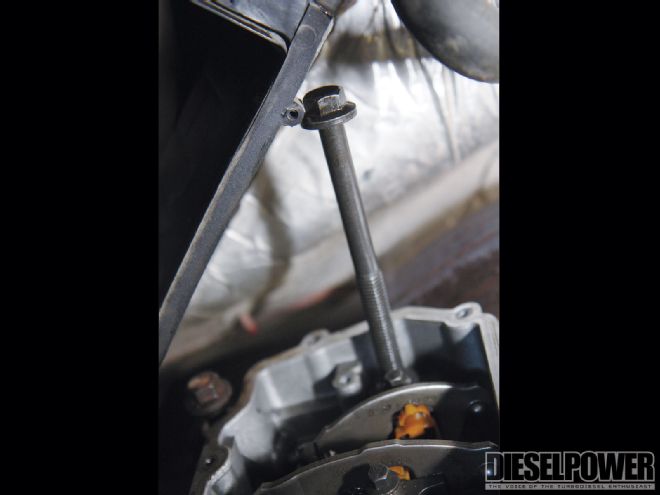
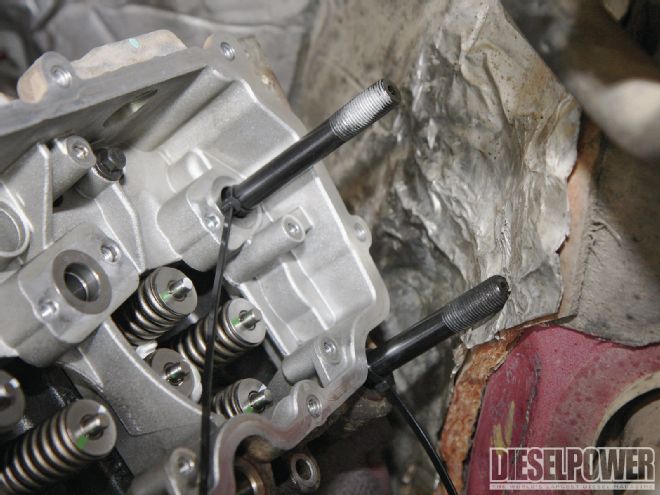
- The bottom four head bolts on the driver-side and rearmost bottom bolt on the passenger-side can’t be removed completely (zip tie them in place once unthreaded from the block)
- Once the heads are off, suction the remaining coolant out of the block (use all new coolant)

| With the intake manifold off, it was an opportune time to do away with the notoriously problematic EGR cooler. For its functionality and great fit and finish, we used this complete EGR delete from River City Diesel.
Block, Head, and Reinstallation Tips
The first two tips listed here are the most important to follow in a head stud job. If your block and heads’ mating surfaces aren’t as true as possible, you’re doing all the work for nothing. With 6.0L heads notorious for warping and cracking, sending them to a trusted machine shop is mandatory.
- More than 0.002-inch difference across any 5.9-inch area on the block surface renders the block unusable
- In order for the heads to be reusable, no more than a 0.004-inch difference in flatness can exist across the total surface area
- New Ford head gaskets can only be installed one way (stamped numbers up)
- Tape off the intake ports on the heads before reinstalling them
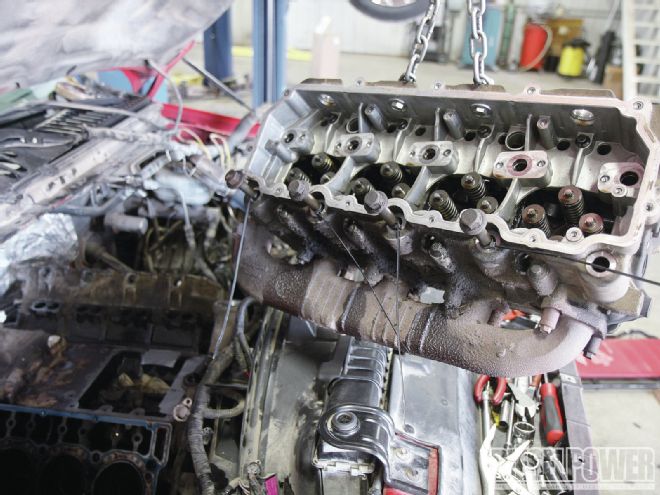
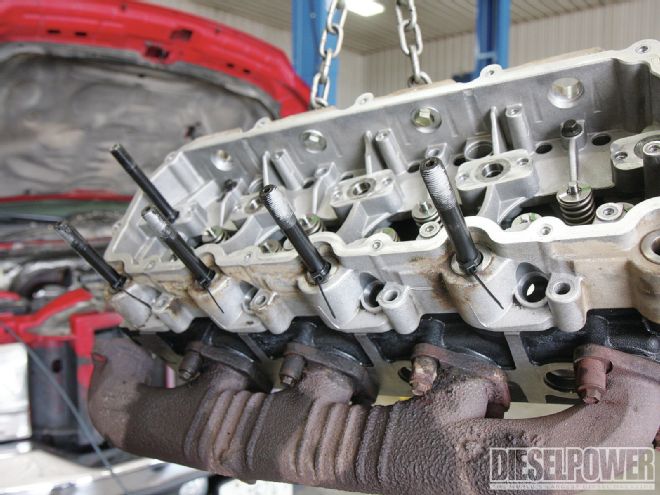
- To ease installation, zip tie the bottom four and rearmost top head stud into each head prior to lowering it onto the block (this way, you’re guaranteed to have no clearance issues)
- Make sure not to dent, scrape, or damage the new head gaskets when reinstalling the heads
- Don’t put the washers on the top head studs until the rocker arms are on
- You can always gain a little more clearance by loosening the motor mounts and jacking up the engine
