I was hired to work as the Associate Editor of Truckin’ in early September of 2010. For the first three months of working at the mag, I was truck-less. That was until I picked up the perfect project truck, a 2000 Chevy Silverado that had been used as a work vehicle, and for $3,000, I couldn’t beat it. It was in sad shape, which made the need to fix it up taste that much sweeter. After talking with Editor Dan Ward, I decided that I wanted to build a daily driveable ’bagged show vehicle.

| 2000 Chevy Silverado keg Media Render
Once I decided what I was going to do, I needed a rendering. I contacted Robbie Bryant, owner of Keg Media. We chatted about what I wanted the truck to look like and within a few weeks I received an email with the rendering attached. It looked better than I had imagined. Now all I had to do was make it look like that. I first needed to find a suspension that would let the truck lay out on terra firma. After much research I decided on KP Components. Their kit was the most complete and required the least amount of custom fabrication. I ordered their front control arm kit, which came with the upper and lower control arms, 2-inch drop spindle, and Varishock billet aluminum, double-adjustable shocks. For the rear, I chose their bolt-on cantilevered four-link kit with the Watt’s link upgrade and step notch kit. I knew that this would allow the rear of the truck to lay all the way out.
To install the kit, I contacted Adam Diaz with Master Image Customs (M.I.C.) in Montclair, California. M.I.C. is known for building some of the baddest cars and trucks on the road, so I knew they were more than capable of installing everything. Follow along to see how we gave the front end of this former ranch hand truck a better stance, and don’t miss next month’s install on the rear KP setup.

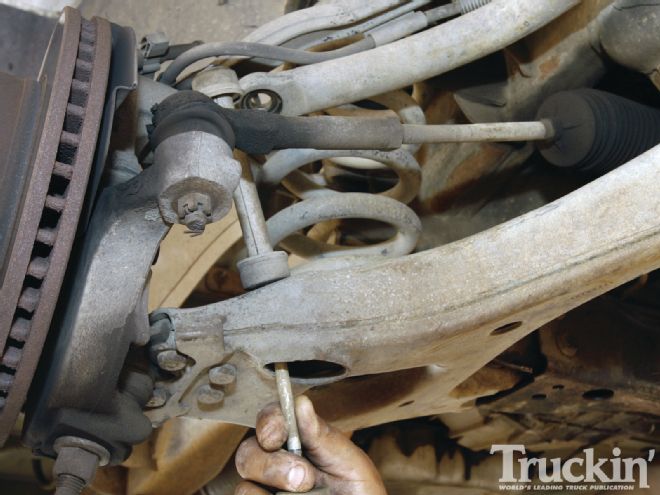
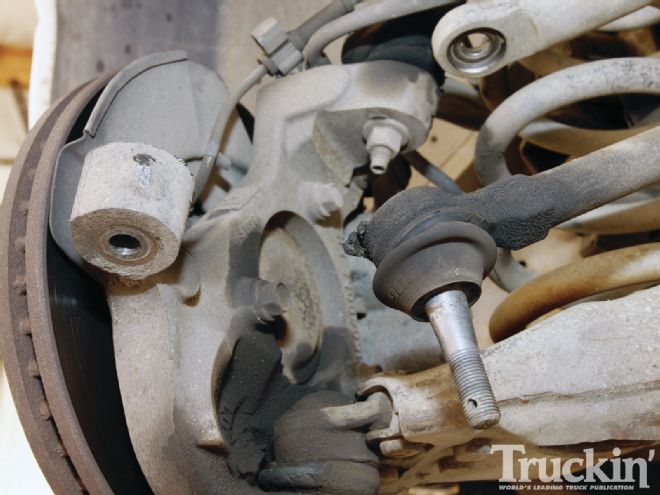
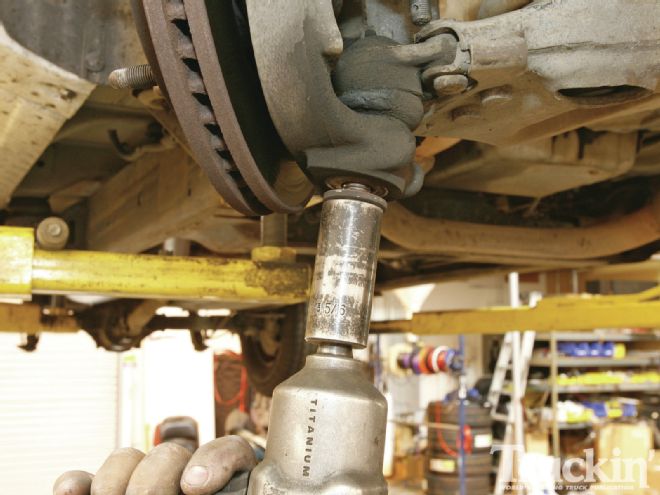
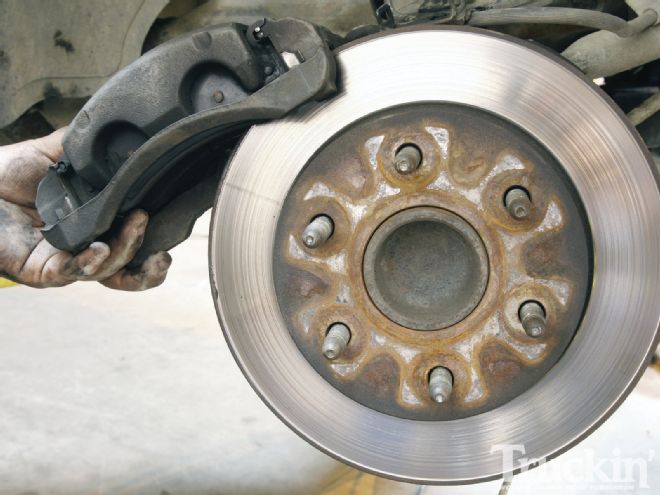
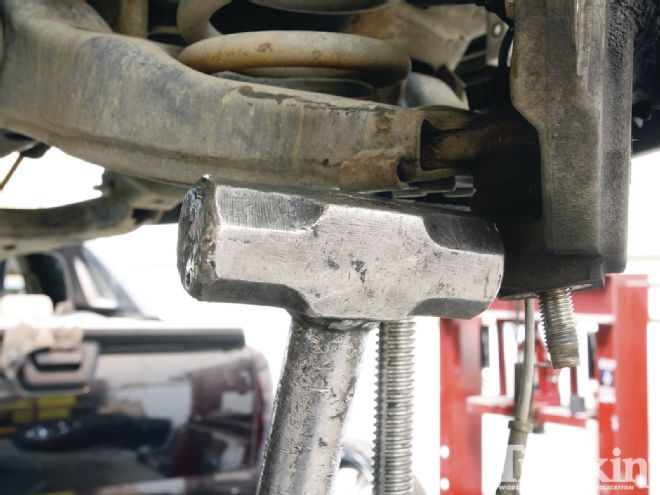
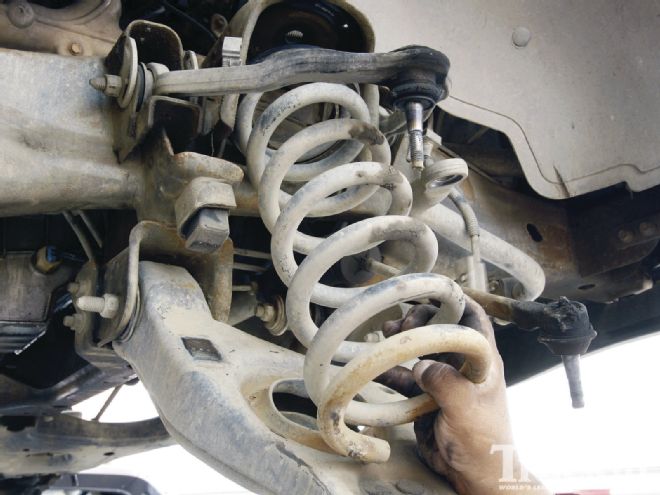
| After we pulled the truck into M.I.C., Adam and Andy got to work pulling apart the front suspension.
Not shown in the photos
19. The final step was to bolt on the Varishock double-adjustable shocks onto the front. With that complete, Adam and Andy moved to the rear suspension, but that will have to wait until the next issue. Be sure to check back to see the install of the cantilevered four-link with Watt’s link in the rear.
Your Questions Answered
Time Spent Working:
6 hours
Degree of Difficulty:
Intermediate
Tools Needed: Various sockets and wrenches, sledgehammer, plasma cutter, air chisel, and air gun.
Parts Used:
KP Components Front Suspension System with 2-inch drop spindle and Varishock double-adjustable billet shocks #KPC-C71
$1,938.00
SSBC six-piston front brake kit with red powdercoating #A126-53
$2,594.95
Slam Specialties RE-7 airbags: $99.00 each
$198.00 (total)
Total:
$4,730.95
(prices from manufacturers and do not include tax, shipping, or installation)
Highs:
Lows:
- Hard to do in the driveway
- Comes with everything needed
