A winch can be the difference between being stuck and stranded, or not. It can be an equalizer for your truck, giving you the ability to neutralize a bad situation. Winches are not only intended for the extraction of your vehicle, they offer many other uses as well. These can include removal of objects blocking the trail (like rocks and fallen trees), rescuing other vehicles, and more. Then there are the work-related chores during which lifting, dragging, or pulling is required.

| 2008 Ford F250 Project Kr Part Five hidden Winch
Project KR’s design needed the winch to allow for the use of the stock bumper and the custom guards we were going to build. The winch layout needed to create a minimal obstruction of the airflow for cooling of the vehicle. That meant the winch fitment needed to be behind the bumper, inline with the frame (making for a very strong mount), and allow full and easy access to all the controls and cable when needed. Balance of form and function without compromise was the goal.
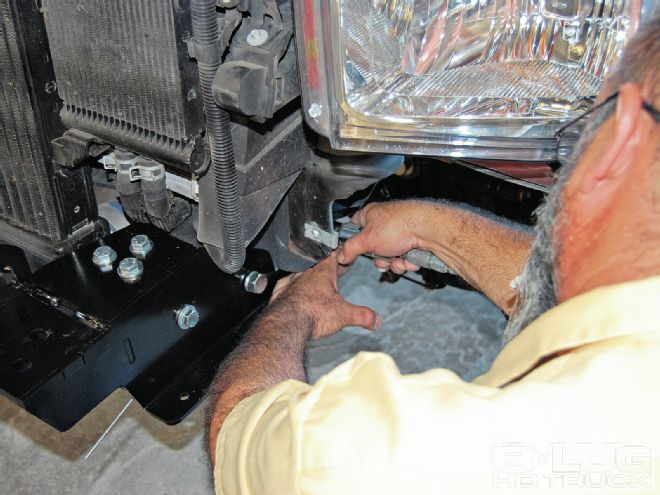
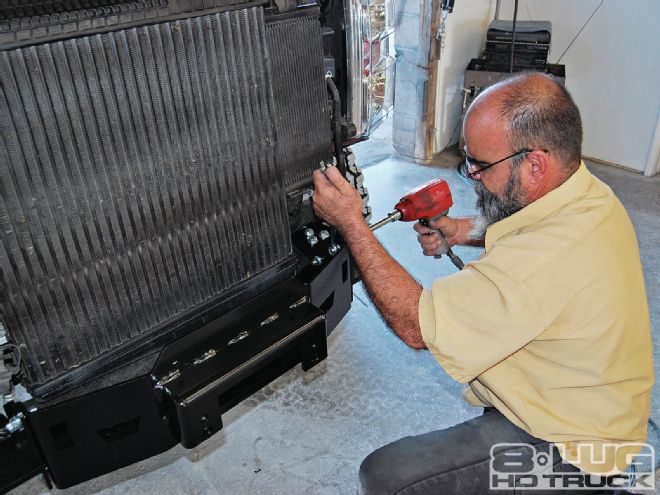
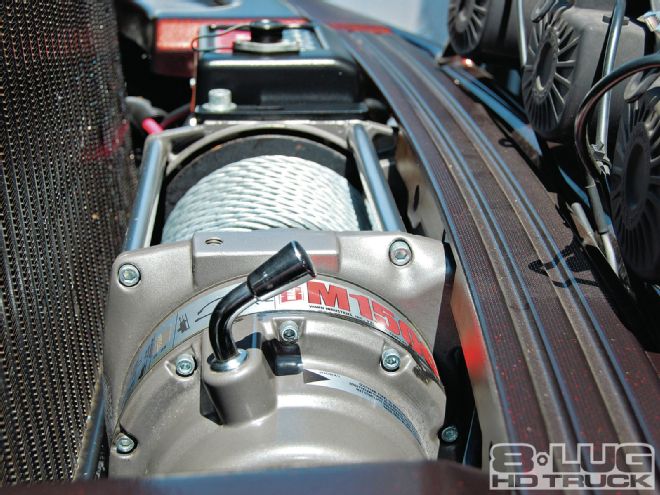
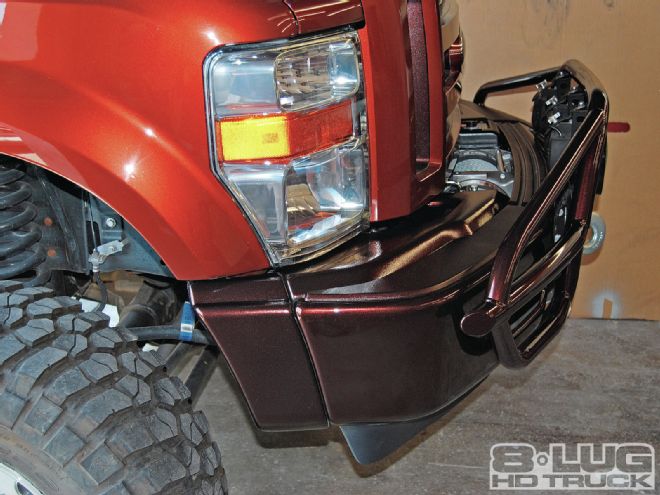
Warn Industries is a leader in high-quality winches, hubs, and off-road accessories. The company offers a variety of winch sizes and styles for multiple applications. We found what we were looking for in the M15000 with its 15,000-pound pulling power. We installed it in a hidden winch mount for the Ford Super Duty. The hidden mount kit attaches to the frame, extending the factory tow loops, bumper, and driving lights forward approximately 8 inches but maintaining the same height. The Warn M15000 winch sits in its carrier somewhat concealed behind the stock bumper. The hidden kit also addresses the gaps between the grille/fender and bumper with a skirt kit, creating a finished factory look.

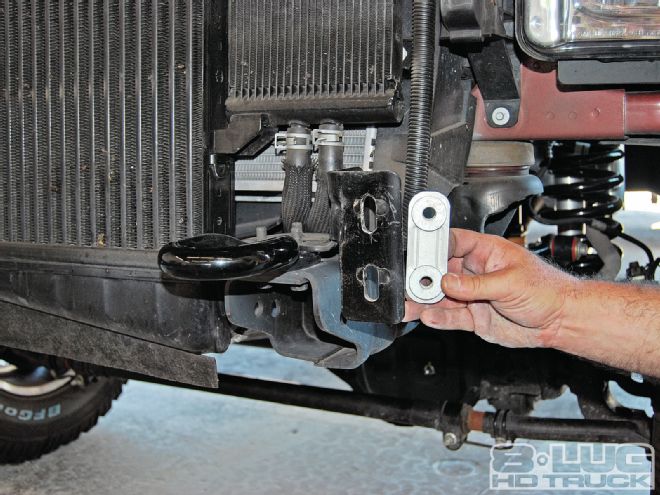
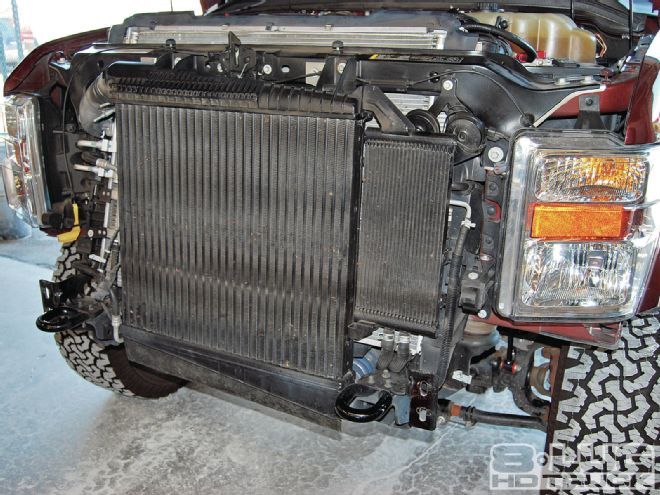
| 01. Stock truck: The front bumper system will be moved forward approximately 8 inches while keeping the height the same. Everything that is attached to the bumper (including the tow loops, driving lights, and air dam) will move forward.
The M15000 (part number 47801) comes with 90 feet of 7⁄16-inch wire rope, a ½-inch Clevis hook, roller fairlead, control pack, remote control, and power/ground cables for the battery connection. Based on a planetary gear design utilizing a 315:1 ratio at 0 pounds pull line, speed is 28 feet per minute. At 15,000 pounds, it will pull 4.3 feet per minute.
The winch dimensions are 25.2-inch length, 8.5-inch depth, and 11-inch height with a weight of 136 pounds. Using the Hidden Winch Mount (part number 78105), you get everything you need, including the winch carrier, frame extensions, skirt kit, M15000 control pack bracket, and all necessary hardware.
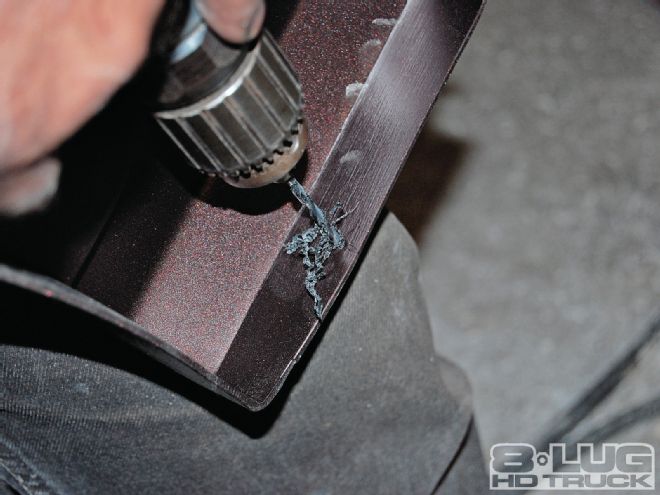
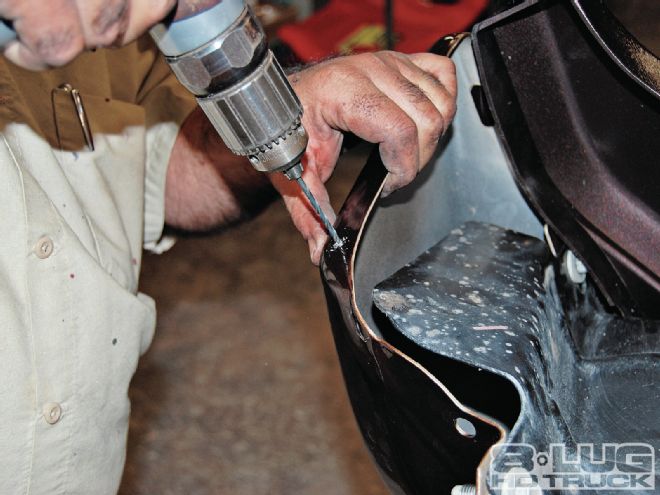
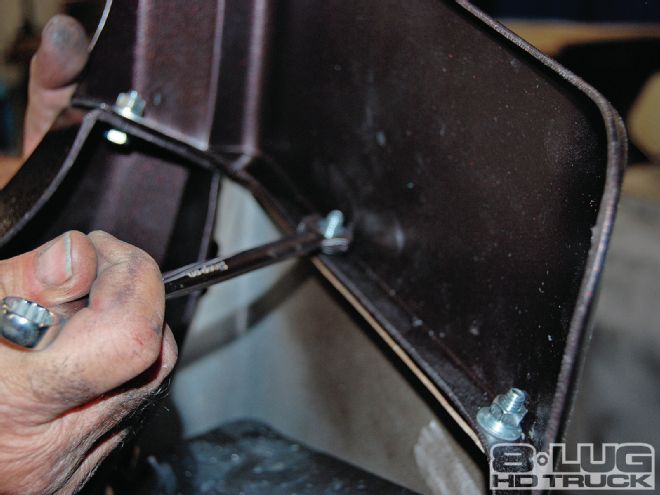
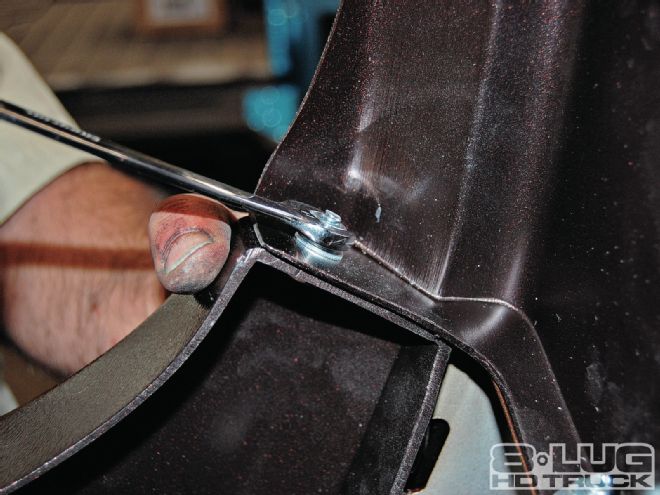
The installation is straightforward, but the bumper skirt kit is comprised of pieces that require you to match them to the bumper, so it entails some thinking. We were painting them to match the bumper, so we needed to be sure they fit properly before painting. Choosing an installer was easy, and we went with Granger’s Classic Auto Body in Reseda, California. Fidel Acosta, owner of the shop, is critical on fit and finish with numerous awards to prove it, such as Best in Class and (the ultimate honor) Best in Show at Pebble Beach. Yes, he is overqualified for this job, but he will be the man to custom paint the entire truck, and it starts here.

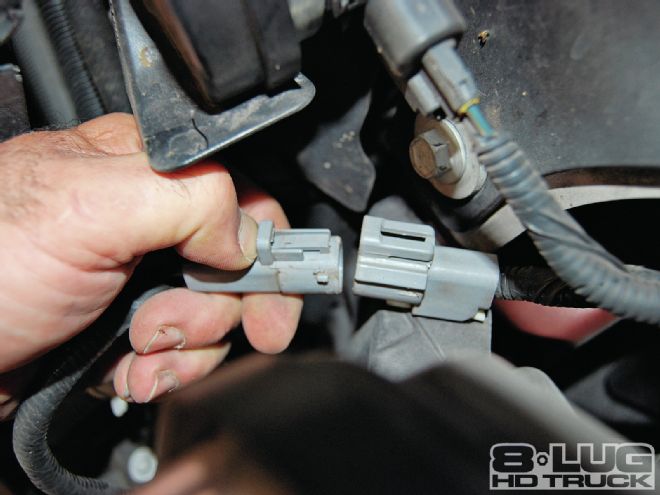
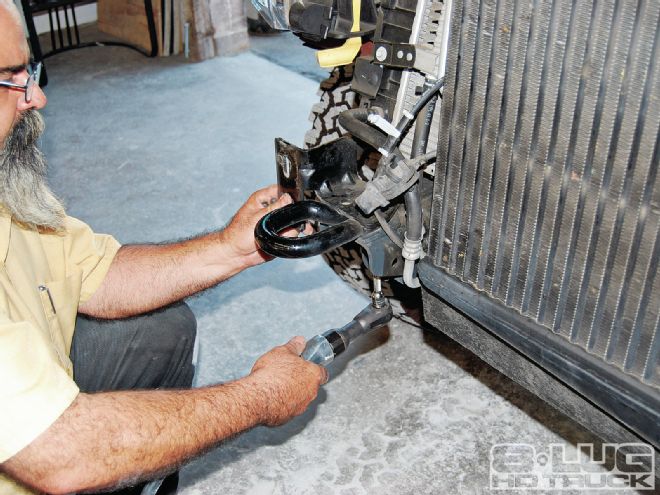
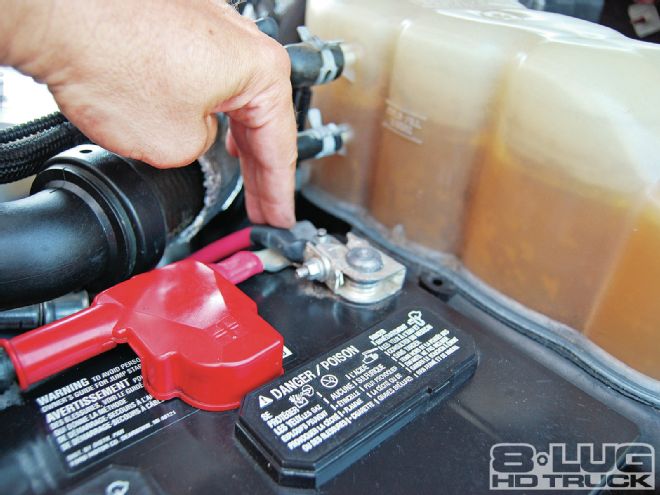
| 02. The first step is disconnecting all the electrical attachments. Here, the engine block heater connection was removed from the bumper.
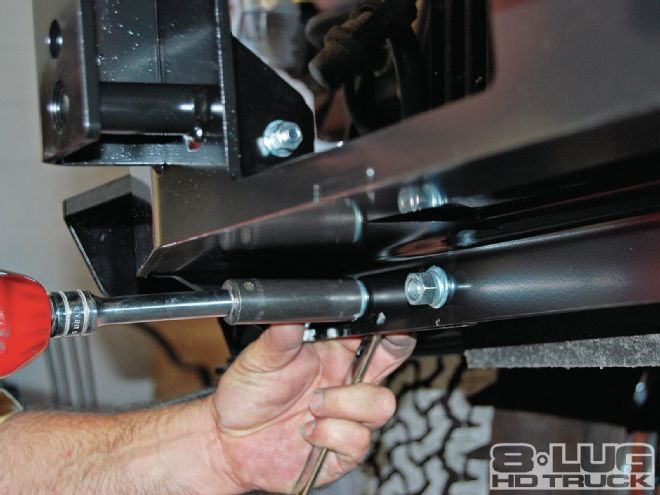
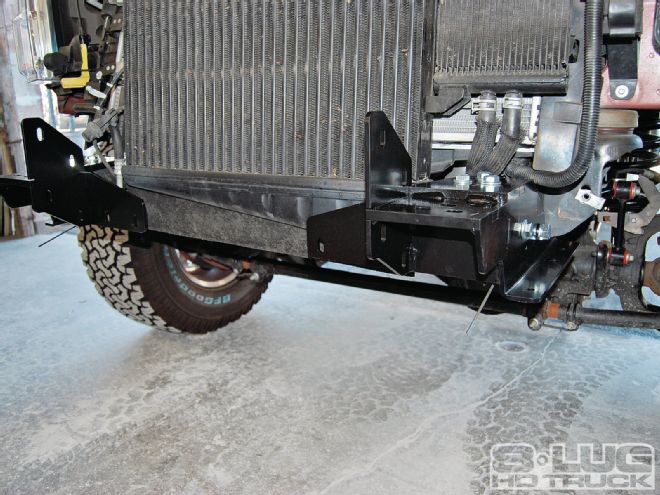
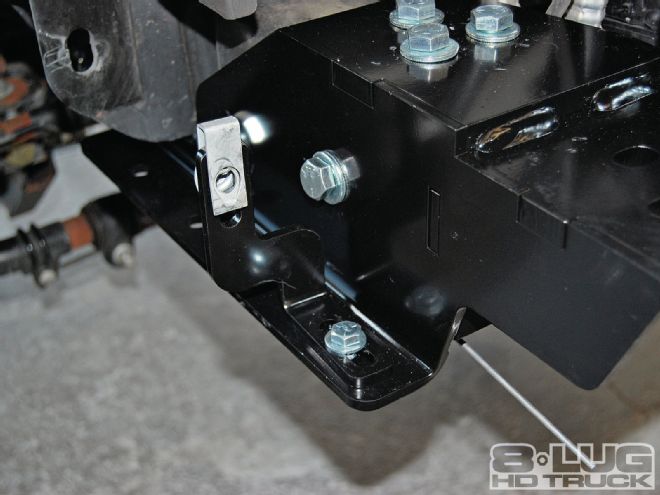
09. The frame extension kit is set on the frame after locating the factory frame holes and matching them with the bracket. The supplied bolts from the kit were used to hold the part (but not tightened) and left loose for later adjustment. Note: The wire extending from the bracket is there to aid in the installation of the nut to the bolt. Warn welds a wire to the nut, allowing the installer to reach the bolts that are further back in the bracket. Nice touch, Warn!

| 2008 Ford F250 Project Kr Part Five frame Extension Kit
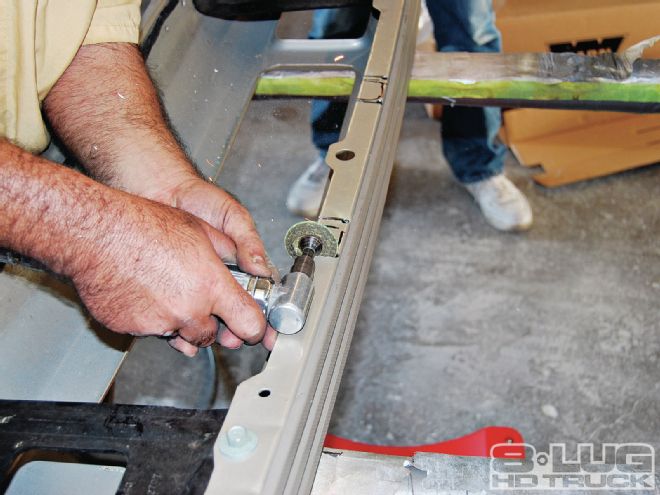
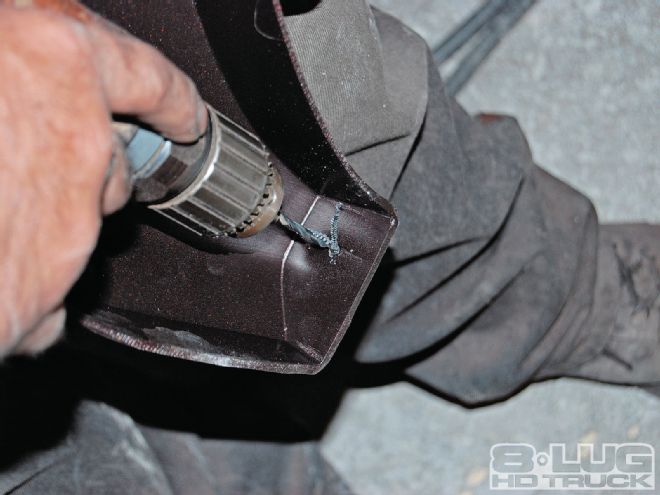
19. Modifications to the factory bumper include trimming to clear the winch spool. The instructions recommend marking, cutting, and folding back the tab under the interior of the bumper—a simple and easy way to do it. But Fidel wanted to remove the tab, so it has no obstruction either way. So he marked the slots and drilled in the corners, giving a clean radius.

| 2008 Ford F250 Project Kr Part Five modifications Of Factory Bumper
26. White grease was placed in the teeth of the ring gear and then cycled to give a pattern of contact between the ring gear and the pinion gear. Grease was put on the face and the back of several teeth of the ring gear to check for depth (surface area) and backlash with the pinion gear.

| 2008 Ford F250 Project Kr Part Five white Grease Applied To Teeth
