When a vehicle is due for a new set of rolling stock, most people will do the exact same thing: hand their keys over to the guy behind the counter and head for the waiting room. So what really goes on behind the rollup doors? To find out, we took our Project Big Horn 2009 Ram 2500 to the local America’s Tire in Torrance, California (known as Discount Tire in the rest of the country), donned our safety glasses, and headed into the shop for a look at the art and science of tire mounting and balancing.
| 01.
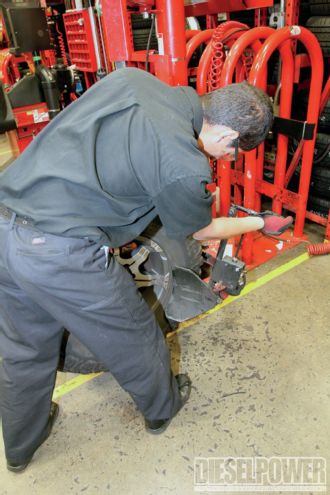
01. Technicians Luis and Isiah walked us through the process, which is virtually the same no matter what size wheel and tire combination you are working with. With the old tires removed from the vehicle and the air completely released, the first step is to break the tire bead free from the wheel using a pneumatically assisted breaking blade.
| 02.
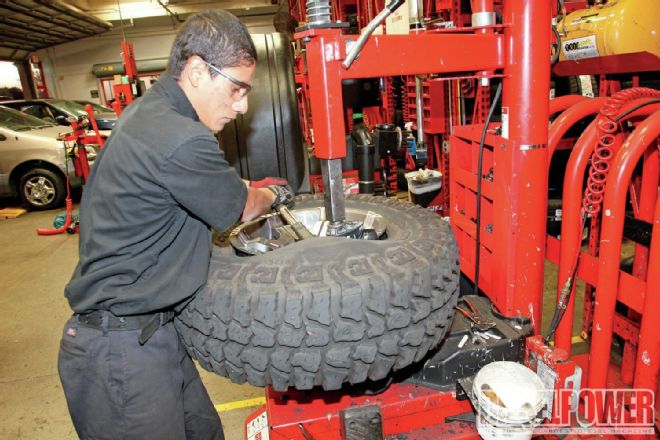
02. While using a large tire spoon to pull the tire bead over the wheel, the technician depressed a foot pedal, which rotates the tire and wheel assembly. This causes the outer bead to slip over the wheel face.
| 03.
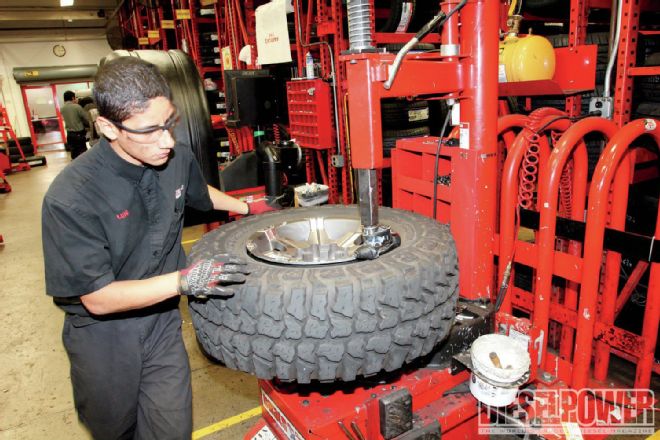
03. With the bead broken, the tire is next moved to the top of the combination mount/dismount machine where it is held in place by clamps on the inside of the wheel and a drop arm that also acts as a guide on the outside.
| 04.
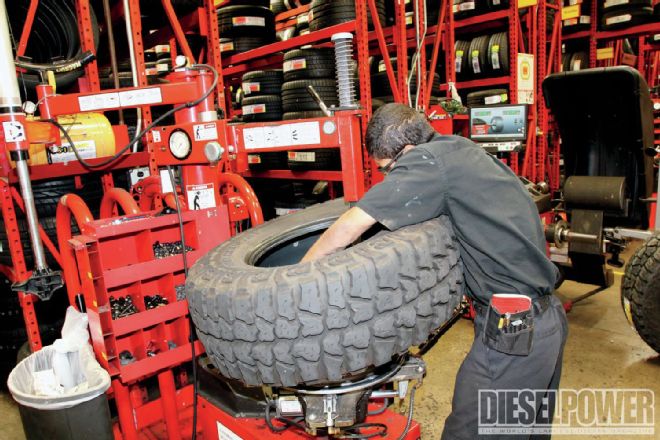
04. The dismount process is repeated for the rear bead, which typically comes off easier than the front.
| 05.
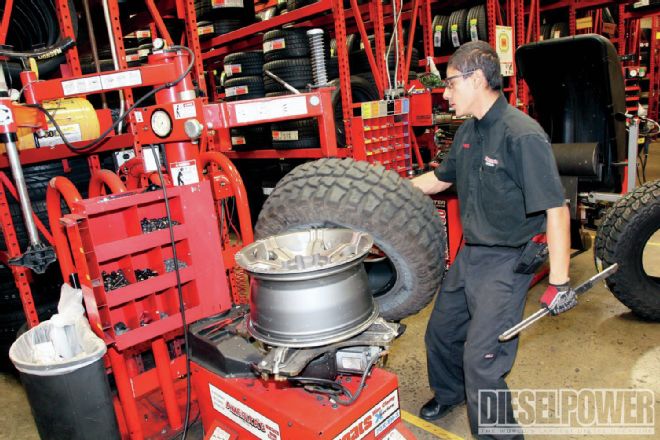
05. Once the old tire is completely removed from the wheel, it can be placed aside or discarded. The wheel remains clamped to the machine, waiting to accept the new tire.
| 06.
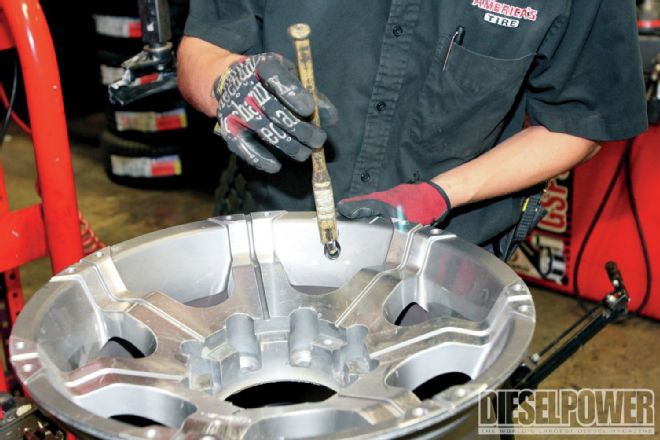
06. Every time a tire is changed, the wheel receives a new valve core. This eliminates the possibility of leaks from inadvertent damage or dry rot from sun exposure. A special threaded tool is used to quickly pull the valve core into place.
| 07.
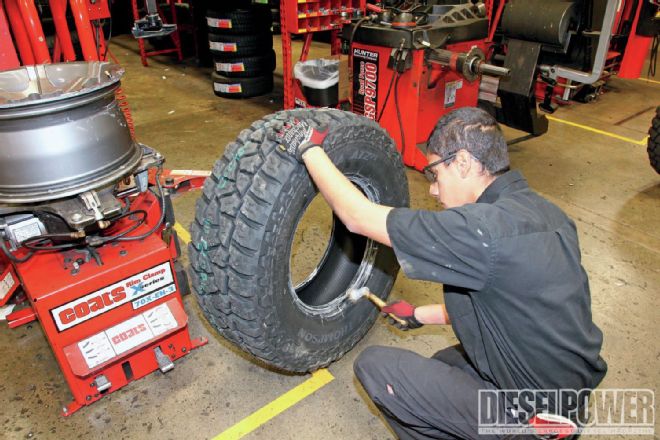
07. Before the new tire is mounted, a vegetable oil-based lubricant is applied to both bead surfaces. This not only helps protect the bead while mounting but also works as a rust inhibiter and works to prevent the tire from slipping on the wheel once mounted.
| 08.
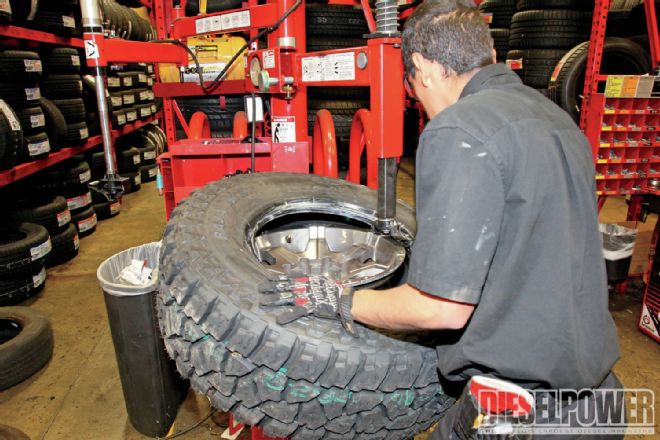
08. Next, the new tire is slung onto the wheel and the machine’s guide is put back into place on the wheel’s outer lip. The technician once again rotates the wheel on the machine and the arm gently forces the tire bead over the wheel lip and into place.
| 09.
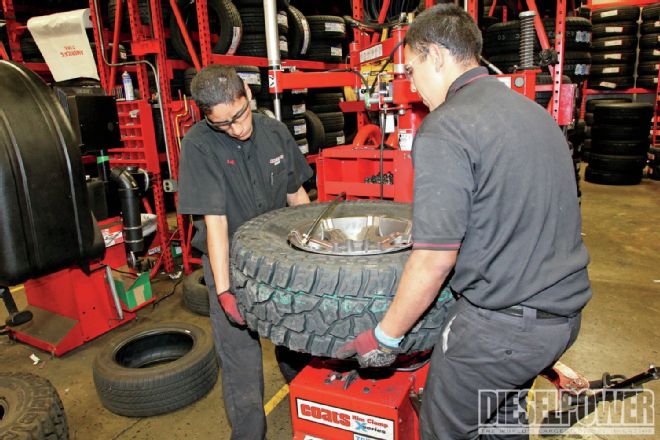
09. To seat the bead, compressed air is pumped quickly into the tire while Luis and Isiah hold it close to the bead surface to help prevent air leaks. With the bead seated, the tire is removed from the machine and inflated to the proper pressure for the vehicle it’s going to be mounted on.
| 10.
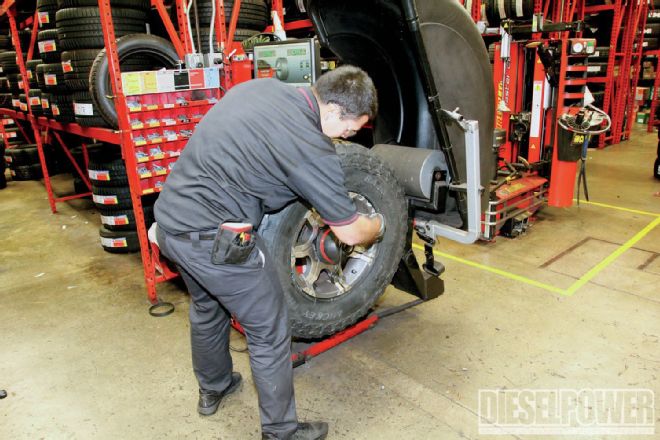
10. With the mounting process complete, the tire and wheel move onto balancing. Balancing is key to long tire life and a smooth, quiet ride. Tires are balanced to counter any inconsistencies in tire or wheel manufacturing.
| 11.
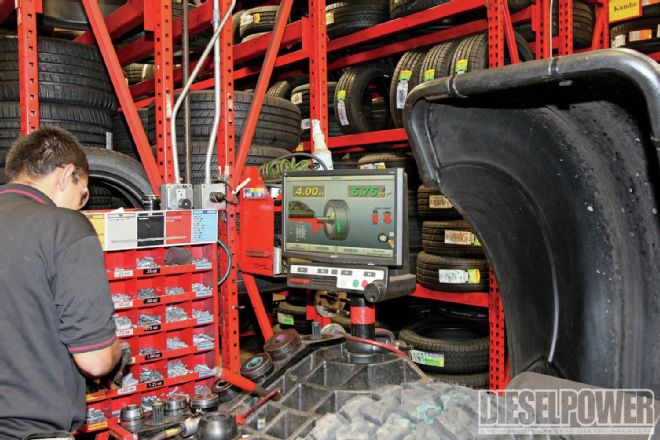
11. Balancing machines have come a long way over the years, and technology in the newest generation is simply astonishing. Once the machine has spun the tire, it determines the quantity of weight needed for a perfect balance, and where on the wheel it needs to be placed. This information is displayed for the technician on a computer monitor mounted to the machine.
| 12.
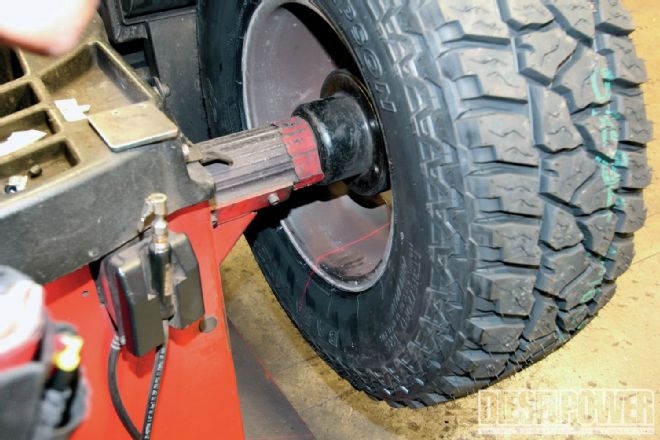
12. The balancing machine will also automatically rotate the tire to the proper position and display a laser line on the wheel surface to indicate exactly where the weights need to be placed. Once the weights are in place, the machine again spins the tire to verify it is indeed in balance. If everything checks out, then it’s good to go back on the vehicle. If it’s not, the machine will once again show exactly where weight needs to be added or removed.
| 13.
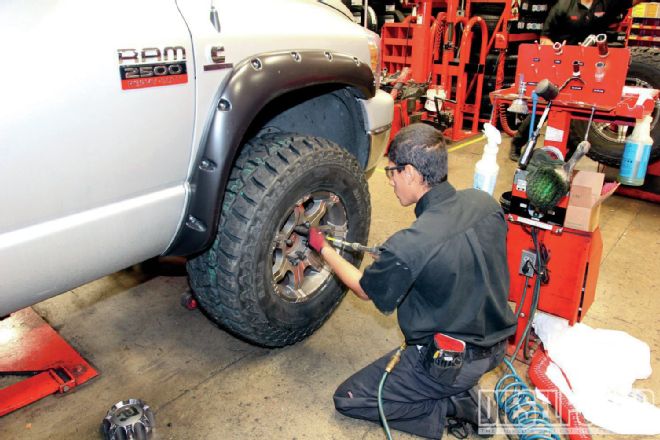
13. Lastly, before handing the keys back over to the customer, the new tires and wheels are bolted on. The lug nuts are first tightened with the vehicle off the ground to ensure an even fit against the hub surface; it is then lowered down where the nuts are torqued to the proper specifications.
 | 01.
01. Technicians Luis and Isiah walked us through the process, which is virtually the same no matter what size wheel and tire combination you are working with. With the old tires removed from the vehicle and the air completely released, the first step is to break the tire bead free from the wheel using a pneumatically assisted breaking blade.
 | 02.
02. While using a large tire spoon to pull the tire bead over the wheel, the technician depressed a foot pedal, which rotates the tire and wheel assembly. This causes the outer bead to slip over the wheel face.
 | 03.
03. With the bead broken, the tire is next moved to the top of the combination mount/dismount machine where it is held in place by clamps on the inside of the wheel and a drop arm that also acts as a guide on the outside.
 | 04.
04. The dismount process is repeated for the rear bead, which typically comes off easier than the front.
 | 05.
05. Once the old tire is completely removed from the wheel, it can be placed aside or discarded. The wheel remains clamped to the machine, waiting to accept the new tire.
 | 06.
06. Every time a tire is changed, the wheel receives a new valve core. This eliminates the possibility of leaks from inadvertent damage or dry rot from sun exposure. A special threaded tool is used to quickly pull the valve core into place.
 | 07.
07. Before the new tire is mounted, a vegetable oil-based lubricant is applied to both bead surfaces. This not only helps protect the bead while mounting but also works as a rust inhibiter and works to prevent the tire from slipping on the wheel once mounted.
 | 08.
08. Next, the new tire is slung onto the wheel and the machine’s guide is put back into place on the wheel’s outer lip. The technician once again rotates the wheel on the machine and the arm gently forces the tire bead over the wheel lip and into place.
 | 09.
09. To seat the bead, compressed air is pumped quickly into the tire while Luis and Isiah hold it close to the bead surface to help prevent air leaks. With the bead seated, the tire is removed from the machine and inflated to the proper pressure for the vehicle it’s going to be mounted on.
 | 10.
10. With the mounting process complete, the tire and wheel move onto balancing. Balancing is key to long tire life and a smooth, quiet ride. Tires are balanced to counter any inconsistencies in tire or wheel manufacturing.
 | 11.
11. Balancing machines have come a long way over the years, and technology in the newest generation is simply astonishing. Once the machine has spun the tire, it determines the quantity of weight needed for a perfect balance, and where on the wheel it needs to be placed. This information is displayed for the technician on a computer monitor mounted to the machine.
 | 12.
12. The balancing machine will also automatically rotate the tire to the proper position and display a laser line on the wheel surface to indicate exactly where the weights need to be placed. Once the weights are in place, the machine again spins the tire to verify it is indeed in balance. If everything checks out, then it’s good to go back on the vehicle. If it’s not, the machine will once again show exactly where weight needs to be added or removed.
 | 13.
13. Lastly, before handing the keys back over to the customer, the new tires and wheels are bolted on. The lug nuts are first tightened with the vehicle off the ground to ensure an even fit against the hub surface; it is then lowered down where the nuts are torqued to the proper specifications.