I was looking at the factory Bridgestones on our 2500HD the other day and realized I was going to have to do something about the old skins before the first snow. You see, in addition to pulling a trailer, this truck pushes snow, and we need all the traction we can get. Who knows when snow will be back, as the weather here in the Mid-Atlantic is unpredictable at best.

| Off with the old. It was time to get rid of the factory Bridgestone Duravis tires.
It would have been a simple matter to drive over to the nearest tire shop and have the worn-out tires replaced with the same ones or put on whatever was on sale, but what fun would that be? So I hit the bricks (virtual that is) and scoured the Internet and magazines in search of tires. I had certain demands, and it would be hard to meet them all. First and foremost, it had to be an E-rated 10-ply tire. We tow, and we tow heavy. Second, we wanted to go up a size. Our 2500HD came from GM shod in LT265/70/17s Bridgestone Duravis rubber. That’s not a wimpy tire by any means, but they just didn’t fill up the wheelwells to our satisfaction. They served us well, but with only about 27,000 miles on the ticker, we felt they should have gone further. Our next tire would be a 285.
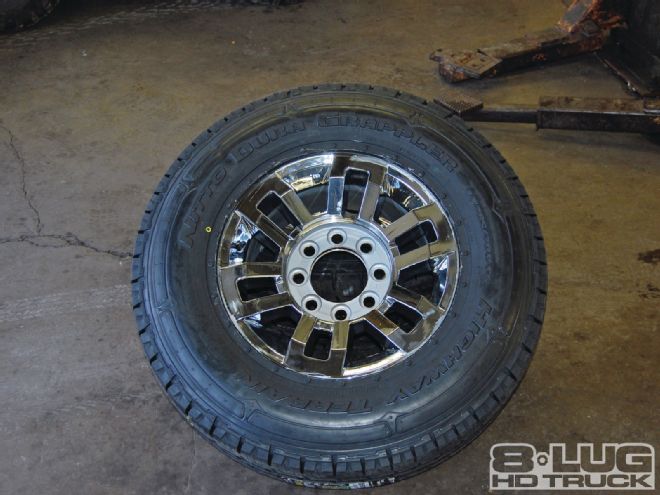
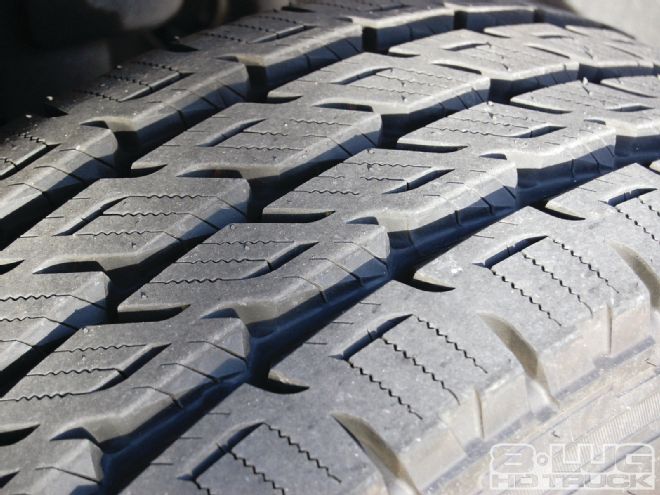
I posted inquiries on www.DieselPlace.com and a few other sites and found that opinions were all over the board. Since we rarely go off-road, we did not want an aggressive (which usually includes loud) tread. Lots of folks liked the Nitto Terra Grappler, and we were leaning toward it but thought we could get more wear out of the tire. Then we came across its kin, the Nitto Dura Grappler. It seemed perfect for us and came in the size and load rating we wanted.

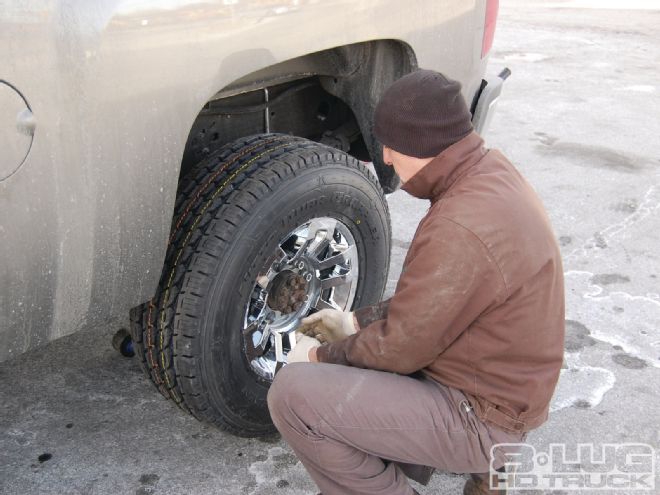
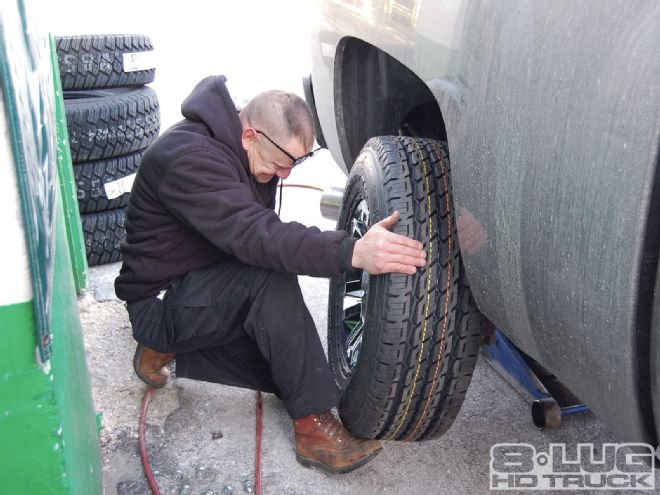
| The crew at Hanagan’s got the factory tire and wheel combination unbolted quickly.
This tire is designed as a highway tire, which is where we spend the lion’s share of our time, but it is still tough and aggressive looking enough so we wouldn’t feel embarrassed pulling into the parking lot with the guys. We priced them here, there, and everywhere—locally and online—and the best price we found was on eBay. Since we like to spend our hard-earned dollars locally whenever possible, we took that price to our local guy who not only matched the price, but threw in mounting and balancing as well! Our project could have, and probably should have, stopped there. But I was eyeing those factory wheels a little doubtfully and was hoping for something with a bit more sparkle. So back to the forums I went in search of a set of eight-lug wheels to score. I could have grabbed a set from any of the dozens of online shops, but I still like the factory style. What a conundrum! Lots of folks like factory Hummer H2s on their 2500 and 3500 GM trucks. What’s not to like? They bolt right up, and in many cases, they use the same factory caps. Better yet, they can oftentimes be found relatively inexpensive. While trolling the pages of DieselPlace.com, I came across some folks discussing a set of Hummer wheels I had not seen before. Seems there was a supplier of H2 upgrade wheels having a closeout of rims since GM was no longer making the Hummer. These wheels are known as Boulder H2s. They were offering brand-new wheels at a fraction of the original cost of around $520 each. I hit the site quick before they sold out and was lucky enough to score five of them (delivered) for $405! What a smoking deal!
Now I had the tires and the wheels but soon realized my purchases were not yet complete. I needed a set of TPMS sensors. These are the little boogers that mount on your rims inside your tires and transmit the air pressure to the truck’s computer and display it on your dash. Gotta have that. I could have pulled the old ones out of the factory tire and wheel set, but I wanted to save them for later. I checked with my GM parts guy and found out my cost on them was about $50 apiece! Retail was even more. Back to eBay. I found a complete set of brand-new TPMS sensors (according to the seller) for $70. I grabbed them up and brought everything over to Hanagans for the install. There I found out the sensors had damaged valve stems and they all had to be replaced for $8 each. So much for seller honesty. He wound up refunding me half my money, and they worked fine, so we were both happy.

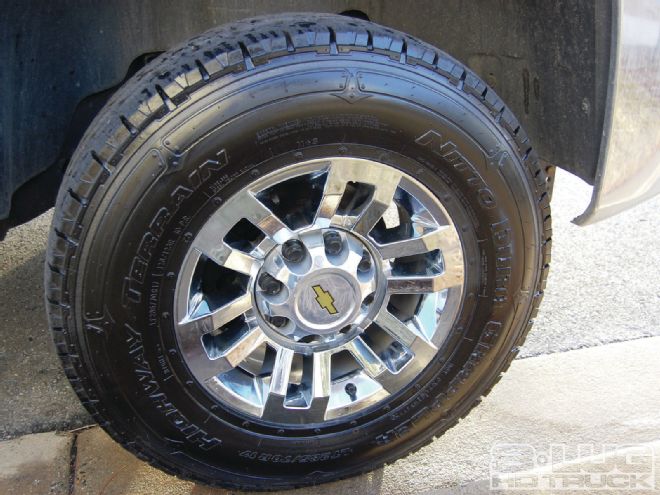
| Mounted, balanced, and ready to install. Note the sidewall: We had to choose between plain and this one.
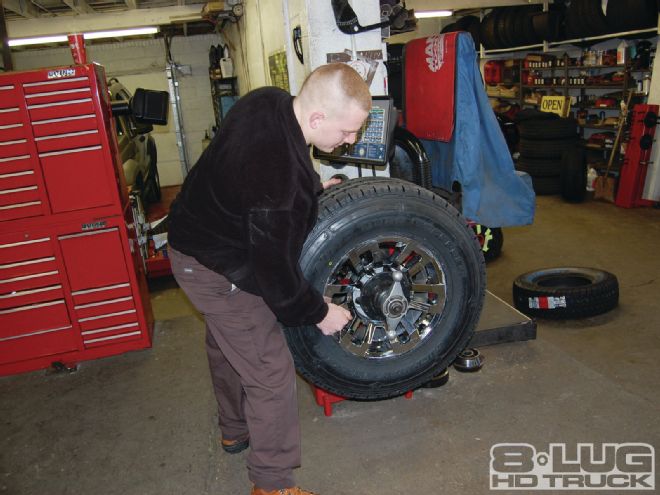
The tires mounted easily and didn’t require much weight to make them true. When I went to bolt up the center caps, the threads in the lug nut covers would not reach the outside threads on the lug nuts. Nothing is easy. I flipped the cap over and saw plastic standoffs and said to myself, “I’ll just take those off and they’ll fit—no problem.” I fired up the air compressor, grabbed my cutoff tool, and zipped them off. Off I ran outside to try them on for size, and they still wouldn’t fit. This caused me to do two things: scratch my head and get mad. So I headed back to Dieselplace.com for some answers. Seems like this is a common problem with several solutions, depending on which wheel and cap you have. Standard H2 rims will work if you remove the standoff tabs like I did. Others need the bottom of the cap shaved ¼ inch. Others have discovered GM has a different lug nut with a single additional thread that is enough to catch and secure it.
We decided to go a different, uncharted route. I purchased a set of lug nuts without the exterior threads. When I attempted to put the factory lug nuts on top of them—solely to secure the caps—I discovered they were too long. A little time on the grinder took off the concave part at the bottom and allowed the nut to mate up nicely to the stud with the other lug nut. We put a dab of antiseize in between just to be sure. A little overkill? Maybe. But the wheel and cap aren’t going anywhere. Once we had a good fit, I ordered four of the same cap in chrome to replace the factory gray ones. As you can see, the result is exactly what we were looking for: something a bit more striking than what came from the factory while still retaining the stock look with the Bow Tie factory center caps. By spending some time researching and asking for advice in the forums, we were able to achieve a tire and wheel setup that looks like a million bucks and saved a bundle.
